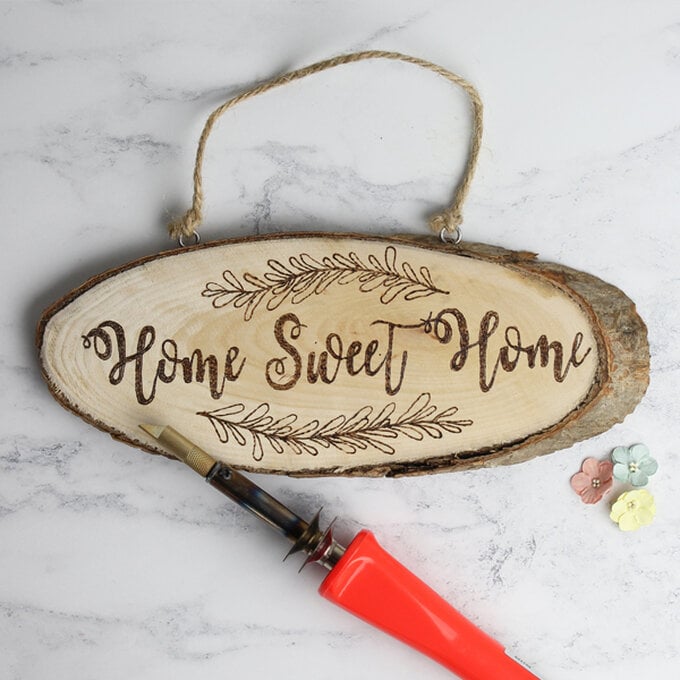
How to Make a Pyrography Home Sweet Home Sign
Add this cosy sign to the comfiest nook of your home! It's so easy to learn how to use a pyrography tool, and the techniques can be applied to many of the wooden blank products available online and in store at Hobbycraft, enabling the easy creation of gorgeous and professional-looking gifts! Read on to find out how this particular sign has been made..
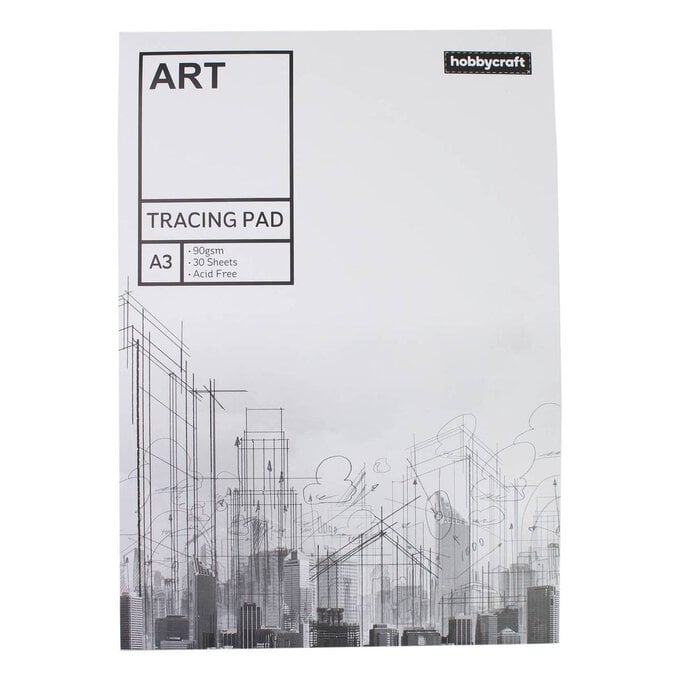
You will need

Subtotal
Is $ 4.49

Subtotal
Is $ 7.49 , was $ 10.00
Subtotal
Is $ 8.49

Subtotal
Is $ 4.49
Subtotal
Is $ 12.00
How to make
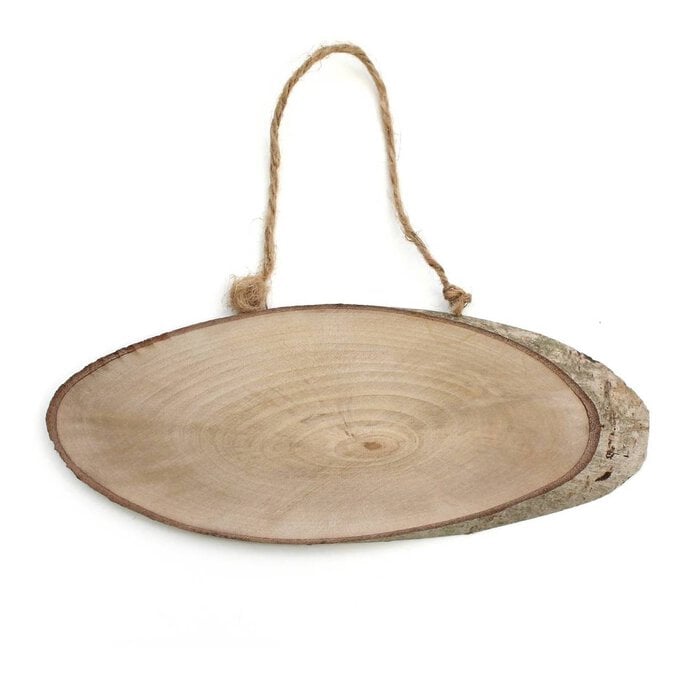
Trace around the shape of the wooden plaque onto tracing paper. This will allow you to sketch designs knowing they will fit the plaque. Once you have your finished design trace over it with a pen.

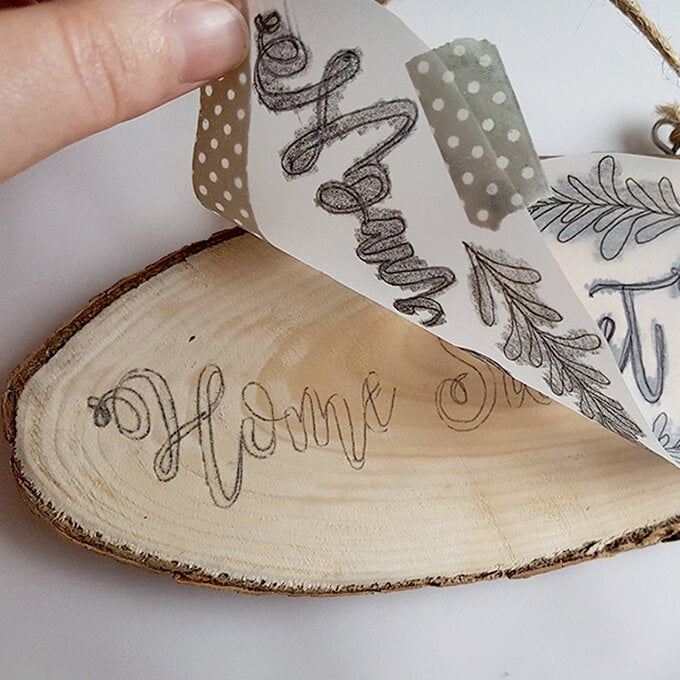
Turn the tracing paper over and pencil over the design so it is completely covered. Turn the tracing paper to the correct side and tape it into place.
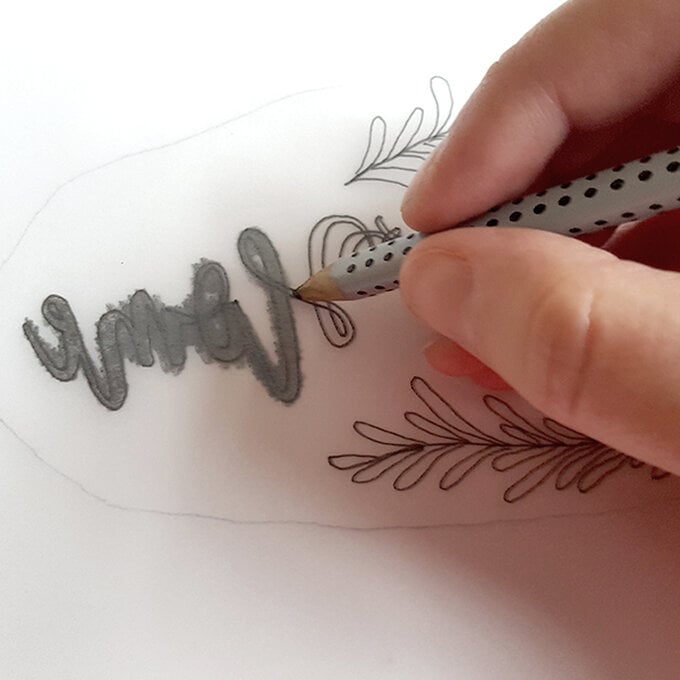
Using a pen trace over the design to transfer the led from the reverse side of the tracing paper onto the wooden plaque.
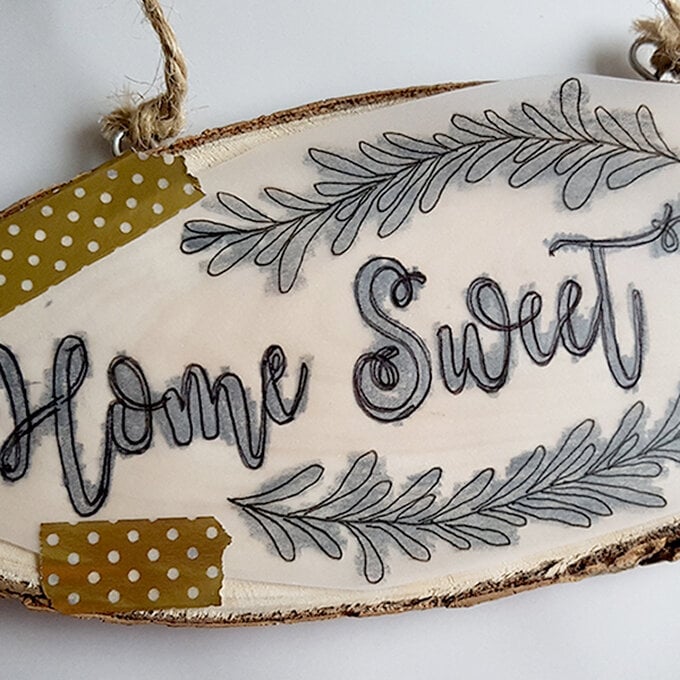
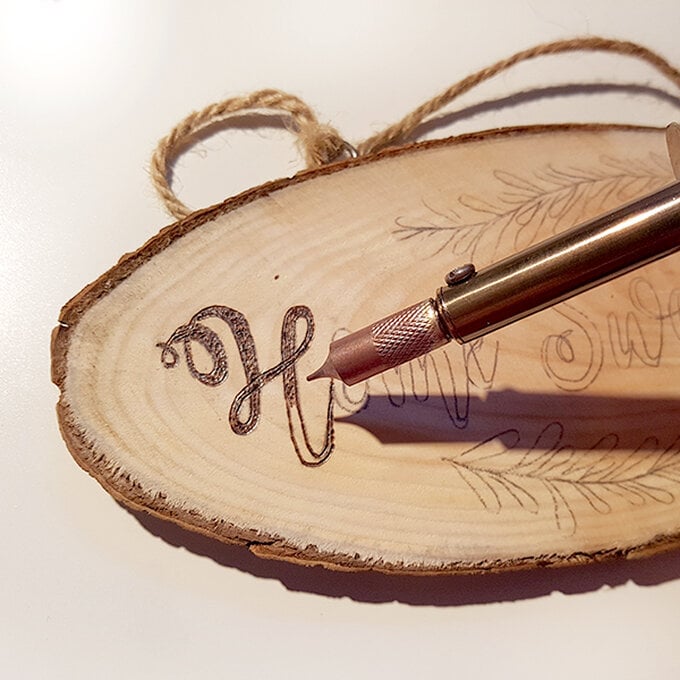
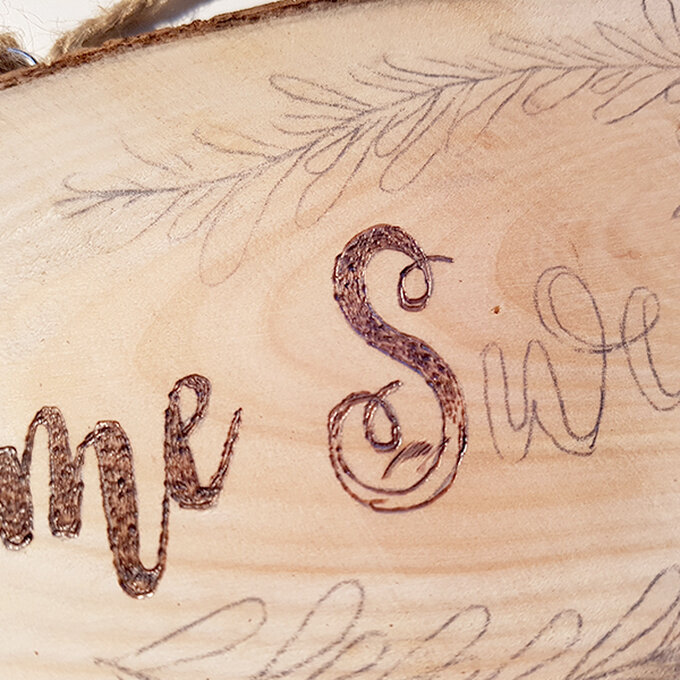
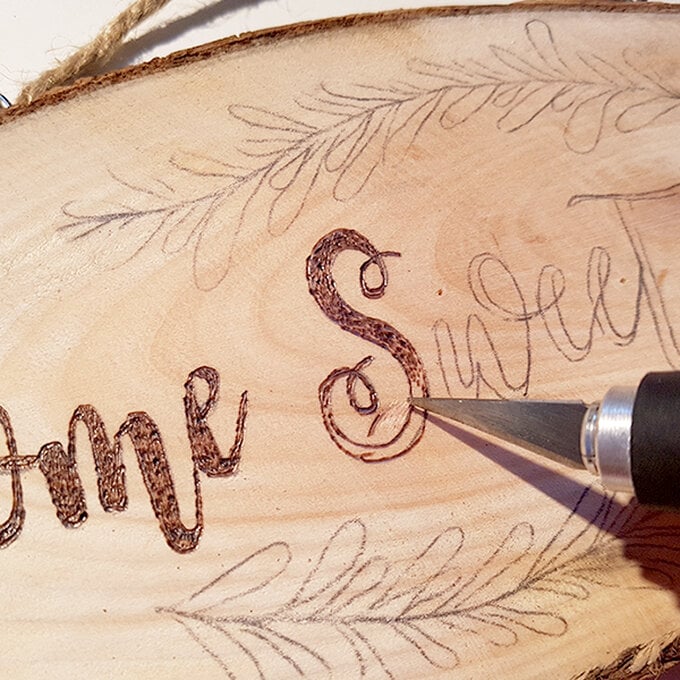
Allow the pyrography tool to heat up for approximately ten minutes and begin burning your design into the wooden sign.
Once you have finished burning use a rubber to erase any pencil marks that can be seen.
Related Products