Skip to Content (Press Enter) Skip to Footer (Press Enter)

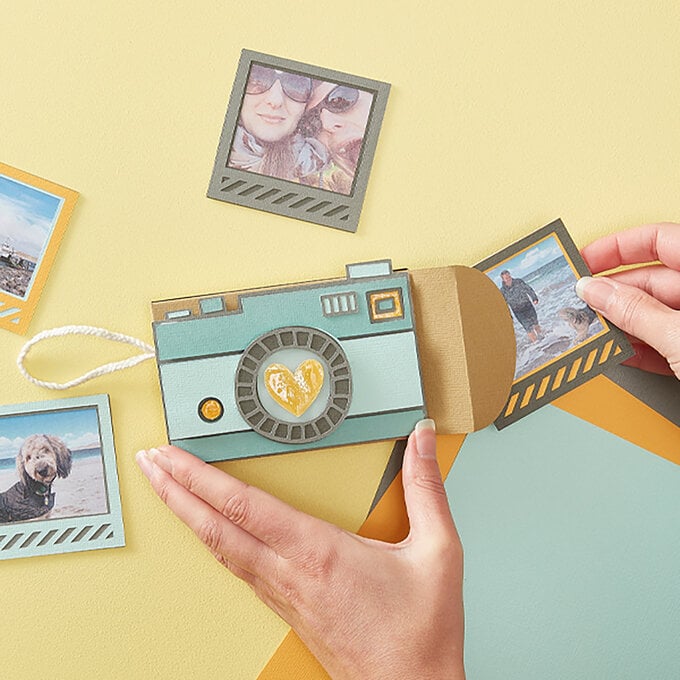
How to Make a Travel Album

Level
Intermediate
Time
1 hour
Budget
<10

Travel journals make it super-easy to document your travels on the go. Armed with a few journaling essentials and some nifty pre-made essentials you'll have everything you need and more to document your well-deserved holiday time.

You will need

Is $ 5.49

Quantity: 1

Subtotal

Is $ 5.49

Is $ 11.00

Quantity: 1

Subtotal

Is $ 11.00

Is $ 5.49

Quantity: 1

Subtotal

Is $ 5.49

You’ve viewed 2 of 3 products

Total:

How to make

Tickets Clips & Memorabilia
I used some of the wooden embellishments and glued them onto paper clips with a hot glue gun to make cute little clips to use in my Travel Notebook. I wrapped some washi around a spare bit of card so I could take it with me to use on the go. I then cut out tickets and interesting shapes from the patterned papers to decorate the inside cover of the Journal. Finally, I used some washi tape and some thread to make bunting to glue to my journal for some added interest.
travel-journal_sq1.jpg?sw=680&q=85
Travel Journal Wallet/Pocket: Step 1
Take one sheet of 12 x 12″ paper and trim to 10 x 12″ (25 x 30.5 cm). Score on the 12-inch side at 8.25 inches and on the 10-inch side at 5 inches.
travel-journal_step1-768x768.jpg?sw=680&q=85
Step 2
Mark with a pencil at 1.5 inches from either side of the score line at 5 inches and underneath the score line at 8.25 inches.
travel-journal_step2-768x768.jpg?sw=680&q=85
Step 3
Cut out a triangle of paper from where the score lines intersect to the 1.5-inch marks.
travel-journal_step3-768x768.jpg?sw=680&q=85
Step 4
Fold your wallet up along the 8.25-inch score line and in half on the 5-inch score line. Cut another piece of paper 11 x 5″ and score at 0.5 inches, 5.5 inches and 10.5 inches on the 11-inch side. Fold back the flaps as below and add wet glue then adhere to your wallet behind the flap you cut with the triangle.
Step 5
Use washi tape to tidy up all your edges and to decorate the pocket flaps. Adhere half to the front then fold over to the back.
Step 6

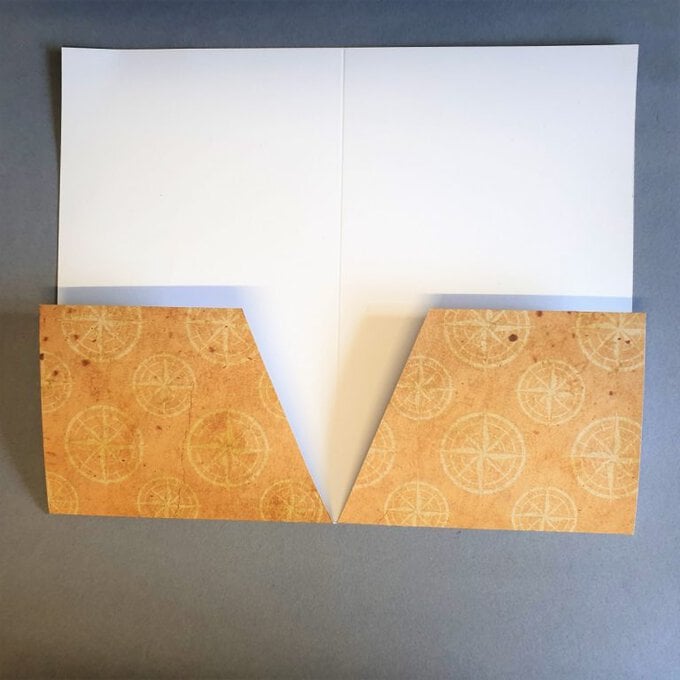
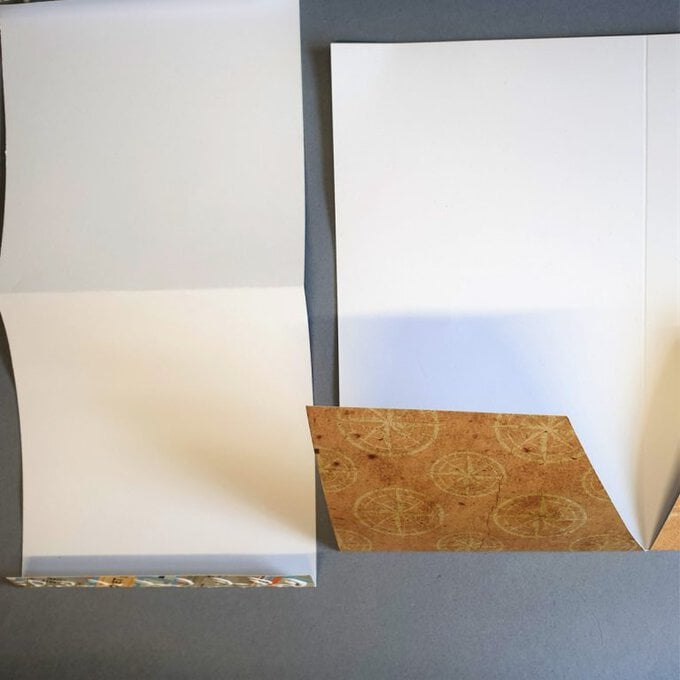
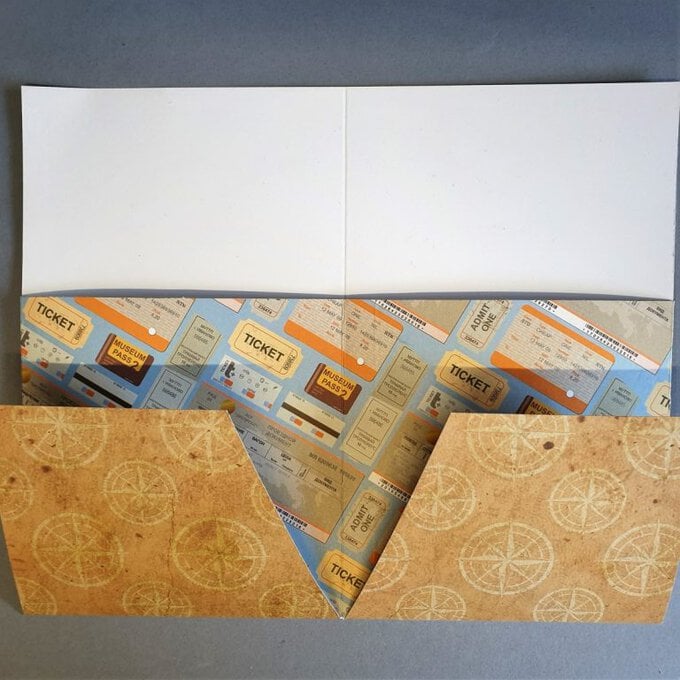
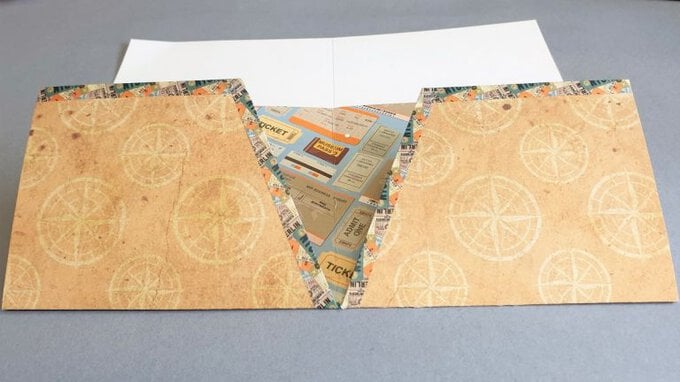
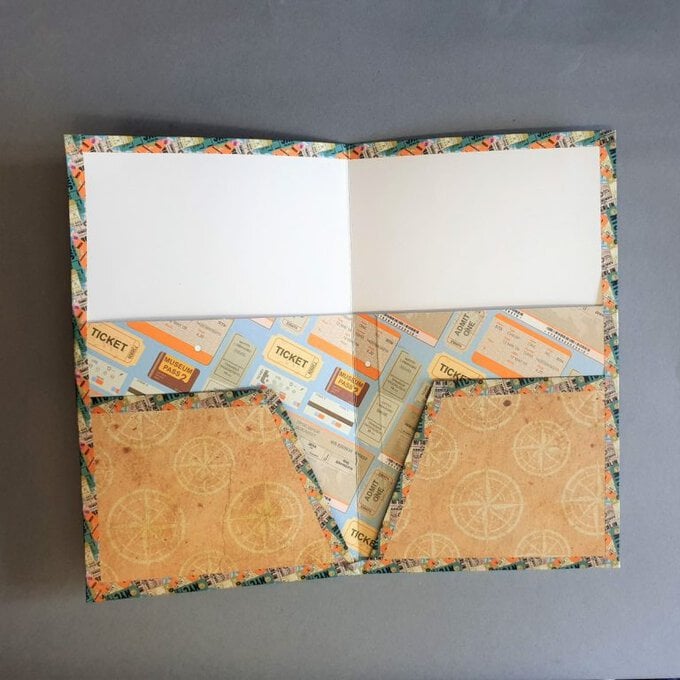
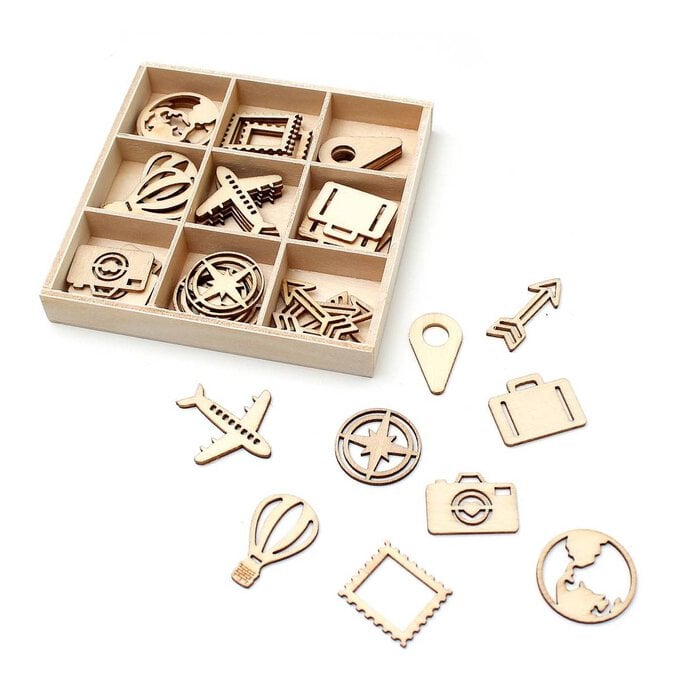
Cut two last pieces of patterned paper at 3.5 x 4.75″ each and adhere to the top of the inside of your wallet pocket. Add washi tape down the centre to taste. Your wallet/pocket is now complete, and you can wrap this around one of your journals to keep tickets, photos and memorabilia in. You can decorate your wallet/pocket with the wooden travel embellishments or clips we have already made.

travel-journal_step11-768x768.jpg?sw=680&q=85
Travel Journal Layout Step 1

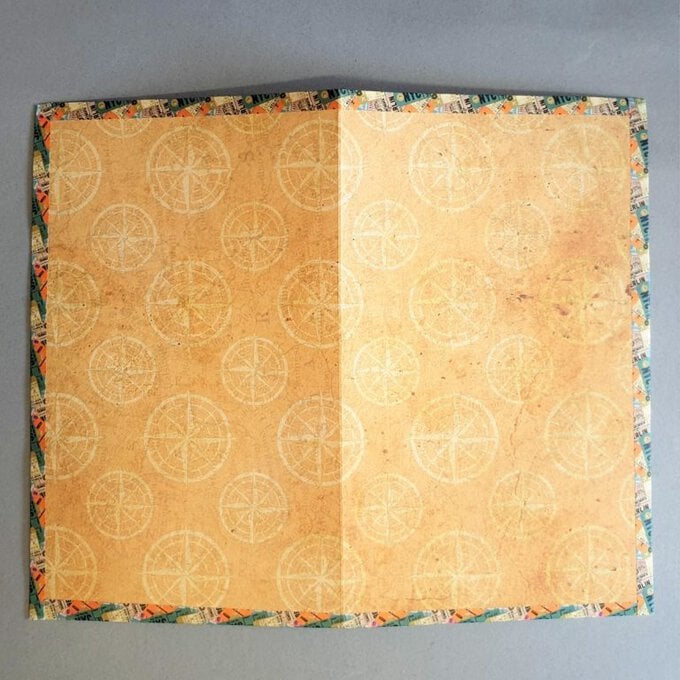
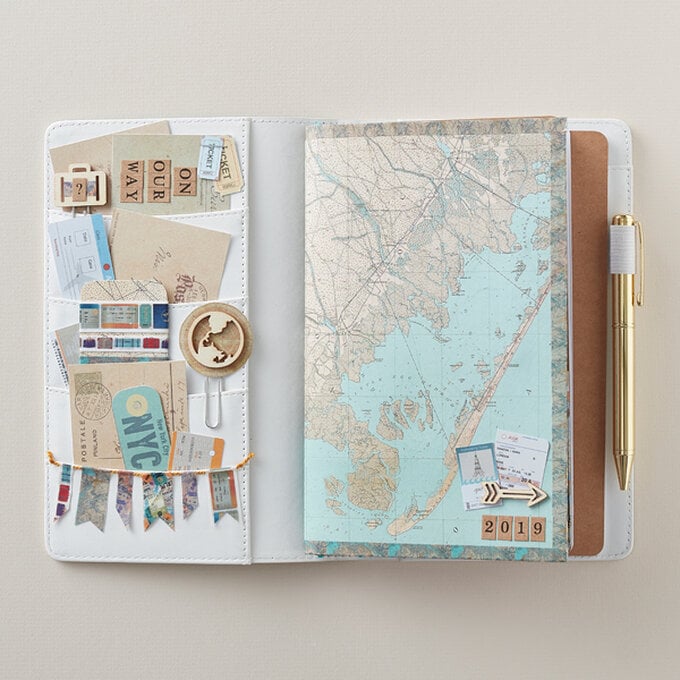
Take some of your patterned papers – I choose two – a large map and the sepia compass points. I started by cutting a large banner shape from the map paper. Cut at 4 x 7″. Measure 2″ from the bottom of the piece of the paper and two inches up – this will give you the point to cut to for your banner points. I cut four further banners from the same paper, each measuring 1.5 inches across and then I cut them into various lengths.

Step 2

From the compass paper I cut a rectangle piece at 3.5 x 4.5 inch and then two more of the 1.5-inch width banners. I then cut two more from this paper at 0.75 inch and cut the banner points. I added the words On Our Way with the alphabet stickers.

Step 3

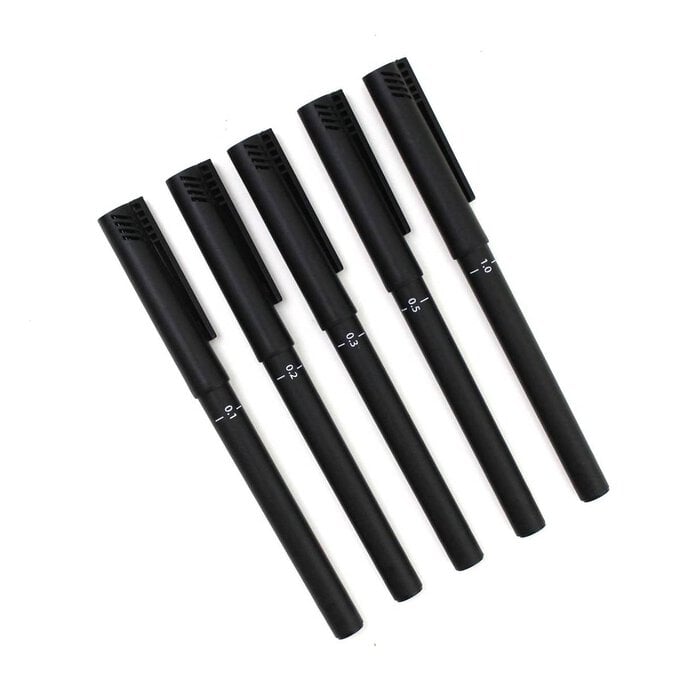
Using my black pen, I drew freehand around the rectangle and the banners and then adhered to my page. I then drew freehand all the way around the outside of the page.

Step 4

I matted my photo onto white card and added to my page. I finished off by adding some of the wooden embellishments.

travel-journal_sq2.jpg?sw=680&q=85

Related Products

Rated 5 out of 5 by from Amazing, Easy and Quick! I am so glad I came across this idea. This was a lovely change from what I usually do. Thank you very much for the idea and layout of instructions. I can see this being a project I come back to again.
Date published: 2024-01-28
Rated 5 out of 5 by from Semble facile à faire! Vais tester! Pas encore acheté matériel pour le projet. En prévision lorsque mon projet en cours sera terminé.
Date published: 2023-05-26
Rated 5 out of 5 by from Easy project. A nice easy project that would suit any papers you already have...nice clear instructions
Date published: 2023-01-07
  • y_2024, m_4, d_18, h_3
  • bvseo_bulk, prod_bvrr, vn_bulk_3.0.41
  • cp_1, bvpage1
  • co_hasreviews, tv_0, tr_3
  • loc_en_GB, sid_how-to-make-a-travel-album, prod, sort_[SortEntry(order=RELEVANCE, direction=DESCENDING)]
  • clientName_hobbycraft
  • bvseo_sdk, dw_cartridge, 18.2.0, p_sdk_3.2.0
  • CLOUD, getReviews, 17ms
  • reviews, product
Top