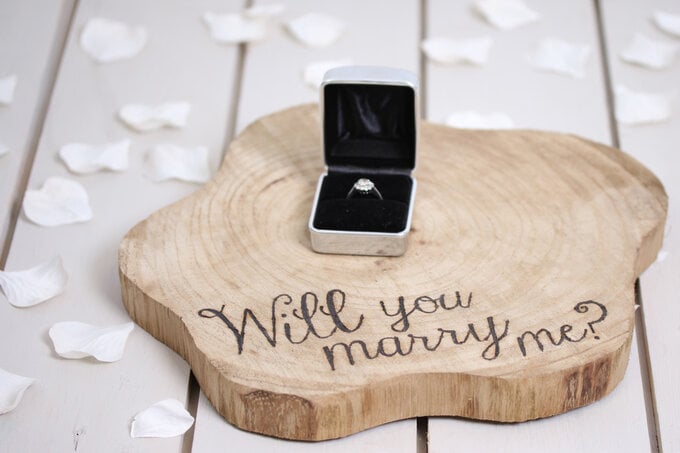
How to Make an Engagement Wood Slice
Pop the question in a very unique way, with this handmade pyrography wood slice project! Simple leave in place with a ring box for the upcoming fiance to discover… and use as a beautiful centerpiece at your wedding!
You will need
Subtotal
Is $ 3.49

Subtotal
Is $ 14.00 , was $ 21.00
Subtotal
Is $ 6.49
Subtotal
Is $ 8.49
You will need
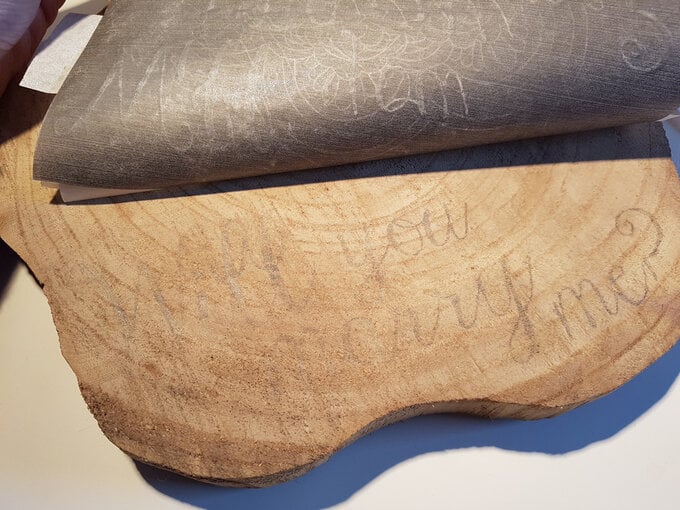
Print or photocopy your design onto tracing paper and trim the excess paper. Tape the tracing paper into position along the top. Place the Graphite Trace Down underneath the tracing paper and tape securely.

Trace your design using a hard pencil with medium pressure, check your pressure by lifting both sheets.

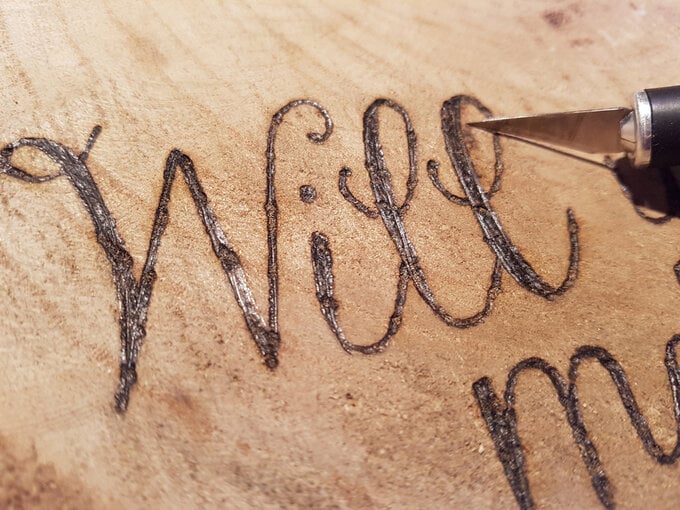
Allow the pyrography tool to heat up for approximately five minutes, then start to trace your design using the heat tool. Use a fine tip to begin with, you can build up thickness if you need to later.
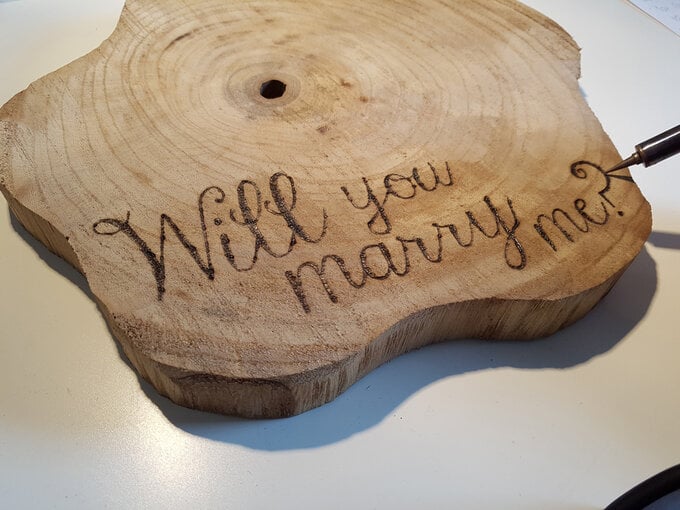
Once you have finished burning you may wish to use a sharp scalpel to gently scratch away mistakes or scorch marks.