How to Make Calligraphy Pumpkins
Level
Beginner
Time
1 hour
Budget
10 - 30
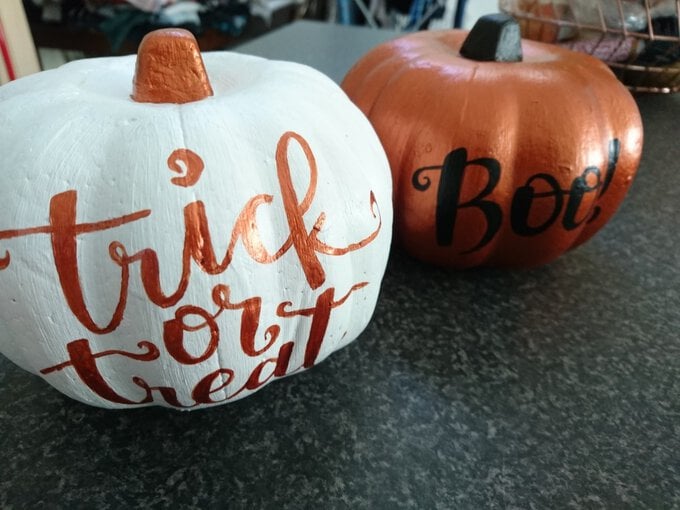
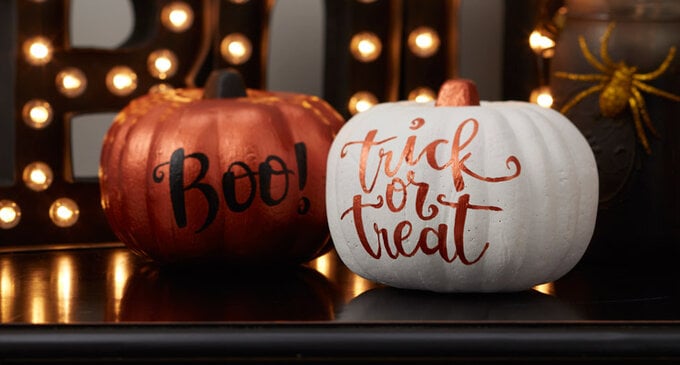
Calligraphy is a hot trend right now, so why not incorporate it into your home decor? We've used some trendy copper paint and gorgeous writing to create these calligraphy pumpkins that are perfect for more sophisticated Halloween decor!
You will need

Quantity:
1
Subtotal
Is $ 14.00
Quantity:
1
Subtotal
Is $ 3.49
Quantity:
1
Subtotal
Is $ 3.49
Quantity:
1
Subtotal
Is $ 3.49
Total:
£0.00
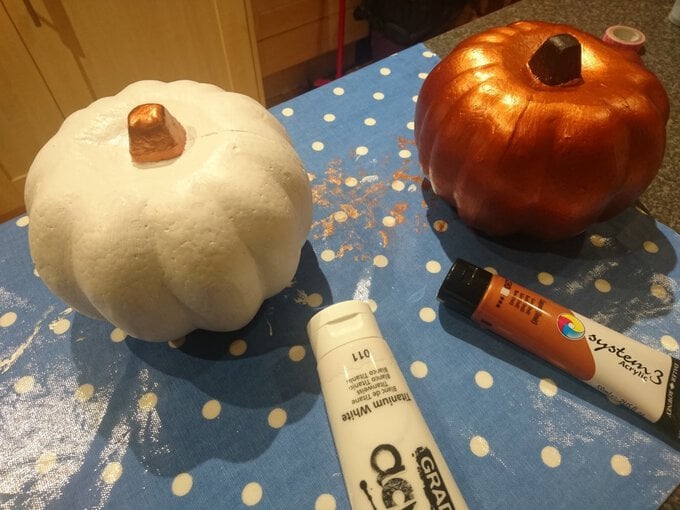
How to make
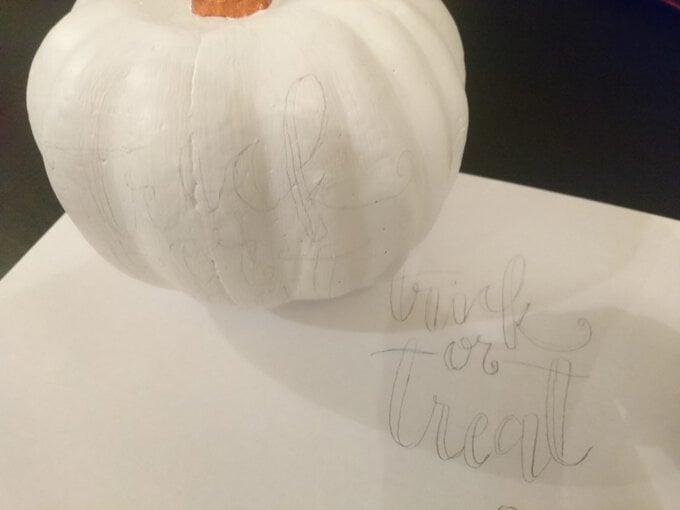
Step-1
Step-2
Step-3
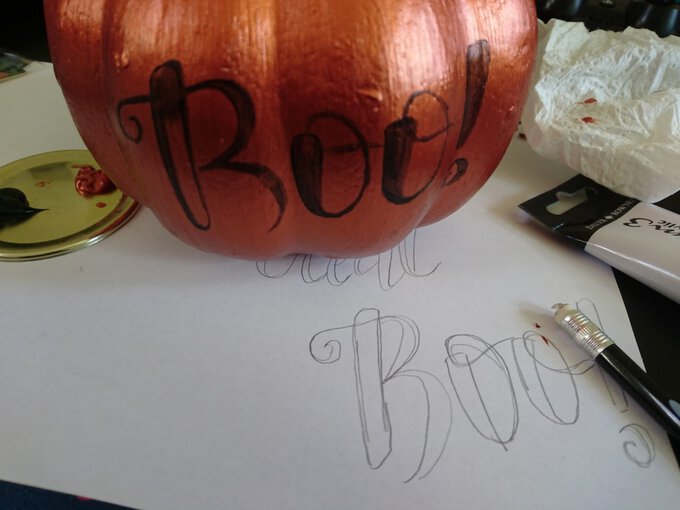
Step-4