How to Make FIMO Leather-Effect Christmas Trees
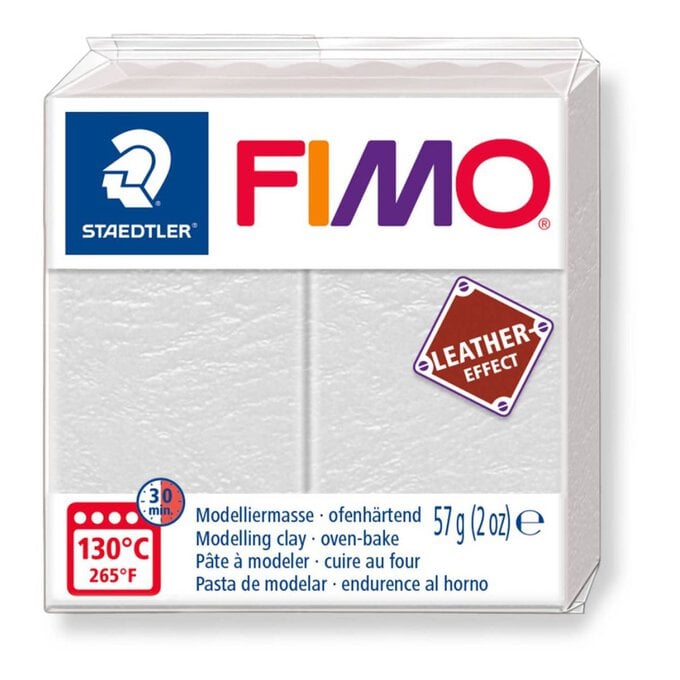
Fimo Leather Effect Modelling Clay is fantastic polymer clay that features a similar look and feel to leather. It allows you to explore new creative ideas, with a textured effect that lends itself to a huge range of projects – like these Christmas tree decorations, for example!
Find out how to create these stylish Christmas tree ornaments in just a few simple steps.
You will need

Subtotal
Is $ 3.49
Subtotal
Is $ 3.49
Subtotal
Is $ 5.49
Subtotal
Is $ 6.49

Subtotal
Is $ 3.49

Subtotal
Is $ 12.00
Subtotal
Is $ 12.00
How to make
You will also need: a tile, thin card, a baking tray and a cutting mat
Use a tile as a work surface.
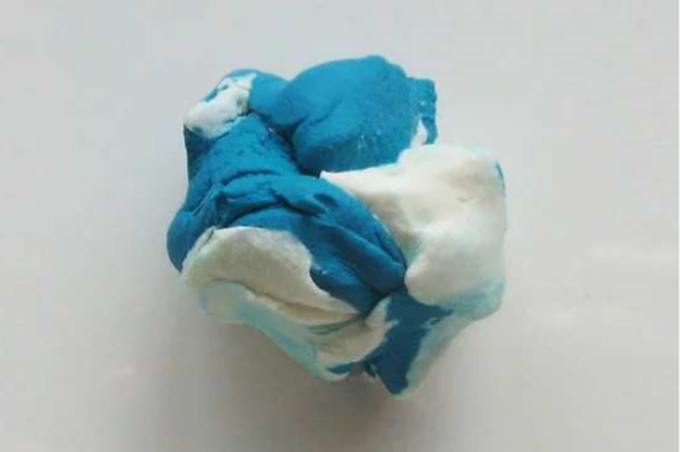
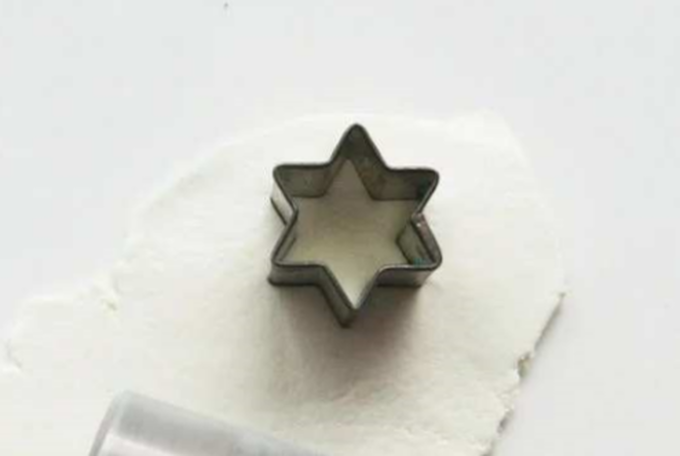
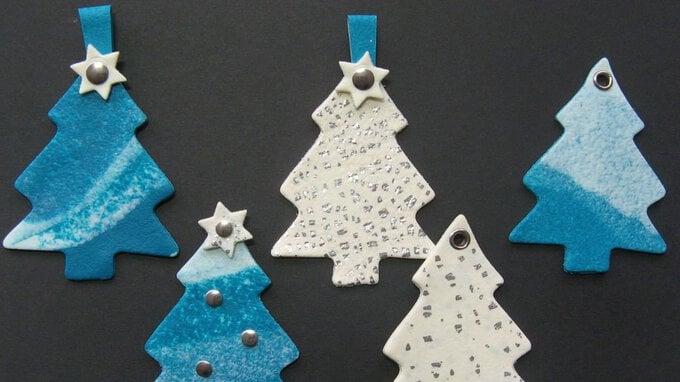
Cut off 2 x portions of FIMO leather-effect 'Lagoon' and 2 x portions of 'Ivory'.
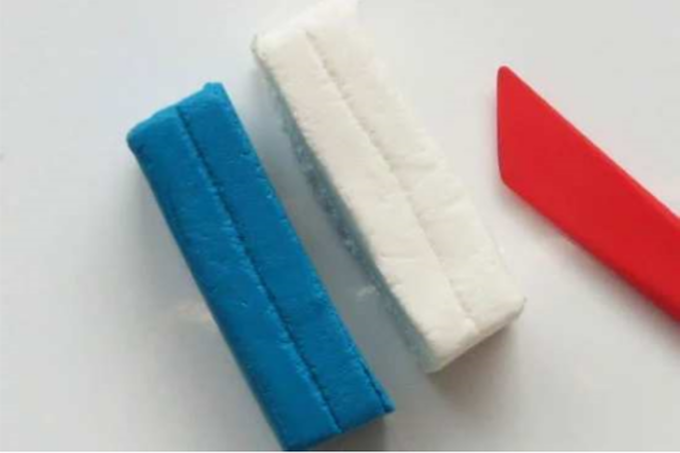
Press and twist the FIMO so the colours swirl together.
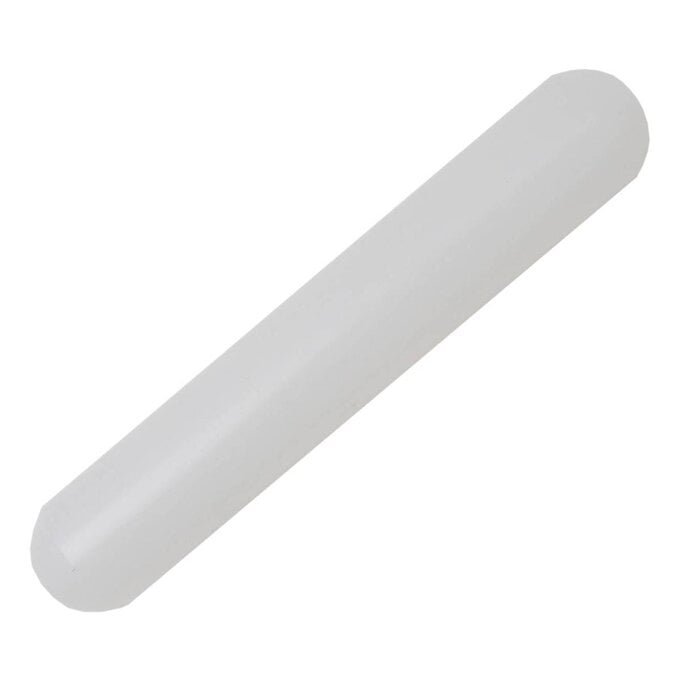
Press the FIMO with your fingers then flatten it with a roller.
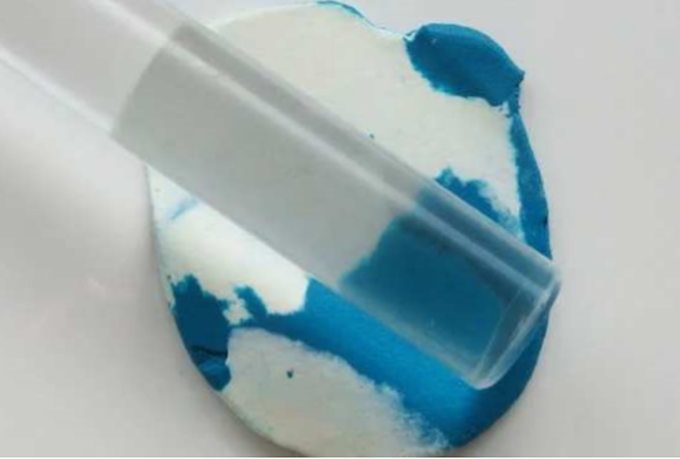
Keep rolling until the colours start merging together.
For a more blended effect, fold over the FIMO then re-roll it to a depth of 2-3mm.

Cut a tree shape from the rolled FIMO using a metal cookie cutter.
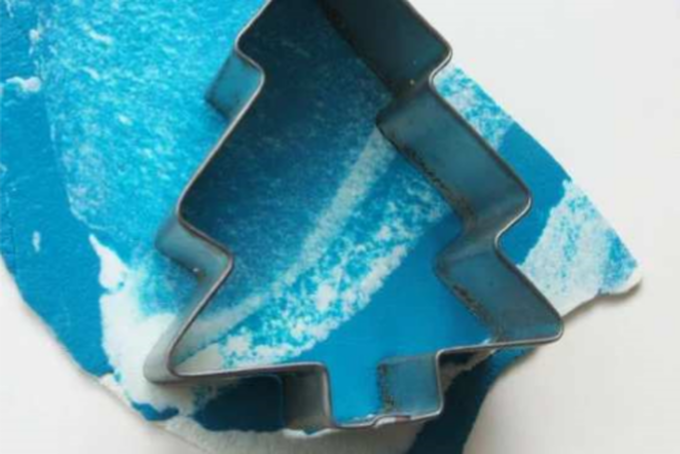
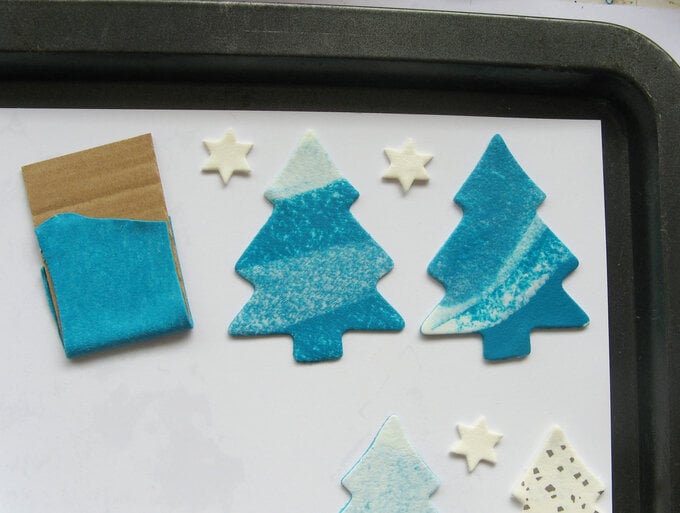
Make more trees in the same way from the remaining blended FIMO. If you prefer a more snowy effect, roll some more 'Ivory' FIMO over the blue before cutting out the shape.

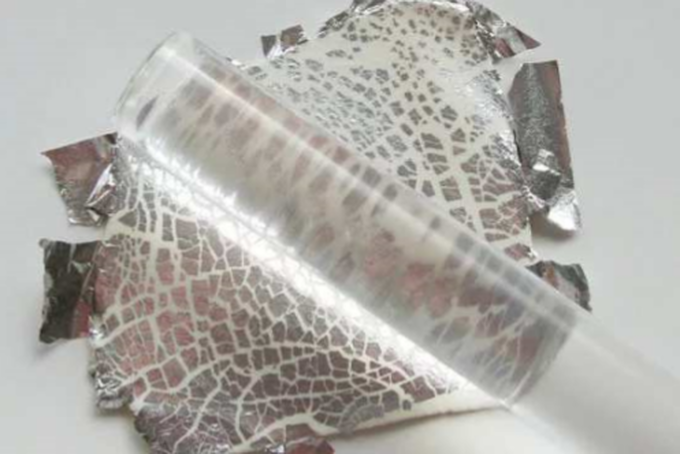
For a metallic pattern, press a sheet of FIMO Leaf Metal over some rolled FIMO then roll over the top until the Leaf Metal crackles. Fold the FIMO in half so the metallic effect is on both sides, roll to a depth of 2-3mm then cut out a shape with a cookie cutter.
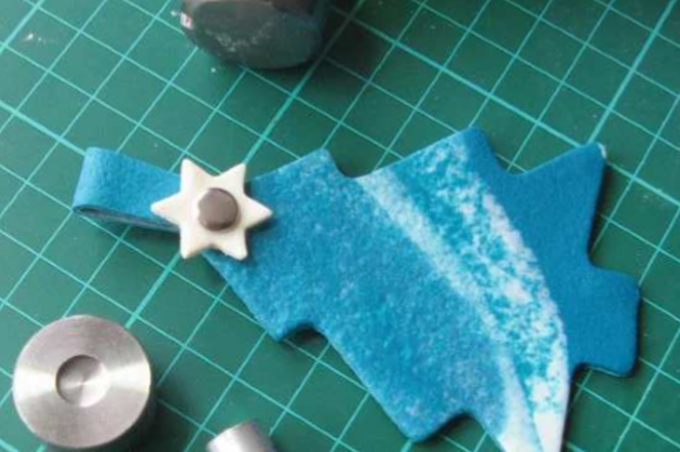
Cut out some small stars from rolled FIMO with a FIMO Mini Shaped Cutter.
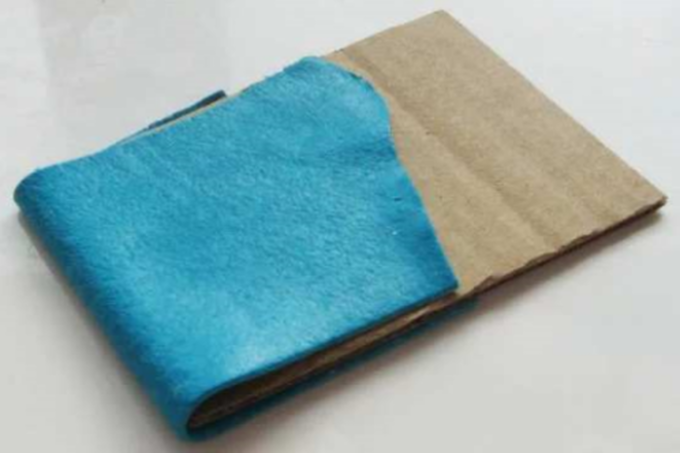
To make loops for hanging the tree, thinly roll a small FIMO piece then fold it over some card
Carefully place all the FIMO shapes onto a piece of card on a baking tray.
Preheat the oven to 130°C / 266 °F (upper and lower heat). Once it is up to temperature, place your pieces in the oven and harden them for 30 minutes. Leave to cool before handling.
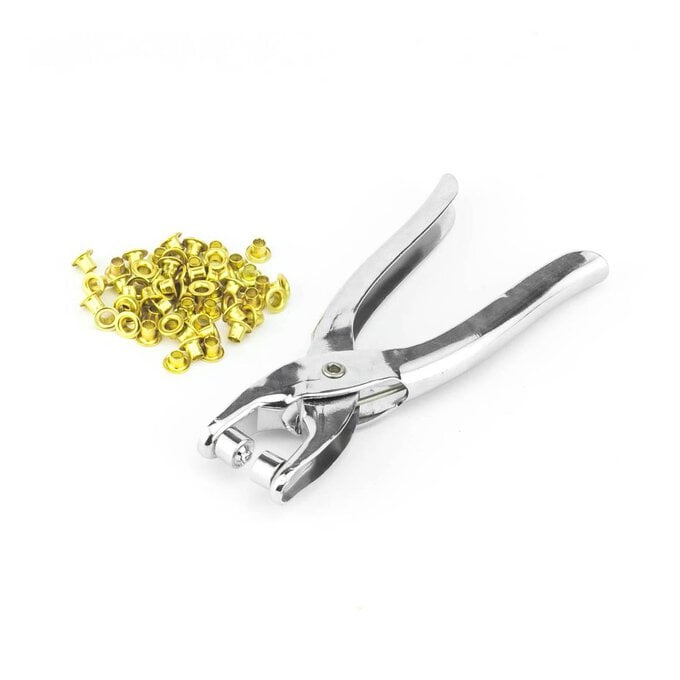
To add an eyelet, punch a hole near the top of a hardened FIMO tree, push the eyelet through the hole then set it with a tool.

To add a loop, punch a hole through the top of a FIMO tree and star. Trim the folded FIMO strip to approximately 1cm x 3cm then punch a hole through both ends.
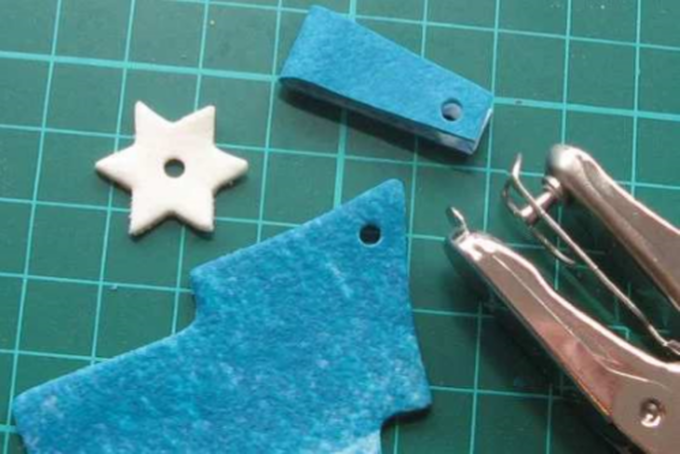
Place the strip over the tree, with the star on top and all the holes are aligned. Push a double-sided rivet through the holes then fix in place with setting tools and a hammer.
Related Products