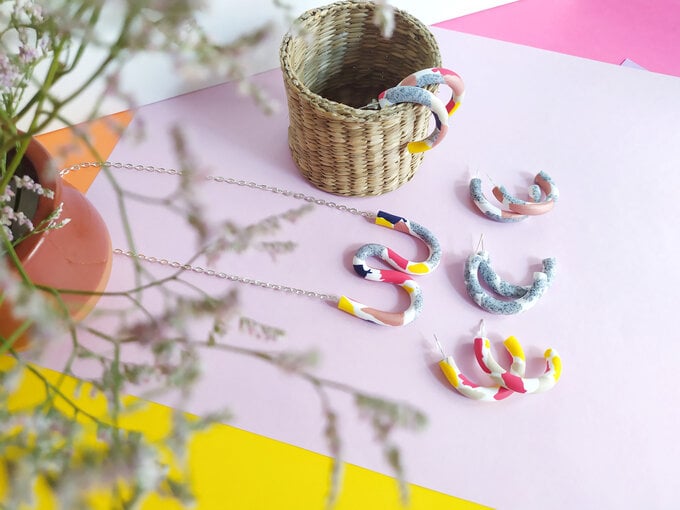
How to Make Terrazzo Jewellery with FIMO
Embrace the trend for all things terrazzo and create your very own terrazzo jewellery using FIMO.
Our how-to guide features earrings and a necklace, but the FIMO pieces can easily be adapted to create bracelets and rings too.
Make your jewellery creations truly one-of-a-kind by mixing and matching FIMO Soft and FIMO Effect colours. You can also experiment with the shapes you make with the decorated terrazzo strand.
Project and instructions by Karina for FIMO.
You will need
Subtotal
Is $ 19.00

Subtotal
Is $ 10.00
Subtotal
Is $ 6.49
Subtotal
Is $ 4.49
Subtotal
Is $ 7.49
Subtotal
Is $ 6.49
Subtotal
Is $ 5.49
Subtotal
Is $ 5.49
Out of stock
Subtotal
Is $ 5.49
Subtotal
Is $ 5.49
Subtotal
Is $ 5.49

Subtotal
Is $ 5.49
Subtotal
Is $ 17.00
How to make
You will also need:
* Smooth work surface (glass or ceramic)
* Baking Paper
* Glass Plate
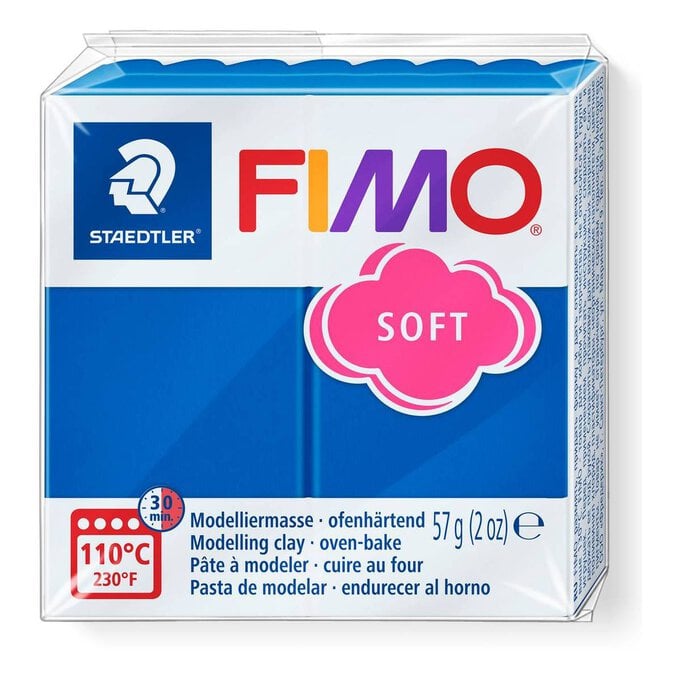
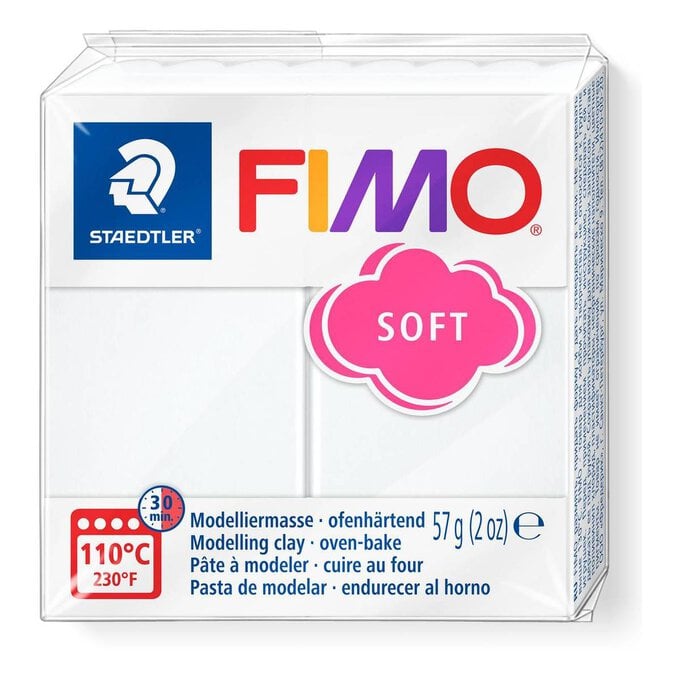
Knead half a block of FIMO Soft White until nice and soft. You can also use any other FIMO Soft/Effect colour you wish.
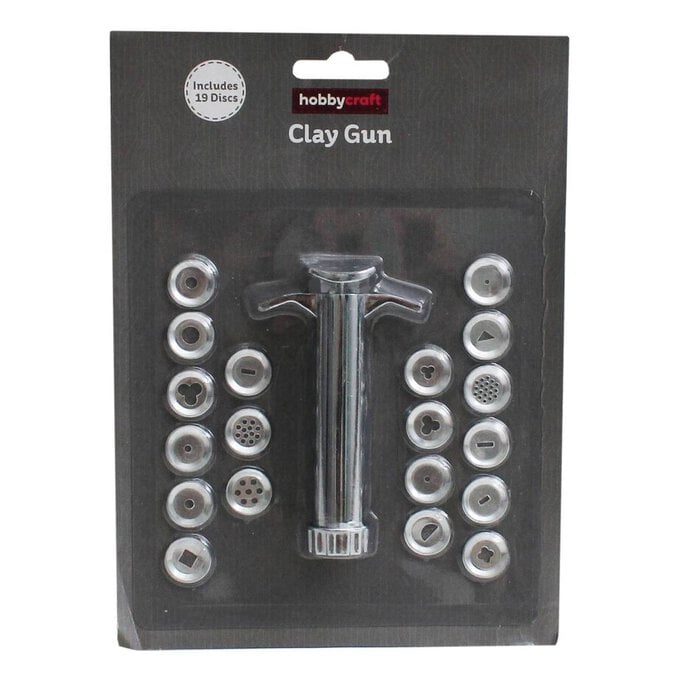
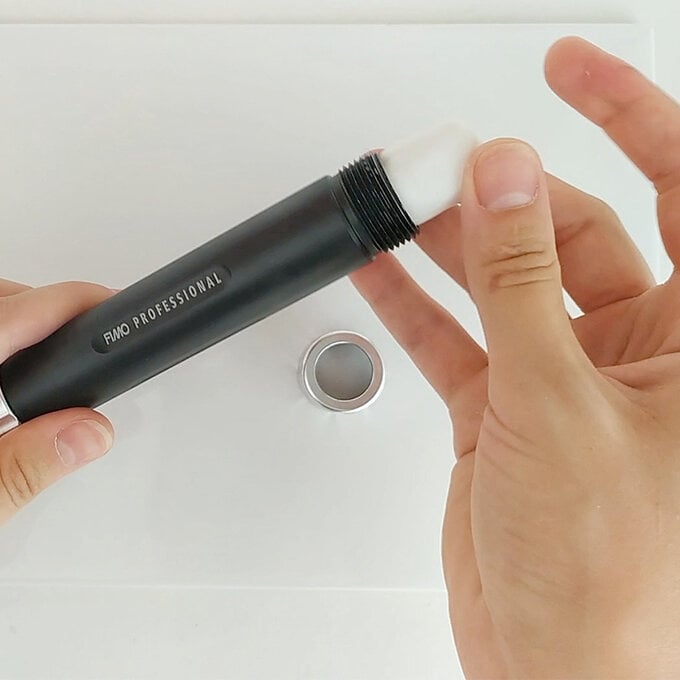
Create a long string using the Clay gun extruder and the disc with the largest round hole. To do this, remove the plunger and fill the clay extruder to a maximum of two-thirds full. Insert the motif disc and then insert the plunger, push the plunger down to press the FIMO strand out.
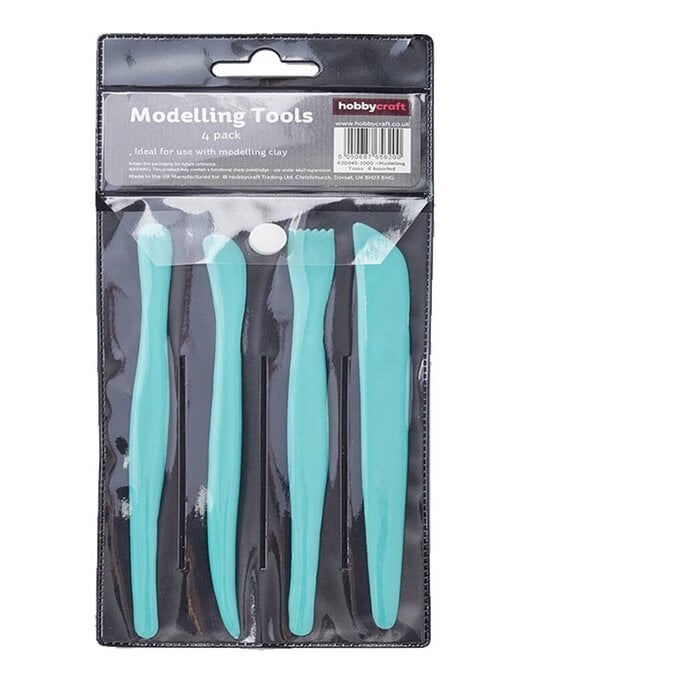
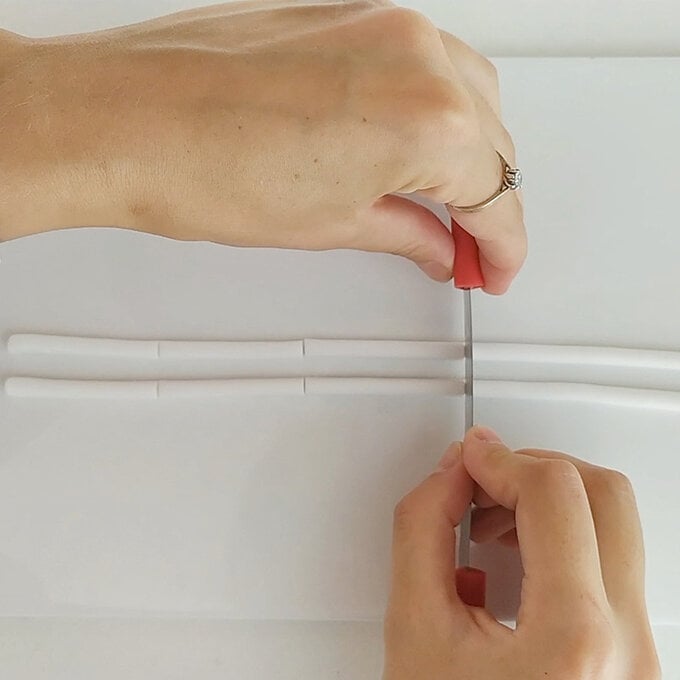
Cut it straight at the end with a blade.
Top Tip: If you don't have a clay extruder gun, the clay can also be rolled by hand.
Depending on whether you want to make a necklace pendant or earrings, cut the FIMO strand to suit. Approximately 5cm long is a good length for earrings.
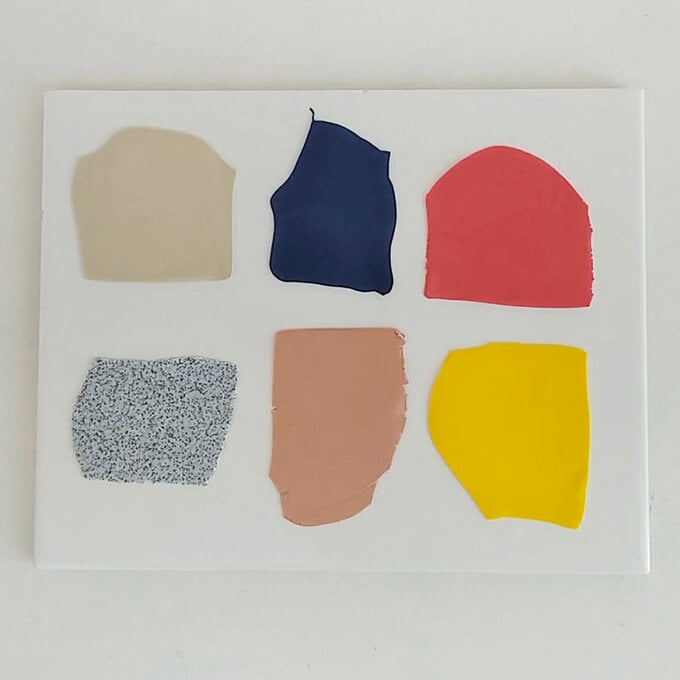
Now roll different FIMO Soft or FIMO Effect colours into thin sheets with an acrylic roller; half a rib per colour is all that's needed for this.
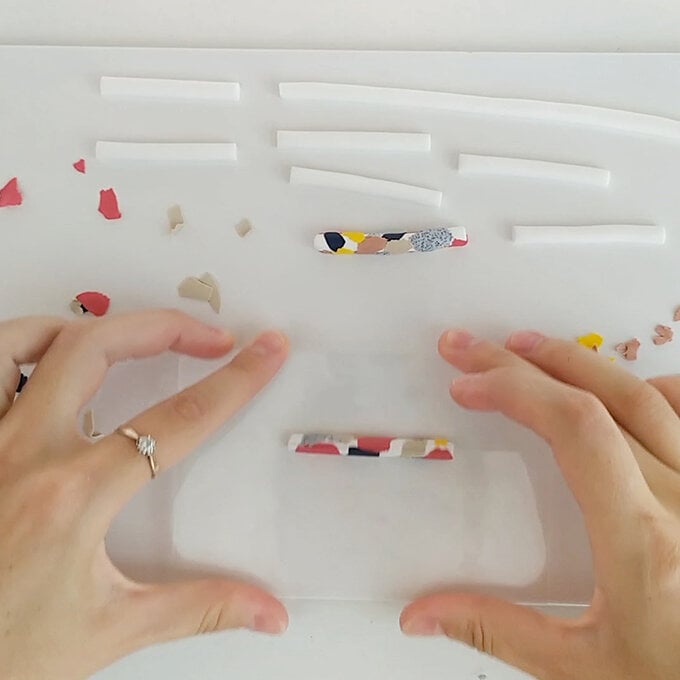
Position small pieces of each colour onto the white FIMO strand, overlapping some slightly.
Place a glass plate horizontally on the terrazzo strand and push the glass plate back and forth with gentle pressure so that the strand is rolled back and forth. This will help the small pieces of FIMO to attach to the white FIMO stand - this can also be done by hand however the glass plate will ensure no fingerprints are imprinted on to the clay and that the strand remains a consistant thickness.
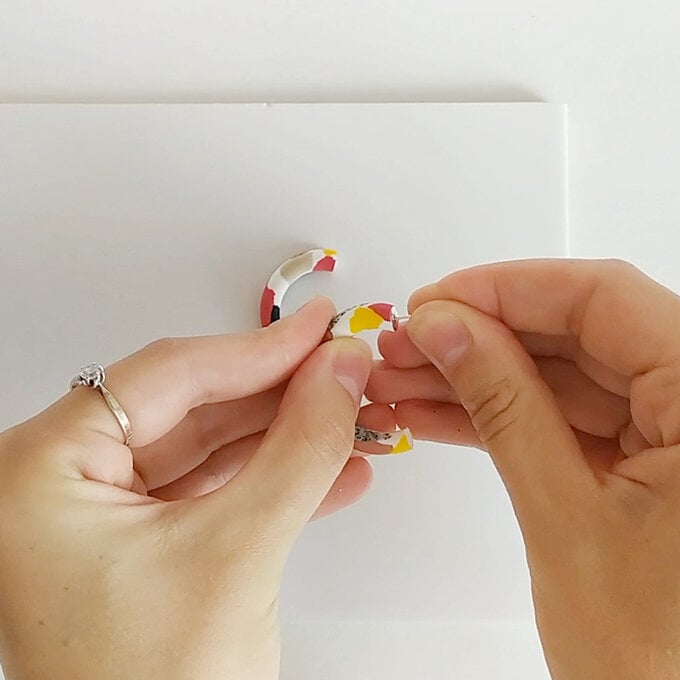
Using a knife, cut the ends straight and shape the strands for the earrings into a semi-circle. If creating a necklace, position the strand into a doubel 'S' shape.
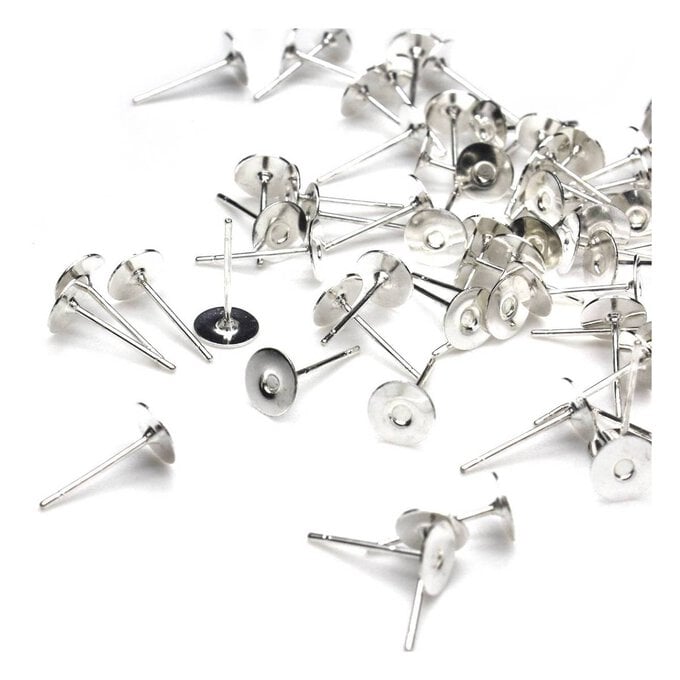
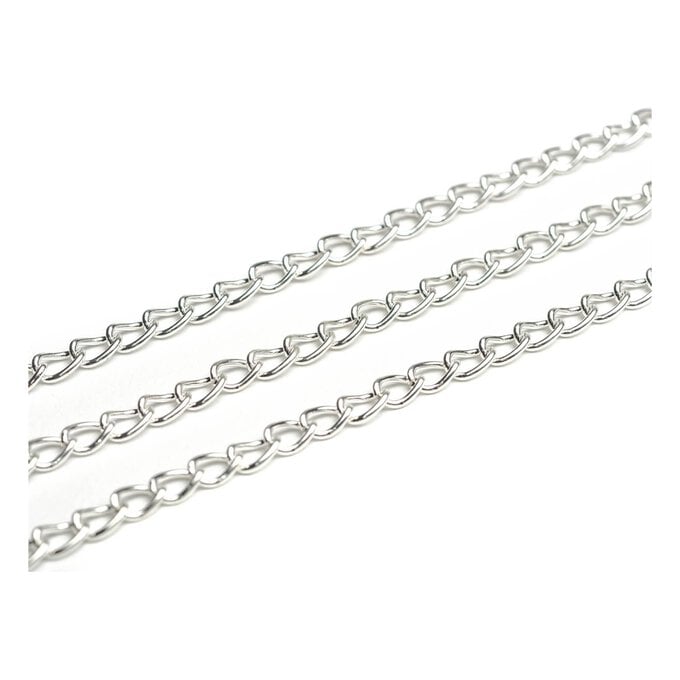
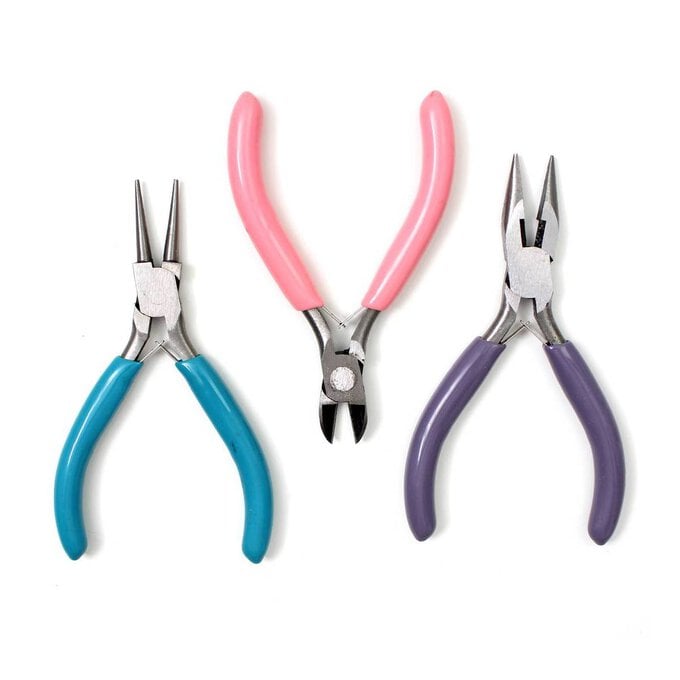
If needed, trim the eye pin down slightly using wire cutters and place into both ends of the 'S' shape; this is what the necklace chain will attach to.
Place all the FIMO pieces onto a sheet of baking paper and then pop them in the oven at 110℃/230℉ for 30 minutes. Leave until completely cool before adding the studs to the back of the earrings with strong glue, and then attach the chain to your necklace.
Once the glue has set your jewellery is then ready to be worn!