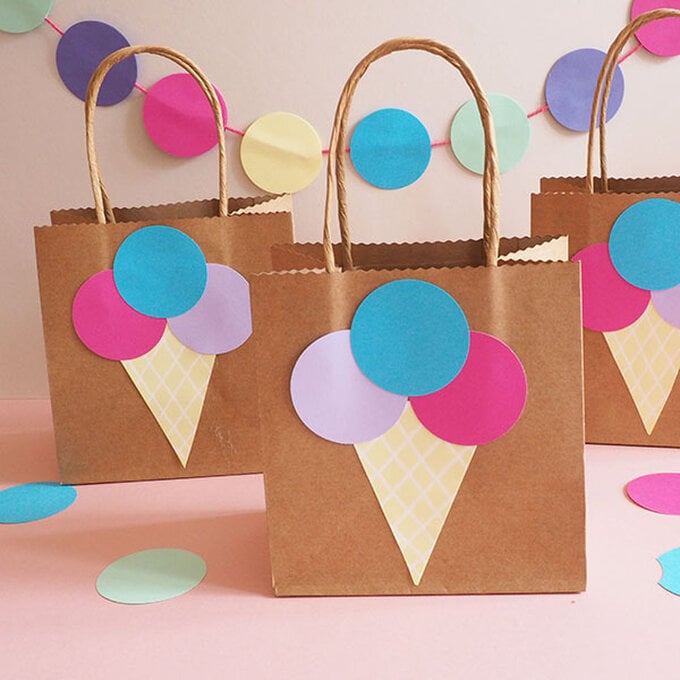
How to Style a Kids' Ice Cream Birthday Party
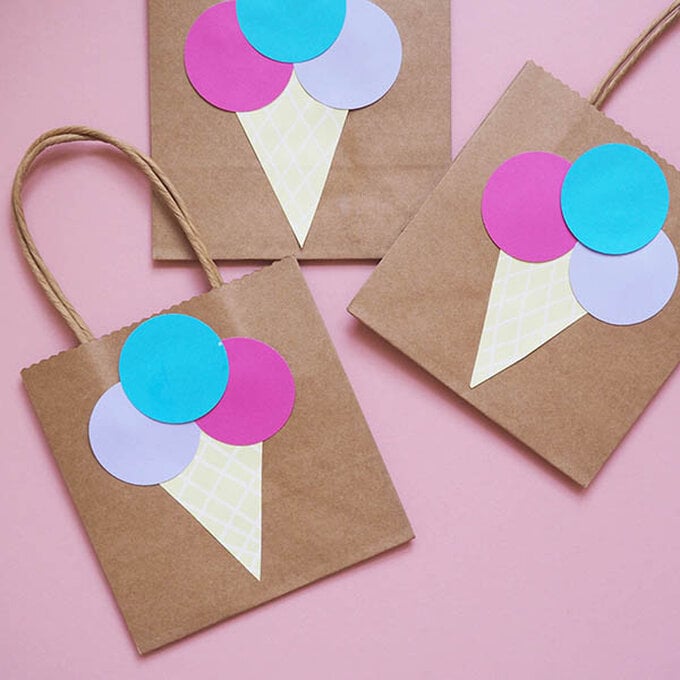
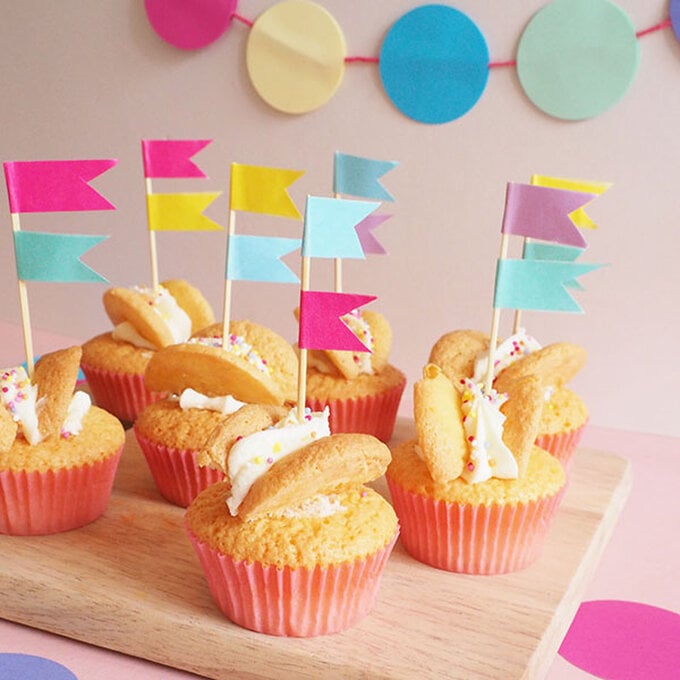
It's so simple to create a vibrant, put together kids' birthday party with only a few craft supplies and a bit of imagination! Here Becki Clark shows us how to create fun ice cream party bags, mini flag toppers, sprinkle plates and a decorative garland that do just the trick!
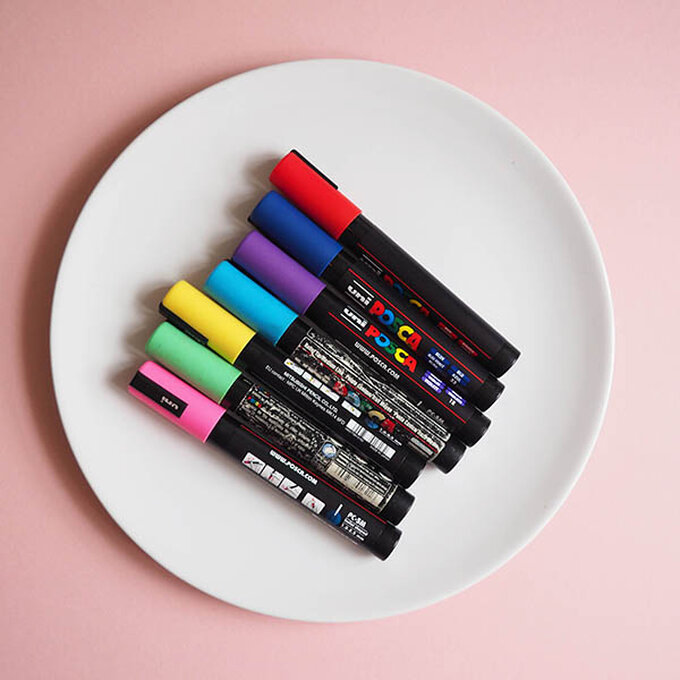
You will need
Subtotal
Is $ 4.49

Subtotal
Is N/A
Out of stock
Subtotal
Is $ 3.49
Subtotal
Is $ 5.49
Subtotal
Is N/A
Subtotal
Is $ 16.00
Subtotal
Is $ 37.00
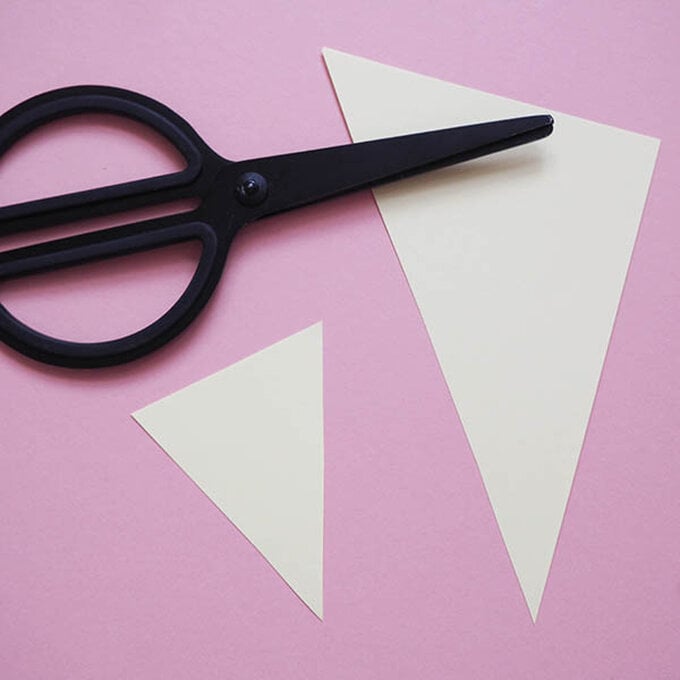
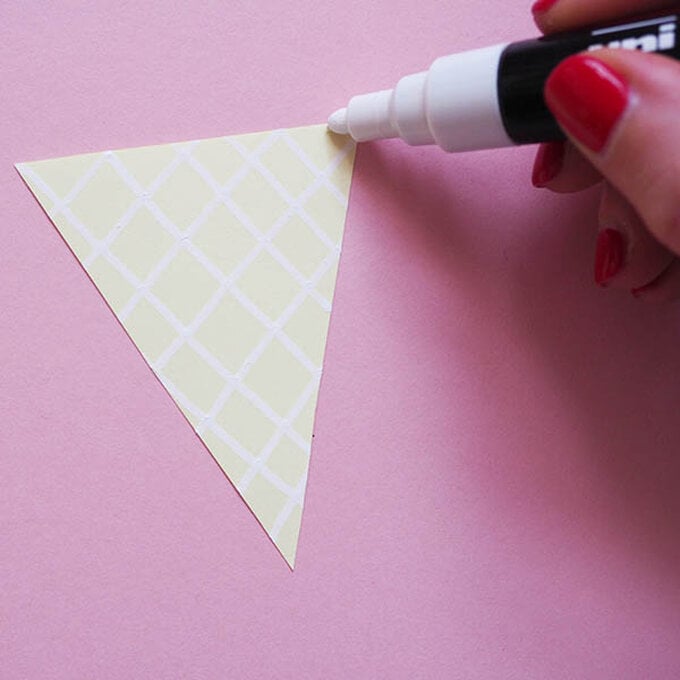
How to make
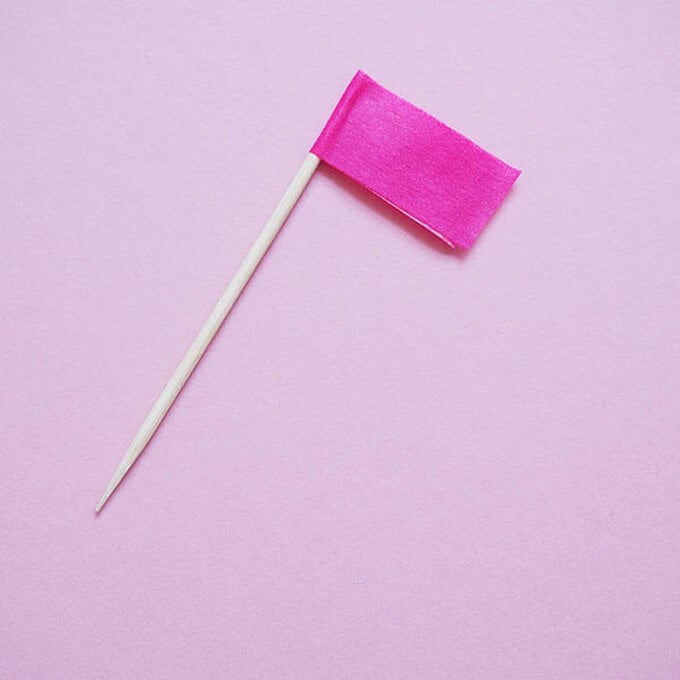
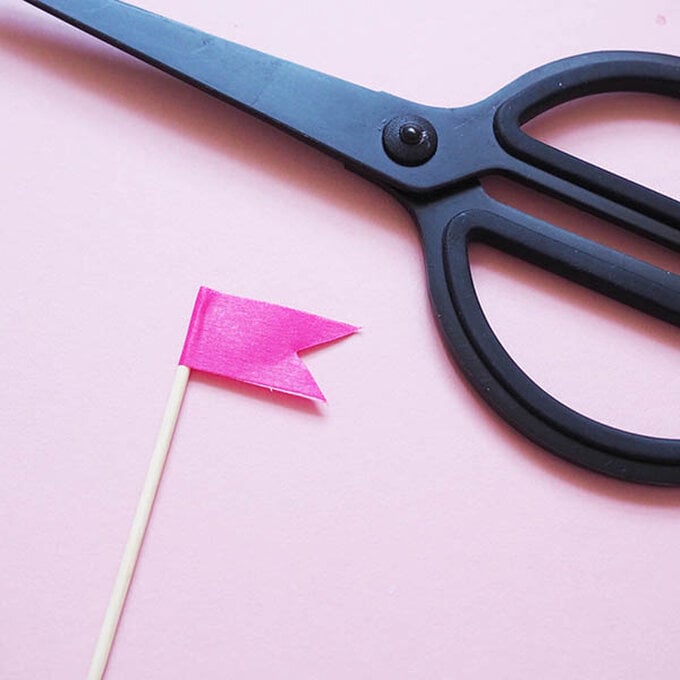
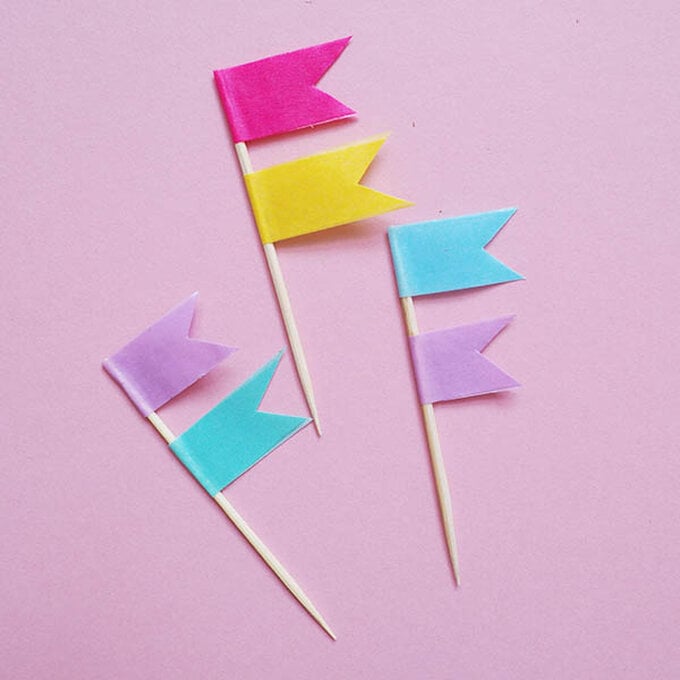
Wrap a length of Washi tape around the top of the cocktail stick and fold it over to stick back on itself
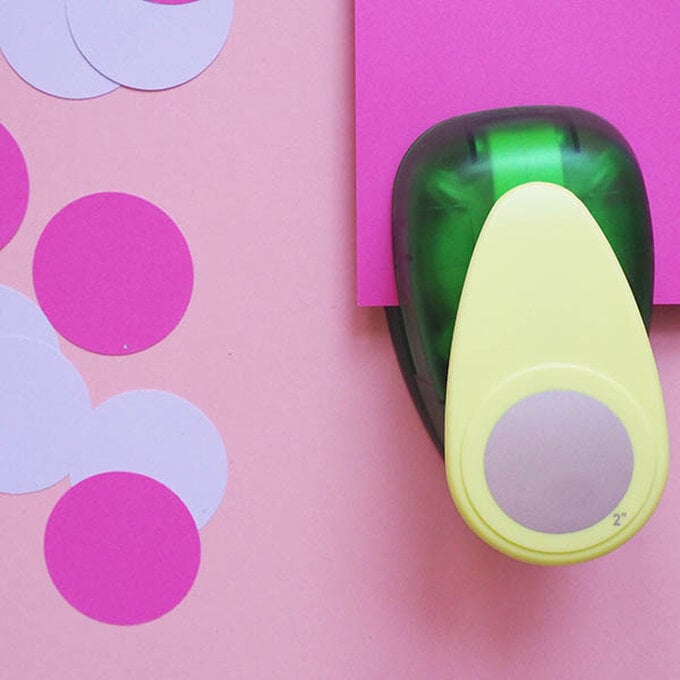
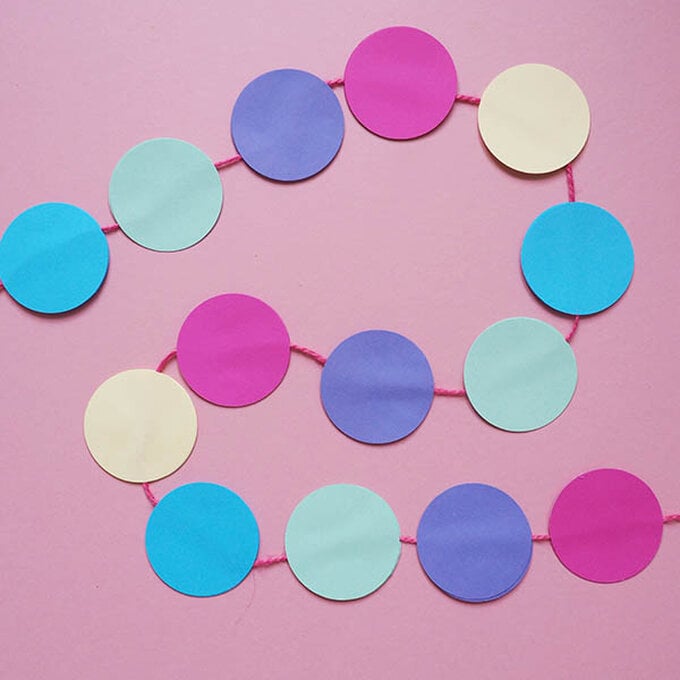
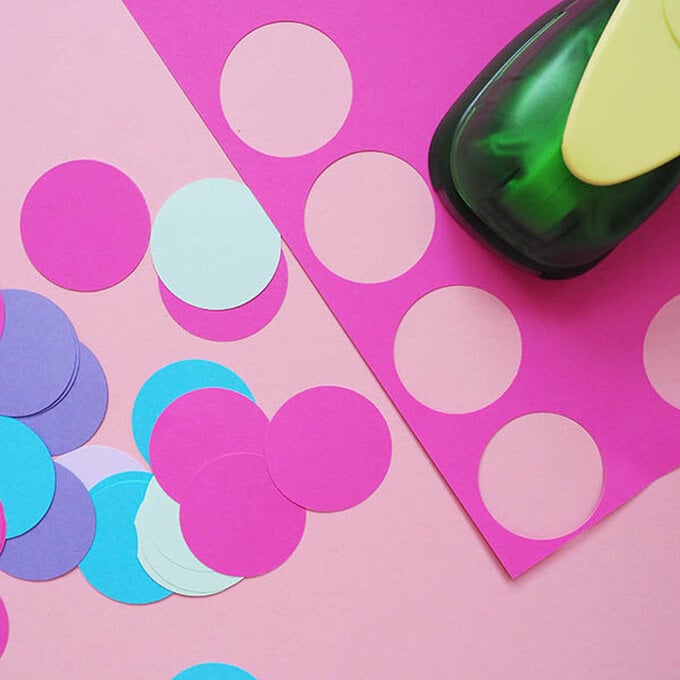
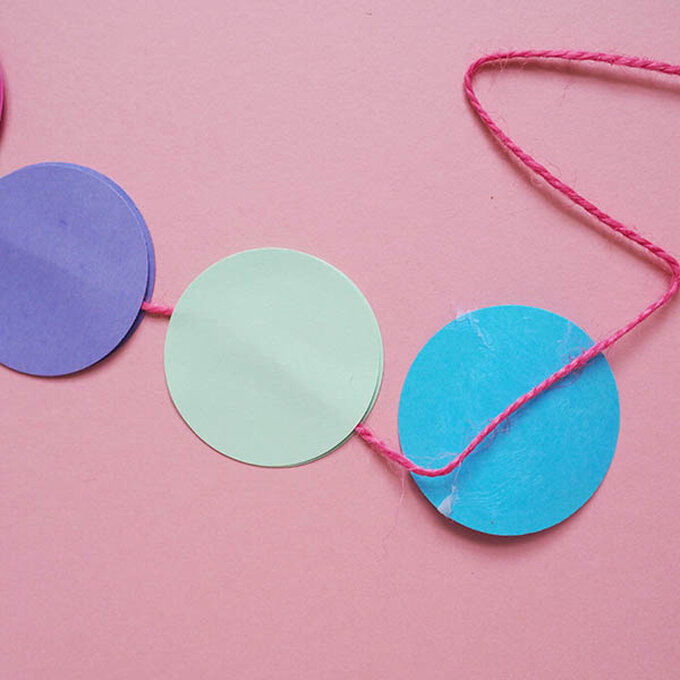
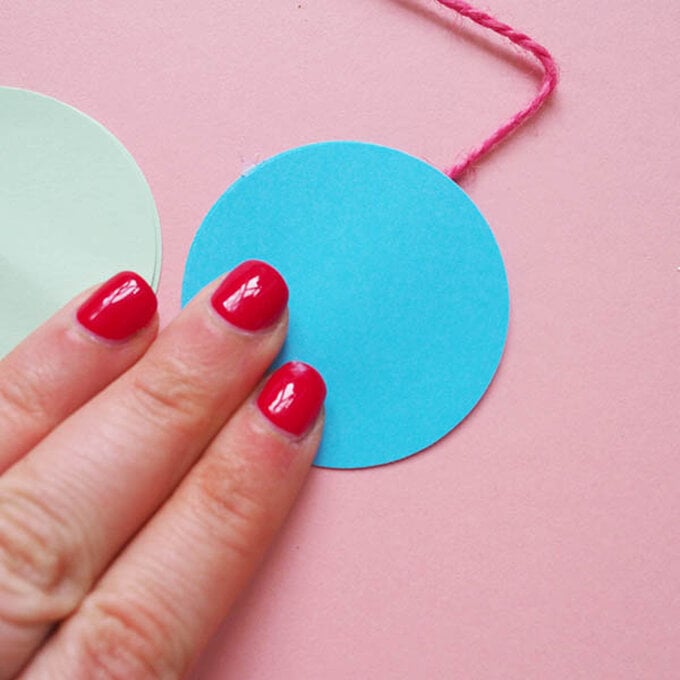
Begin with using your craft punch to create a selection of coloured card circles

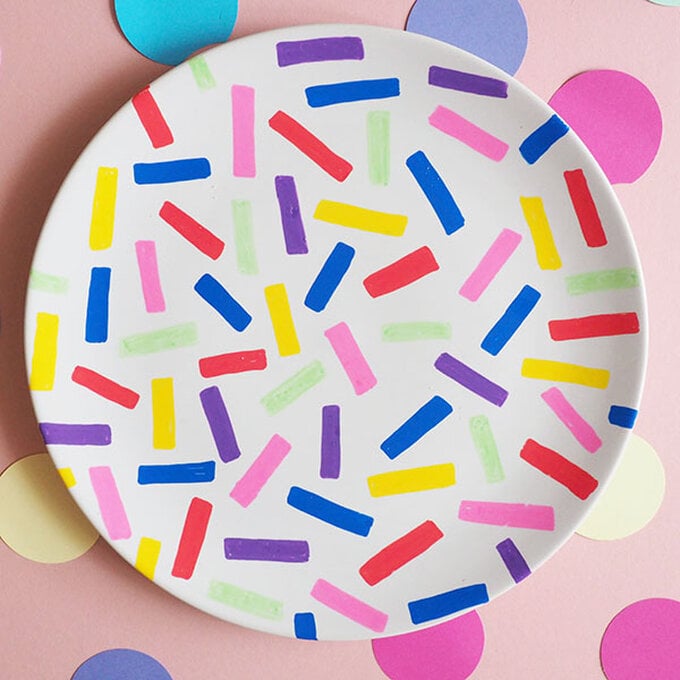
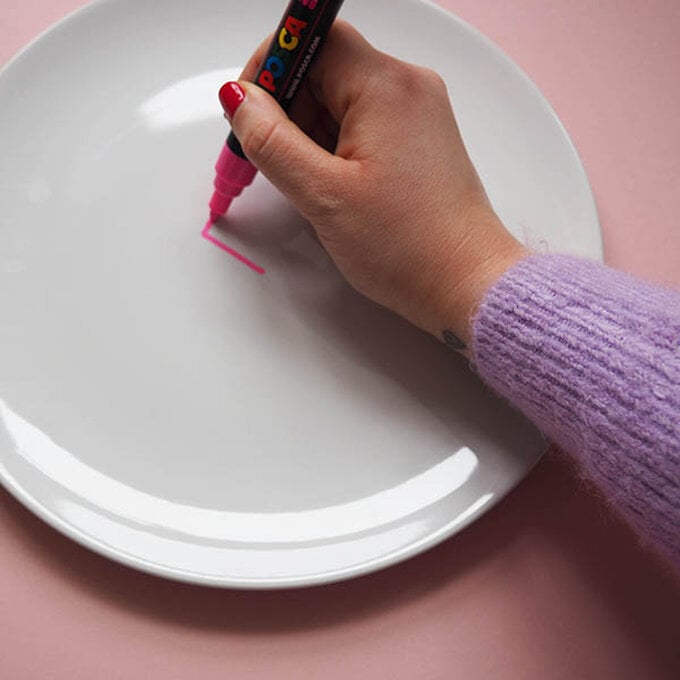
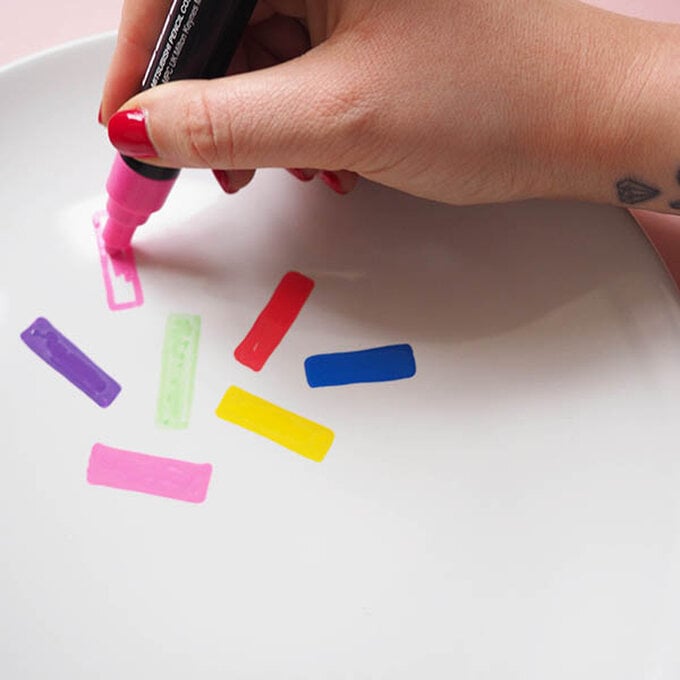
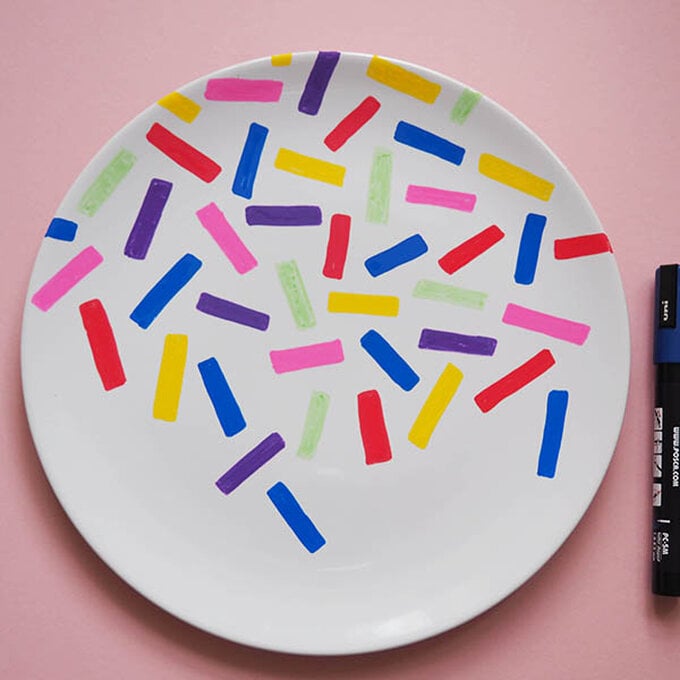
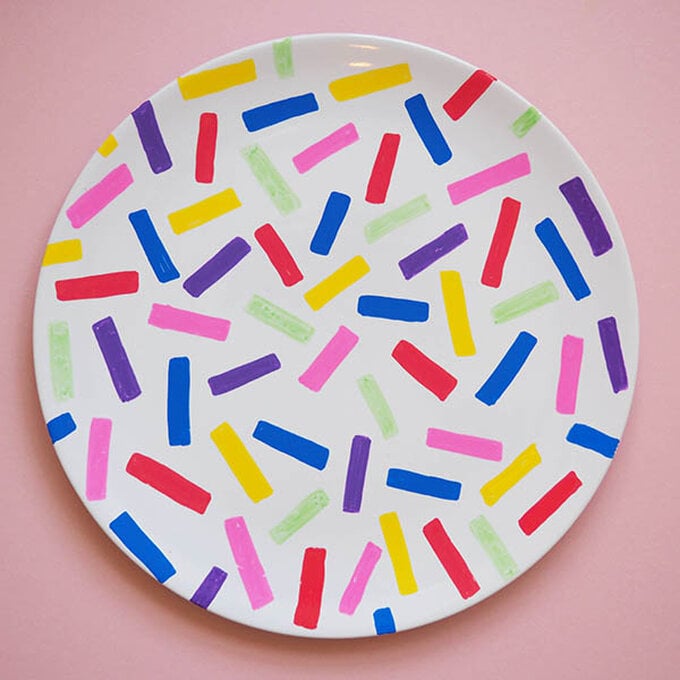
Begin in the centre of your plate as the paint pens smudge quite easily so its better to work outwards from the centre
Related Products

Is $ 3.49

Is $ 1.49