How to Make an Embossed Gift Box
Did you know that you can use your dies to emboss as well as cut?! We've used this nifty technique to create a penguin print gift box, which is perfect for housing extra-special Christmas gifts for a loved one.
All you need is a rubber mat, which is used in place of the top cutting plate, this mat stops the die from cutting all the way through the cardstock, instead the die leaves an impression.
Please note: To complete this project a die cutting machine that is large enough to take an A4 sheet of paper/cardstock must be used.
Project and how-to make instructions by Sue Smith
You will need

Subtotal
Is $ 1.49
Subtotal
Is $ 3.49
Subtotal
Is $ 1.49
Subtotal
Is $ 1.49
Subtotal
Is $ 3.49 , was $ 5.49
Subtotal
Is N/A
Subtotal
Is $ 3.49
How to make
You will also need:
Die cutting machine
Die cuts of your choosing
Sewing machine
Paper sculpting kit
Begin by transferring the two box templates onto the reverse of three sheets of silver mirror card. Score all the dashed fold lines, and cut out the template.
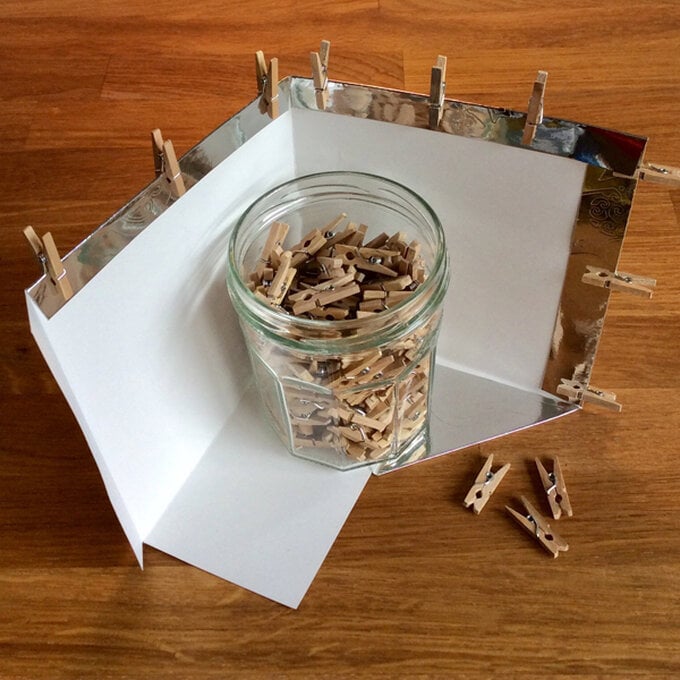
Using your A4 die cutting machine (we used the Big Shot Plus) set up the platform with tab one layered on top, add one of the clear cutting plates on top, along with three layers of kraft card. Place the die on top so that the cut lines are face up. Place the silver mirror card, face down, over the top of the die (use a small piece of washi tape to keep the die in place on your cardstock as it travels through the die cutting machine. Then place a sheet of foam over the top to soften the pressure. To complete cover the layers with the second clear cutting plate, and away you go!
When working on the second box side-panel, think about continuing the penguin pattern so that the design follows around all corners of the box. To do this, overlap the second panel, just over the decorated first panel lining up the fold lines. Use craft tape to secure the die in place at the correct position following the pattern across.

Fold and glue all three box elements using tacky glue, holding down the tabs until dry.
Glue the two side panels together to create the box. The lid should fit on top neatly. Any spare mirror board can be used to trim a square base to sit inside the box.
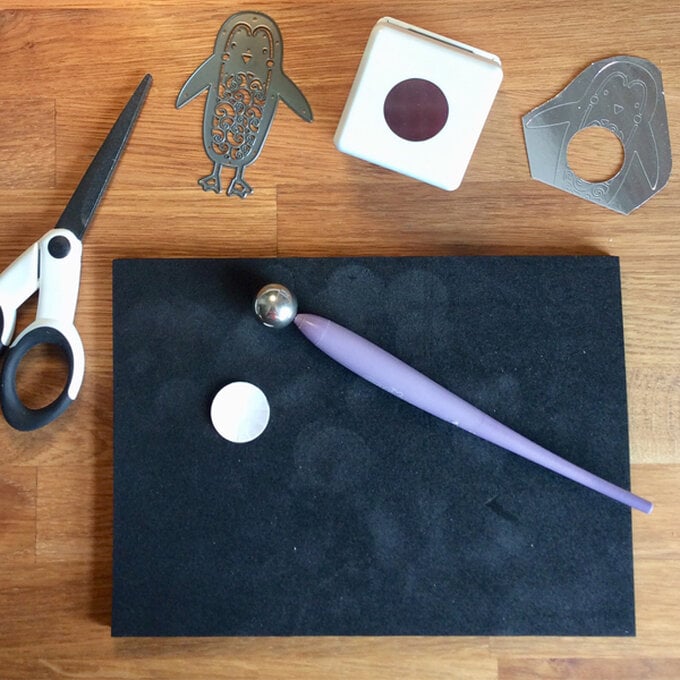
From a spare piece of mirror board, create one more penguin design. Use a 1″ circle craft punch to cut a disc from the penguin's tummy. Use a ball tool and mat to give a slightly domed shape to the disc.
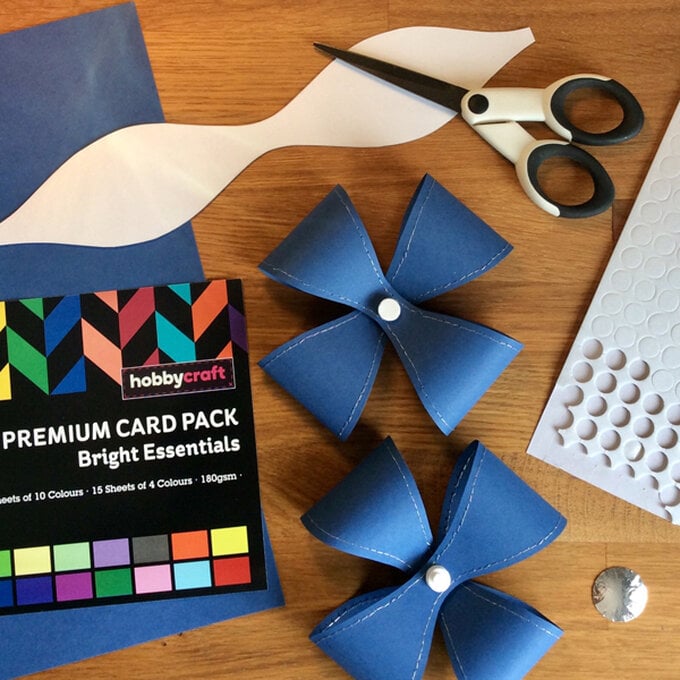
Fussy-cut from dark blue coloured card, four bow shapes using the template. Machine stitch around the edges using silver thread.
Curl each bow shape before bending the outer ends into meet the centre. Secure each one with some tacky glue.
Add a double stack of 3D foam large dots, to fix two bows together to make two rosettes, just like in the below image.
Related Products

Is $ 26.00