How to Make a Cardboard Tube Rocket Ship
Level
Beginner
Time
1 hour
Budget
<10
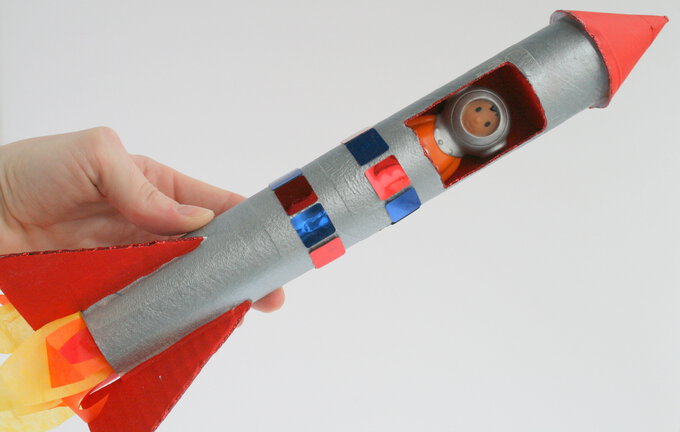
Create plenty of play and astral adventures for your little space people with this simple and quick space rocket made from cardboard tubes.
You will need
Quantity:
1
Subtotal
Is $ 3.49 , was $ 4.49
Quantity:
1
Subtotal
Is $ 1.49

Quantity:
1
Subtotal
Is N/A
Out of stock
Quantity:
1
Subtotal
Is $ 1.49
Quantity:
1
Subtotal
Is $ 1.49
Quantity:
1
Subtotal
Is $ 2.49
Total:
£0.00
You will also need:
*Scissors
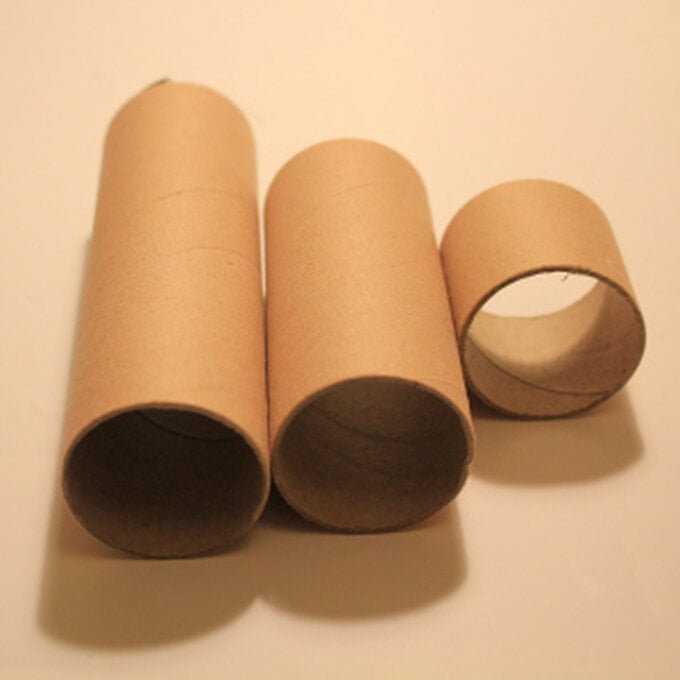
*Toilet roll tube
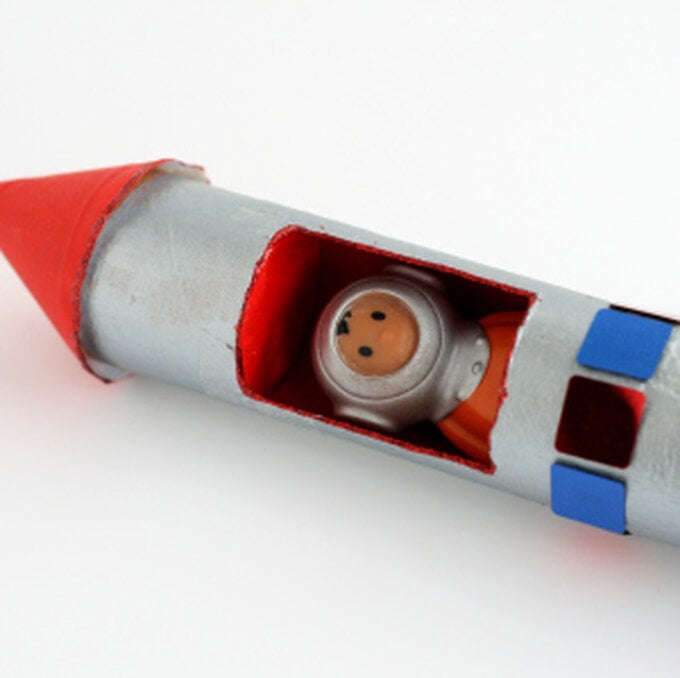
*A spaceman for your Spaceship
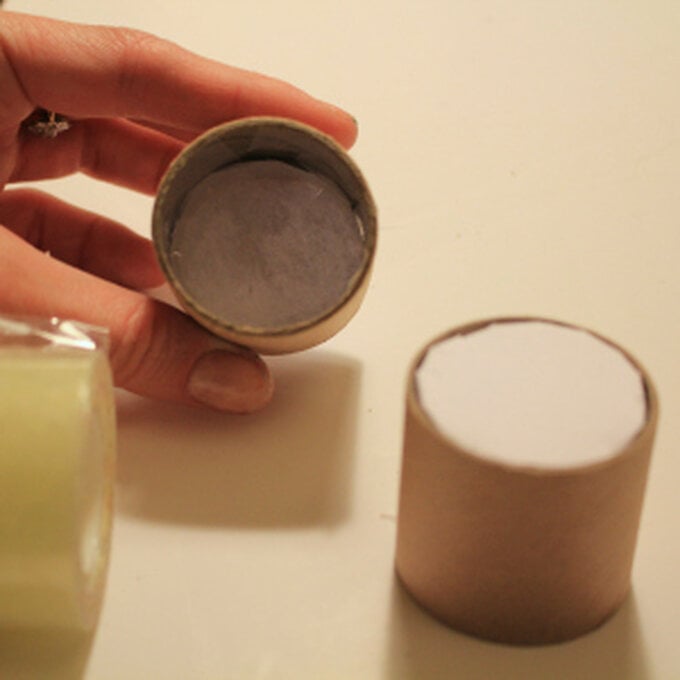
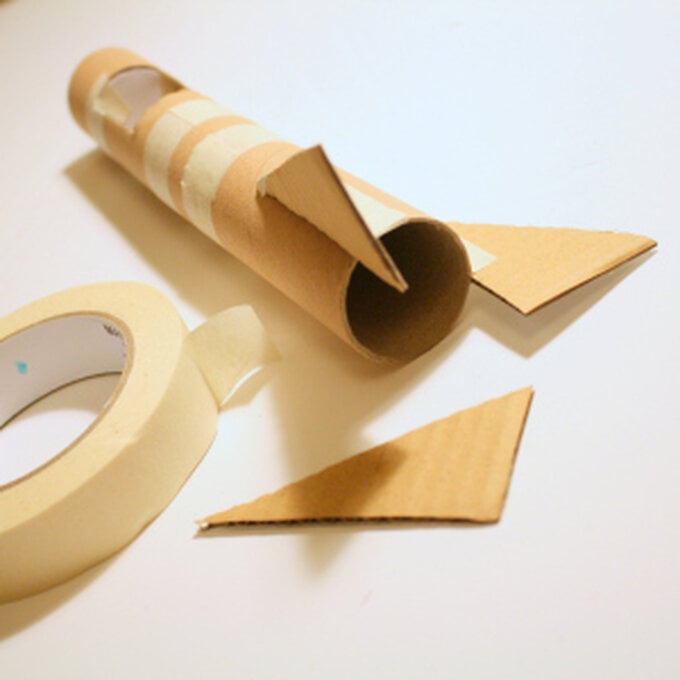
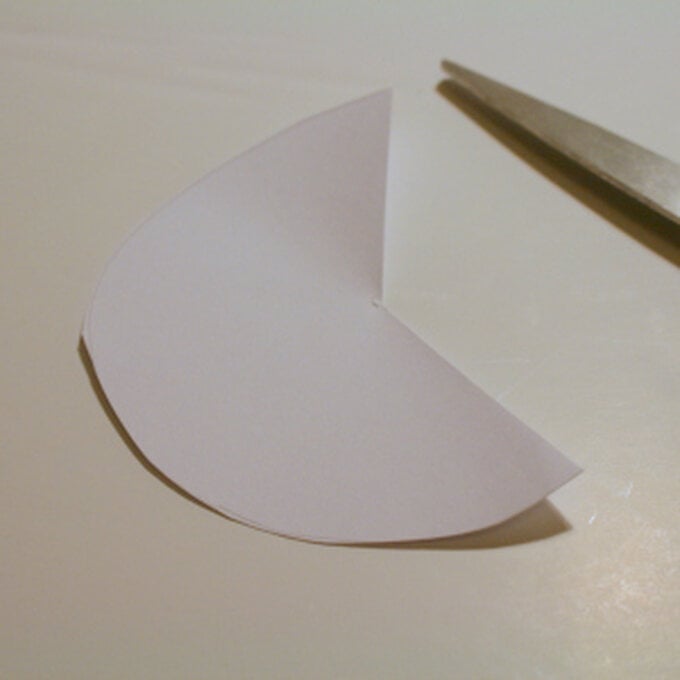
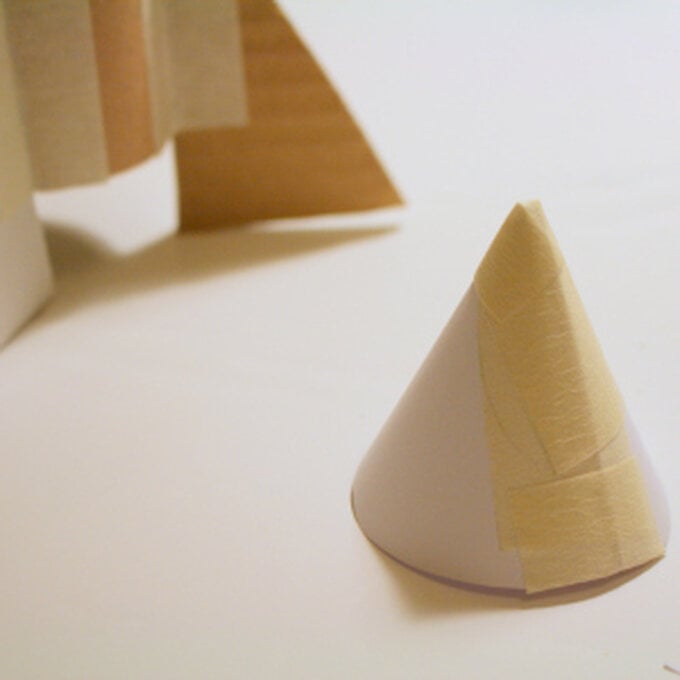
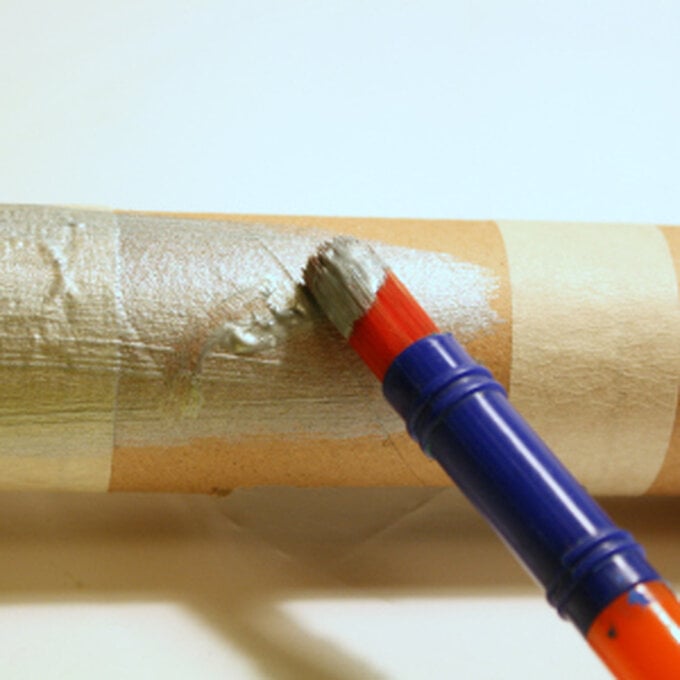
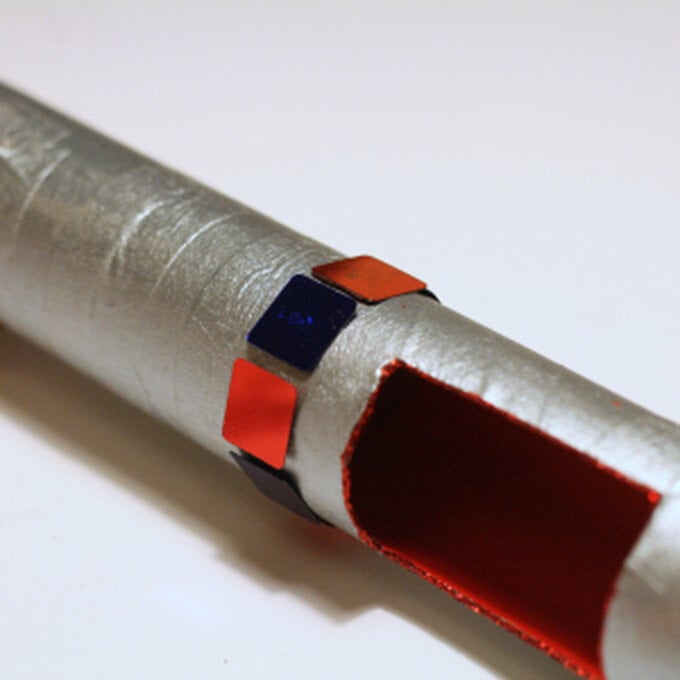
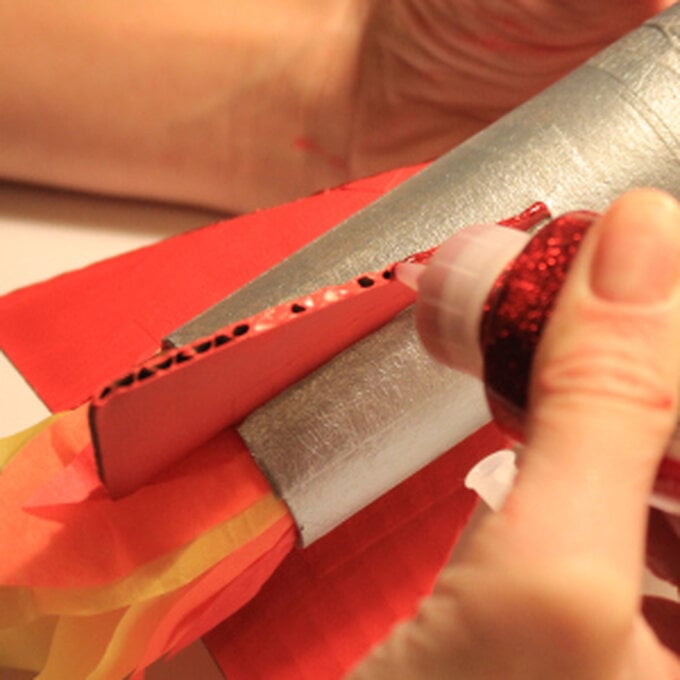
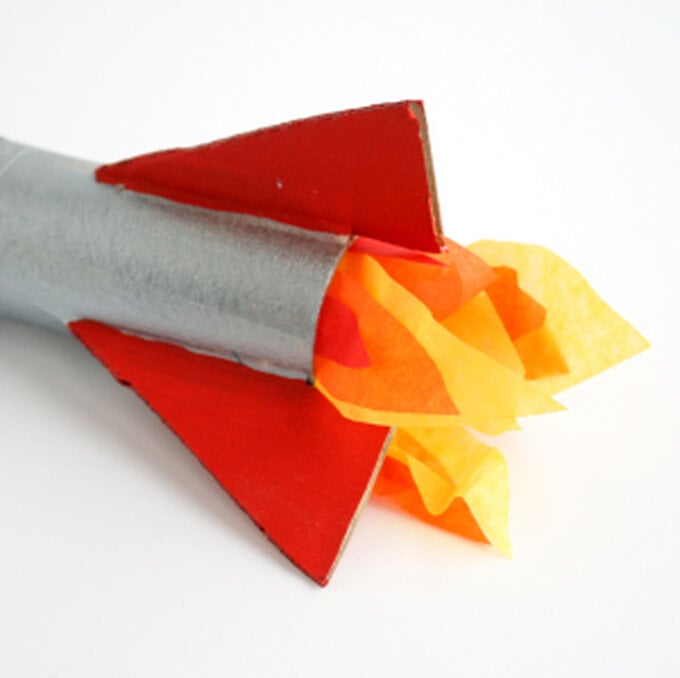
Step-1
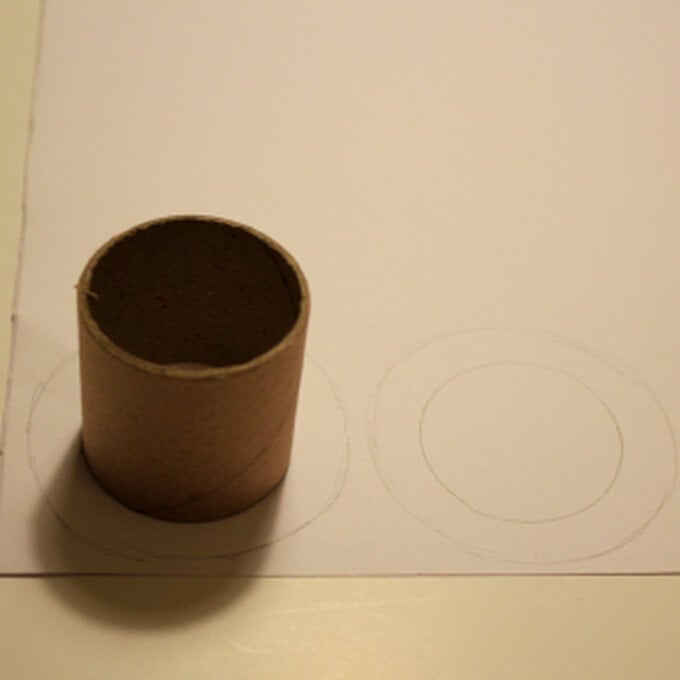
Step-2
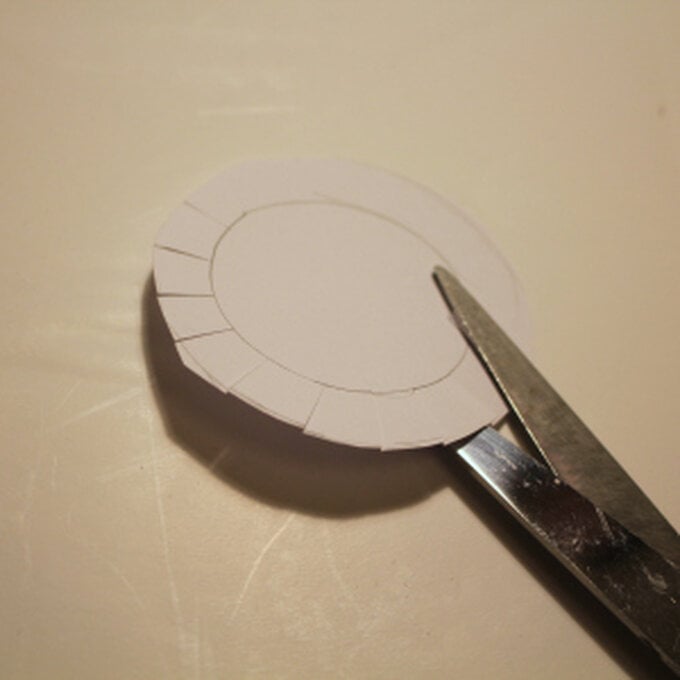
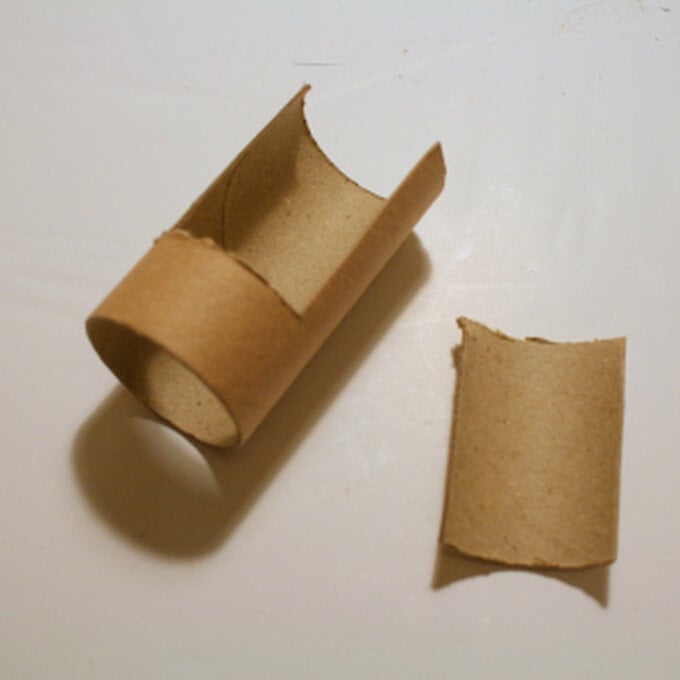
Step-3
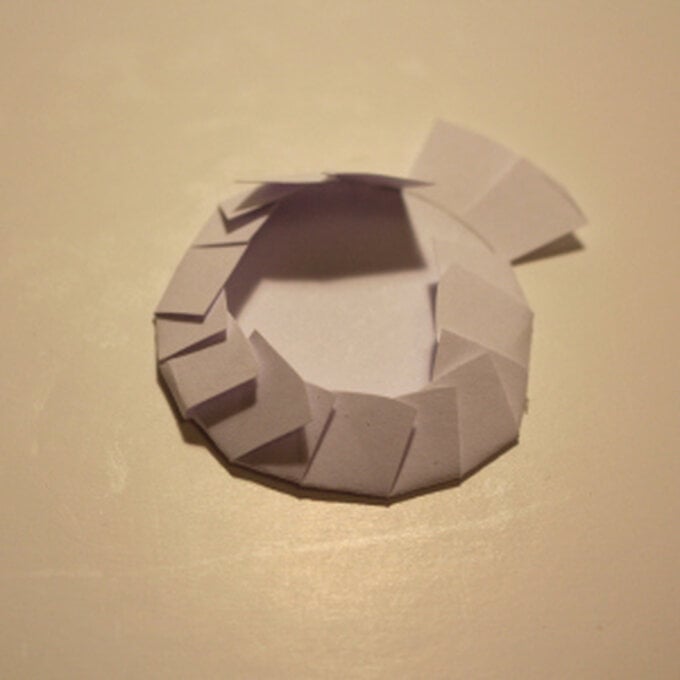
Step-4
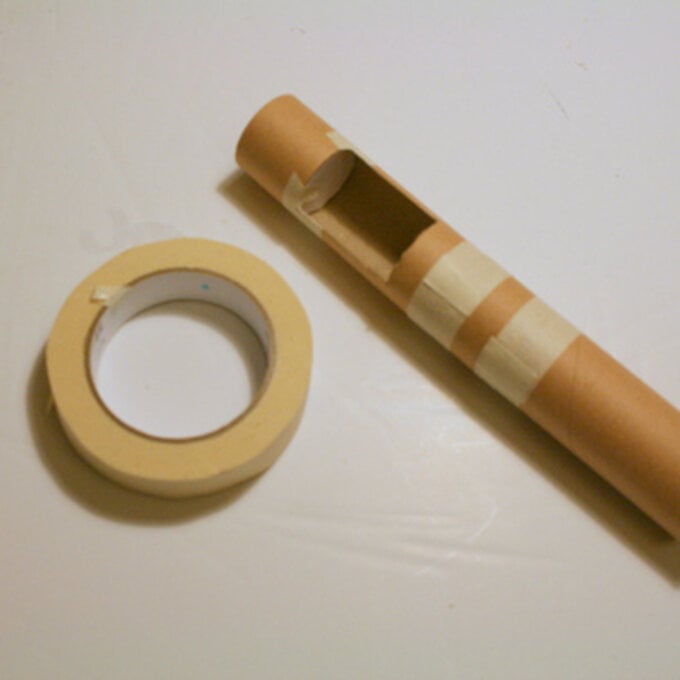
Step-5
Step-6
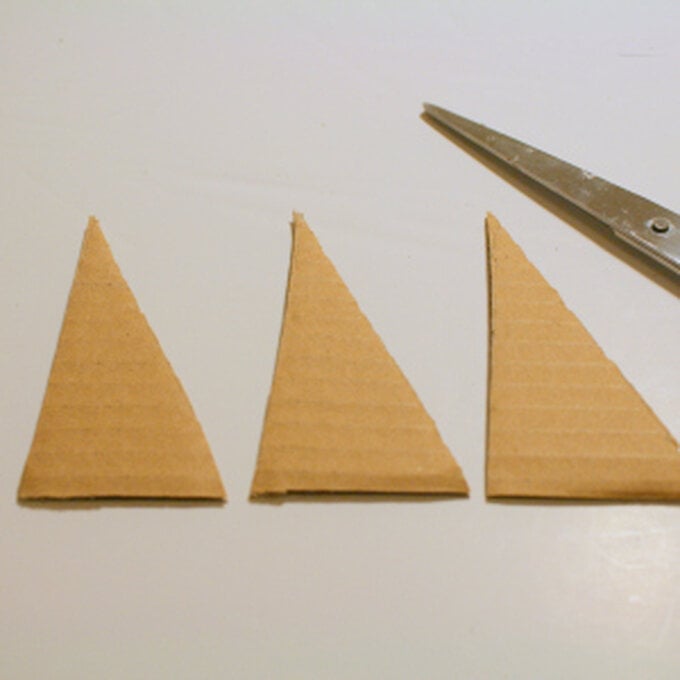
Step-7
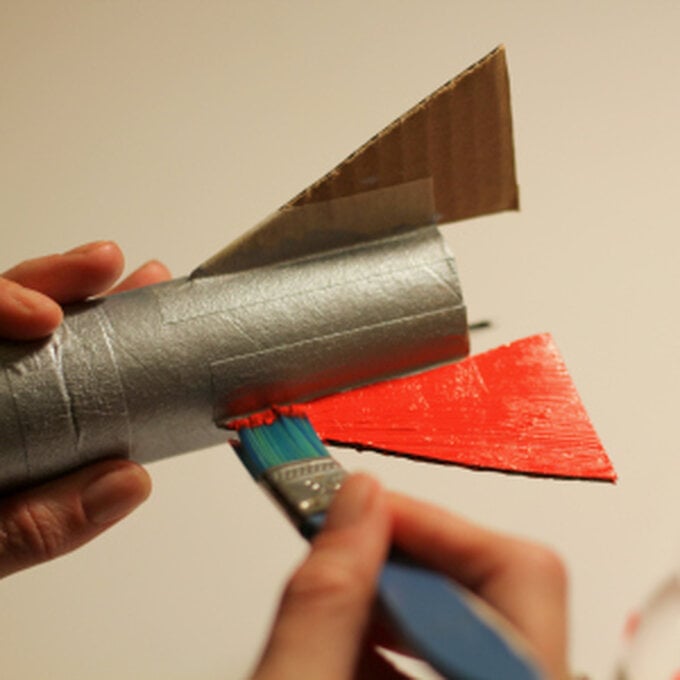
Step-8
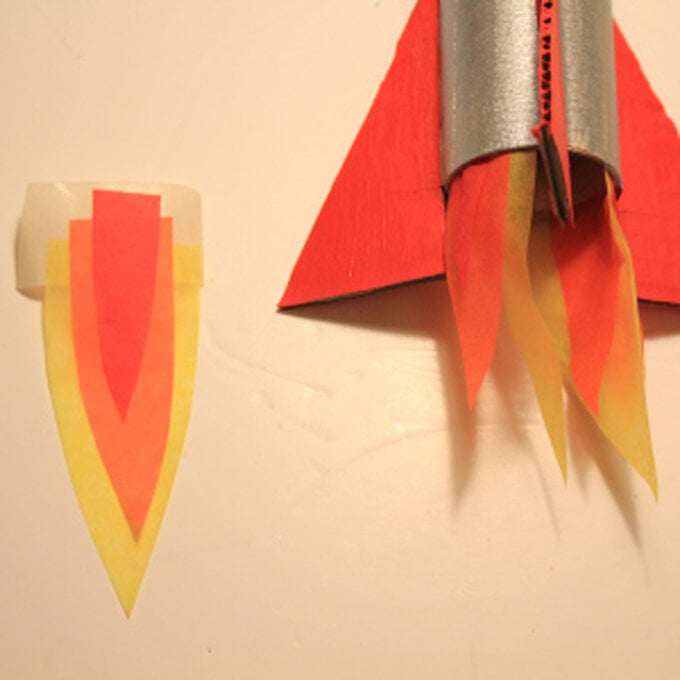
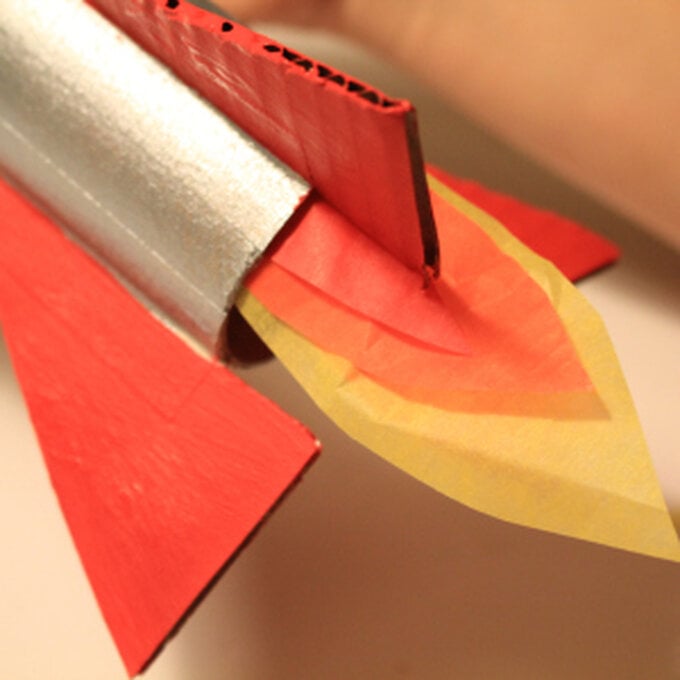
Step-9
Related Products
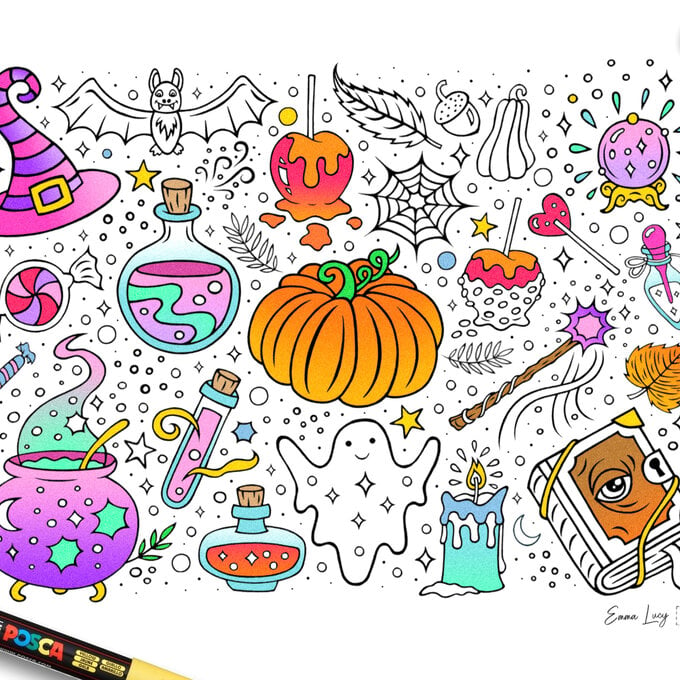
FREE Halloween Colouring Sheet Download
Decopatch Paper transforms old to new with just a dab of glue! This extremely thin, patterned paper is designed for fitting sharp corners effortlessly. Although developed with mache surfaces in mind, this paper can also be used on plastic, wood ...
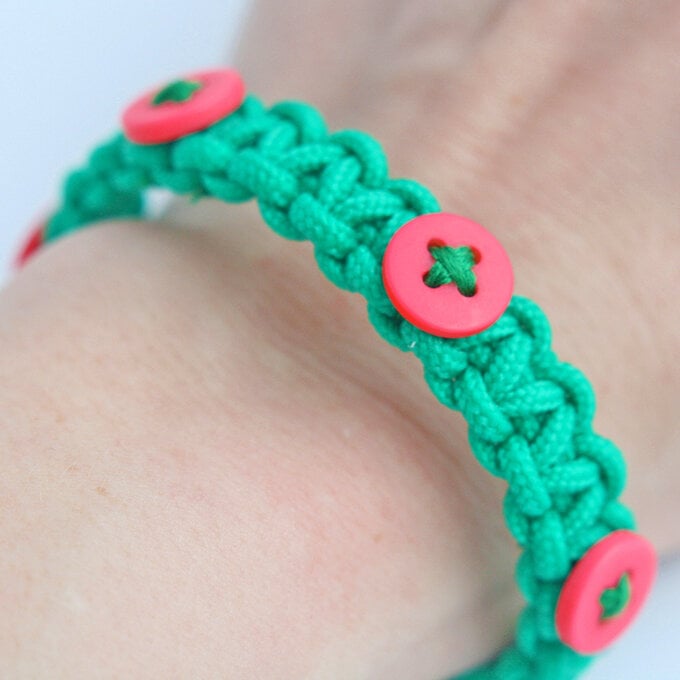
How to Make a Paracord Bracelet
Follow in the footsteps of Charlie and the Chocolate Factory on World Book Day, and create your very own golden ticket! Bursting with yummy sweets and chocolate, find your best yellow or gold pencil and get scribbling! Move over Loom ...
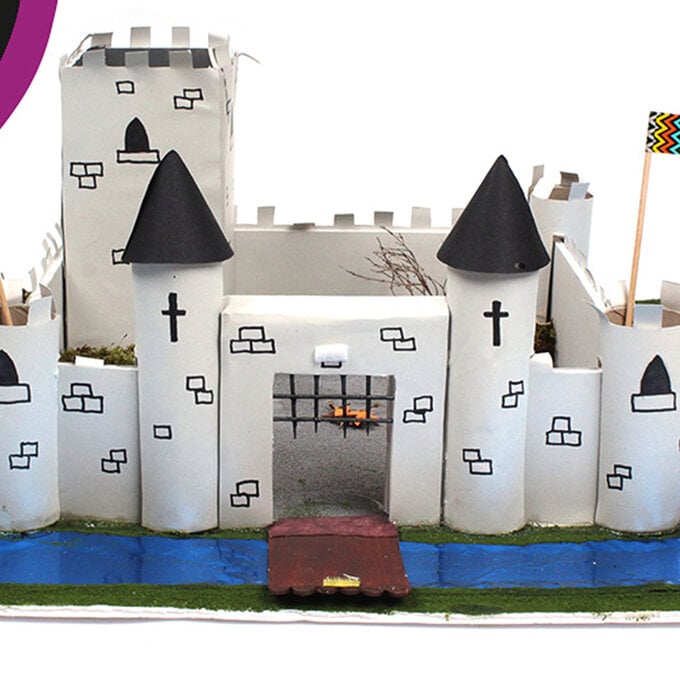
How to Make a Roman Castle
We've teamed up with our pals at Puffin to celebrate their new children's book, Weirdo, written by Zadie Smith and Nick Laird, illustrated by Magenta Fox. Weirdo follows the story of Maud, a judo suit wearing guinea pig who is ...
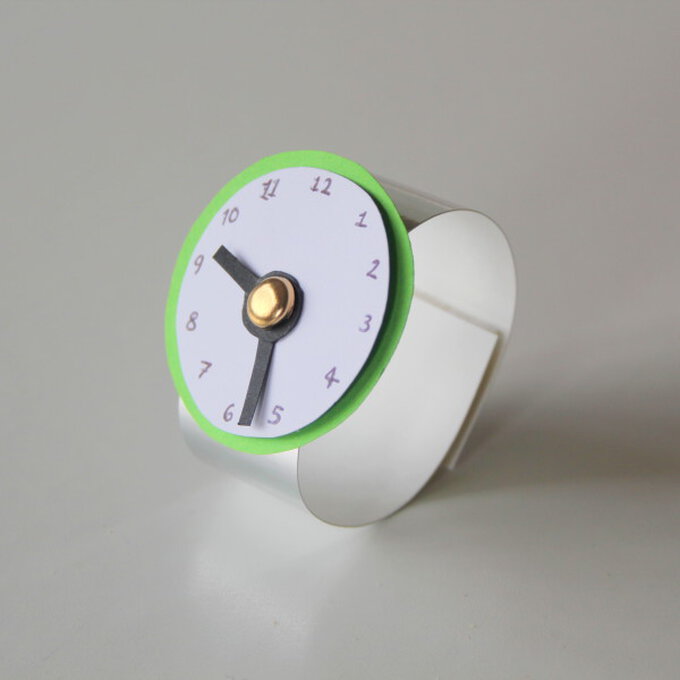
How to Make a Toy Watch
Download this brand new festive illustration and create your own beautiful Christmas bunting. String together the letters of 'Merry Xmas' with some Festive Twine and hang around your home! Show yours or your children's teachers how much you appreciate them ...
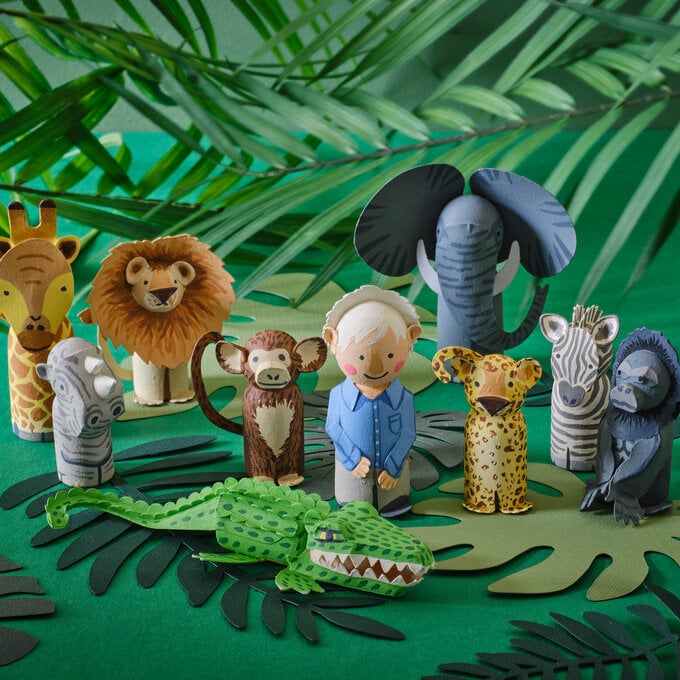
How to Make Animal Peg Dolls
We've teamed up with our pals at Puffin to celebrate their new children's book, Weirdo, written by Zadie Smith and Nick Laird, illustrated by Magenta Fox. Weirdo follows the story of Maud, a judo suit wearing guinea pig who is ...

How to Make Ghost Finger Puppets
Keep lively minds enthralled for hours with these Cinderella Hand and Finger Puppets from Fiesta Crafts. Make up your own story or revisit timeless tales with these fun props. The only limit is your imagination!This set includes a hand puppet ...

