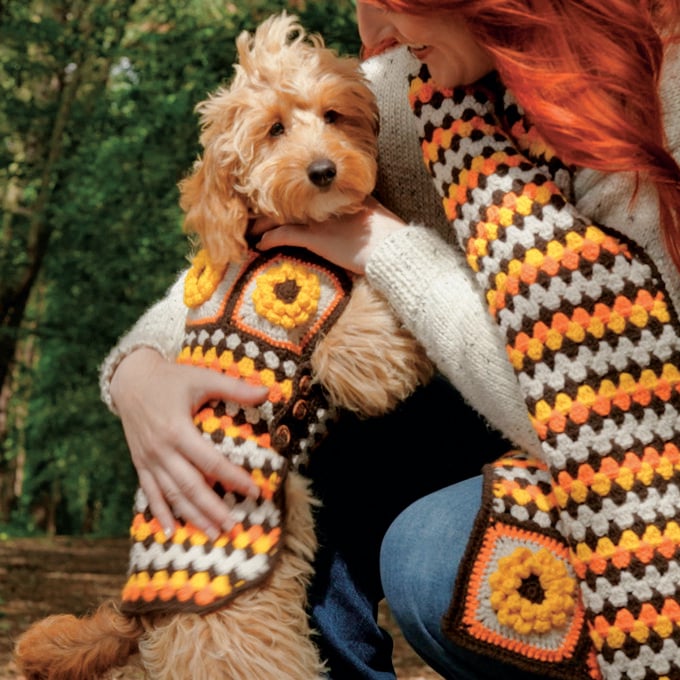
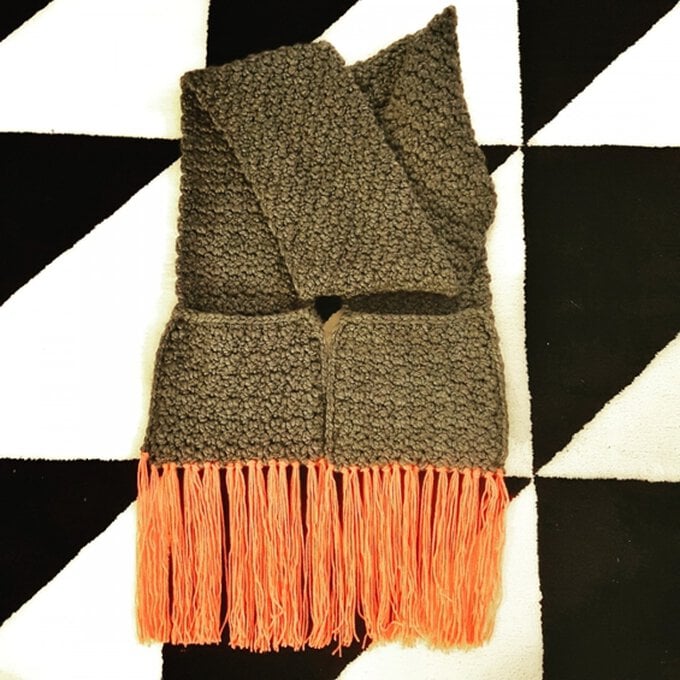
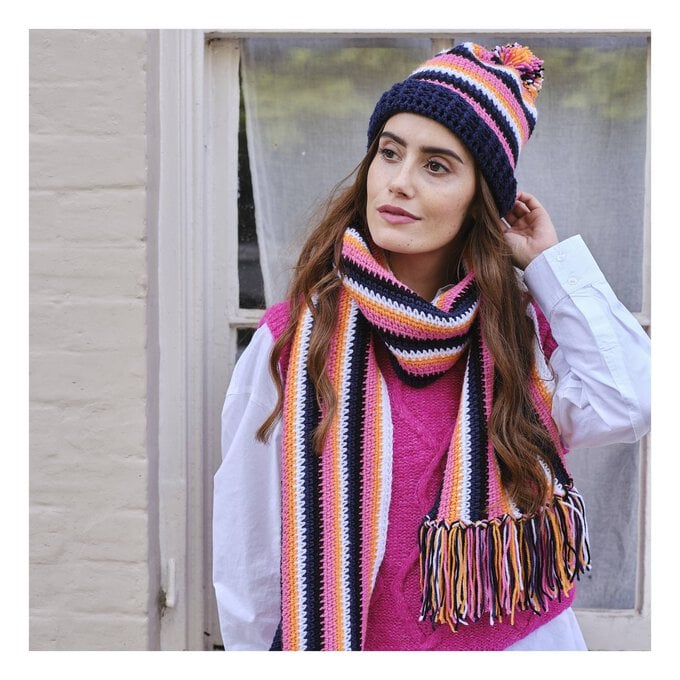
How to Crochet a Tapestry Scarf
This scarf is worked in rows of UK treble crochets, this modern Berber-inspired accessory uses tapestry crochet to create a stunning monochrome design.
Follow the simple step-by-step instructions and you'll have a cosy scarf in no time! This project makes the perfect gift, why not crochet it for a loved one?
Pattern by @lottieandalbert
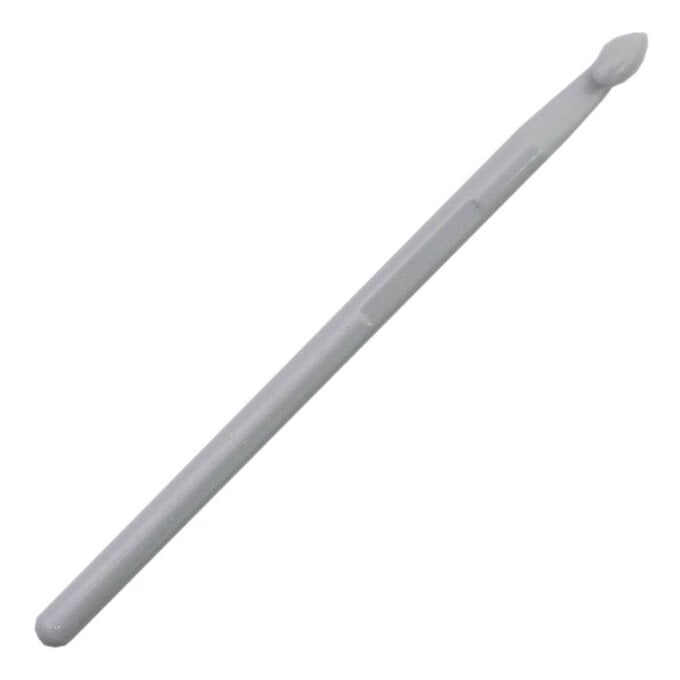
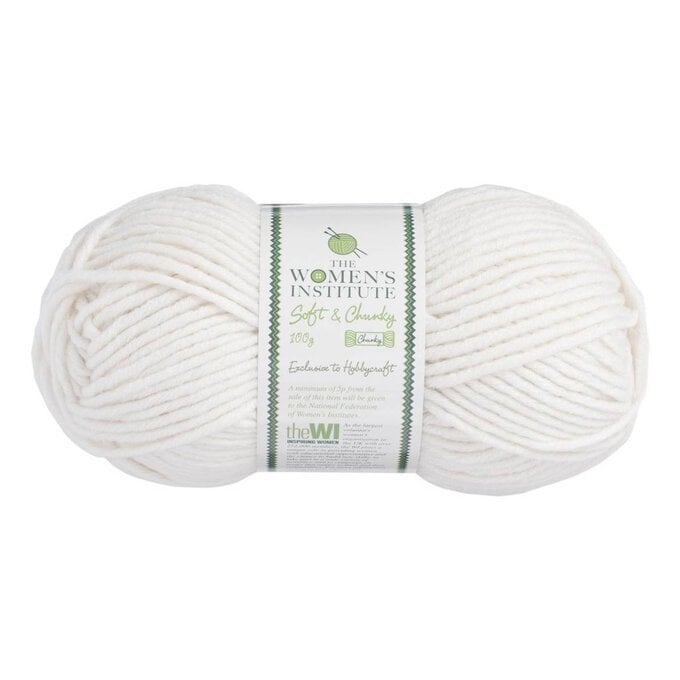
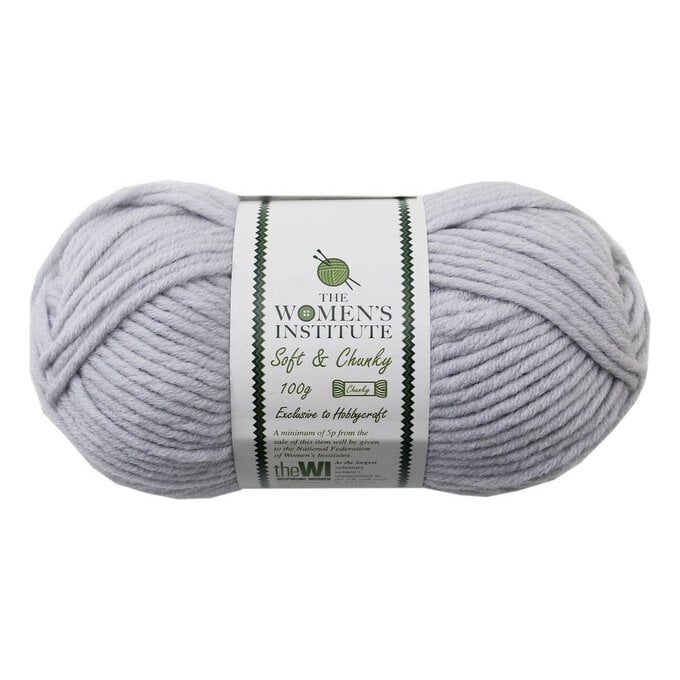
You will need
Subtotal
Is $ 4.49
Subtotal
Is $ 9.49
Subtotal
Is $ 9.49
How to make
You will also need
A darning needle
Scissors
Gauge
10cm (4in) square = 12 treble crochet stiches x 7 rows
Gauge is not essential for this project. As a guide, the above worked up to a scarf with the finished measurements of approx. 25cm (9.5in) x 195cm (76.5in)
Abbreviations
ch chain
sts stitches
dc double crochet (US single)
tr treble crochet (US double)
Stitches
Double crochet (US single)
Insert hook into required stitch, yarn over and pull up a loop (two loops on hook), yarn over and pull through both loops.
Treble crochet (US double)
Yarn over (two loops on hook) and insert into required stitch, yarn over and pull up a loop (three loops on hook), yarn over and pull through two loops (two loops on hook), yarn over and pull through remaining two loops.
Bobble stitch
To make a bobble stitch: *Yarn over and insert into required stitch, yarn over and pull up a loop, yarn over and pull through two loops – do not finish stitch. Instead, Repeat from * four more times (working into the same stitch on the row below each time) then yarn over one last time and pull through all the loops on the hook.
For a photo tutorial see: https://blog.hobbycraft.co.uk/crochet-bobble/
Pattern Notes
Starting chains do not count as stitches throughout.
There are six bobble stitches in the pattern, three on Row 33 and three on Row 93, they are marked by black rectangles on the grid.
Tapestry Crochet Technique
Tapestry crochet allows you to use two (or more) colours on the same row of a pattern. You will need to 'carry' your second yarn inside the stitches of your first yarn.
Begin by crocheting the foundation chain in Yarn 1 (Y1). As you start Row 1, hold your second yarn (Y2) alongside the foundation chain. As you work the trebles of Row 1 in Y1, work over the top of Y2.
When you get to the end of Row 1, you will need to turn and Ch2. Make sure you bring Y2 round to the back of the work too, and work your Row 2 trebles over the top of it in the same way. You will be able to see Y2 at the end of each row, but don't worry about this as we will crochet over it later.
To change colour from Y1 to Y2, crochet the last Y1 treble before the colour change to the last stage of the stitch (when you have two loops on your hook) then instead of yarning over and pulling through the loops with Y1, drop this colour and yarn over and pull through with Y2. You will now have Y2 ready to make the next stitch in that colour. Make sure that you work over the top of Y1 when making your stitch in Y2, in the same way you did in Row 1.
Continue crocheting and changing colour based on the graph. The key is to always change colours at the last stage of the stitch before.
Keep your tension as even as possible, and ensure that the yarn you are carrying is not too tight that it is puckering the fabric, or too loose that it is looping out between stitches.
Where the colour changes from the last stitch of one row to the first stitch of the next row (for example Rows 17-18), you will need to change colour at the last part of the last stitch of the row, then chain in your new colour, ready to start the next row in your new colour.
Download the grid template here
Each rectangle on the grid represents a stitch. Start in the bottom right hand corner, next to the number 1, and work from right to left on the first row, then left to right on the second row, and so on until the end of the pattern.

Foundation Using Y1, ch31 loosely
Row 1: Starting in the bottom right-hand corner of the graph, next to the number 1, bring in Y2 and tr in the third ch from the hook, and in each chain along until the end of the row – make sure you are working your Y1 tr over the top of Y2. Turn and Ch2. (29 sts)
Rows 2-125: Continue in tr using the tapestry crochet technique, and following the chart. At the end of each row you will need to turn and Ch2 (does not count as a stitch throughout). The three black rectangles on Rows 33 and 93 are bobble stitches – see Pattern Notes above.
Row 126: At the end of Row 125, turn your work once more, ch1, and work a row of dc in Y1. Turn. (29 sts) Cut Y2, leaving a long tail to sew in later.
Row 127: Ch1 and dc in the first stitch. *Ch1, skip a stitch, dc. Repeat from * until the end of the row. Do not turn.
Row 128: (long edge) To even up your edges and to hide the carried yarn, I recommend working a row of dc along the side of the scarf. Without breaking your yarn or turning, rotate your work 90 degrees clockwise, and evenly work dc along the long edge of the scarf. Work one dc into the side of each dc row, and two dc into the side of each tr row.
Row 129: Repeat Row 127 along the other short edge of the scarf.
Row 130: (long edge) Repeat Row 128 along the other long edge of the scarf. Cut and fasten off Y1.
The main body of your scarf is now complete! Sew in any ends using your yarn needle.
Tassels: If you would like to add tassels to your scarf, cut the following
Y1: 28 x 20cm (8in) lengths
Y2: 56 x 20cm (8in) lengths
Each tassel will use two lengths of Y2 and one of Y1 held together. Along the short edges of the scarf, locate the chain spaces you made in Rows 127 and 129.
*Insert your crochet hook into one of the chain spaces from front the back, and loop your 3 tassel lengths over the crochet hook. Pull up a loop with the tassel yarn, and yarn over with the rest of the tassel. Now pull through the loop on the hook to secure your tassel.
Repeat from * 13 times, and then again at the other end of the scarf.
If you feel it needs it, trim your tassels.
Your scarf is now complete!
Related Products

Is $ 3.49

Is $ 4.49

