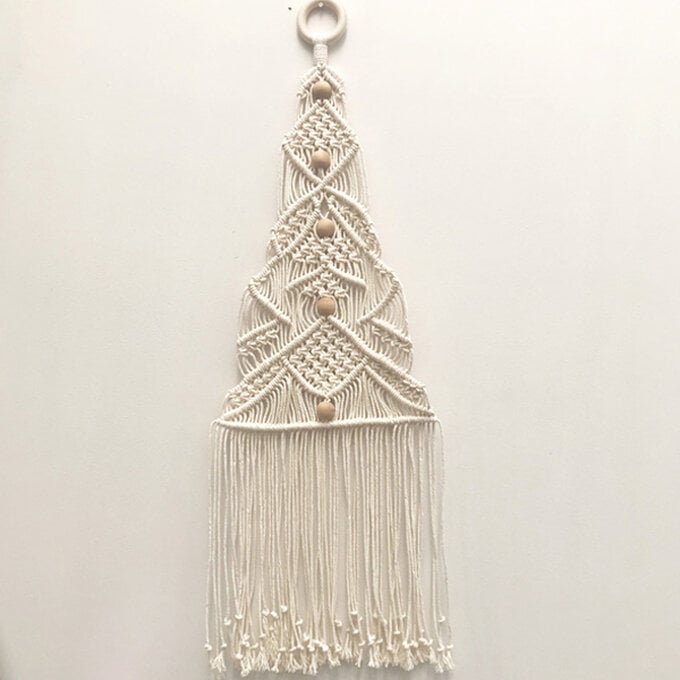
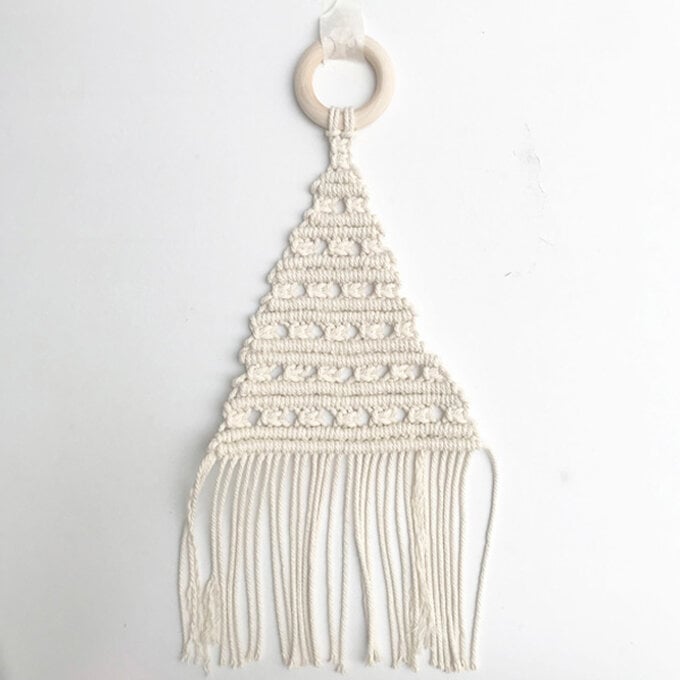
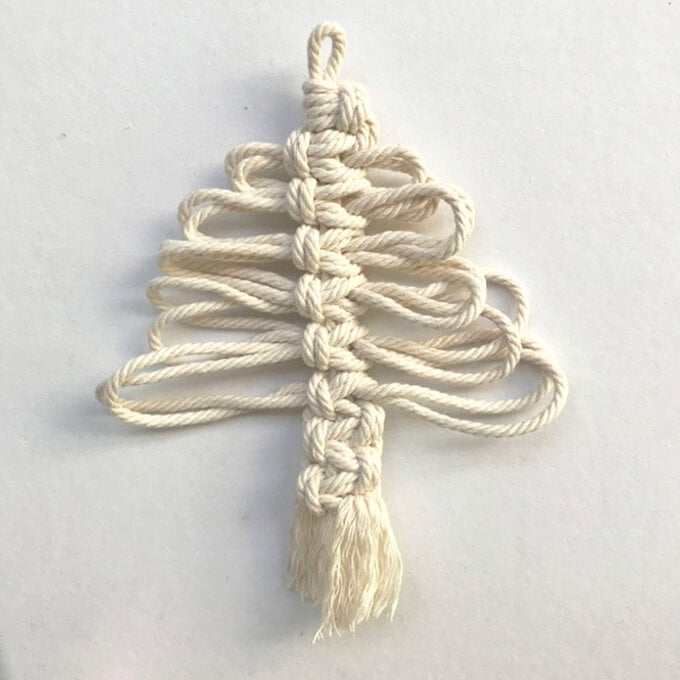
How to Macramé Christmas Tree Wall Hangings
Macrame is a great way to infuse boho style into your festive decorations. These macrame Christmas tree wall hangings are an amazing focal point on any wall.
Learn the different knots, embellish with wooden beads and get creative! The minimal style of these decorations will be adored year after year.
Become a macrame pro by visiting our Get Started in Macrame page!
You will need
Subtotal
Is $ 12.00
Subtotal
Is $ 7.49
Subtotal
Is $ 3.49
Subtotal
Is $ 12.00
How to make
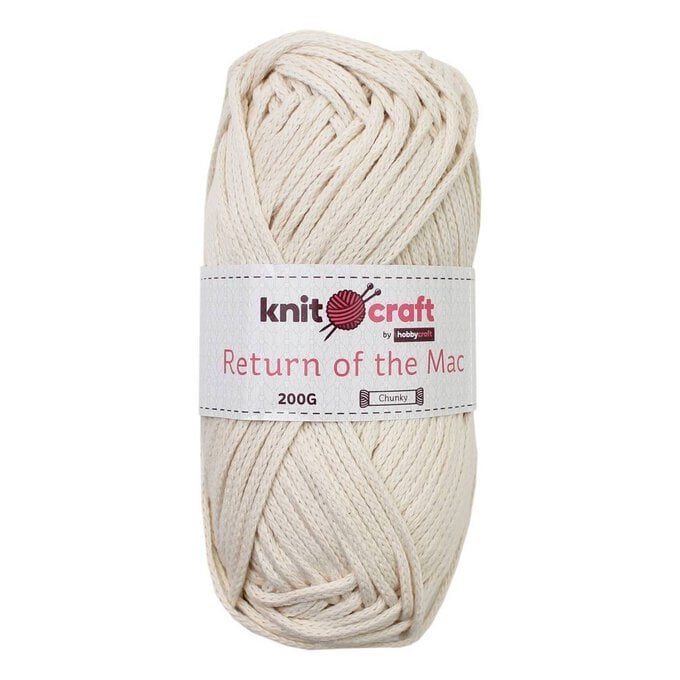
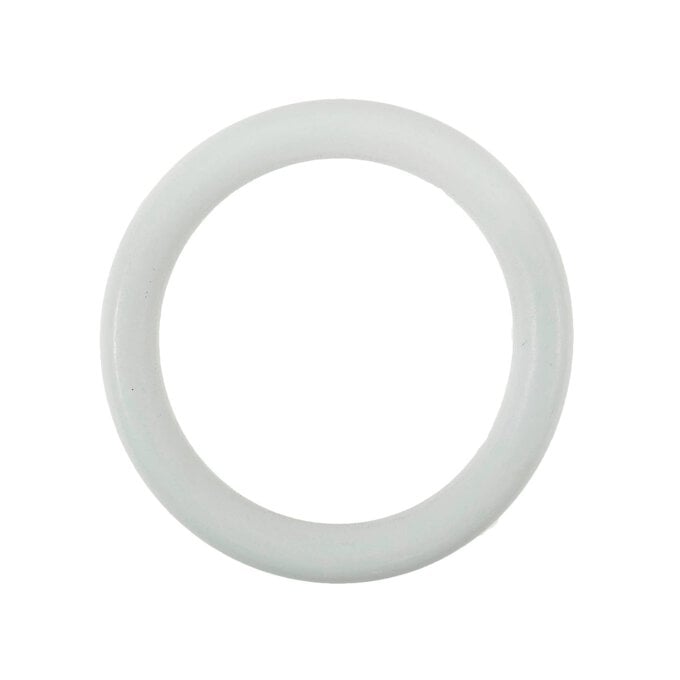
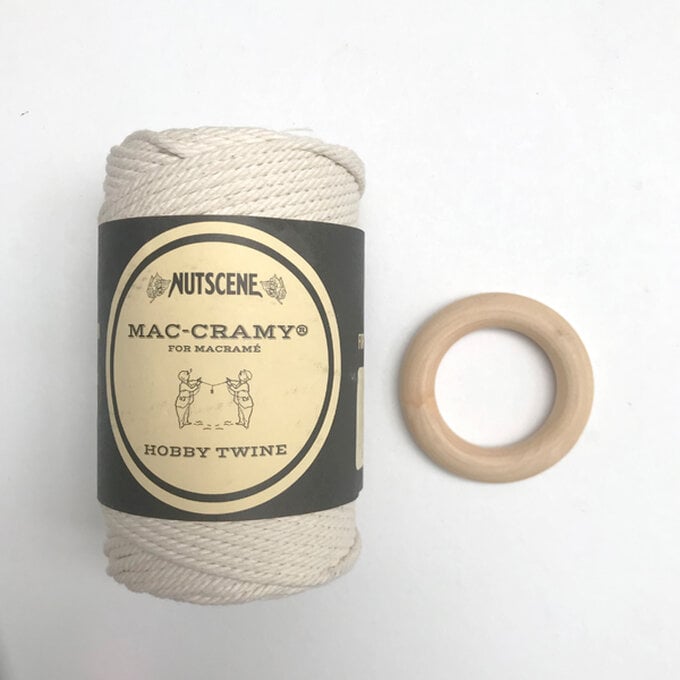
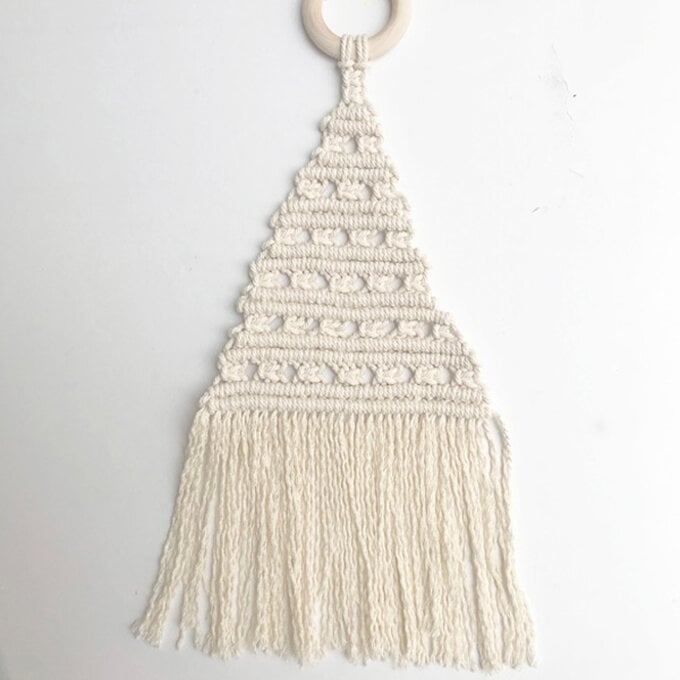
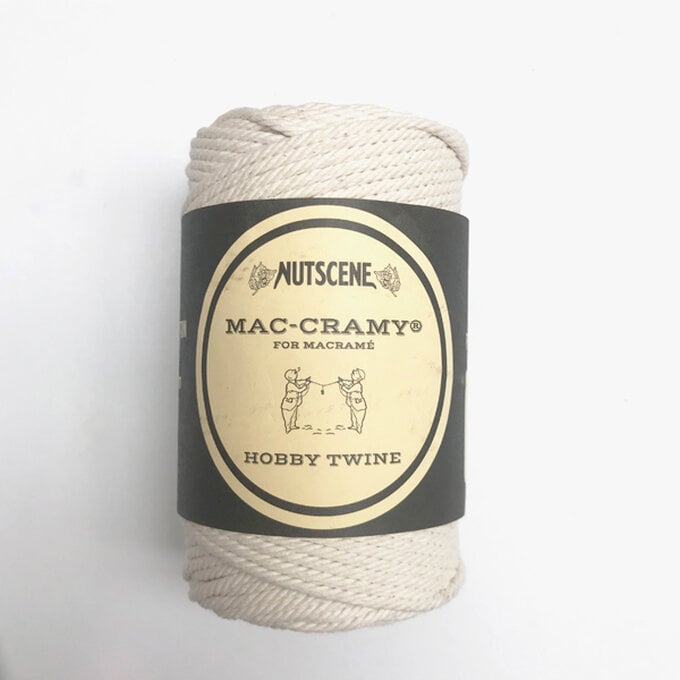
Gather 1 roll of Nutscene string, and 1 wooden/metal ring to create your larger wall hanging.
Cut 6x3.5 meters and 1x50cm of string.

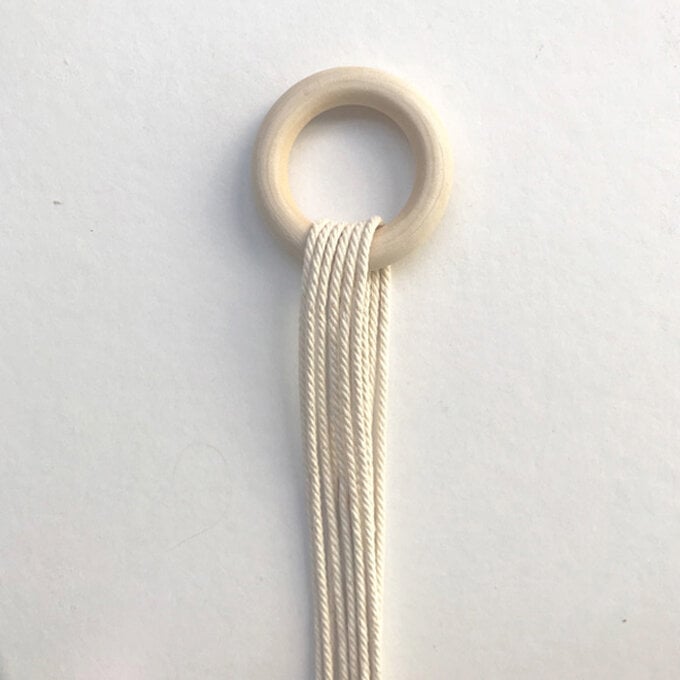
Fix the string on the table with masking tape.
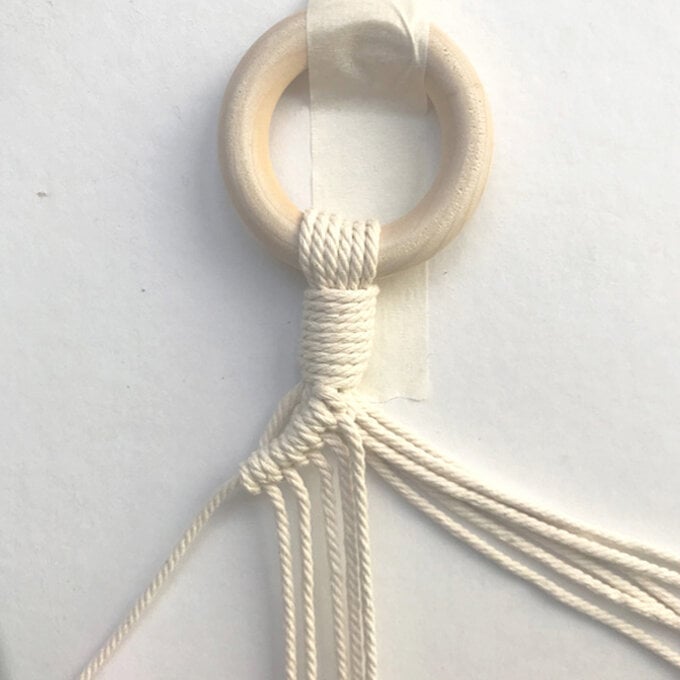
Split the strings by keeping 6 on each side.
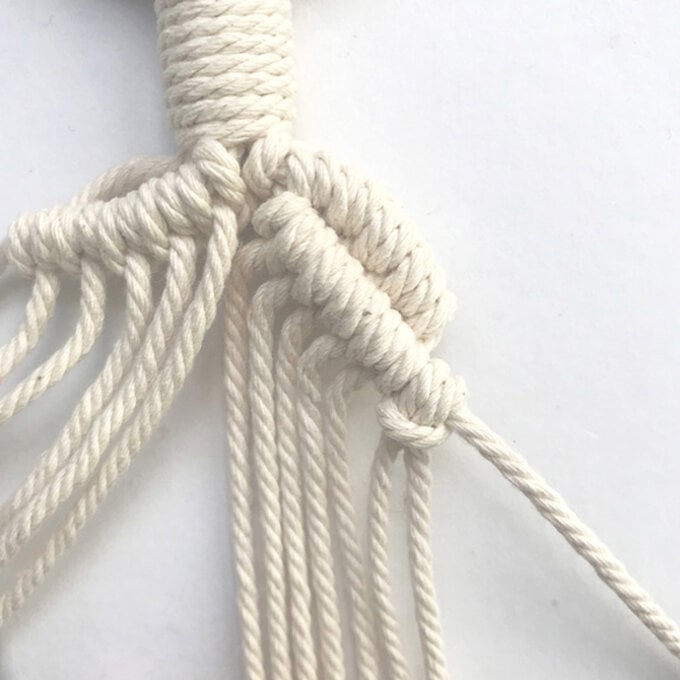
Take the inside string to use as a guide, and place the remaining 5 strings in the first group using the double half hitch knot.
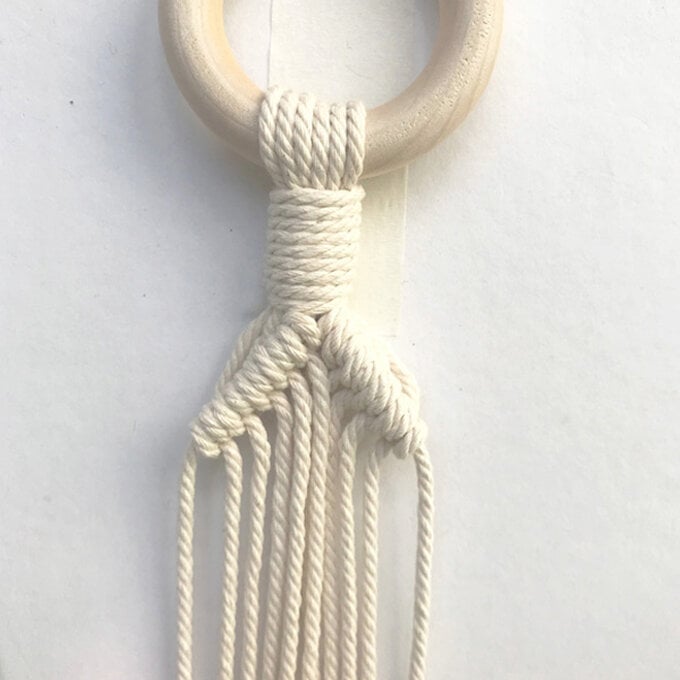
Cut 2x3meters strings.
Make another row of double half hitch knots under the first branch, and then add one of the strings next to the last double half hitch using a lark knot.
Repeat on the other side.
Cut 4x2.5 meters of string.
Using one of the strings in the middle as a guide, make another branch using the double half hitch knot and half of the strings.
Add two of the strings at the end using the lark knot.
Repeat on the other side.

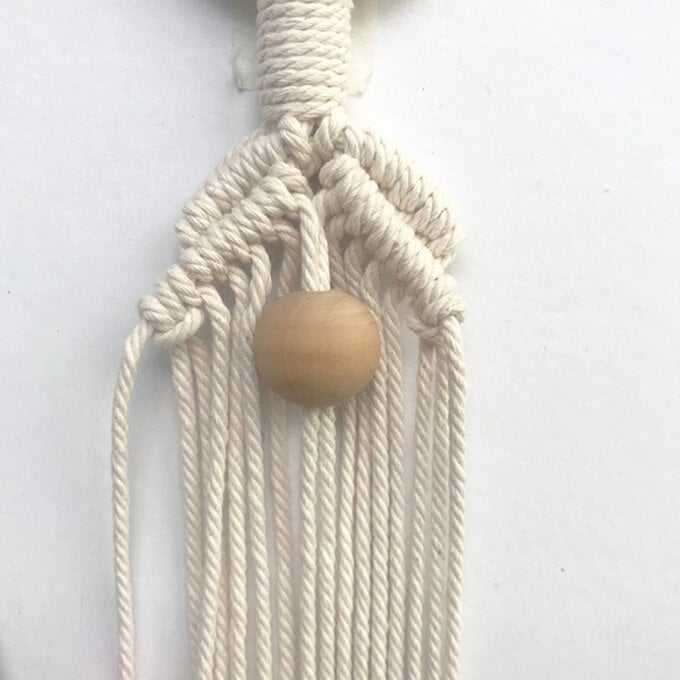
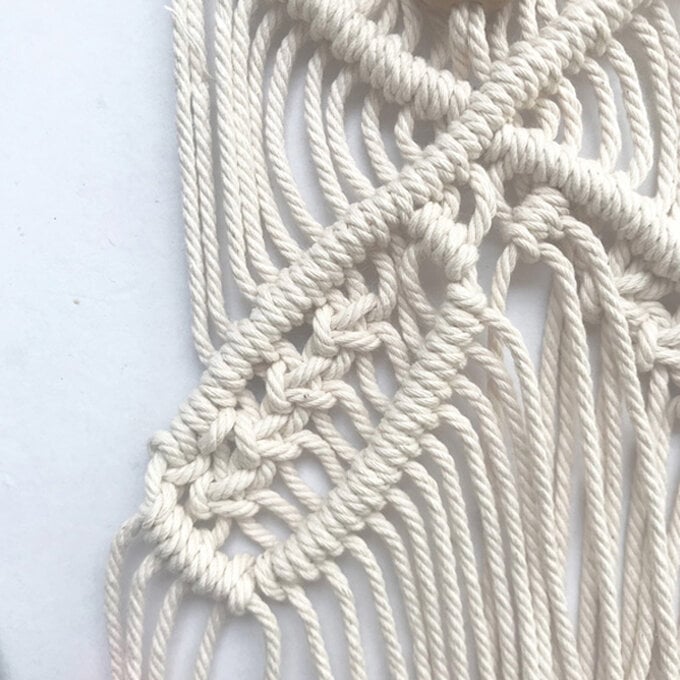
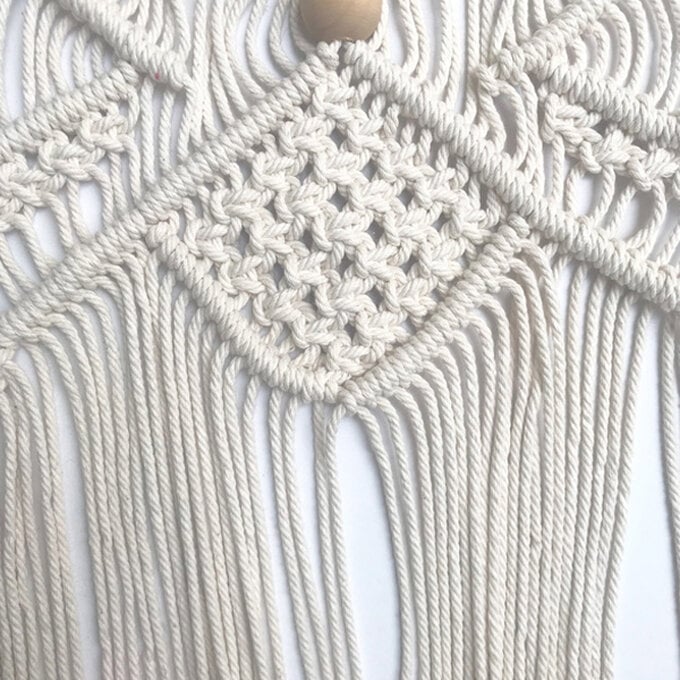
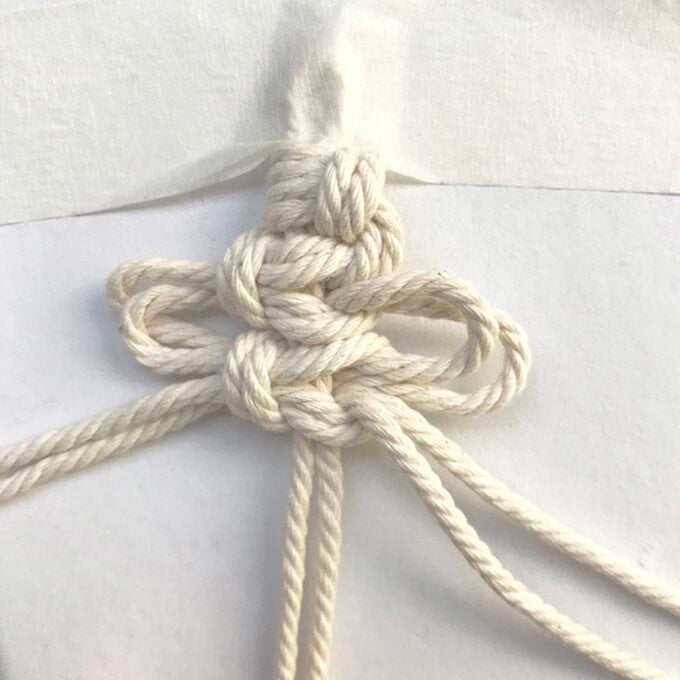
Add a row of three square knots underneath.
Top Tip: Start by making the square knot first in the middle, and then add one on each side.
Add a row of four square knots underneath.
Add a row of five square knots underneath.
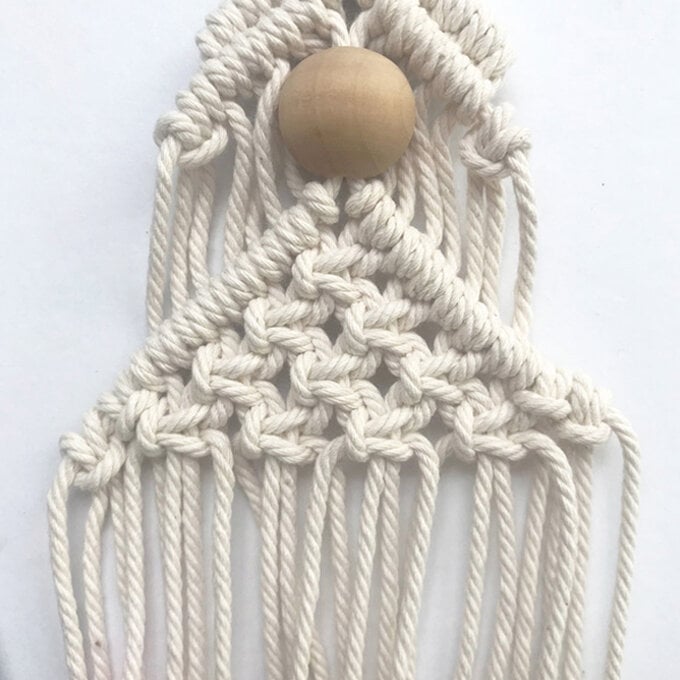
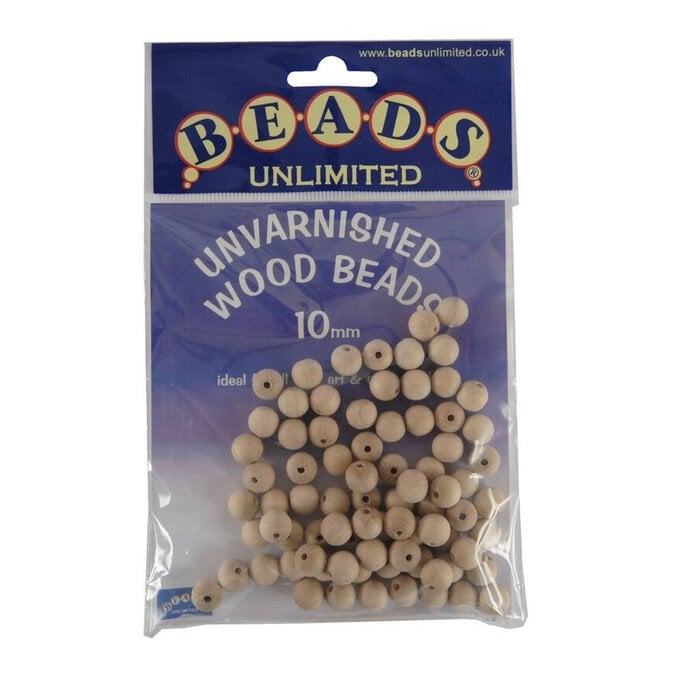
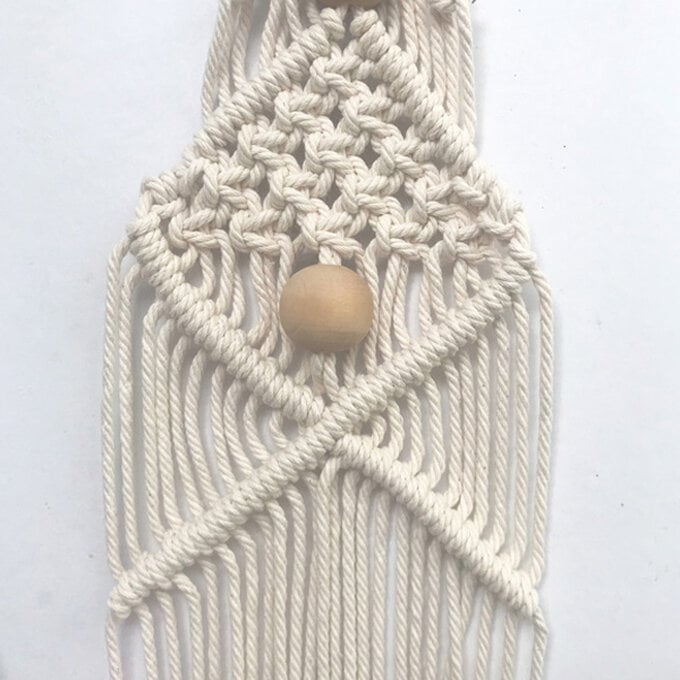
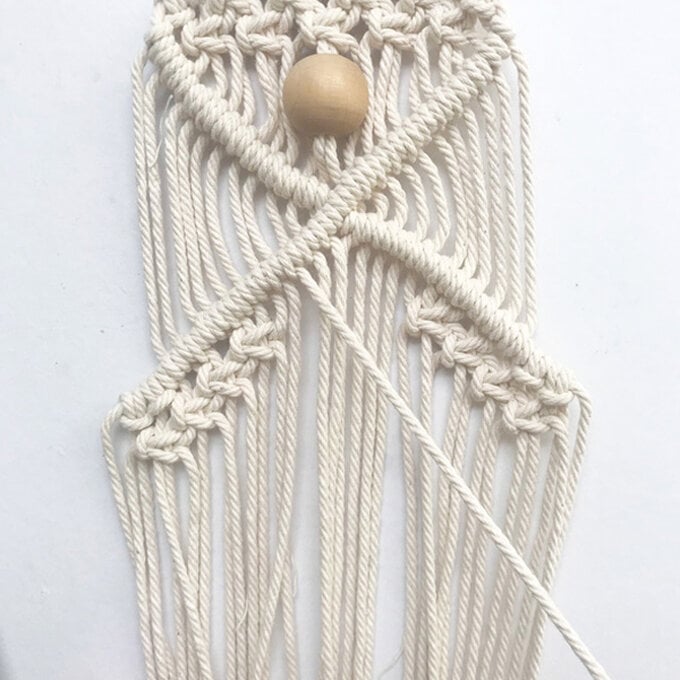
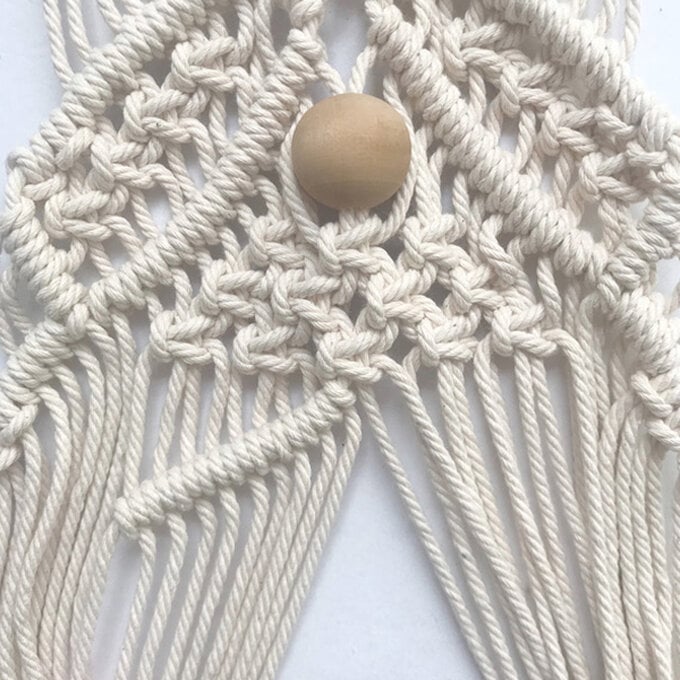
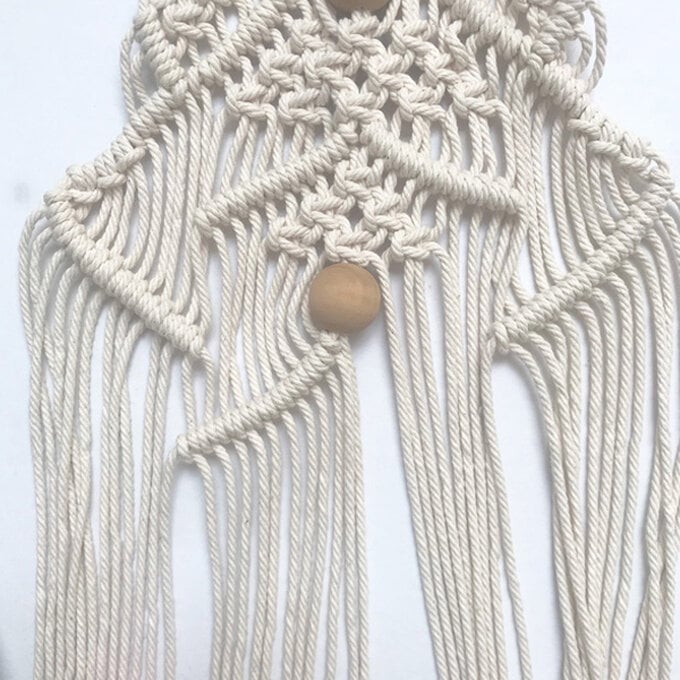
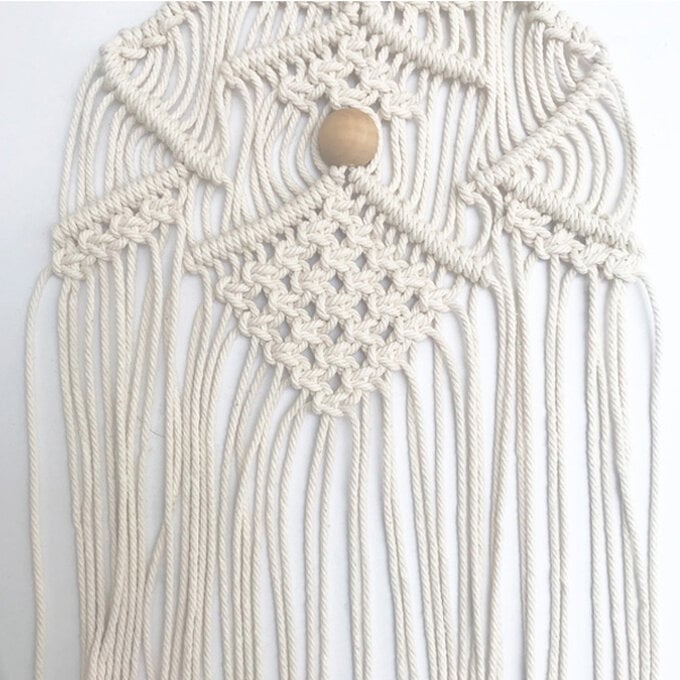
Add a wooden bead inserting the two middle strings through.
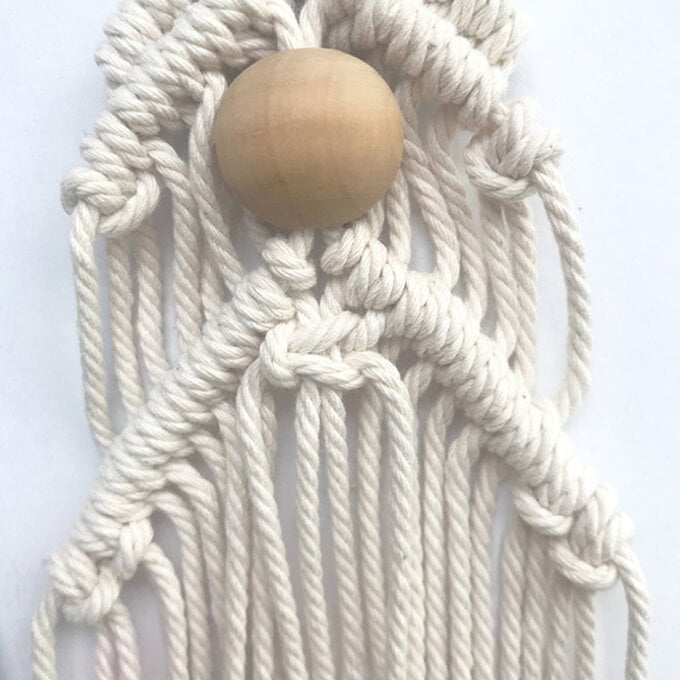
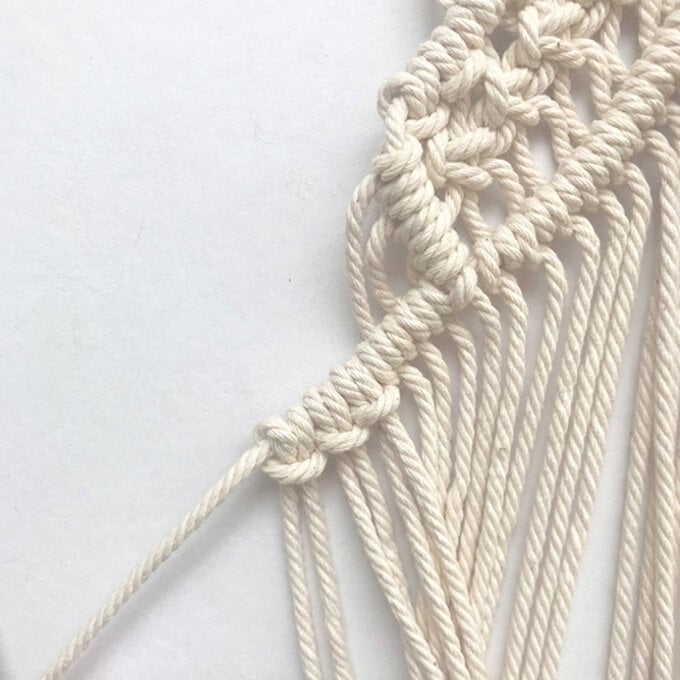
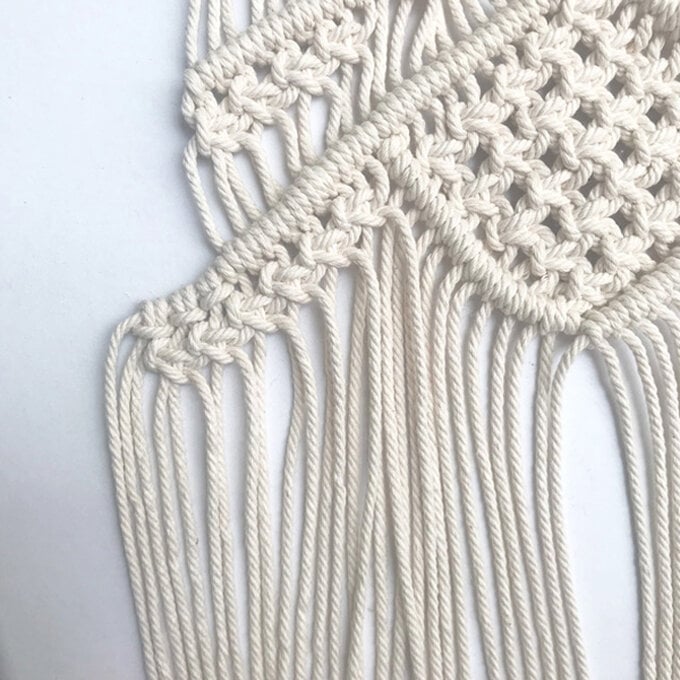
Take the string on the left to use as a guide, and place half of the string on it using the double half hitch knot.
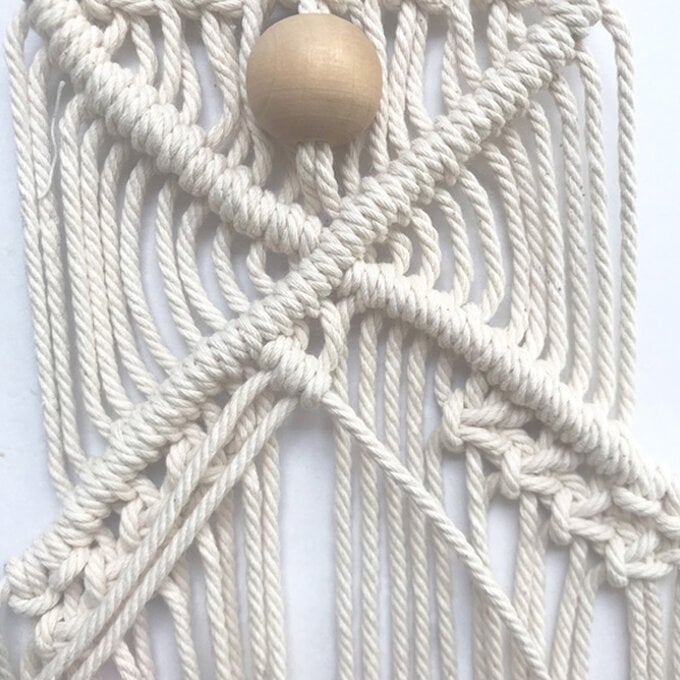
Repeat on the other side and close the arrow placing one string over the other using the double half hitch knot.
Cut 4x 2 meters of string.
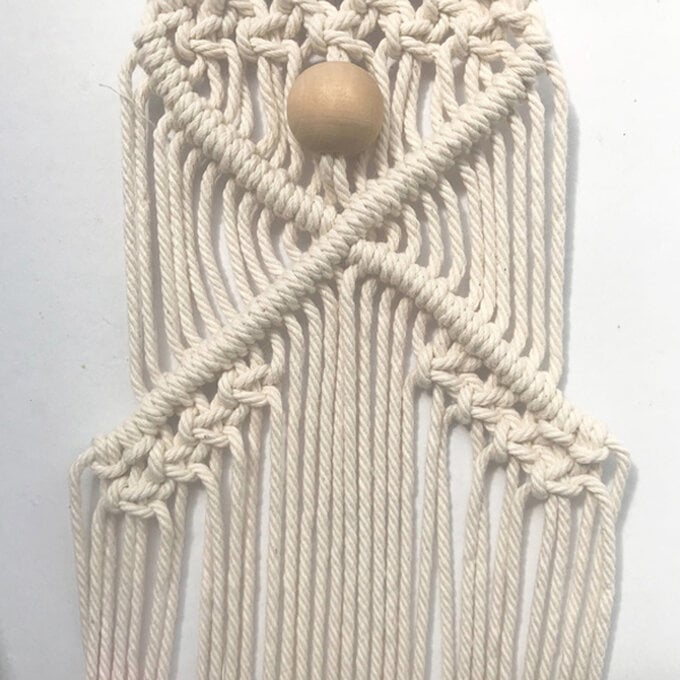
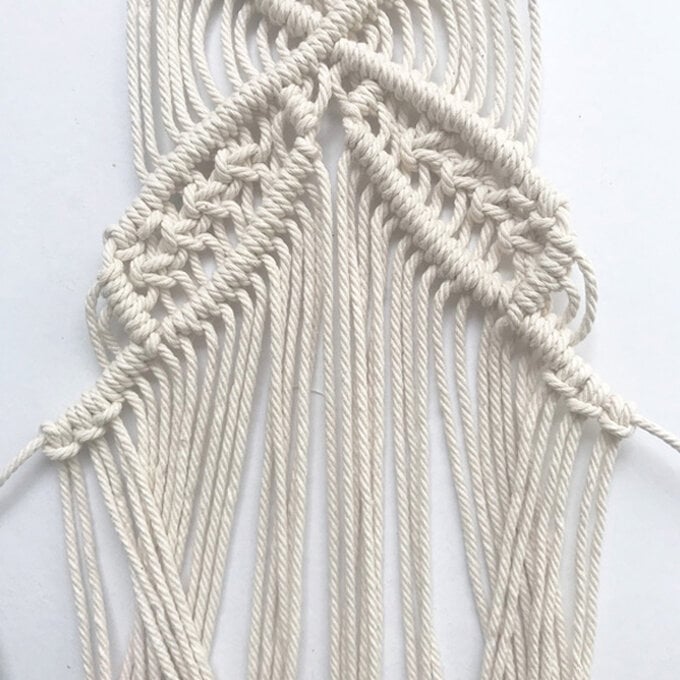
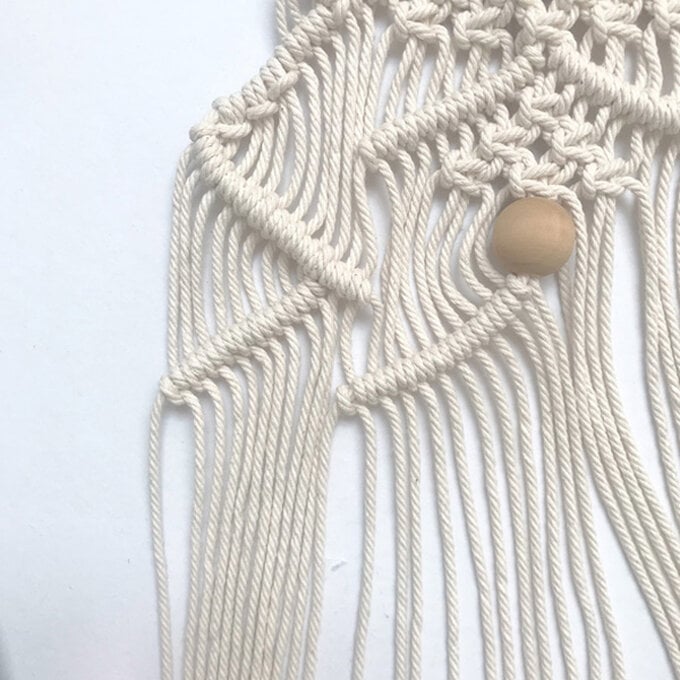
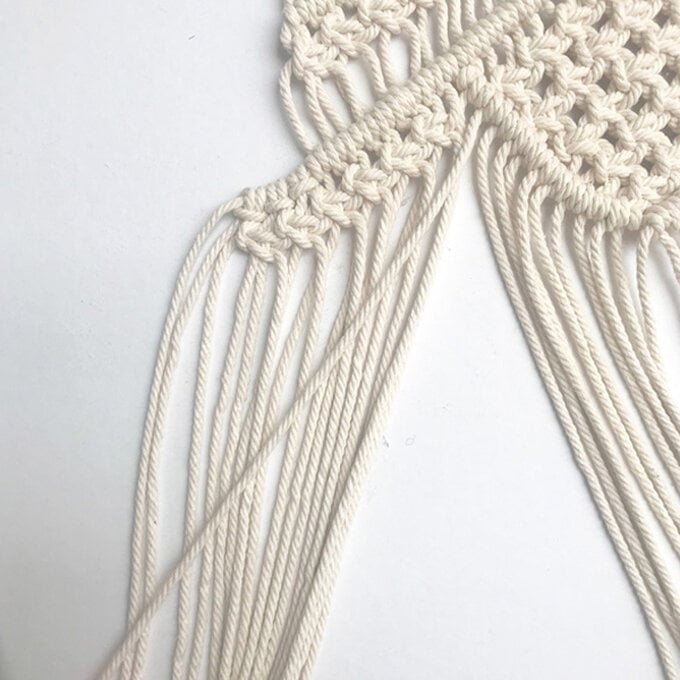
Continue with the double half hitch knot on each side, until you reach the last string on each side
Add 2 strings on each end using the lark knot.
Leave the middle 8 strings untouched (counting from the middle 4 strings on each side).
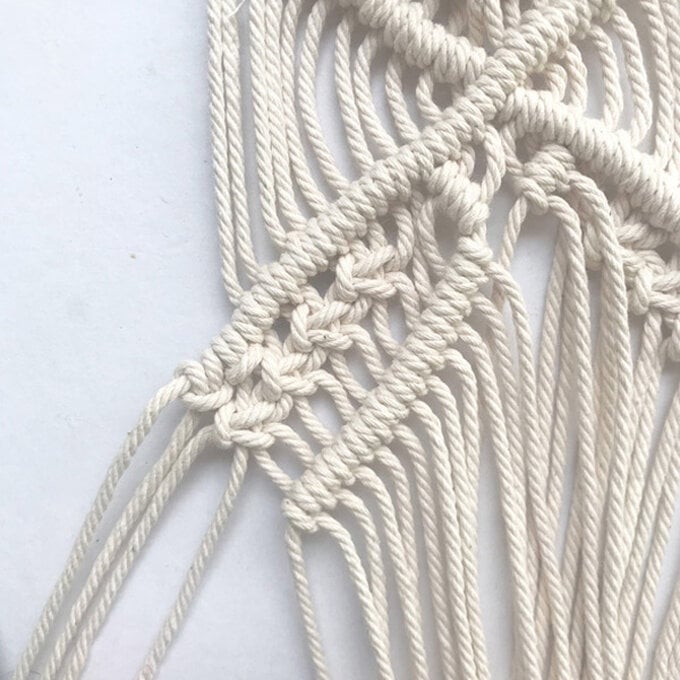
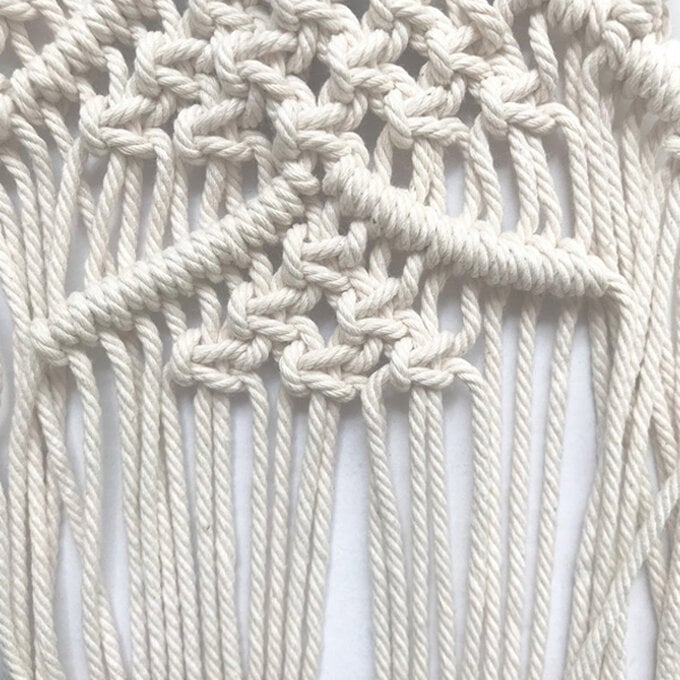
Start from the middle going toward your left, take string no. 5,6,7,8 and make a square knot. Then take string no. 7,8,9,10 and make another square knot. Take 9,10,11,12 and make another square knot. Take 11,12,13,14 and make another square knot.
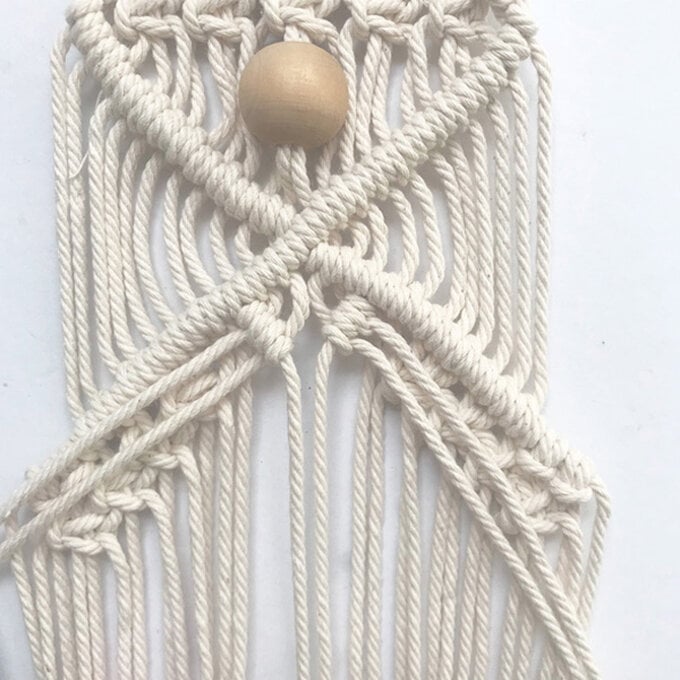
Taking the guide from the top branch, place the remaining string on it using the double half hitch knot to close the loop.
Repeat on the other side.
Cut 6x 2 meters strings.
Using the guide from the bottom branch, add the last 3 strings using the double half hitch knot.
Add the 3 strings using the lark knot.
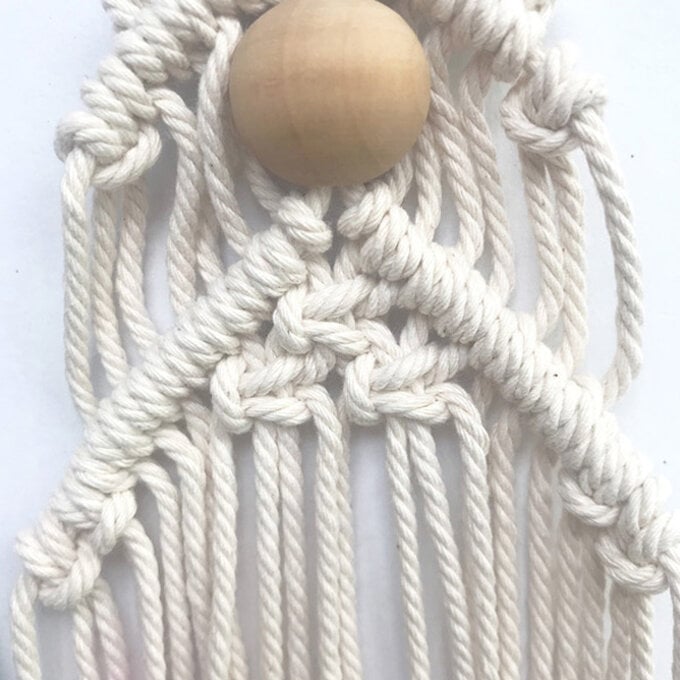
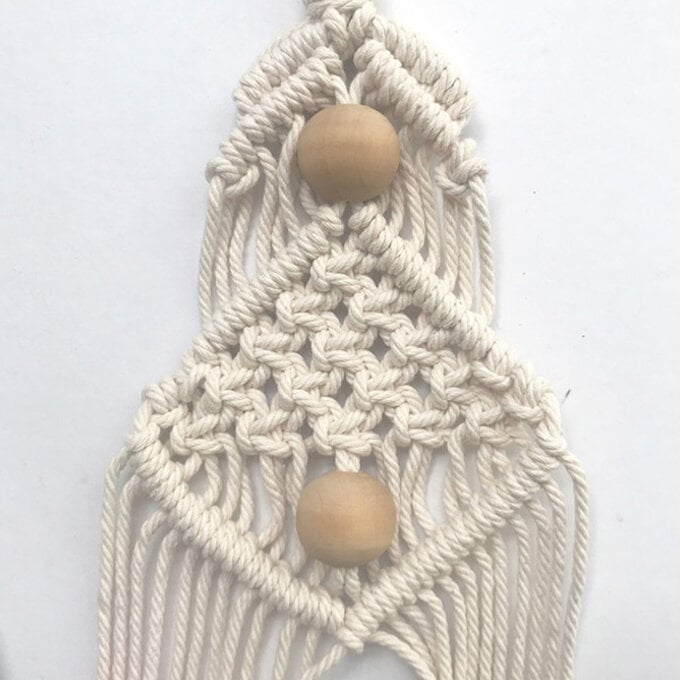
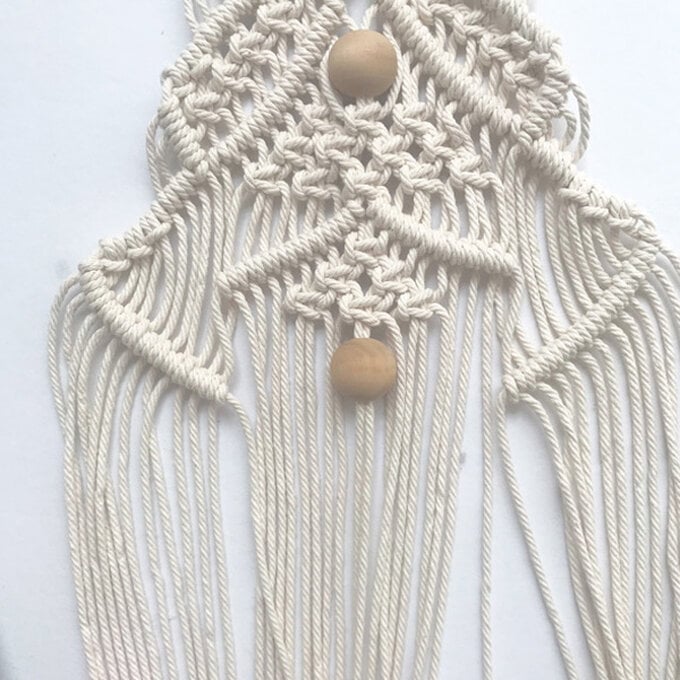
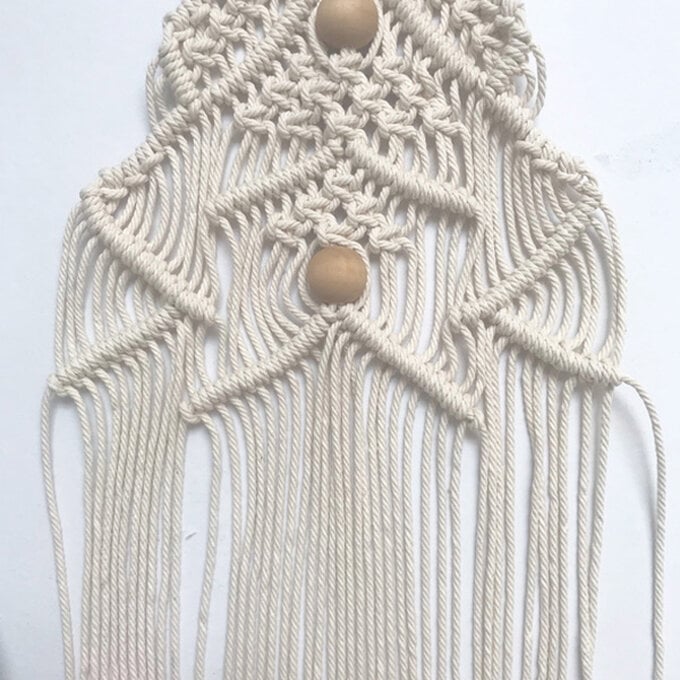
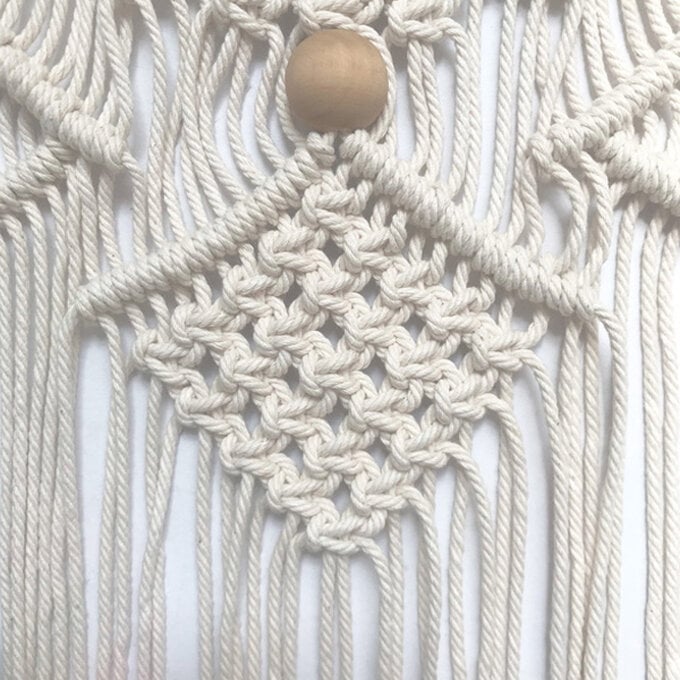
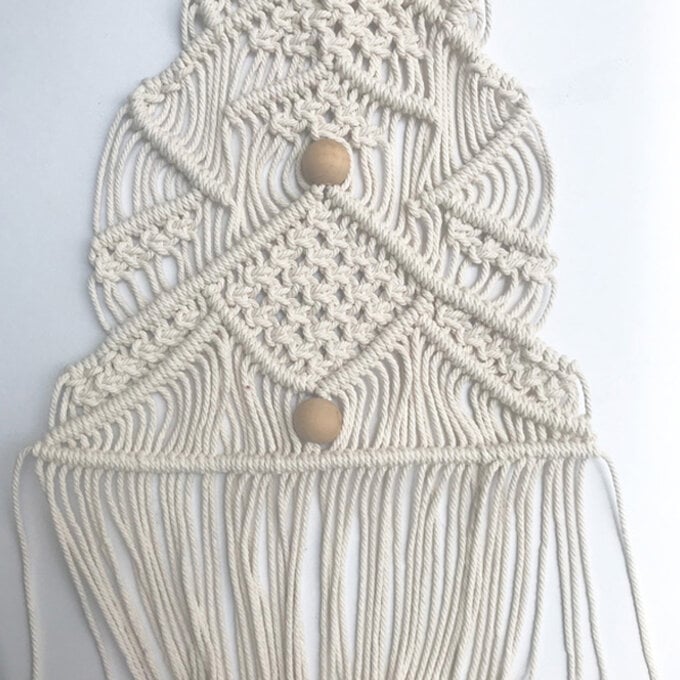
Add a wooden bead inserting the two middle strings through.
Make a square knot under the bead, and then another one on the left and the right to create a row of 3 square knots.
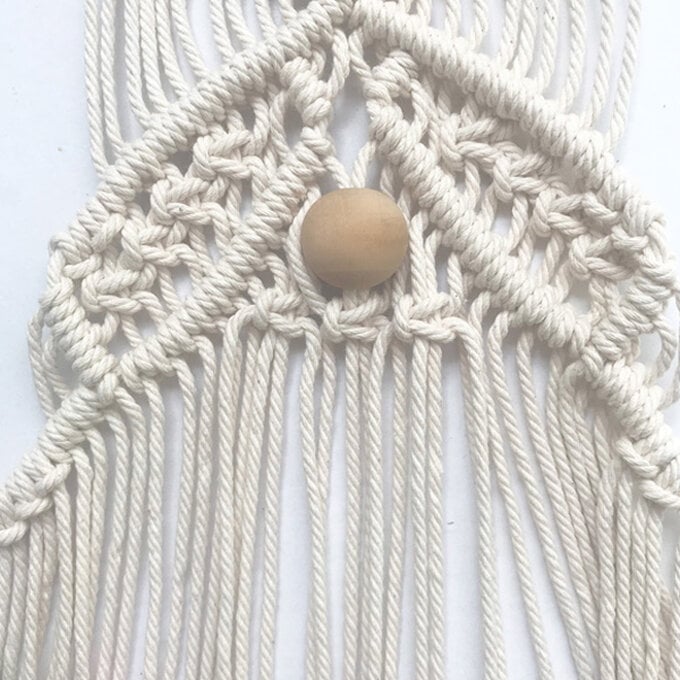
Follow this up with a row of 4 square knots, and then a row of 5 square knots.
Using the two strings in the middle as guides, take the left one and place the next 9 strings on it using the double half hitch knot.

Using the guide from the longest branch on the left, place 12 strings on using the double half hitch knot.
Repeat on the other side.
From the previous branch, count 10 strings starting from the left.
Use string no.10 as a guide to create a new branch, placing the remaining 9 strings using the double half hitch knot.
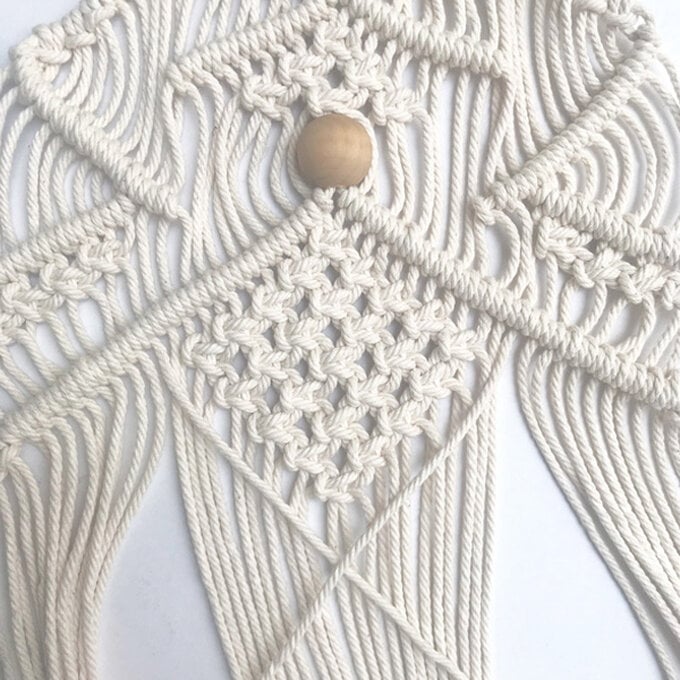
Starting from below the second bead, make a square knot.
Follow with a row of 2 square knots, a row of 3 square knots, a row of 4 square knots and finally a row of 5 square knots.
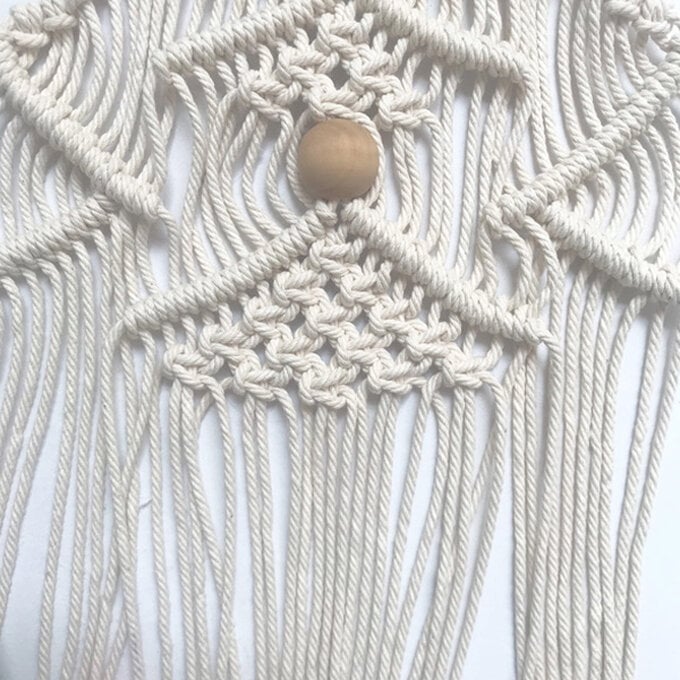
Then follow with a row of 4 square knots, a row of 3 square knots, a row of 2 square knots and finally one last square knot. This will create a diamond shape
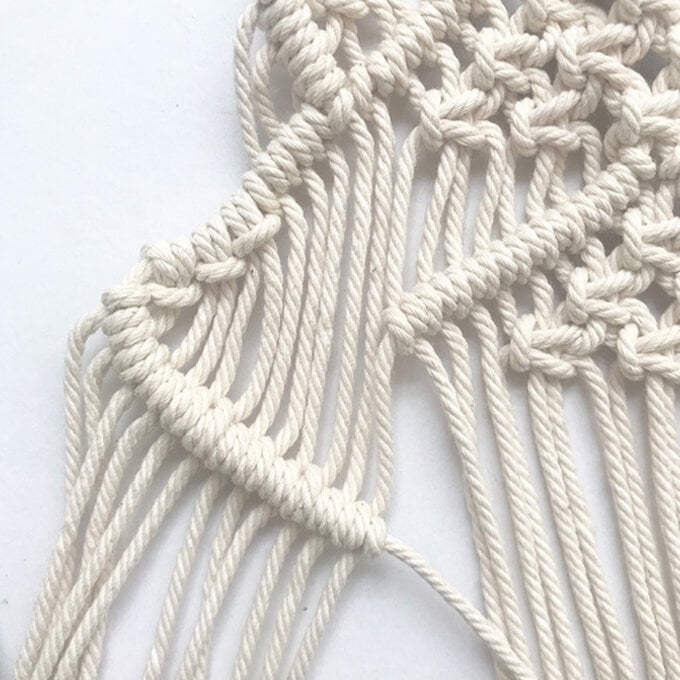
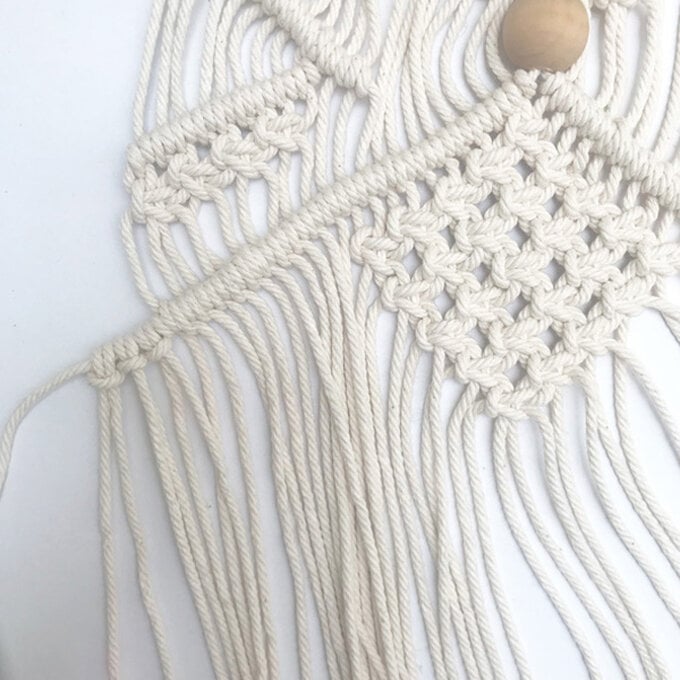
Make 4 diagonal square knots under the small branch on the left, and repeat this process for the right side.
Now go back to the branch above the square knot diamond and finish it by placing the remaining string using the double half hitch knot.
Repeat on the other side.
Cut 6x 1 meters string.
Place 3 strings on the guide from the left branch using the lark knot.
Repeat on the other side.
Starting from the centre, count 12 strings in on the left hand side, and 12 strings in on the right hand side.
Use string no.12 on the left as a guide, and place the strings from the square knot using the double half hitch knot.
Using string no. 2 from the diamond as a guide, place the strings on the left using the double half hitch knot.
Repeat on the other side.
Add a wooden bead inserting the two middle strings through.
Cut 1 x 1 meters piece of string.
Place the string horizontally under the wooden bead and use it as a guide. Place all the strings on the guide, using the double half hitch knot to create a horizontal line.
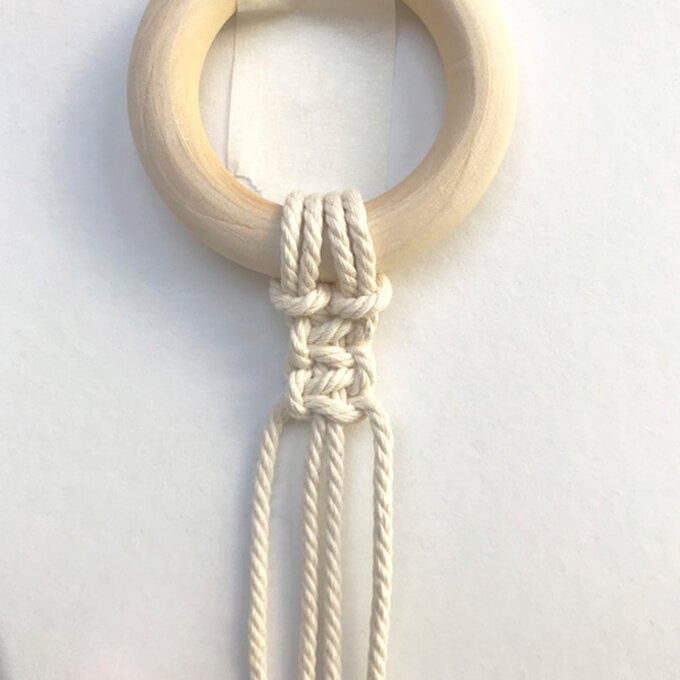
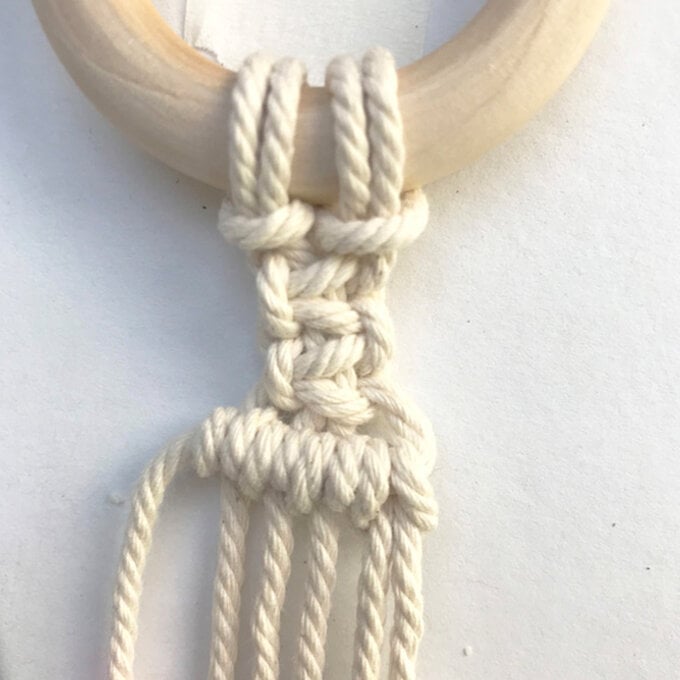
Cut 2x 2.7 meters of string and place on the ring using the lark knot.
Fix the ring on the table with masking tape.
Make 2 square knots.
Cut 2x 2.2 meters of string.
Take the string on your right and use it as a guide.
Place one of the strings you have just cut on the guide with an inverted lark knot.
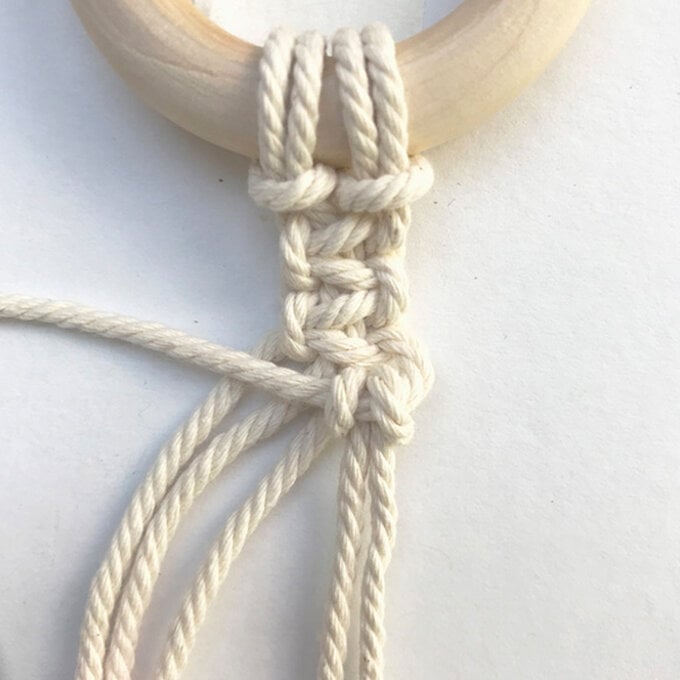
Using the same guide, place all the other string on it using the double half hitch knot.
Keep hold of the same guide and add the remaining piece of string using the inverted lark knot and the other string using the double half hitch.
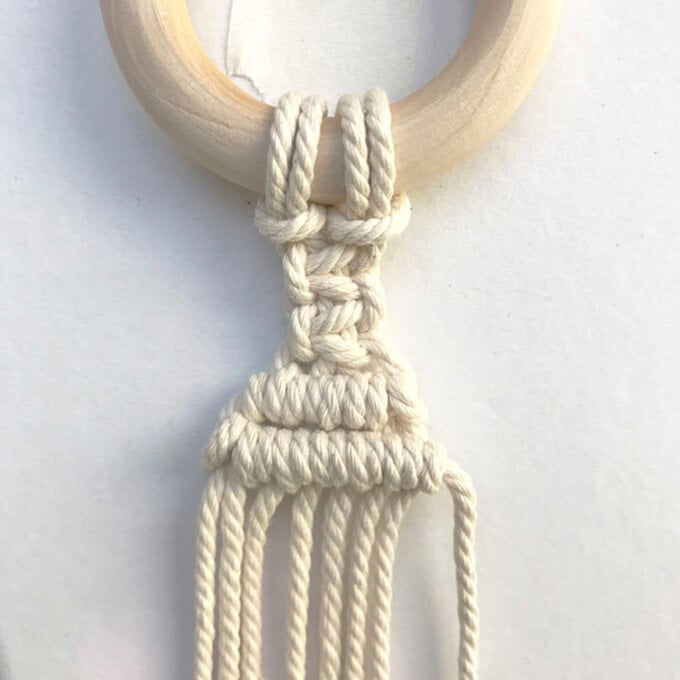
Cut 2x1.7 meters of string.
Take the string from the left to use as a guide. Place one of the strings you have just cut on the guide with an inverted lark knot. Using the same guide, place all the other string on it using the double half hitch knot.
Keep hold of the same guide and add the remaining piece of string using the inverted lark knot and the other string using the double half hitch knot.
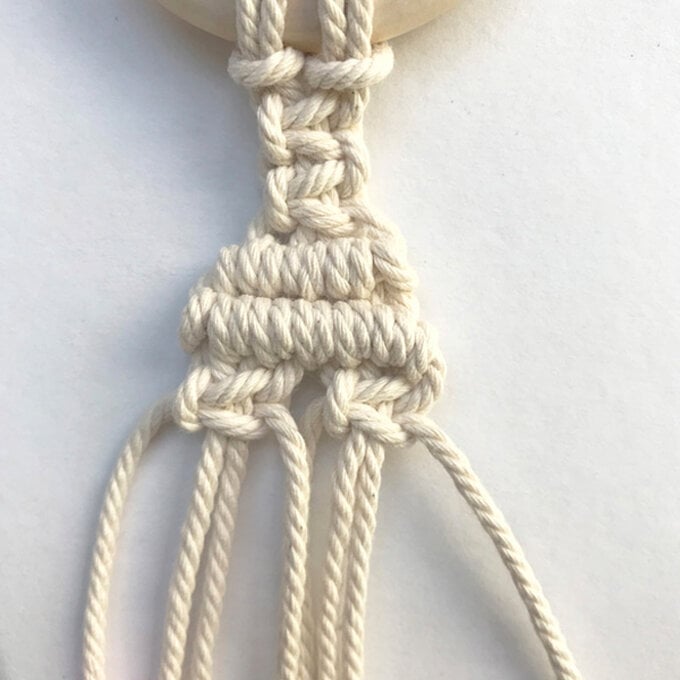
Cut 2x1.7 meters of string.
Take the string from the right to use as a guide.
Place one of the strings you have just cut on the guide with an inverted lark knot. Using the same guide, place all the other string on it using the double half hitch knot. Keep hold of the same guide, and add the remaining piece of string using the inverted lark knot and the other string using the double half hitch knot.
Cut 2x1.5 meters of string.
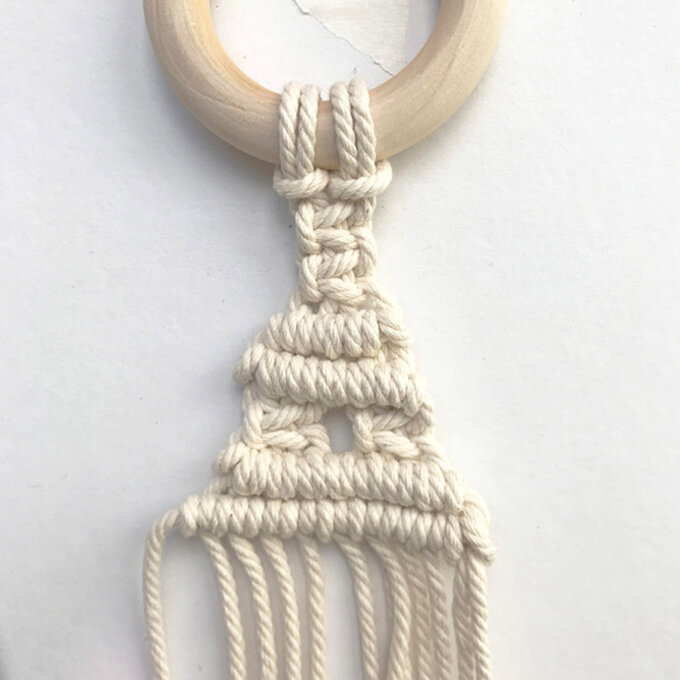
Take the string from the left to use as a guide. Place one of the strings you have just cut, on the guide with an inverted lark knot.
Using the same guide, place all the other string on it using the double half hitch knot. Keep hold of the same guide, and add the remaining piece of string using the inverted lark knot and the other string using the double half hitch knot.
Cut 2x1.5 meters of string.
Take the string from the right to use as a guide. Place one of the strings you have just cut, on the guide with an inverted lark knot.
Using the same guide, place all the other string on it using the double half hitch knot. Keep hold of the same guide, and add the remaining piece of string using the inverted lark knot and the other string using the double half hitch knot.
Cut 2x1.2 meters of string.
Take the string from the left to use as a guide. Place one of the strings you have just cut on the guide with an inverted lark knot.
Using the same guide, place all the other string on it using the double half hitch knot. Keep hold of the same guide, and add the remaining piece of string using the inverted lark knot and the other string using the double half hitch knot.
Finally, take the string from the right to use a guide.
Place one of the strings you have just cut on the guide with an inverted lark knot. Using the same guide, place all the other string on it using the double half hitch knot.
Keeping hold of the same guide, add the remaining piece of string using the inverted lark knot and the other string using the double half hitch knot.
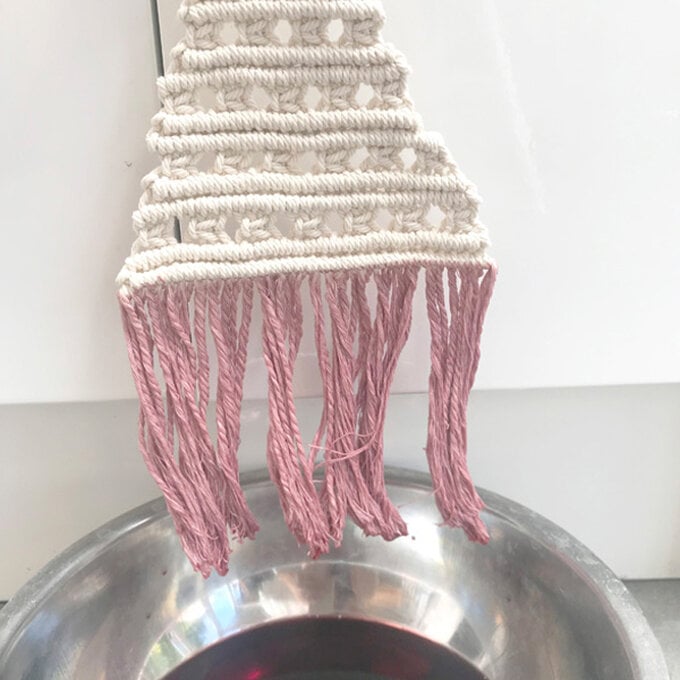
To dip dye your beautiful creation, start by adding 2/3 glasses of leftover red wine to a bowl.
Wet the macrame fringe with water making sure it's very wet.
Hang the macrame piece above the bowl with the fringe inside the wine.

Leave the fringe inside the wine for a couple of hours.
Hang the macrame above the bowl/bath/shower and let it dry.
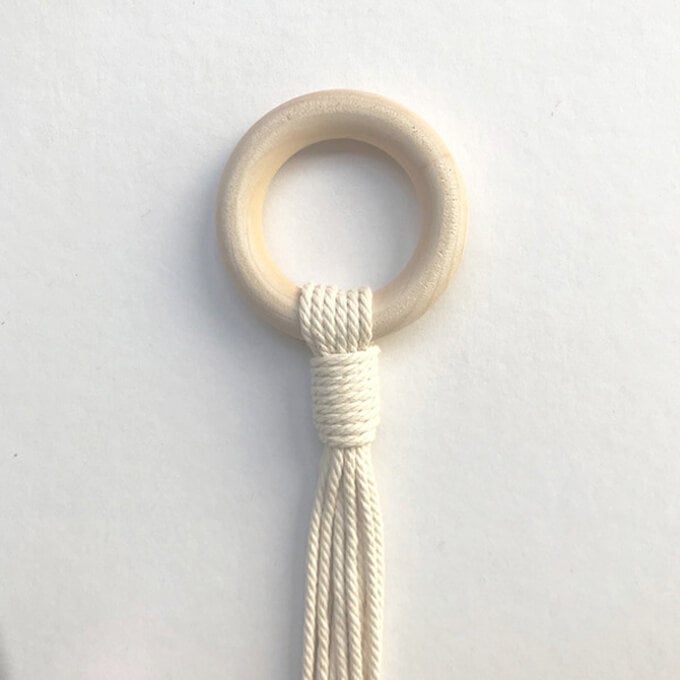
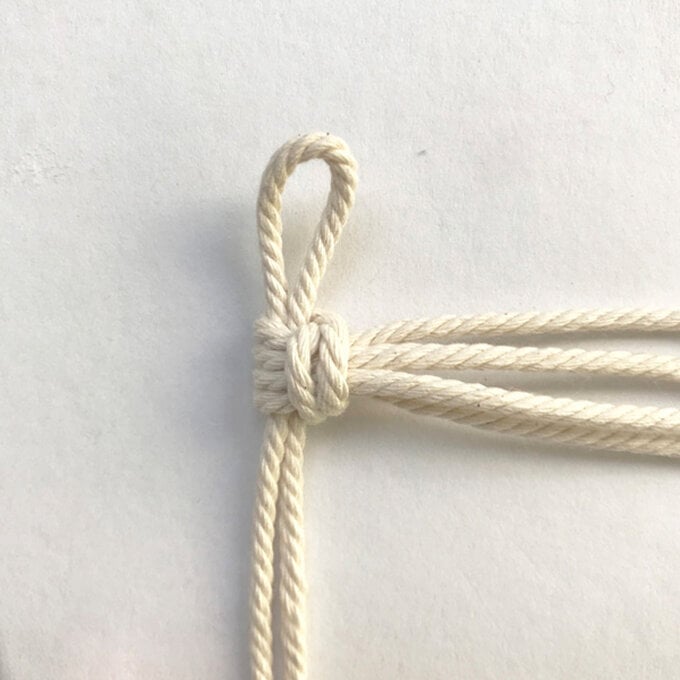
Fold the shortest string in half.
Using the lark knot, place the two strings on the shortest string, leaving a small loop at the top - about 1-1.5 cm.
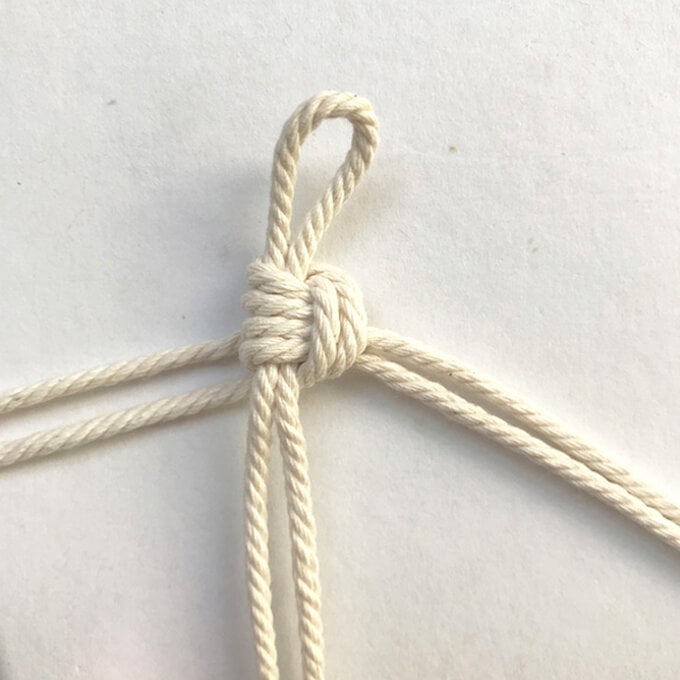
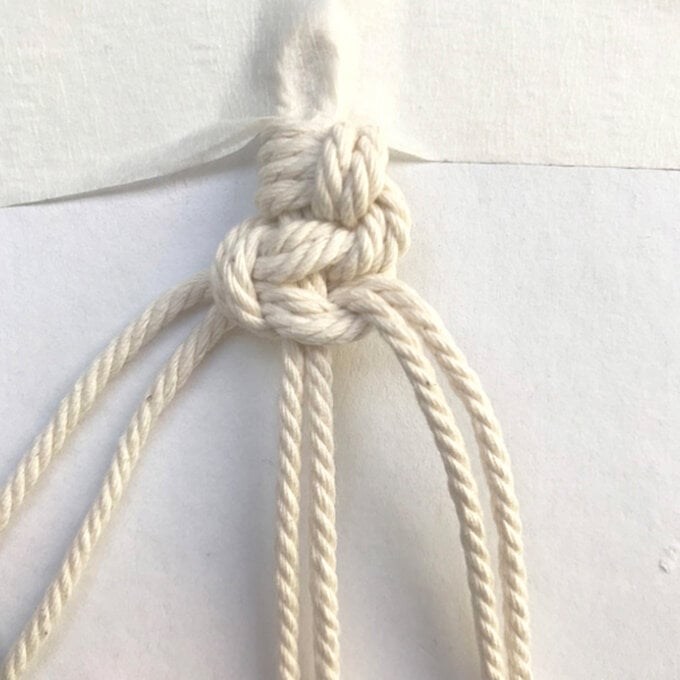
Now it's time to create the rest of your square knots.
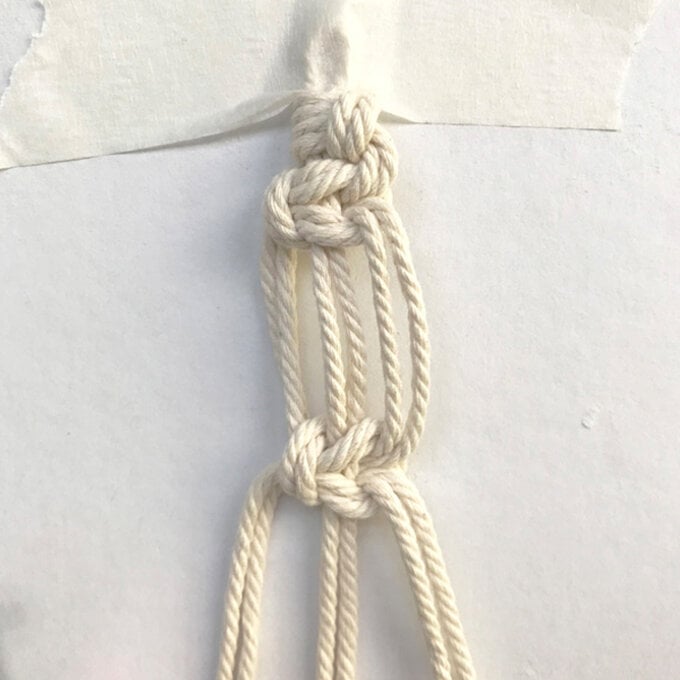
Start by creating a square knot 5cm below the previous one, and then push it up underneath the previous knot.
Continue by making another square knot 6cm below the last one, and then push it up underneath the previous knot.
Add another square knot 8cm below the last one, and then push it up underneath the previous knot.
Create another square knot 10cm below the last one, and then push it up underneath the previous knot.

Related Products