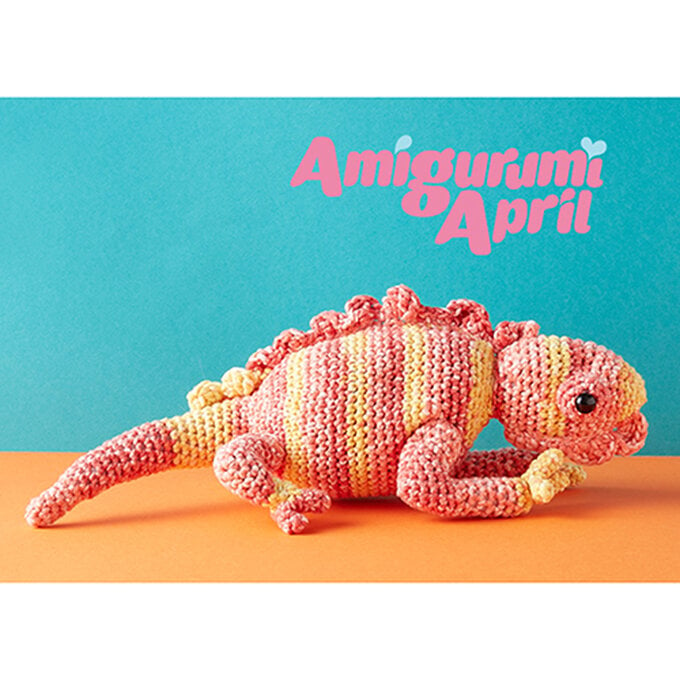
How to Make a Camp Fire

You will need
Subtotal
Is $ 9.49
Subtotal
Is $ 5.49
Subtotal
Is $ 6.49
Subtotal
Is $ 6.49
Subtotal
Is $ 4.49
Subtotal
Is $ 5.49
Subtotal
Is $ 5.49
Out of stock
Subtotal
Is $ 4.49
Out of stock

Subtotal
Is $ 3.49
Subtotal
Is $ 3.49
Subtotal
Is $ 6.49
Subtotal
Is $ 4.49
Out of stock
Subtotal
Is $ 2.49
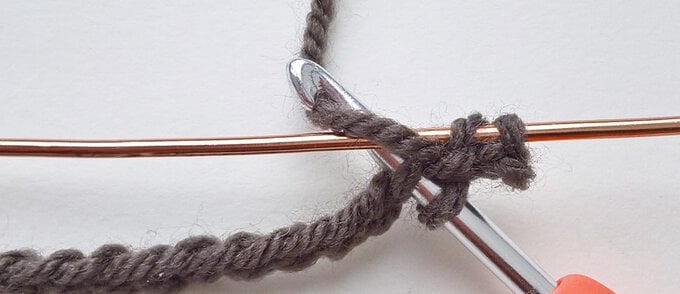
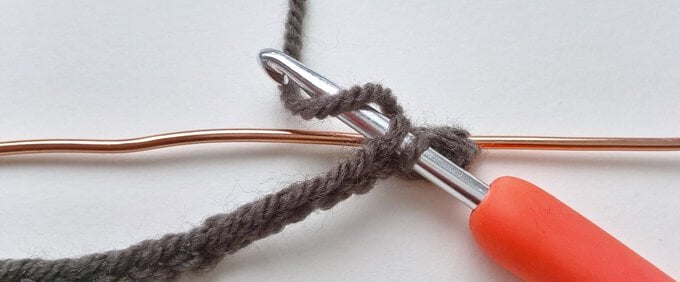
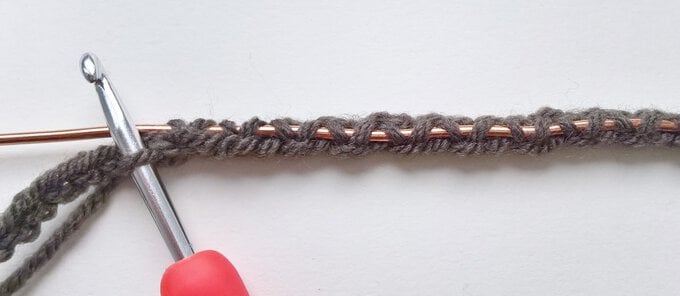
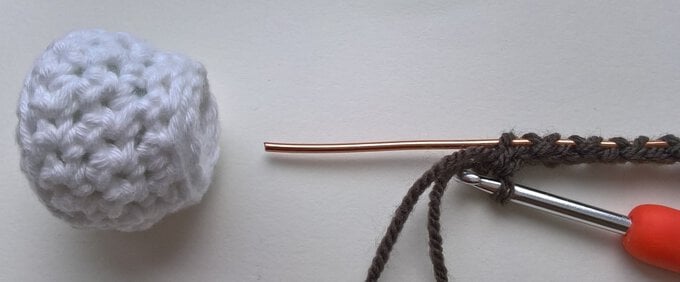
How to make
Abbreviations:
BL: back loop,
ch: chain,
cm: centimetres,
dc: double crochet,
dc2tog: double crochet two stitches together,
DK: double knitting,
FL: front loop,
mm: millimetres,
rep: repeat,
RS: right side,
ss: slip stitch,
st(s): stitch(es),
tch: turning chain
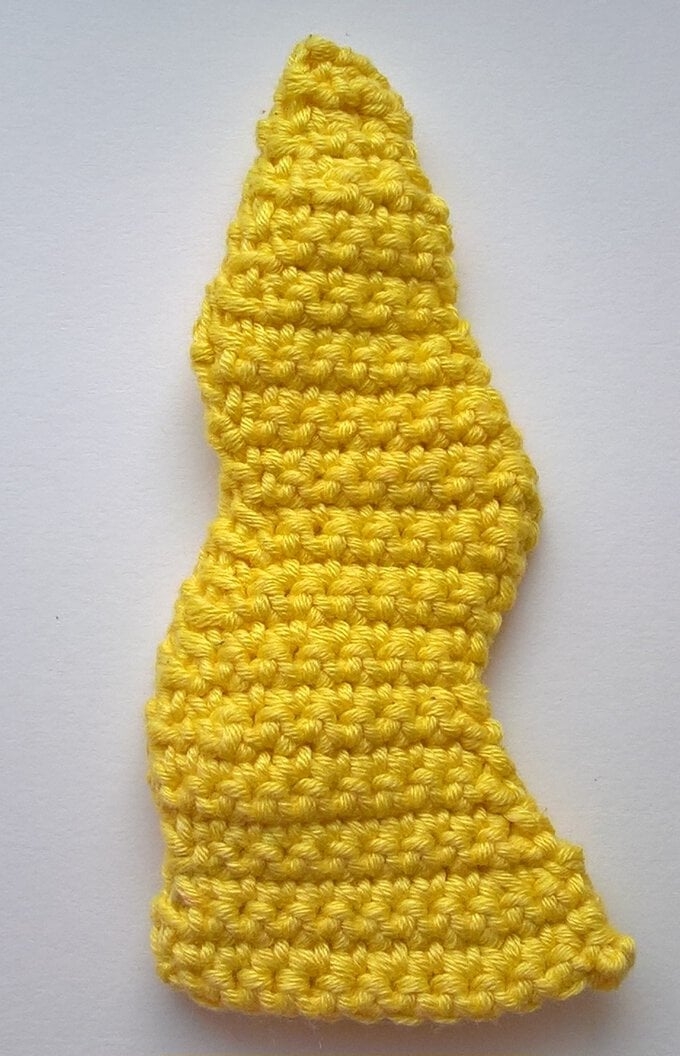
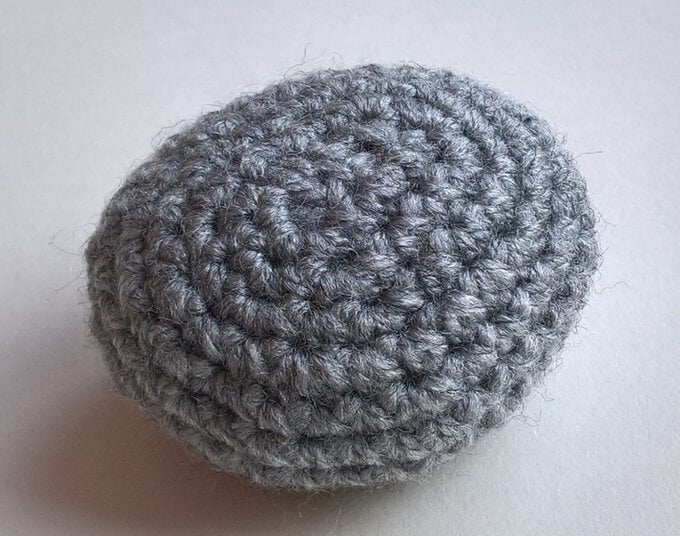
Pattern Notes: The fire is made up of individual flames which are stitched together at the end. Each flame is made with two separate identical pieces which are sewn together and then very lightly stuffed to give some rigidity to the fire and enable it to stand freely.
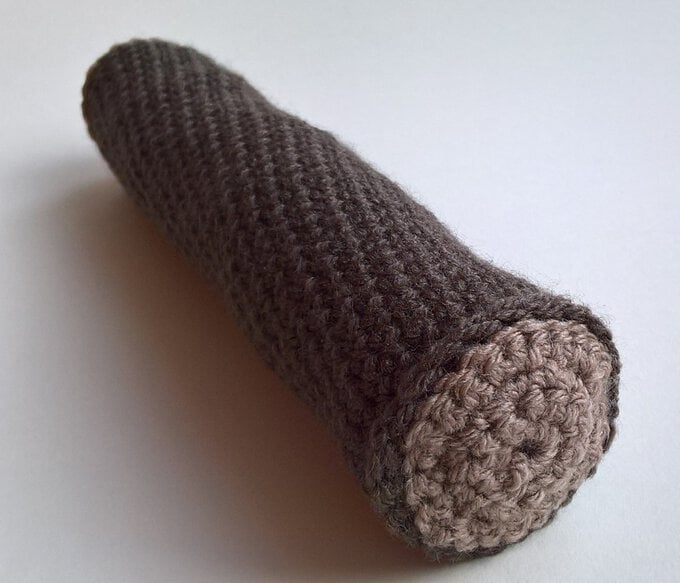
The campfire set is to scale and when displayed with logs and pebbles around the campfire it has a diameter of approximately 35 cm.
The turning chains count as a stitch throughout the pattern. A stitch marker can be used to place into the turning chains making it easier to identify on the next row or round.
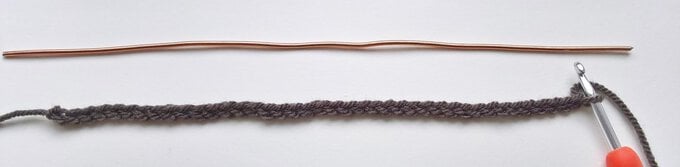
When crocheting into foundation chains throughout the pattern, go under both top strands unless otherwise stated.
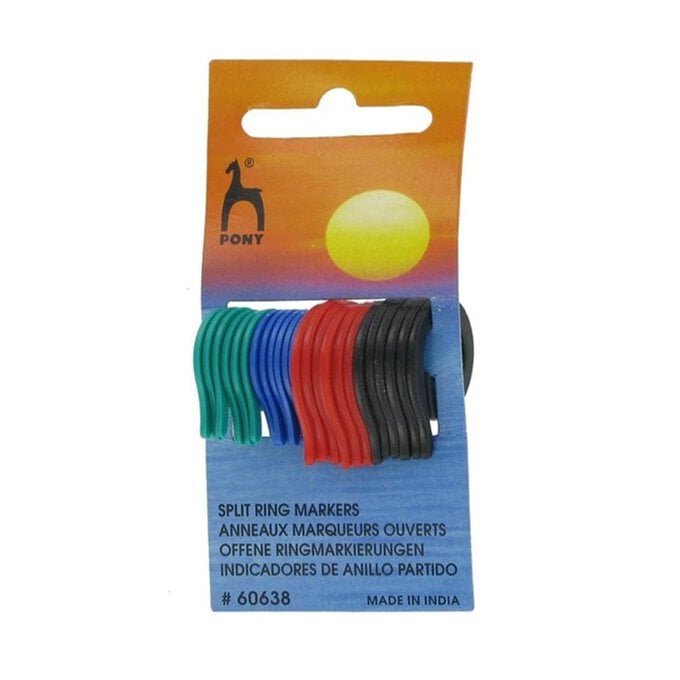
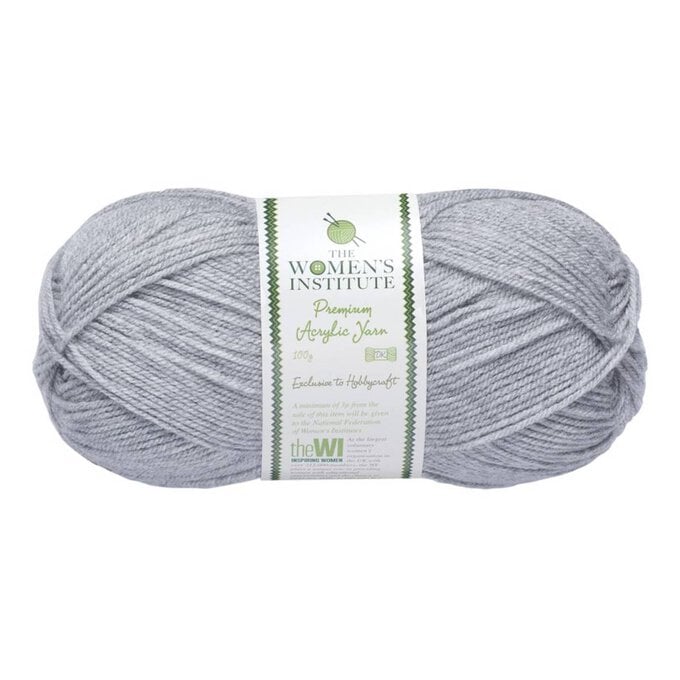
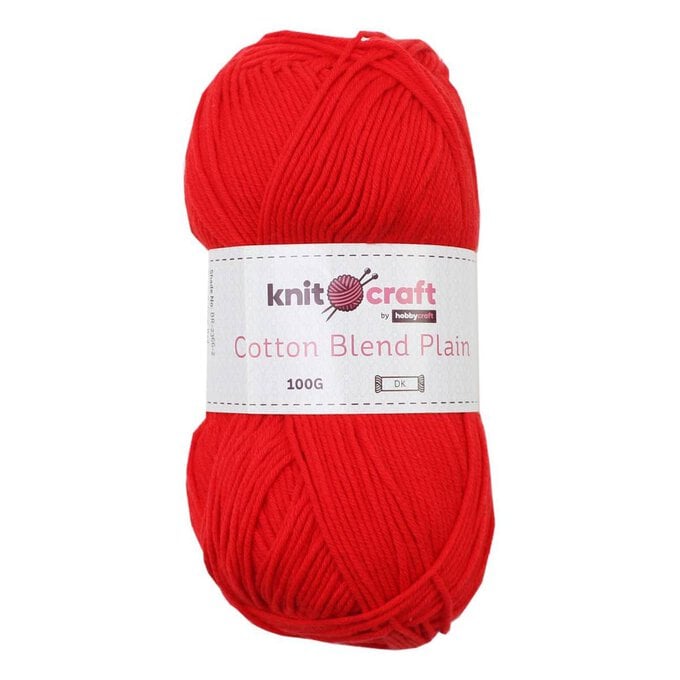
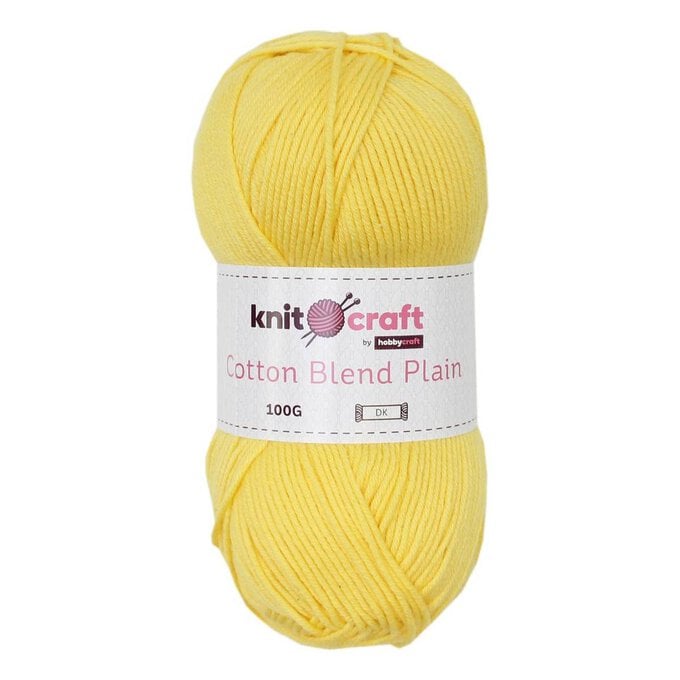
Related Products