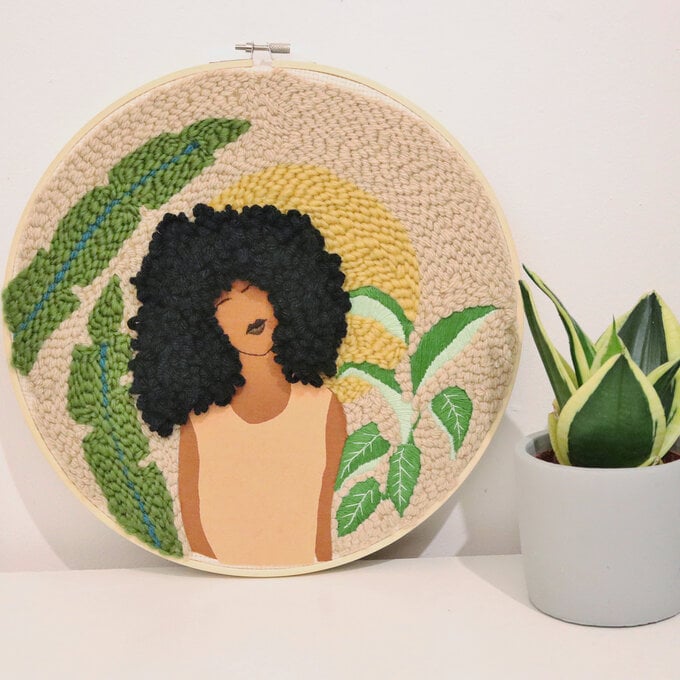
How to Make a Punch Needle Bag
Punch needle embroidery is an easy technique to learn, and when you have it mastered you can achieve amazing results – even as a beginner. Once you've learnt how to use your punch needle tool, this clutch bag is a great project to get stuck into!
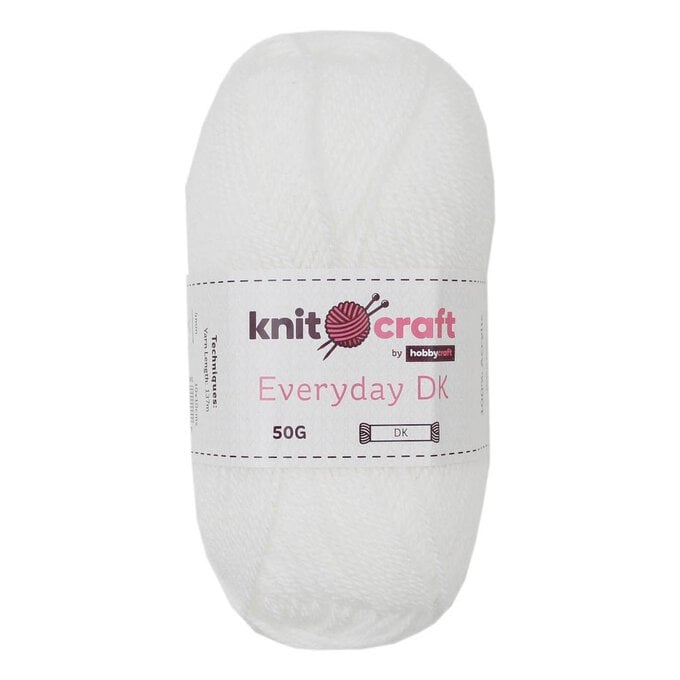
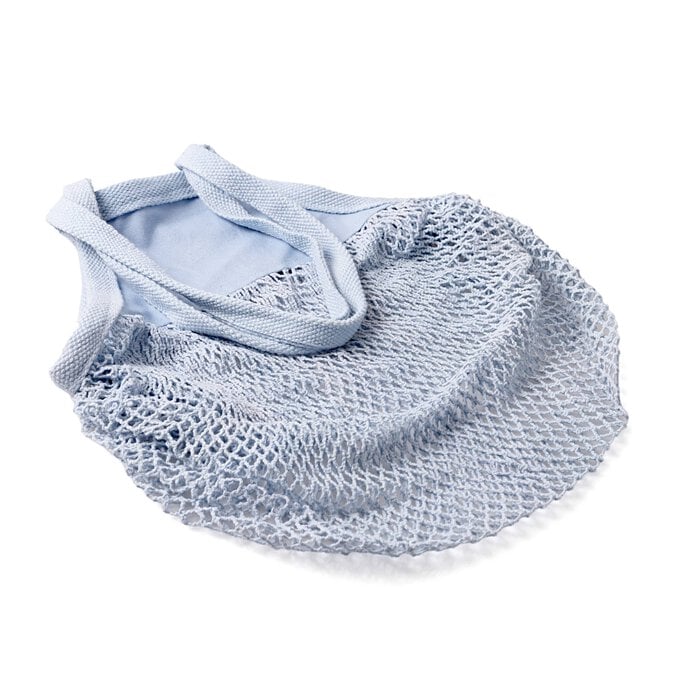
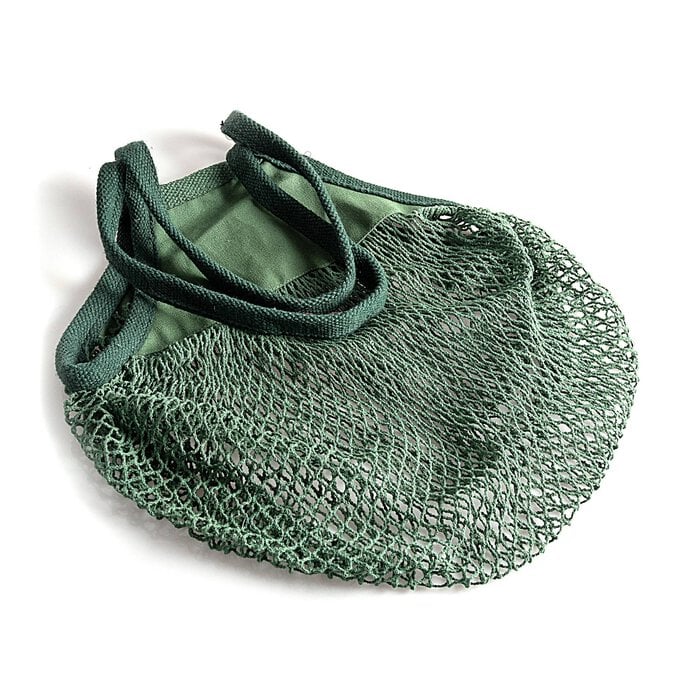
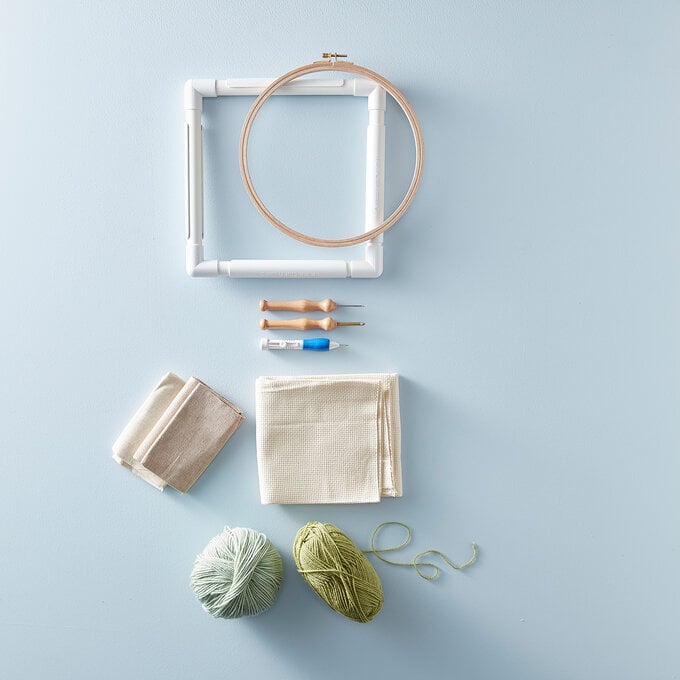
You will need

Subtotal
Is $ 4.49
Subtotal
Is $ 24.00
Subtotal
Is $ 7.49
Subtotal
Is $ 2.49
Subtotal
Is $ 2.49
Subtotal
Is $ 2.49

Subtotal
Is $ 1.49
How to make
Size – approx. 37cm x 24cm
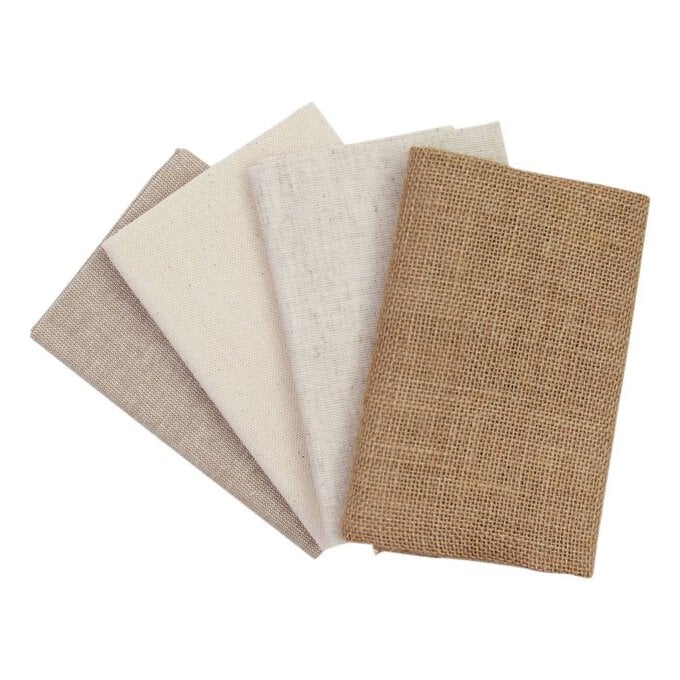
Print out the template and using a window or a light box place your fabric over the template. Using a washable pen or pencil, trace the image onto the fabric. Also, mark out the size of the bag you wish to make as a guide for where to embroider too. Use the reversed version if you would like the loop side to be the right side or the standard version if you would like the stitches side to be the right side.
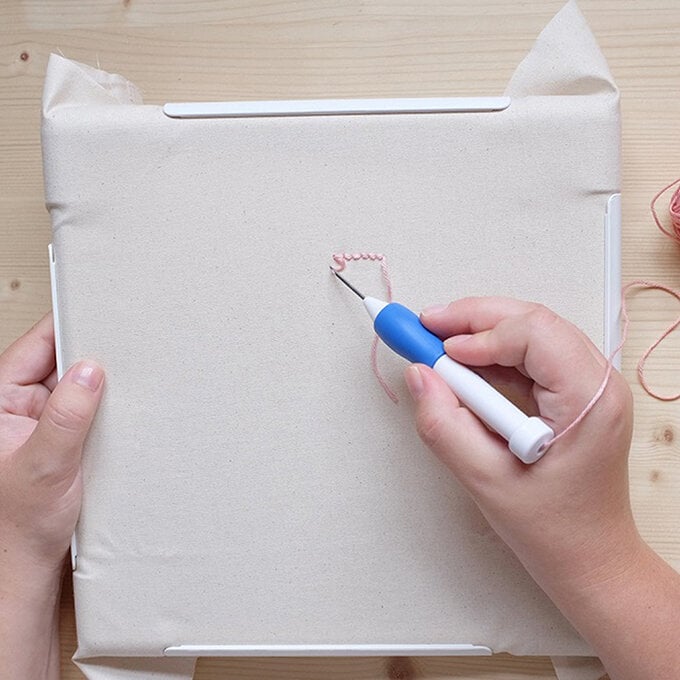
Using an embroidery frame that fits the design in, secure the fabric making sure the fabric is as tight as possible. The tighter the fabric, the easier it will be to embroider.
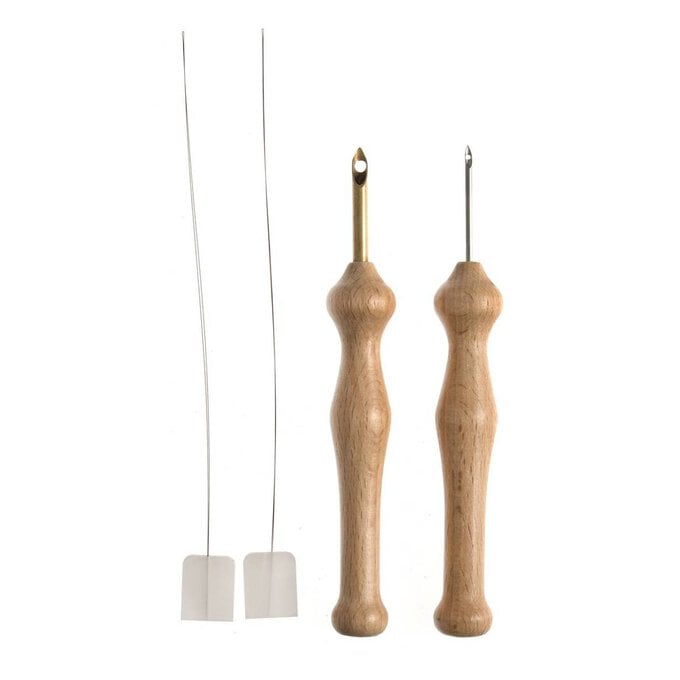
Thread the finer punch needle with blue and punch around the outside of each letter and then fill each section in. Keep stitches as even as possible, approx. 4mm long.
Repeat this for each section making sure to work stitches in a brick layout inside of in rows.
Once each section has been filled go over your work to make sure there are no gaps. If there are then fill in any areas to give an even look. Cut any sections that look longer than they should.
Remove fabric from frame.
Trim the punched needle piece down, leaving a 1cm allowance around the edge. Use this as a template to cut two pieces of lining and the back piece in the same size.
Place the first piece of your lining fabric right side up on your work surface, line up the zipper with the edge of the fabric. Make sure the zip is closed and that the end with the zip tag is approx. 1.2cm from the side edge. Place your punched needle piece on top of the lining and zipper right side down. Your zip should be sandwiched in the middle. Pin in place to secure and use a zipper foot to sew as close as you can to the zip and the edge of the punched needle piece. Once sewn place the pieces together with the zip at the top and press well.
Repeat for second lining piece and the back piece.
Open the zip up just over halfway, Take your two lining pieces and pin right sides together, leaving a gap at the bottom big enough to be able to turn through. Then, pin the two outer pieces right sides together. Starting at the gap you left start sewing, reinforcing your stitches when you go over the zip. Trim off any excess zip tape and round your corners. Turn the bag through from the gap in the lining and neatly sew up the gap.
Related Products

Is $ 7.49

Is $ 7.49

Is $ 7.49

