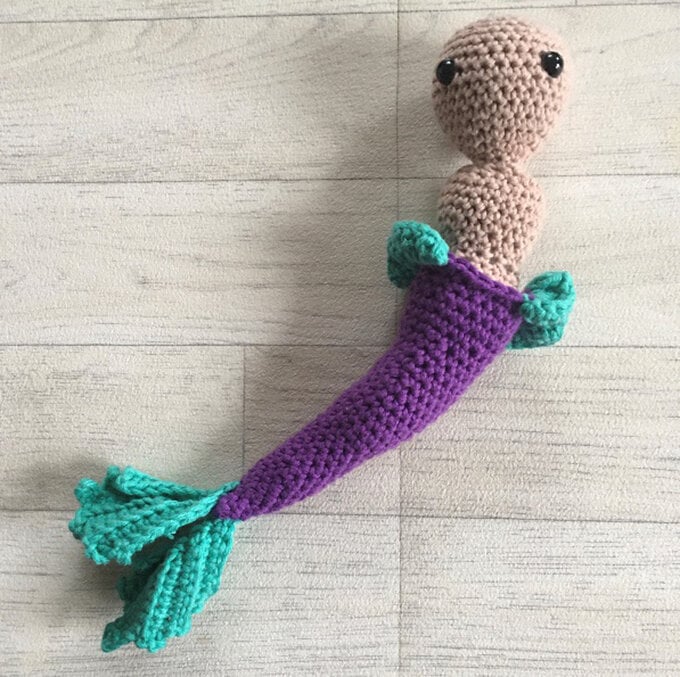
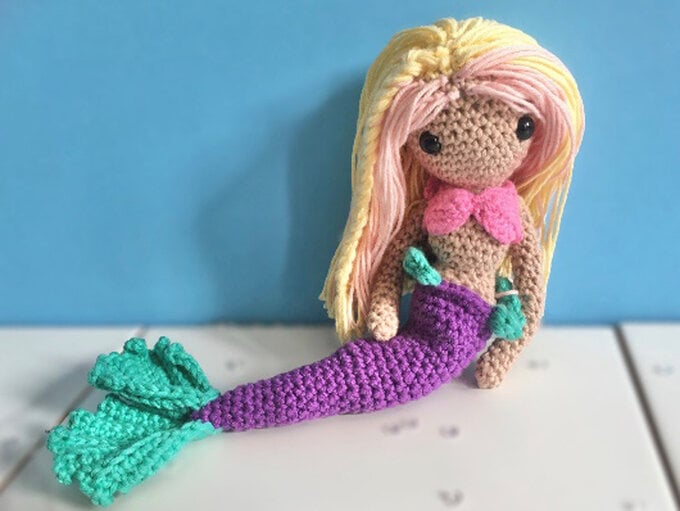
How to Make an Amigurumi Mermaid
Week 3 of Amigurumi April comes from the the amazing @Ellies.Craft.Boutique and her lovely amigurumi mermaid.
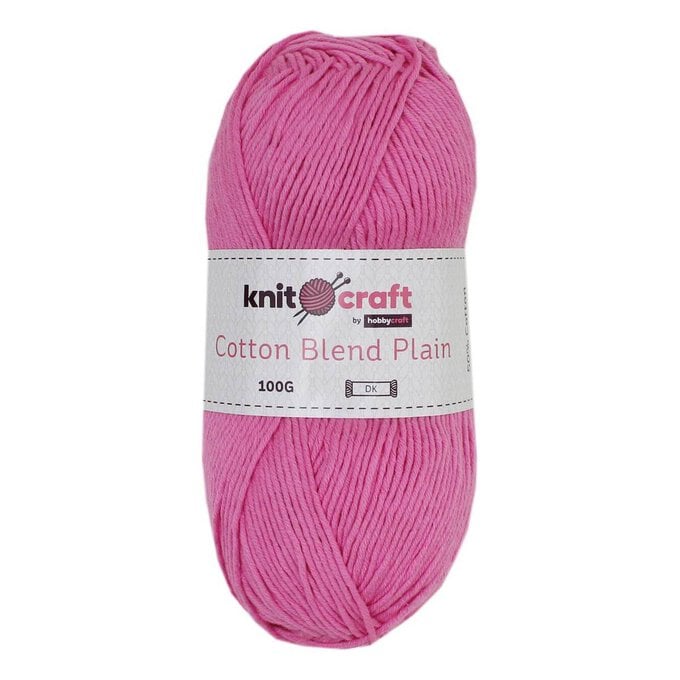
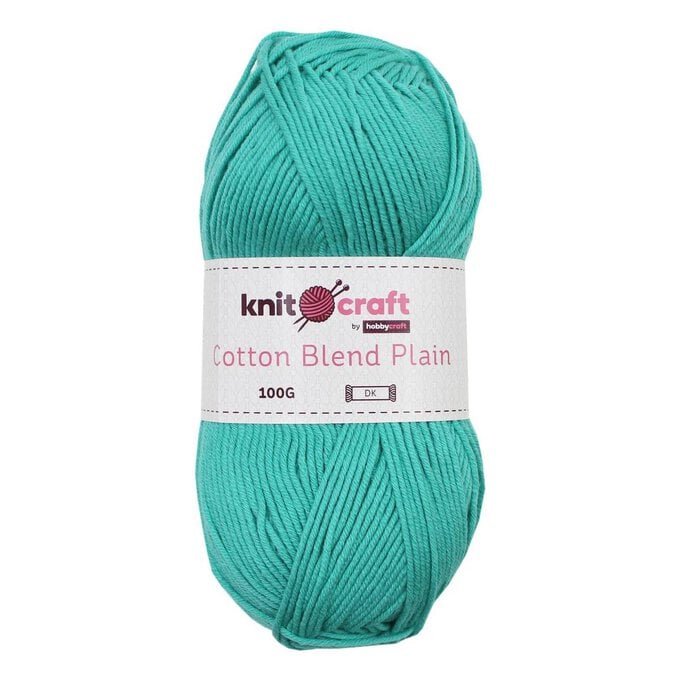
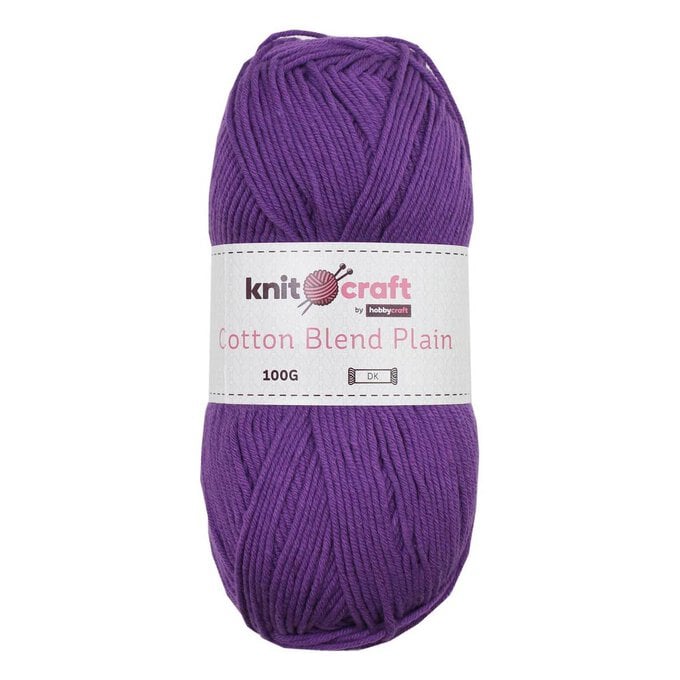
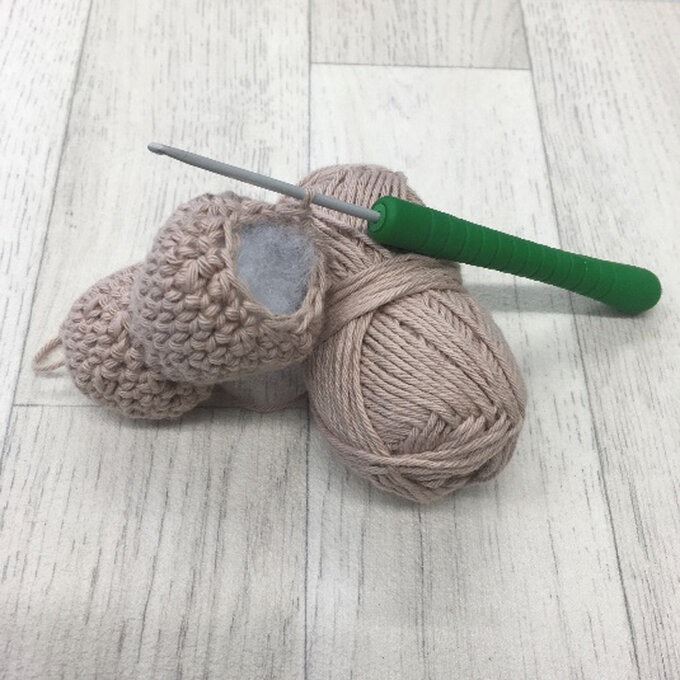
You will need
Subtotal
Is $ 4.49

Subtotal
Is $ 4.49
Subtotal
Is $ 6.49
Subtotal
Is $ 3.49
Subtotal
Is $ 5.49
Subtotal
Is $ 5.49
Out of stock
Subtotal
Is $ 5.49
Subtotal
Is $ 1.49
Subtotal
Is $ 1.49
Subtotal
Is $ 1.49
How to make
ch - chain
dc – double crochet
dc2tog – double crochet 2 together
htr – half treble
pm – place marker (mark this stitch with either a stitch marker, or a spare piece of yarn)
sl st – slip stitch
st(s) – stitch(es)
tr -treble
Starting with Beige, make a magic ring.
Round 1: 6 dc into loop. [6 dc]
Round 2: 2dc in each st around. [12 dc]
Round 3: (Dc in next st, 2dc in next st) 6 times. [18 dc]
Round 4: (Dc in next 2 sts, 2dc in next st) 6 times. [24 dc]
Rounds 5-6: Dc in each st around. [24 dc]
Round 7: (Dc in next 2 sts, dc2tog) 6 times. [18 dc]
Round 8: Dc in each st around. [18 dc]
Round 9: (Dc in next st, dc2tog) 6 times. [12 dc]
Round 10: Dc in each st around. [12 dc]
Round 11: (Dc in next st, 2dc in next st) 6 times. [18 dc]
Round 12: Dc in each st around. [18 dc]
Round 13: (Dc in next 2 sts, 2dc in next st) 6 times. [24 dc]
Round 14-15: Dc in each st around. [24 dc]
Round 16: (Dc in next 2 sts, dc2tog) 6 times. [18 dc]
Round 17: (Dc in next st, dc2tog) 6 times. [12 dc]
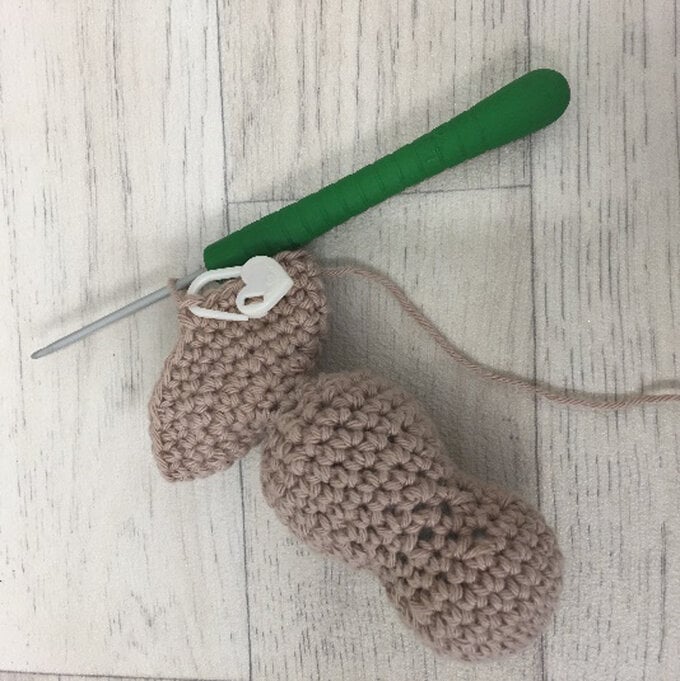
Stuff body. Continue stuffing as you go.
Round 18: (Dc in next 2 sts, dc2tog) 3 times. [9 dc]
Round 19: Dc in each st around. [9 dc]
Shape Head
Round 20: (Dc in next 2 sts, 2dc in next st) 3 times. [12 dc]
Round 21: (Dc in next st, 2dc in next st) 6 times. [18 dc]
Round 22: (Dc in next 2 sts, 2dc in next st) 6 times. [24 dc]
Round 23: (Dc in next 3 sts, 2dc in next st) 6 times. [30 dc]
Rounds 24 – 25: Dc in each st around. [30 dc]
Round 26: Dc in next 11 sts, pm, dc in next 8 sts, pm, dc in remaining 11 sts. [30 dc]
Rounds 27-30: Dc in each st around. [30 dc]
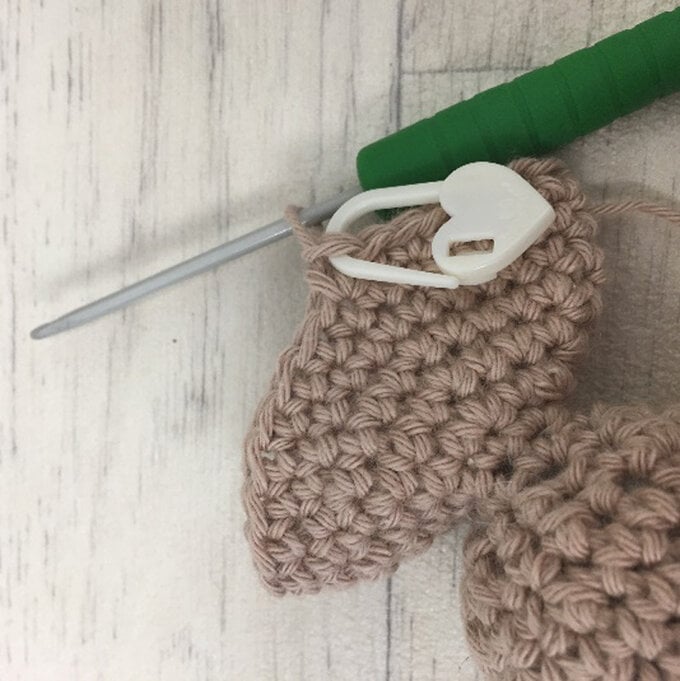
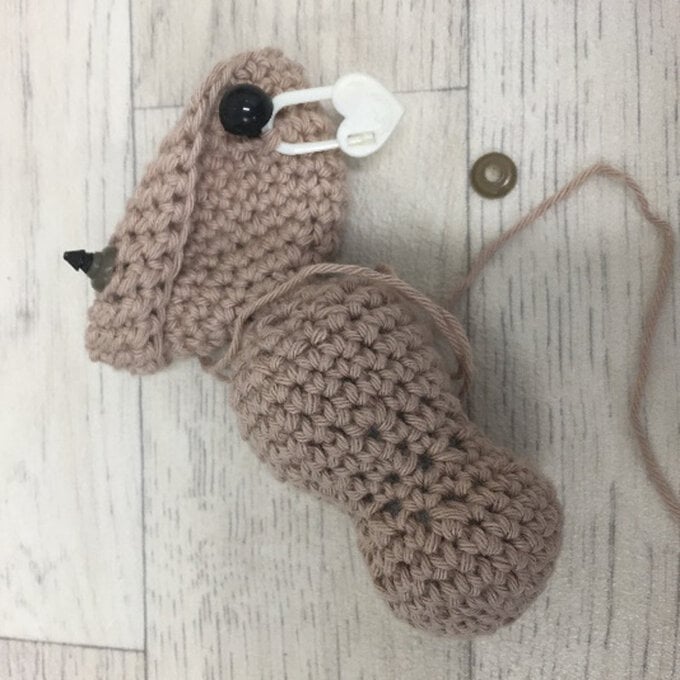
Place safety eyes into marked stitches and fasten tightly. Break off Beige and join in Vanilla.
Round 31: (Dc in next 3 sts, dc2tog) 6 times. [24 dc]
Round 32: (Dc in next 2 sts, dc2tog) 6 times. [18 dc]
Round 33: (Dc in next st, dc2tog) 6 times. [12 dc]
Round 34: (Dc2tog) 6 times. [6 dc]
Fasten off leaving a short tail, then using a sewing needle, thread tail through front loop of each stitch of the final round. Pull tight to close and weave in any ends.
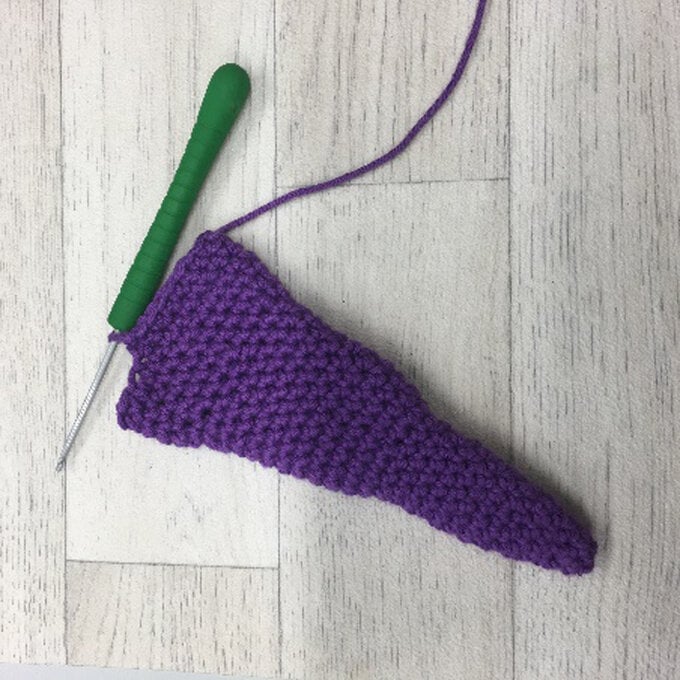
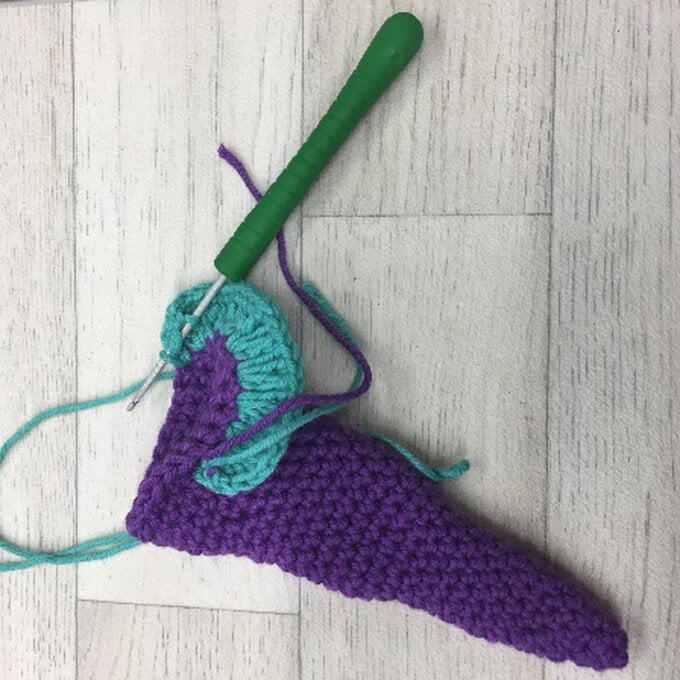
Starting with Purple, make a magic ring.
Round 1: 6 dc into loop. [6 dc]
Round 2-3: Dc in each st around. [6 dc]
Round 4: (Dc in next st, 2dc in next st) 3 times. [9 dc]
Rounds 5-7: Dc in each st around. [9 dc]
Round 8: (Dc in next 2 sts, 2dc in next st) 3 times. [12 dc]
Rounds 9-15: Dc in each st around. [12 dc]
Round 16: (Dc in next st, 2dc in next) 6 times. [18 dc]
Rounds 17-26: Dc in each st around. [18 dc]
Round 27: (Dc in next 2 sts, 2dc in next st) 6 times. [24 dc]
Rounds 28-31: Dc in each st around. [24 dc].
Round 32: Dc in each st around. Break off Purple and join Teal. Ch 1, turn. [24 dc]
Row 33: (1htr, 1tr, 1htr) in each of next 18 sts.
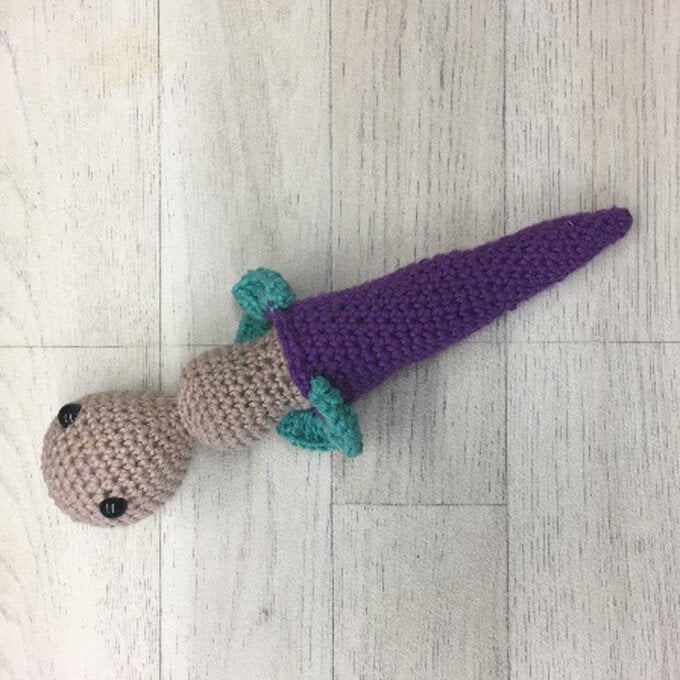
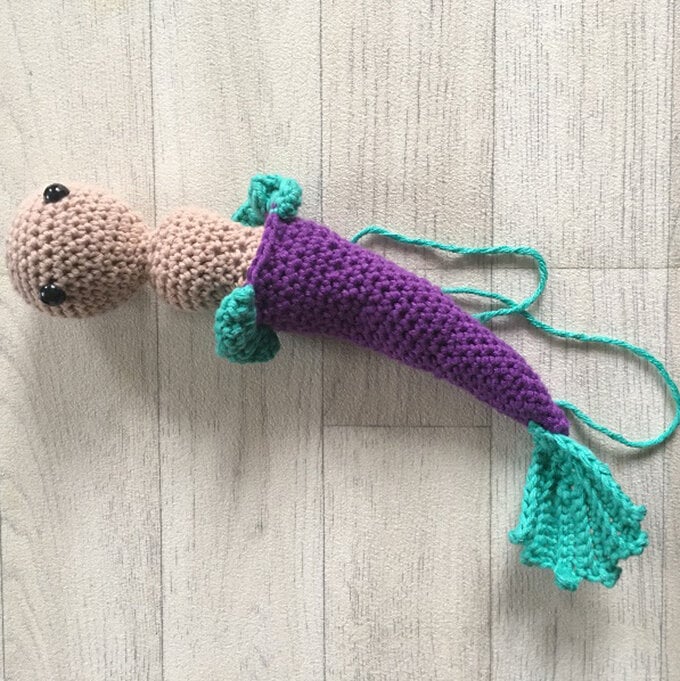
Fasten off, leaving a long tail for sewing. Stuff lightly and sew tail to round 8 of body.
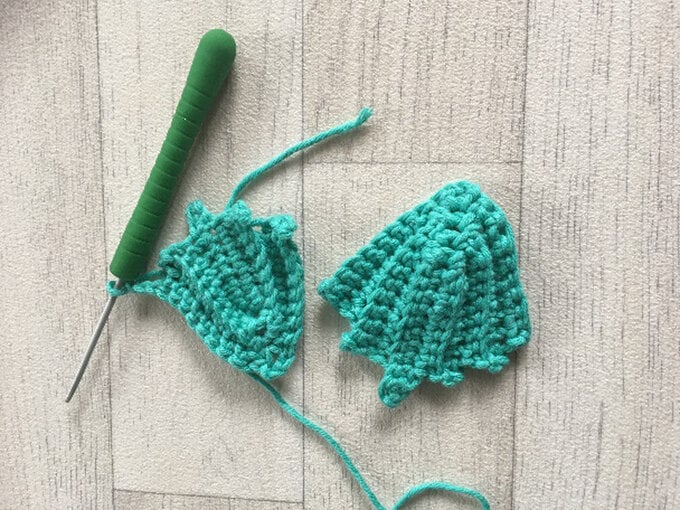
Starting with Teal, ch 11.
Row 1: Starting in 2nd ch from hook, dc in next 10 sts, ch 3, continue on other side of the chain, dc in next 8 sts, ch 3, turn. [ 18 dc and ch 3 sp]
Continue working in BACK LOOPS only:
Row 2: Starting in the last dc of the previous round, dc in next 8 sts, (dc, ch 3, dc) into the ch 3 space from the previous round, dc in next 7 sts ch3, turn [ 17 dc and ch 3 sp]
Row 3-4: As row 2.
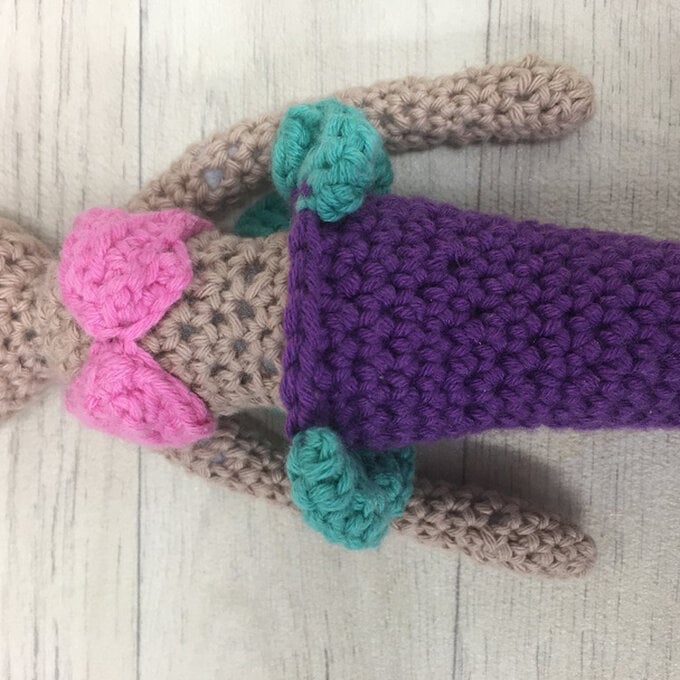
Fasten off and weave in any ends. Using the picture as a guide, sew the rounded ends of the fins to both sides of the tail tip.
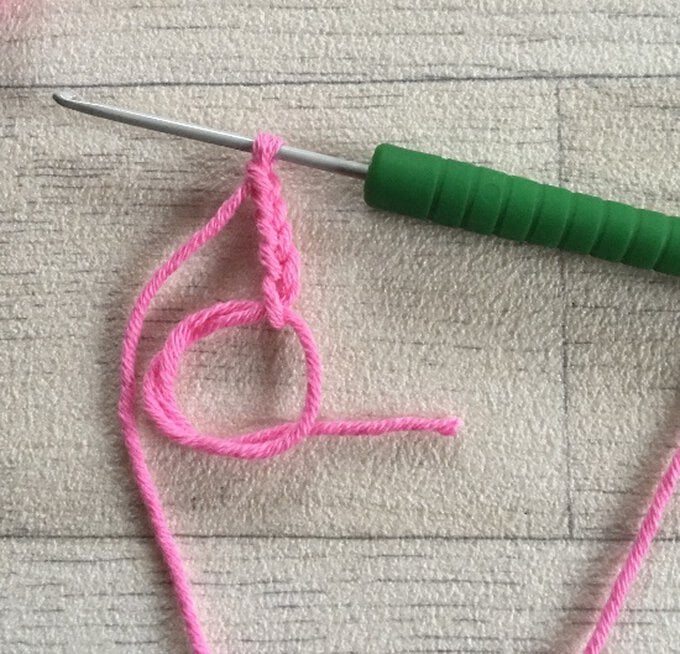
Using Hot Pink, make a magic ring. Ch 5. (DO NOT PULL RING TIGHT)
Row 1: Starting in 2nd ch from hook, dc in next 4 sts, sl st into the ring, turn. [4 dc]
Continue working in the FRONT LOOPS only:
Row 2: Sl st in each st to end, ch 3, turn.
Row 3: Starting in 3rd ch from hook, dc in each st to end, sl st into the ring, turn. [5 dc]
Row 4: Sl st in each st to end, ch 3, turn.
Row 5: Starting in 4th ch from hook, dc in next 4 st, sl st into the ring. [4 dc]
Now pull the ring tight to close. Fasten off.
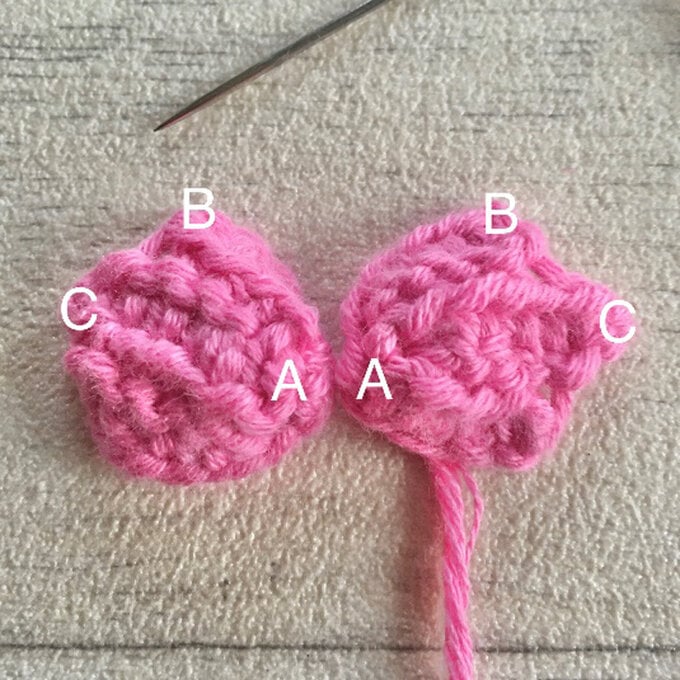
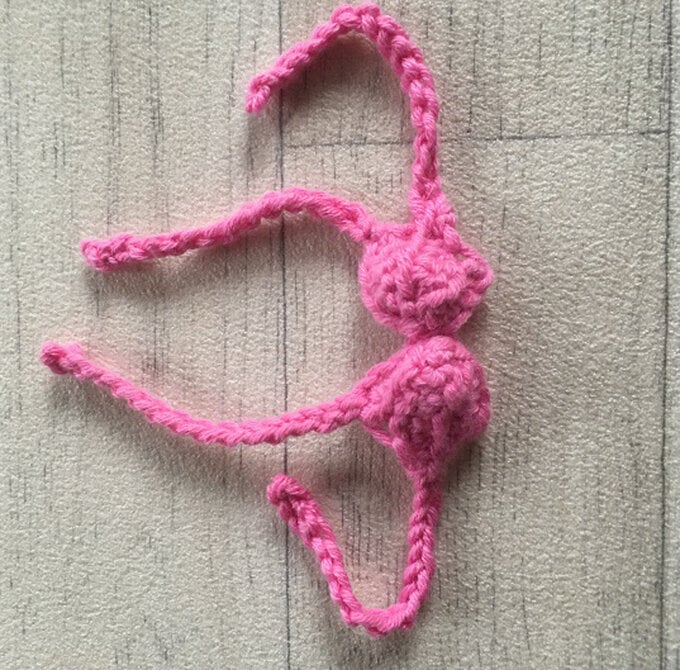
Using the picture as a guide, join both cups together at point A and secure with a couple of stitches. To form the halter-neck straps, re-join yarn at point B and ch 15. Fasten off and weave in any ends. Repeat on the other side.
To form the side straps, re-join yarn at points C and ch 15. fasten off. Weave in any ends. Repeat on the other side.
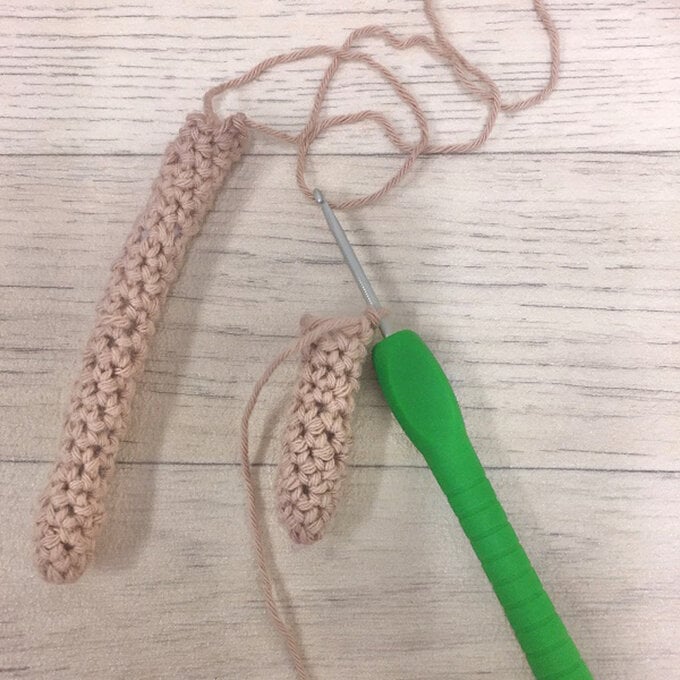
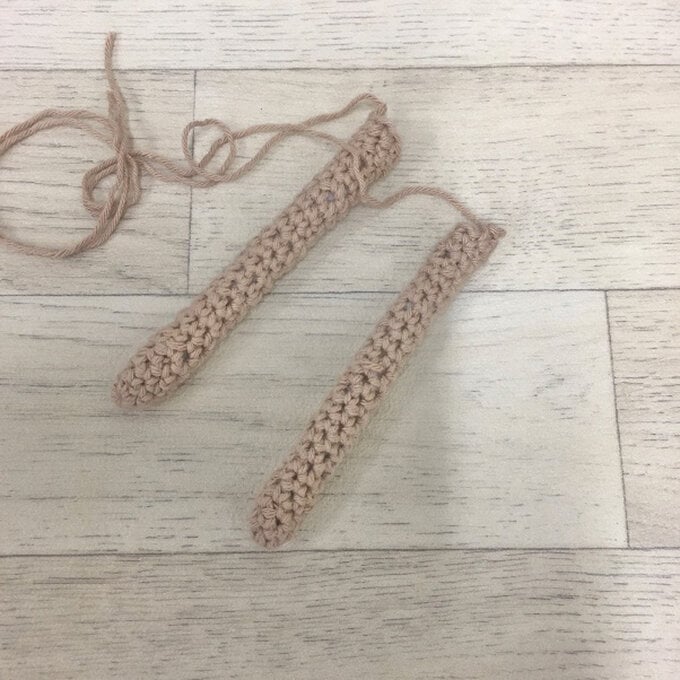
Starting with Beige, make a magic ring.
Round 1: 6 dc into loop. [6 dc]
Rounds 2-10: Dc in each st around. [6 dc]
Fill lightly. Continue to stuff as you go.
Rounds 11-22: Dc in each st around. [6 dc]
Fasten off, leaving a long tail for sewing.
Sew arms to either side of the body, 2 rounds below the neck.
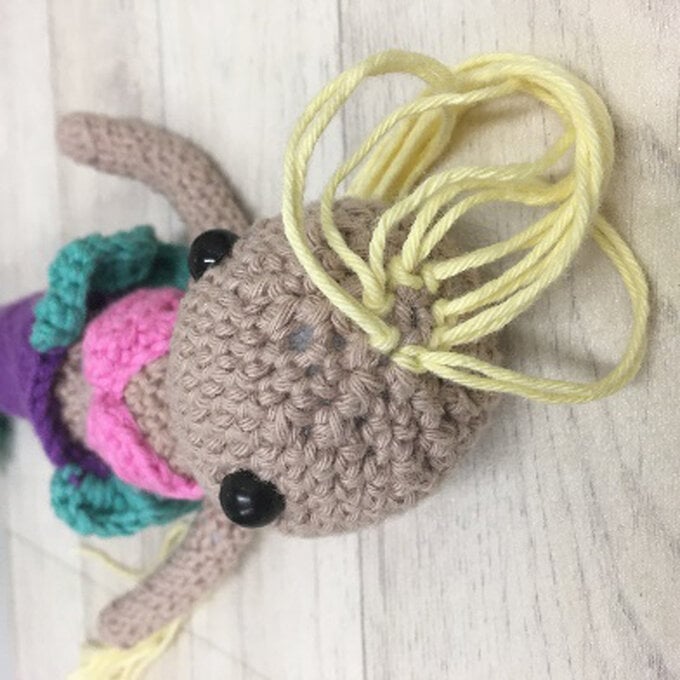
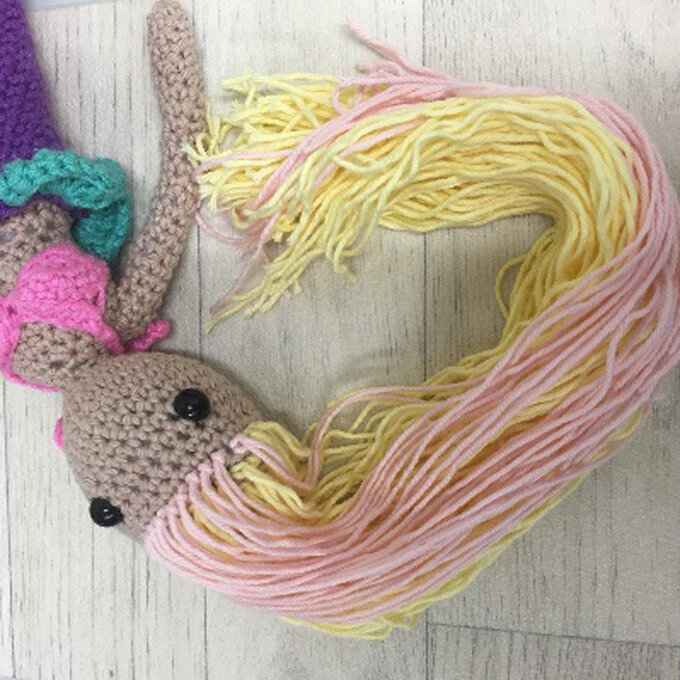
Step 1: Using Vanilla, cut approx. 80* individual lengths of yarn, measuring approximately 50cm.
Step 2: Take one strand and fold in half.
Step 3: Starting at the very last round of the head (where you closed the loop), insert your crochet hook into one of the stitches. Hook the folded strand and draw through the stitch.
Step 4: Pull the double end through the loop and pull tight.
Continue to insert strands of 'hair' in this way, working your way out from the centre of the head until you reach the colour change. Add in few strands of Rose to the front of the last two rounds to add a little colour to the hair! Finish by adding a small braid on one side.
please note – In these images, the coloured patch has not been worked so that you can see clearly where the strands of hair are inserted.
*80 is an estimate needed to cover the coloured patch at the top of the head. You may find that you use less, or you may even want to use more. It is entirely up to you, just continue to add the strands of hair until you are happy with the result!
Related Products