How to Make Punch Needle Farm Animals
Discover the incredible versatility of punch needle crafts with this step-by-step guide. Perfect for intermediate punch needle crafters, this project will help you to discover new techniques and show off your punch needle skills!
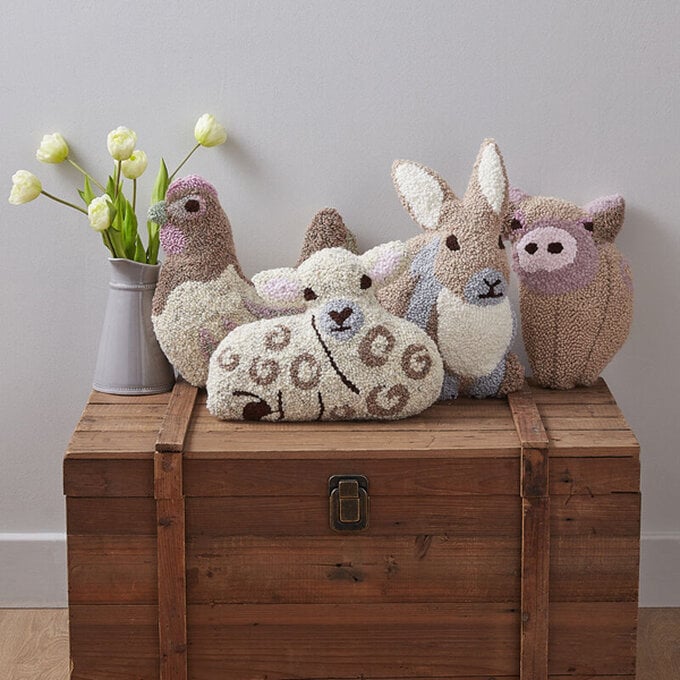
Ideal for all occasions, these farm animal punch needle cushions will make a cute and cosy addition to any room. Discover how to prepare a punch needle frame here.
Project and instructions by Caroline Jane Creative
You will need

Subtotal
Is $ 10.00
Subtotal
Is $ 24.00
Subtotal
Is $ 9.49
Subtotal
Is $ 6.49
* Adjustable Punch Needle
* Wipe Off Fabric Marker
* Masking Tape
* Staple Gun
* Staples
* Wooden Stretcher Bar 59.4 x 1.6 x 3cm x2
* Wooden Stretcher Bar 42cm x 1.6 x 3cm x2
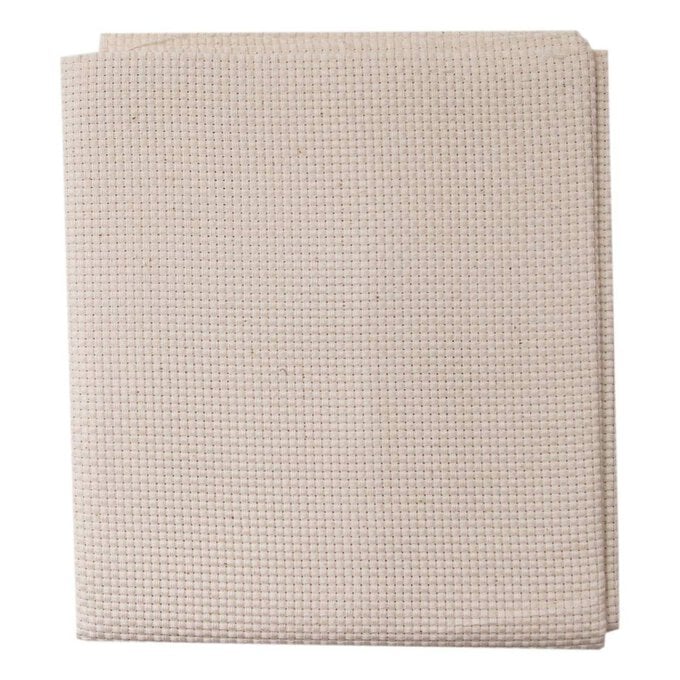
* Cream Cotton Needlecraft Fabric 70 x 80cm
* Sew All Thread - Cream
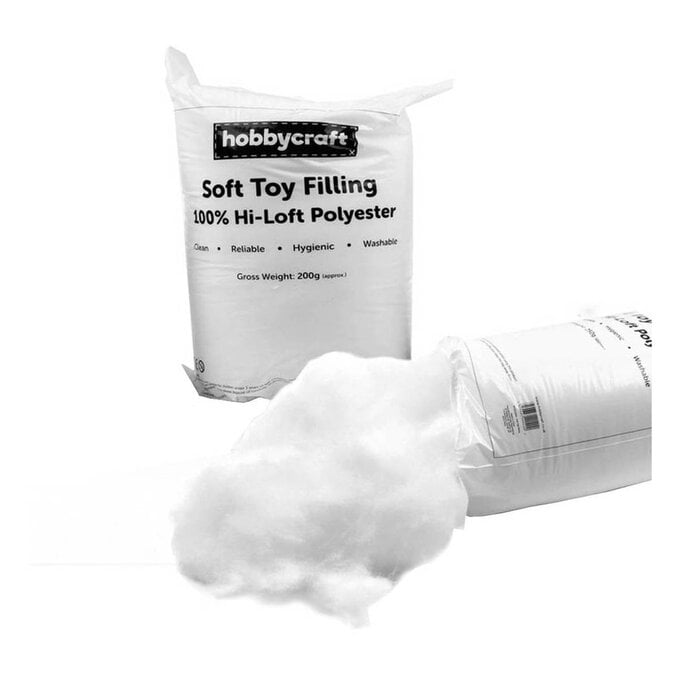
* Soft Toy Filling
* Cotton Fabric Bolt 119cm x 2m
The following yarns have been used in the example, however some have since been discontinued. Feel free to substitute them for any chunky yarn in a similar colour, or use two strands of a DK yarn.
* Yarn A - Felted Tweed Yarn 50g - Camel (Use two strands)
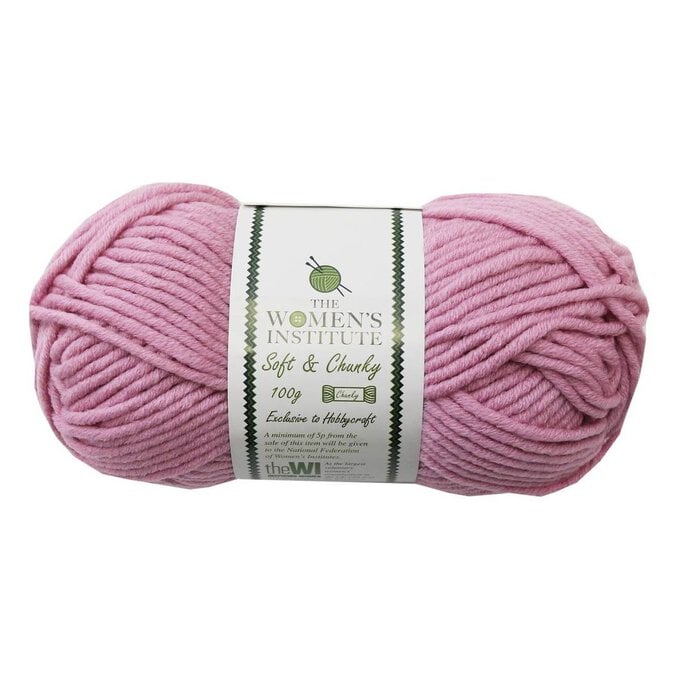
* Yarn B - WI Soft and Chunky Yarn 100g - Brown (Use two strands)
* Yarn C - Bonus Chunky Yarn - Light Grey Mix
* Yarn D - Flutterby Chunky Yarn 100g - Baby Pink
* Yarn E - Bonus Chunky Tweed Yarn 100g - Sandstorm
* Yarn F - Brushed Fleece Yarn 50g - Dawn
* Yarn G - WI Soft and Chunky Yarn 100g - Dusky Pink
* Yarn H - Mega Merino Chunky Yarn 100g - Cream
* Yarn I - Stonewash DK Yarn 100g - Pink and Grey (Use two strands unless otherwise stated)
* Yarn J - Knitcraft Hey Baby Yarn 50g - Sage (Use two strands unless otherwise stated)

Before you begin download, print and cut out the following free downloads:
Hen:
* Template 1 - Download the PDF template here
* Template 2 - Download the PDF template here
* Template 3 - Download the PDF template here
Sheep:
* Template 1 - Download the PDF template here
* Template 2 - Download the PDF template here
Pig:
* Template 1 - Download the PDF template here
* Template 2 - Download the PDF template here
Rabbit:
* Template 1- Download the PDF template here
* Template 2 -Download the PDF template here

Before you can begin your project, you will need to prepare a punch needle frame. Discover how to prepare a punch needle frame here.
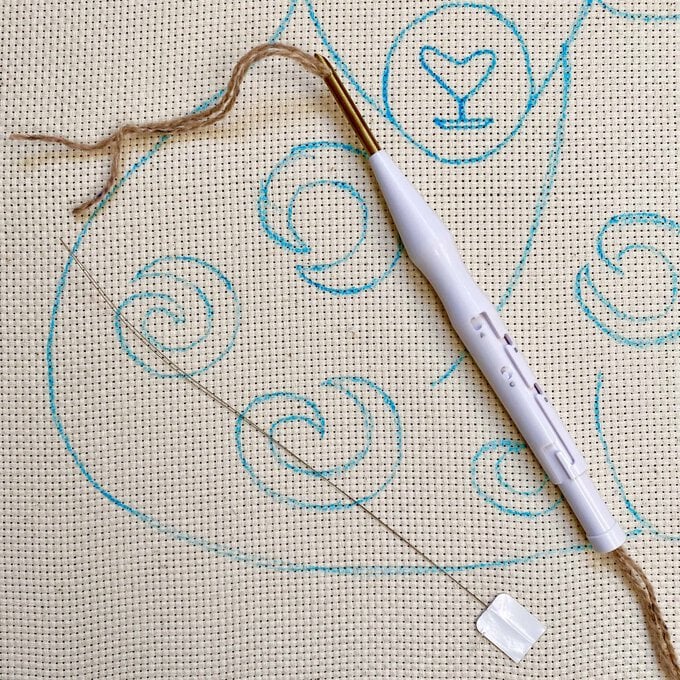
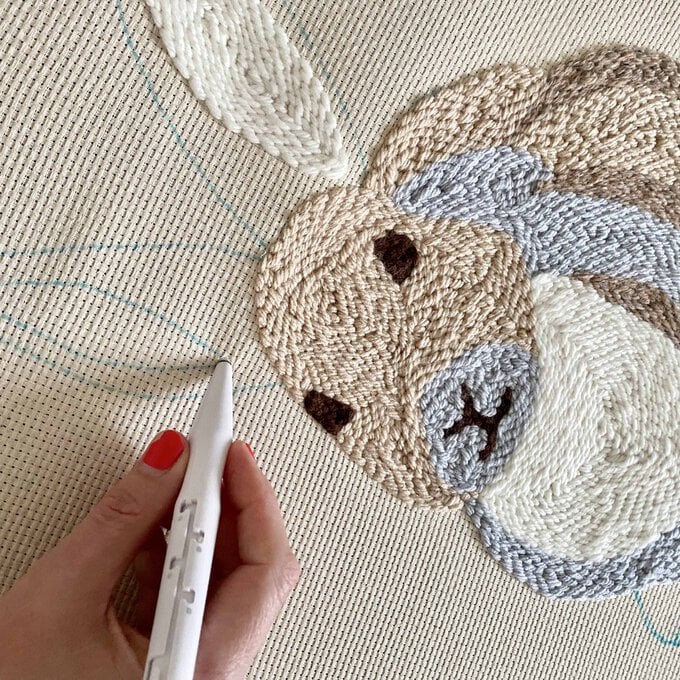
Next, you need to trace your designs onto your fabric using the templates and a fabric marker.
Now you are ready to begin your project!
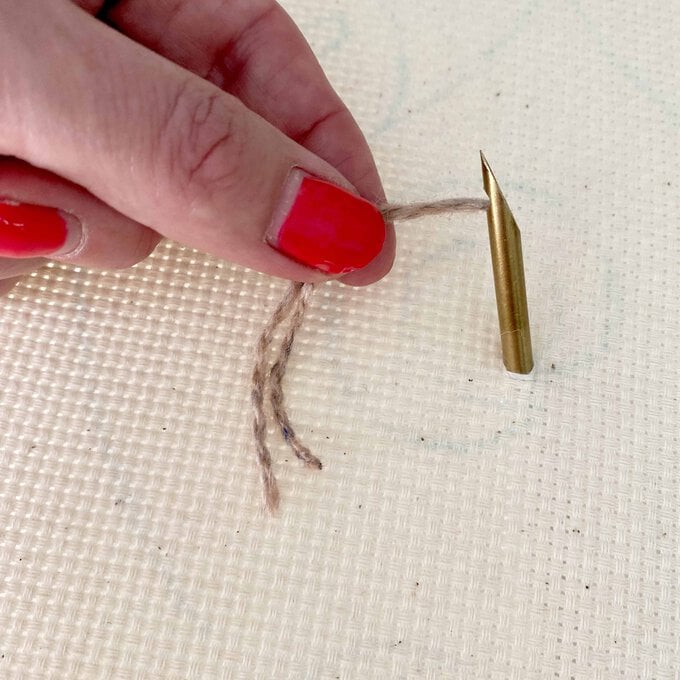
Set the needle to position C. Pass the wire end of the threader through the outside hole in the tip of the needle and down the shaft until the wire sticks out at the base. Thread 'Yarn A' through the threader. Using the white tab, pull the yarn up through the shaft and the hole in the tip of the needle. Ensure you have a yarn tail of about 10cm from the tip of the needle. You will be punching from the back of the frame to create looped, textured stitches on the front.
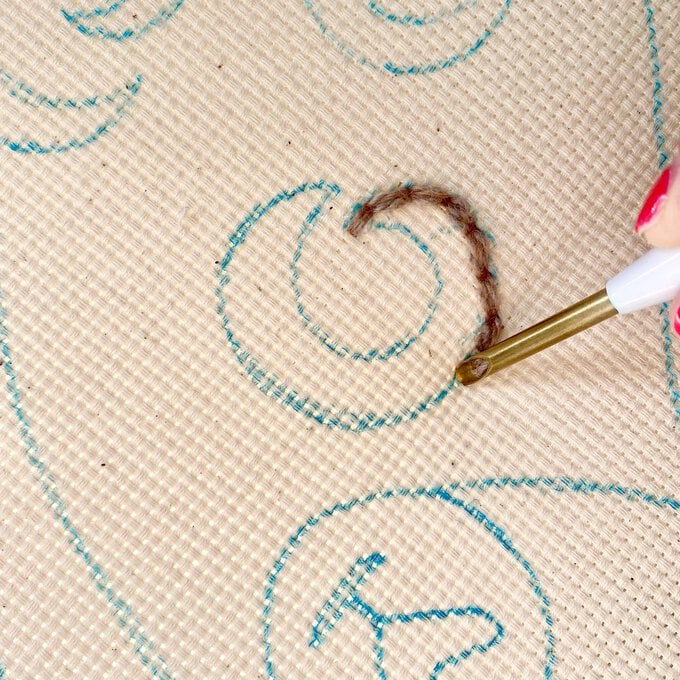
Hold the needle as you would a pen. Push the tip of the needle, at a slight angle, all the way through the fabric on the outline of one of the curls. Make sure you push it so the bottom of the handle shaft touches the fabric. Turn the frame to the front and gently pull the yarn tail through so it is on the front of the frame. You will snip these off later.
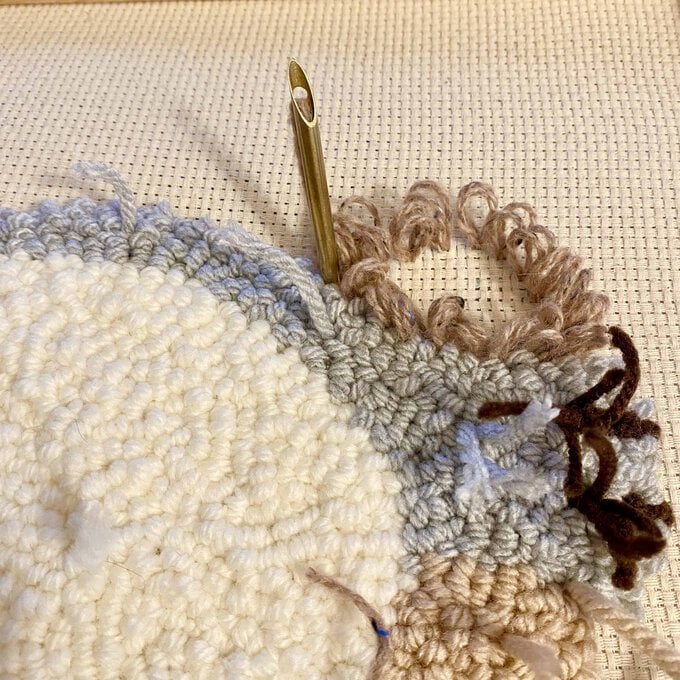
Lift the needle out gently so the tip of the needle is still touching the fabric. With the hole in the needle tip facing up, skim the surface of the fabric for about 1cm and push the needle in again. This is your first stitch.
Continue punching the outline. Once you reach your starting point, keep your needle pushed in, turn it in the direction of your next stitch and fill the rest of the shape with stitches.
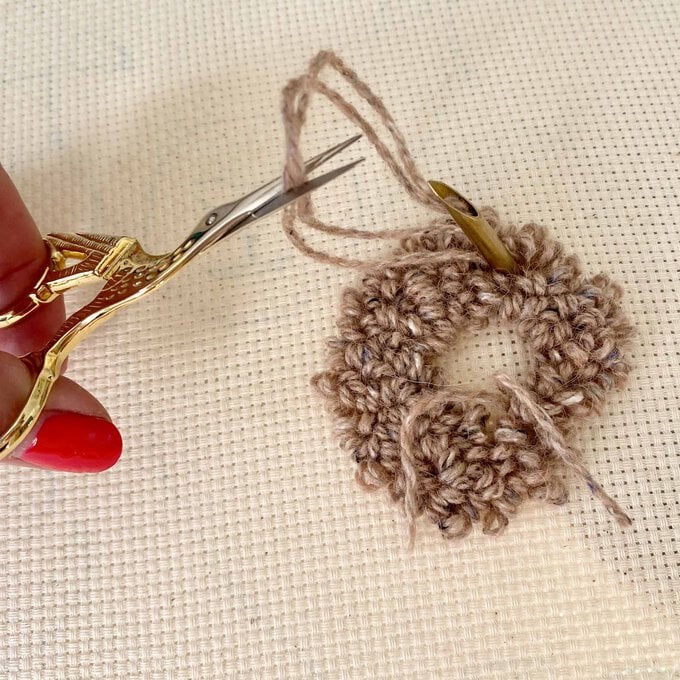
On your last stitch, keep your needle pushed in and with your other hand, slowly pull a short section of yarn through the needle, making sure you don’t pull the yarn from your stitches. Snip the yarn on the front.
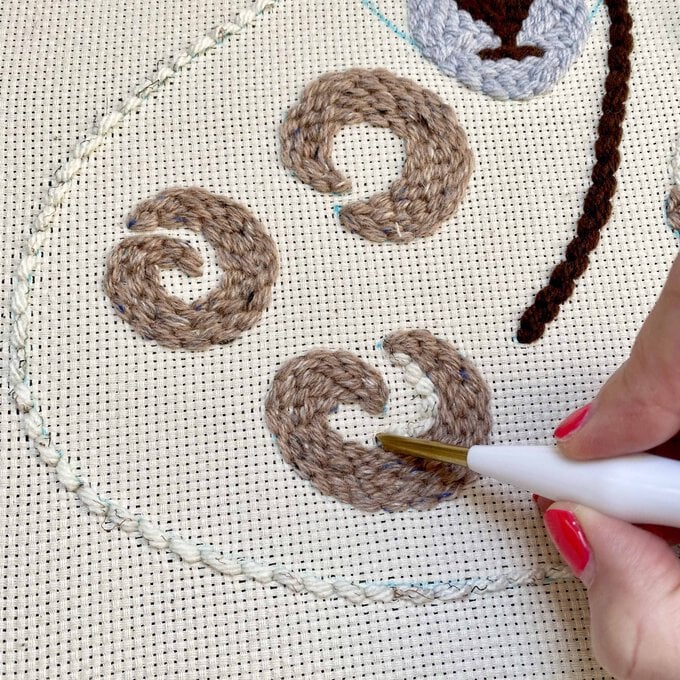
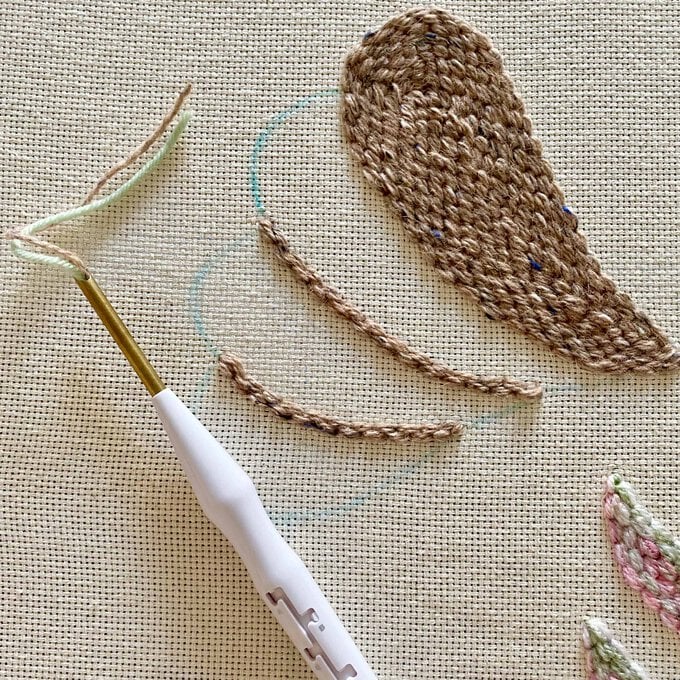
Continue punching all eight curls.
Continue punching the rest of the animals in the same way, changing needle position and yarn when necessary.
With 'Yarn B' punch 2 rows of stitches along the leg lines, neckline, hoof, eyes, nose, and mouth.
With 'Yarn C' and punch the nose section.
With 'Yarn D' and punch the inner ear section.
With 'Yarn E' and punch the remainder of the lamb.
See below for how to finish the cushion.

Needle Position B
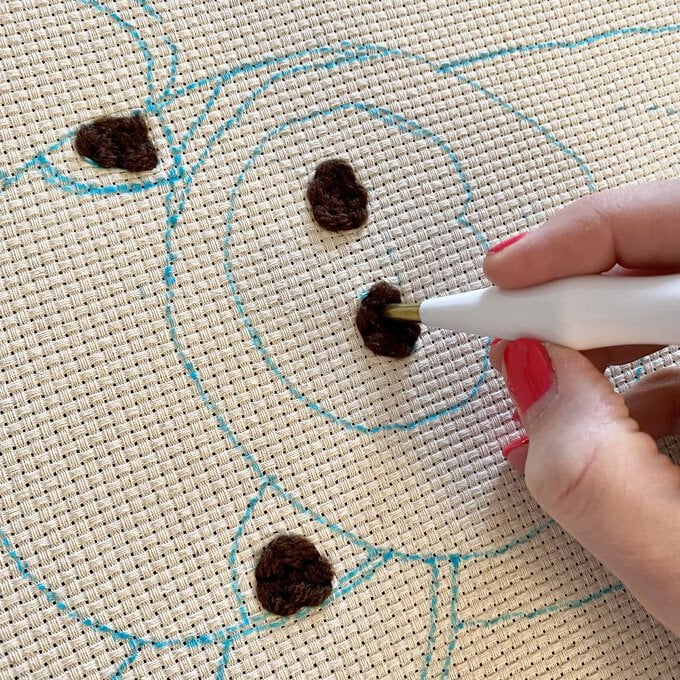
Using 'Yarn B' punch the nostrils.
Needle Position C
Using 'Yarn B' punch the eyes. (there is no need to take the yarn out of the needle to change the position.)
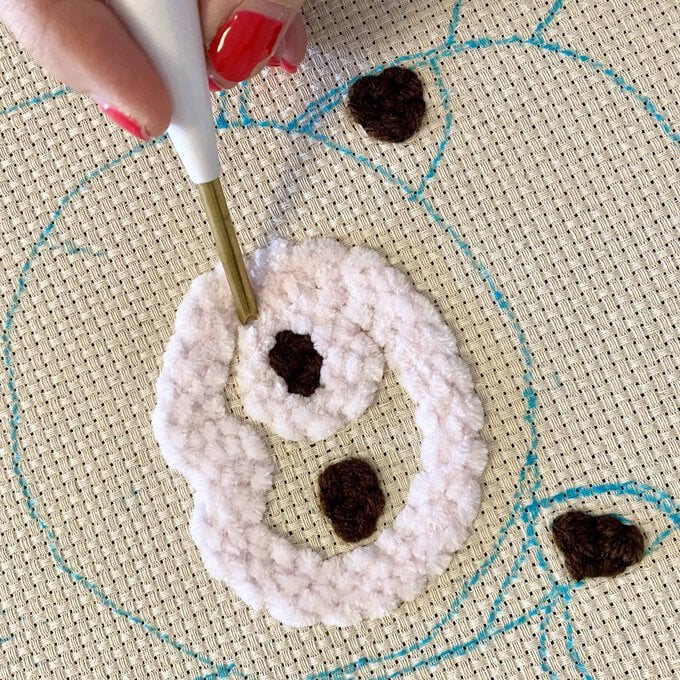
Needle Position B
With 'Yarn D' punch the inner snout section.
With 'Yarn F' punch the outer snout section.
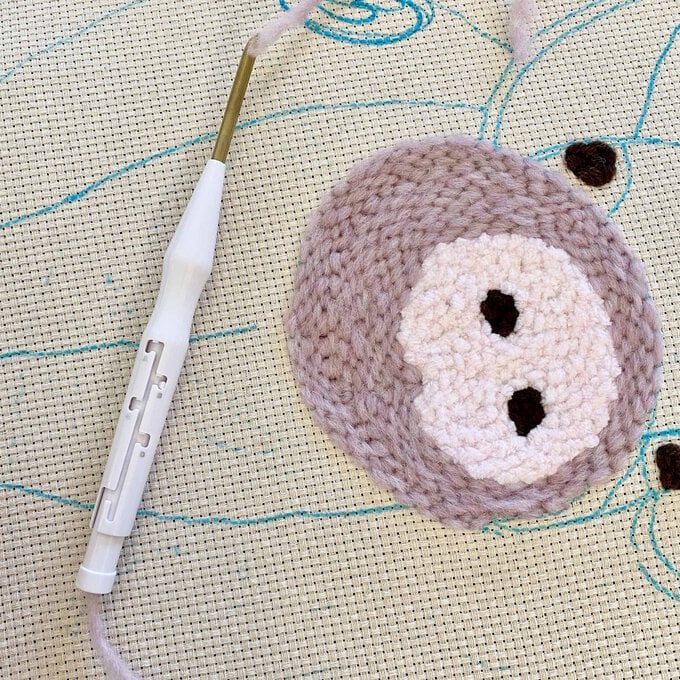
Needle Position C
With 'Yarn G' punch around the eyes.
With 'Yarn A' punch the inner ears and leg lines.
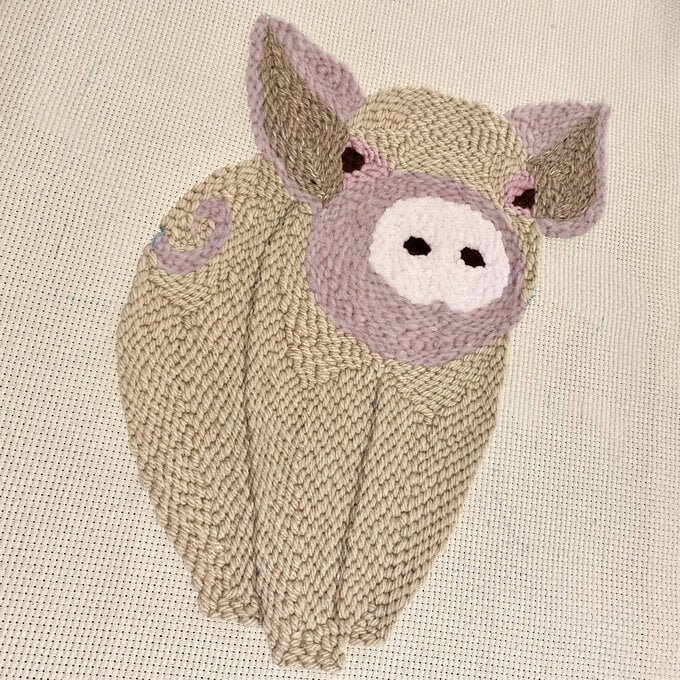
With 'Yarn F' punch the tail.
With 'Yarn ?' punch the rest of the body.
See below for how to finish the cushion.
Needle Position C
With 'Yarn B' punch the eyes, nose, mouth and feet lines.
With 'Yarn C' punch the snout and front leg sections.
With 'Yarn H' punch the bib.
With 'Yarn A' punch the dark brown sections.
With 'Yarn ?' punch the rest of the body.
Needle Position B
With 'Yarn H' punch the inner ear sections.
Needle Position A
With 'Yarn A' punch the tail.
See below for how to finish the cushion.
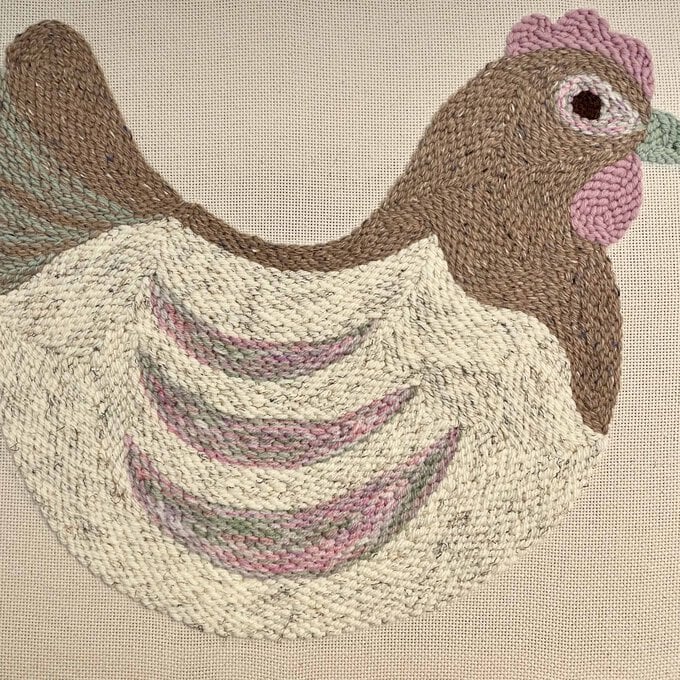
Needle Position B
With 'Yarn I' punch the 3 feathers.
With 'Yarn A' punch the top part of the tail and inner lines of the next tail sections.
With one strand of 'Yarn I' and one strand of 'Yarn J' punch the remainder of the tail.
Needle Position C
With 'Yarn B' punch the eye.
With 'Yarn I' punch the outer eye.
With 'Yarn G' punch the crown and wattle.
With 'Yarn A' punch the head and back.
With 'Yarn J' punch the beak.
With 'Yarn E' punch the rest of the body.

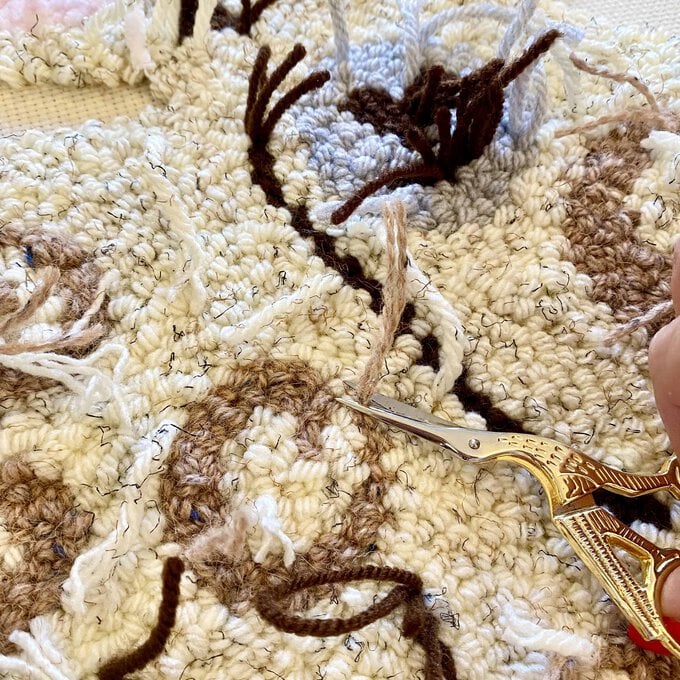
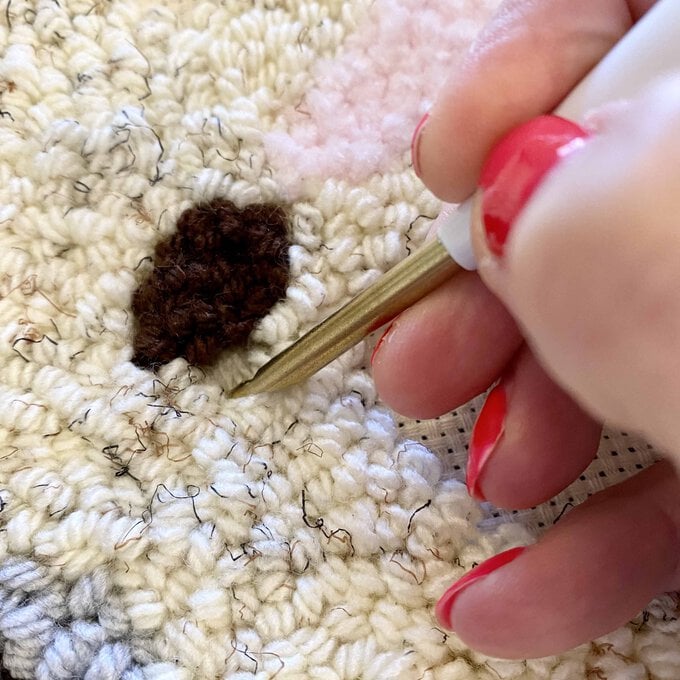
Snip the yarn tails on the front of the cushion so they are flush with the punched stitches. Neaten any uneven loops between colours by gently separating them with the tip of your needle. You can also use your needle to gently push through any stitches of an uneven height.
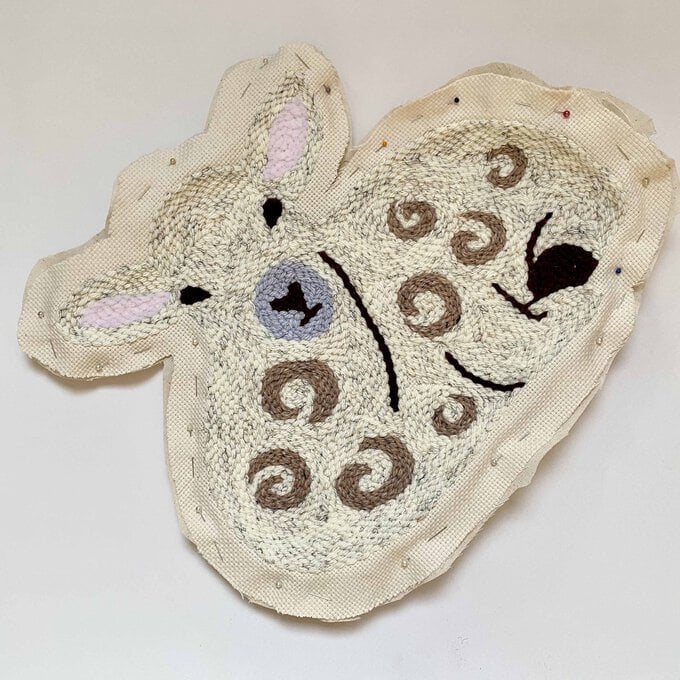
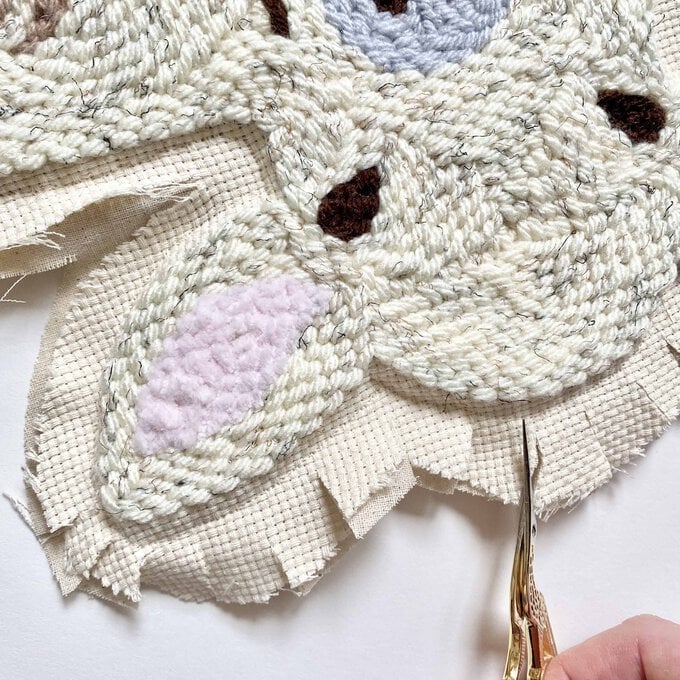
Remove the fabric from the stretcher frame. Cut a border of about 1” around the punched animal shapes. Press the backing fabric.
With right sides together cut and pin the punched piece and backing fabric together.
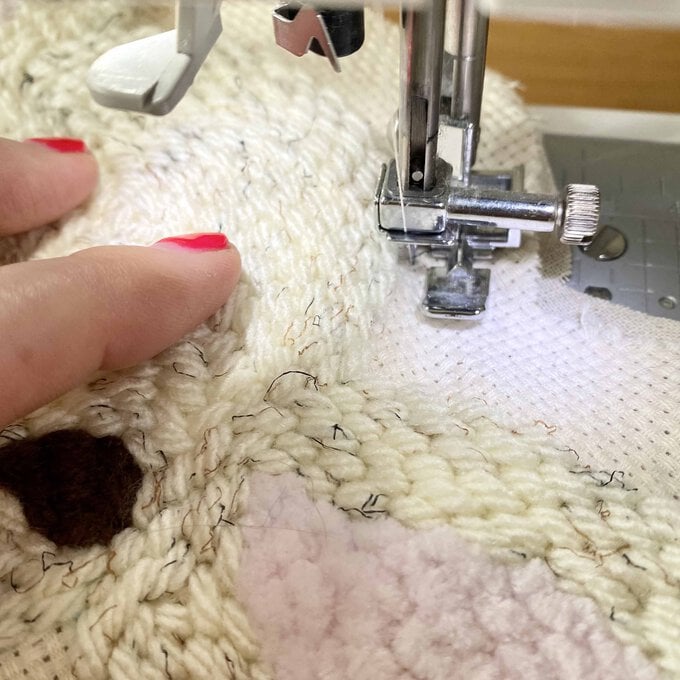
Use the zipper foot on your sewing machine and sew the two pieces together leaving a 20cm gap. Cut notches around the edge of the cushions and turn them the right way around.
Stuff the cushions and hand stitch the gap.
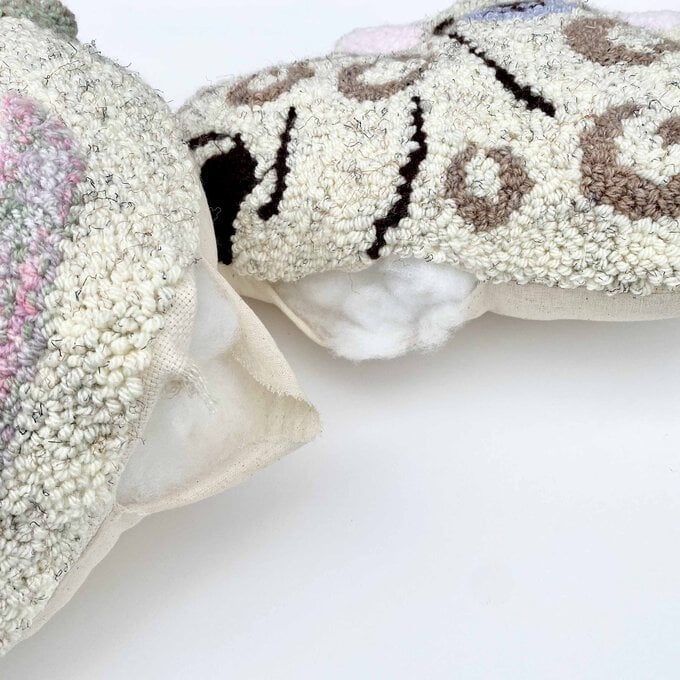
Your punch needle farm animals are now complete!
Related Products

Is $ 8.49

