3 Valentine's Day Cards to Make
If you’re looking for personalised, funny Valentine’s Day card ideas, look no further!
These handmade Valentine’s cards are the perfect pick for your lucky loved one – all made using simple techniques that can easily be recreated at home.
Project and instructions by Sue Smith.
You will need
Subtotal
Is $ 6.49
Subtotal
Is $ 10.00
Subtotal
Is $ 30.00

Subtotal
Is $ 12.00
How to make
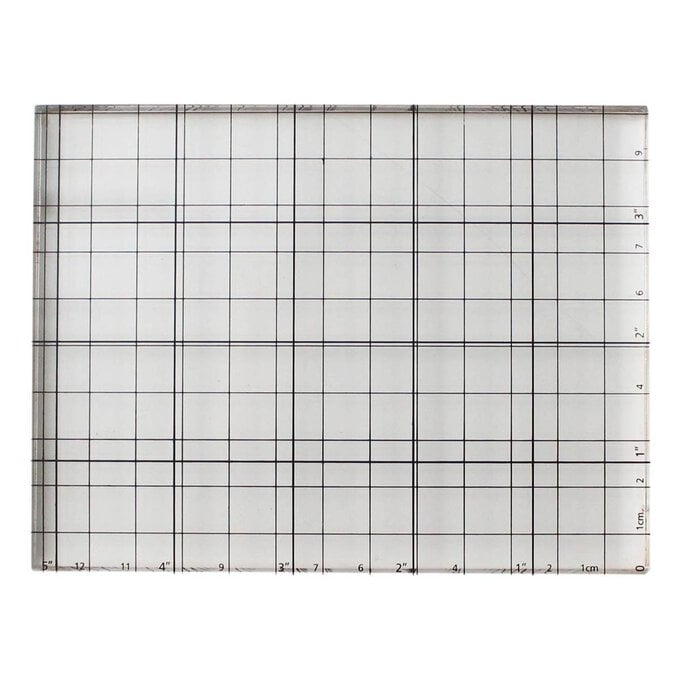
* Clear Acrylic Printing Block 10cm x 13cm
* Hobbycraft Heat Tool
* A Glue Stick
* Scissors
* Duck Masking Tape 25mm x 25m
* A Pencil
* An Eraser/Rubber
* White Rectangle Aperture Cards and Envelopes A6 10 Pack
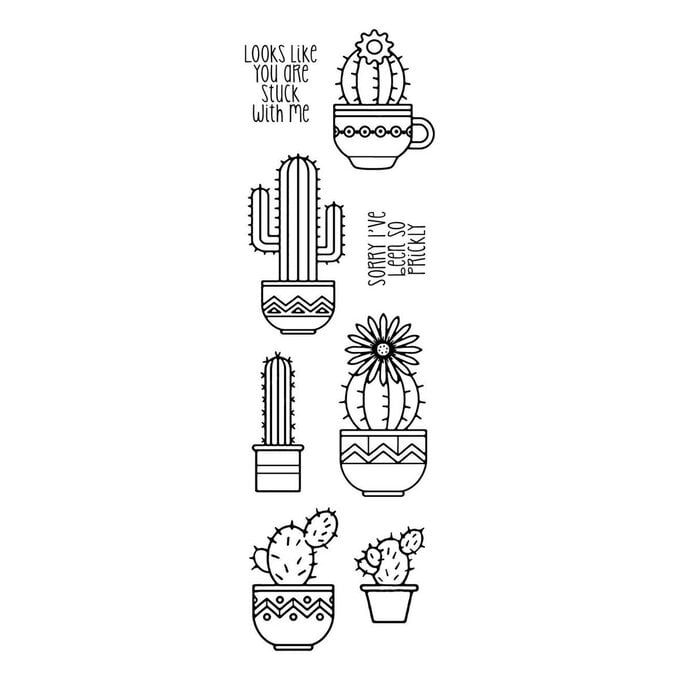
* Succulents Clear Stamp Set 8 Pack
* Ranger Archival Ink Pad Jet Black 9.5cm x 6.9cm x 1.5cm
* Uni Pin Fine Line Black Ink Pen 0.8mm
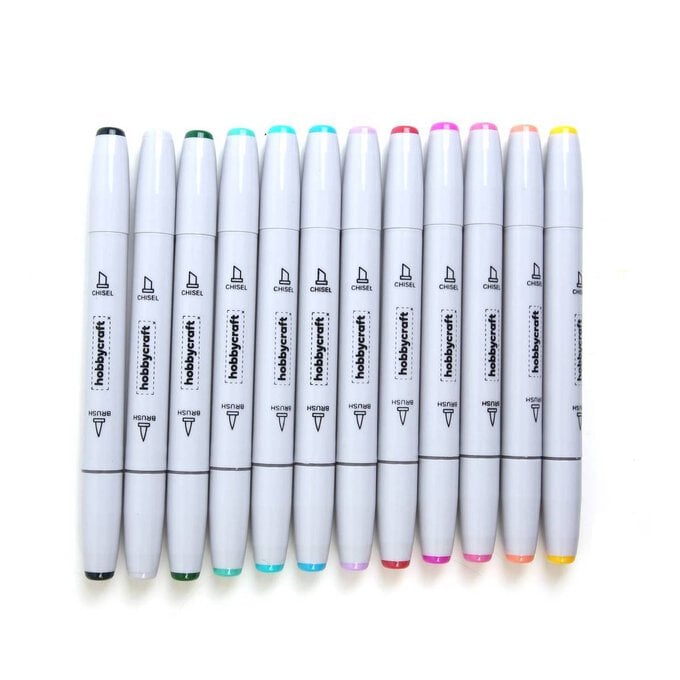
* Bright Dual Tip Graphic Markers 12 Pack
* Tropical Dual Tip Graphic Markers 12 Pack
* Paper Creaser Set 2 Pieces
* Craft Essentials White Hammered Card A4 10 Sheets
* Royal & Langnickel Gold Taklon Round Brushes 3 Pack
* White Scalloped Edge Cards and Envelopes 5.8 x 5.8 Inches 50 Pack
* Dual Tip Brush Markers 100 Pack
* Free Templates - Downloaded + Printed


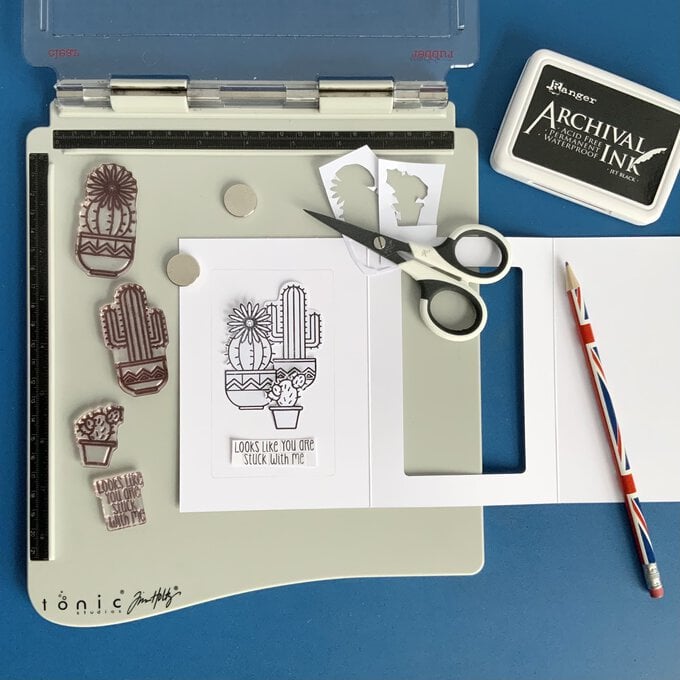
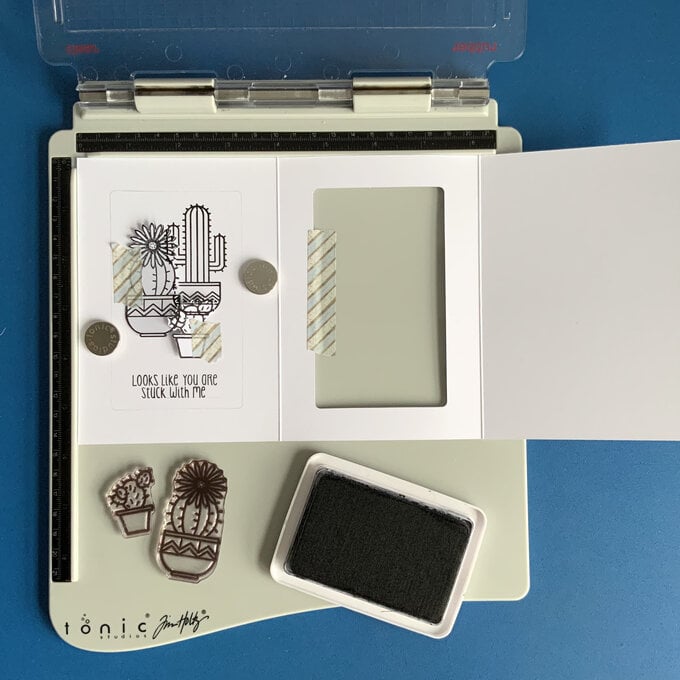
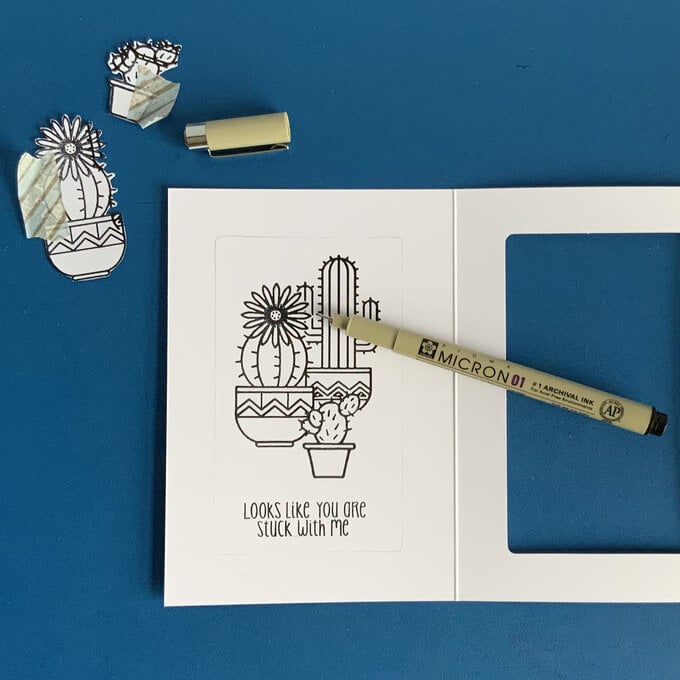
Begin by stamping out three cactus plants, and the relevant sentiment onto scrap paper, and cut them all out.
Reposition, and glue down the sentiment words on another piece of scrap paper to read on two lines. Cut the sentiment out again.
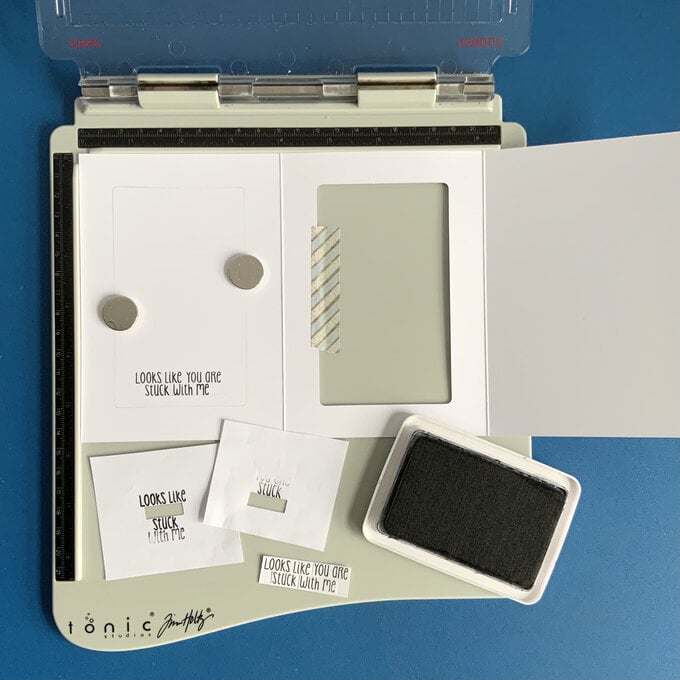
Use a pencil to lightly draw around the inside of the front frame to give a guide to the stamping area on the inside panel of the card blank. Unfold the card, and place all the stamping elements down to check the positioning of the caption.
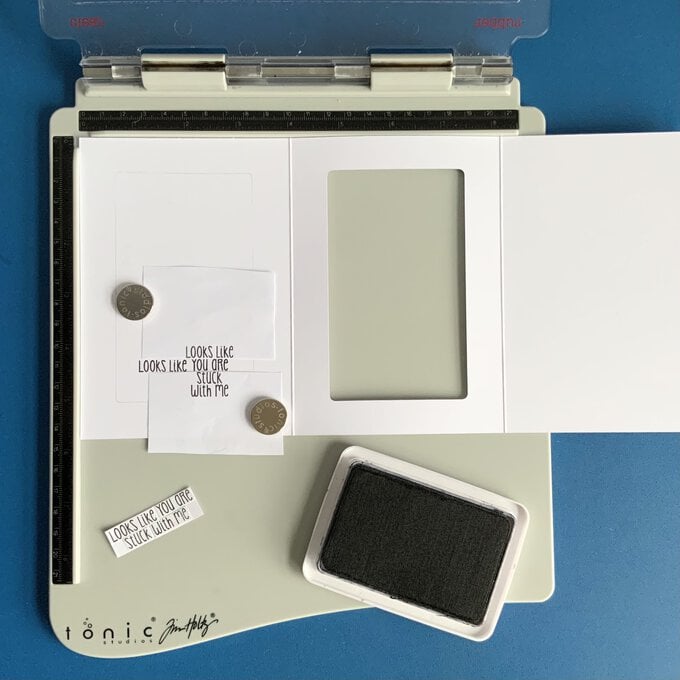
Continue to stamp the second line of the caption, using more masks of paper.
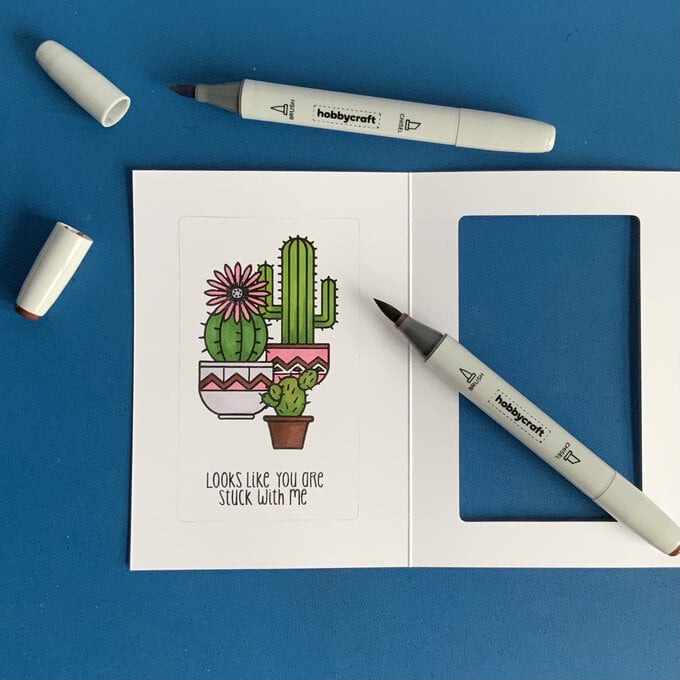
Stamp the small cactus in the foreground of the cluster. Use the paper cut out as a mask, and tape in place directly over the stamped image.
Now, stamp the large cactus on the left hand side. Mask this one as before.
Lastly, stamp the third large cactus on the right hand side.
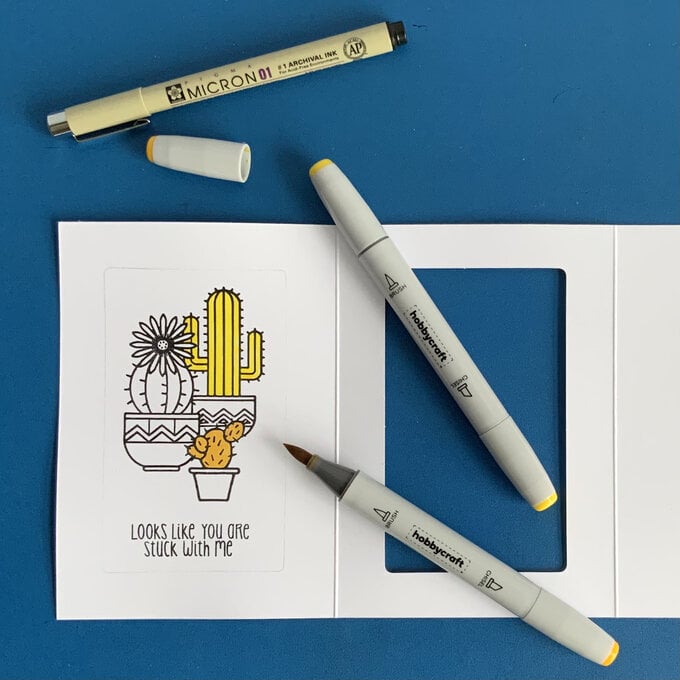
Find the two yellow graphic marker pens from both pen sets.
Colour the small cactus with the darker yellow pen, and the large cactus on the right with the brighter yellow pen. This acts as a base to alter the green tones.
Colour all three cacti with the same bright green pen from the 'Brights' pack. Before the ink dries, add more layers of colour to create a shading effect. Use the pale pink pen from the same pack to colour the cactus flower petals, and some of the areas on the pots.
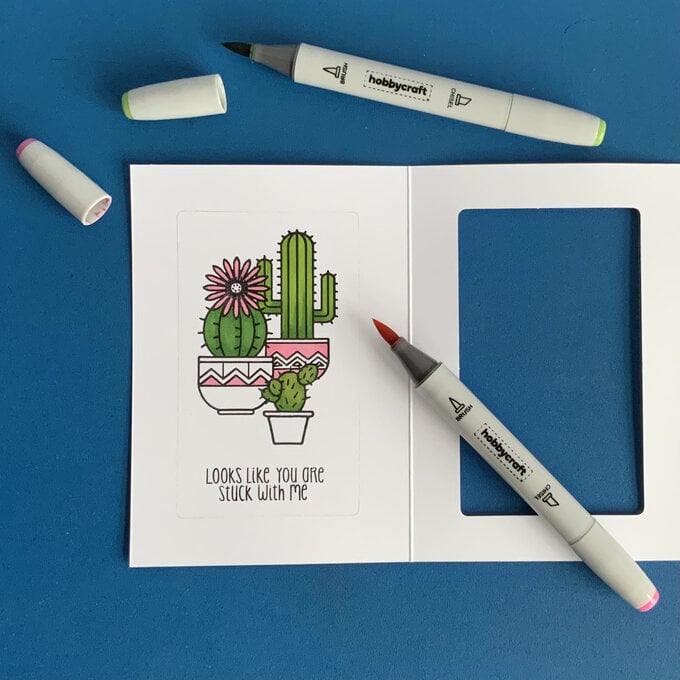
Find the pale grey pen from the 'Brights' set, and the brown pen from the 'Tropicals' set. Use these to finish colouring the plant pots. Also, add a grey centre to the cactus flower.
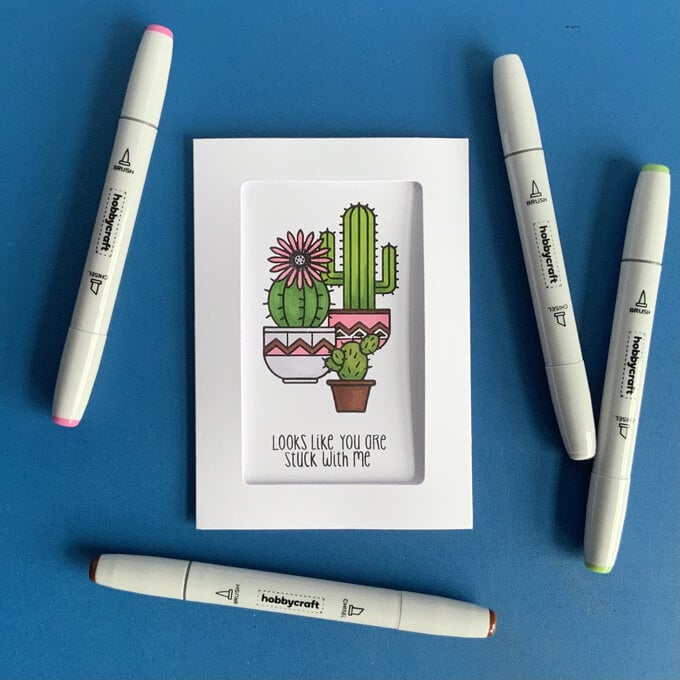
Erase the pencil frame line, and fold the card blank, to admire the finished card.
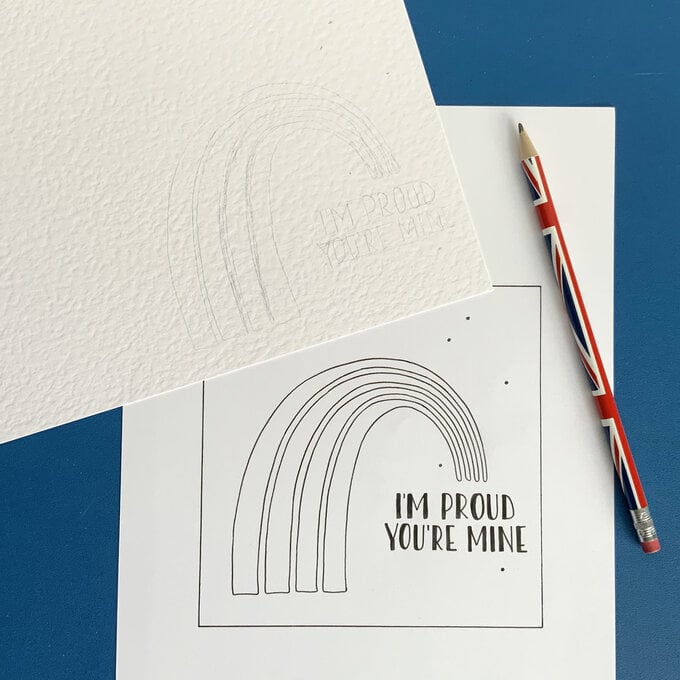
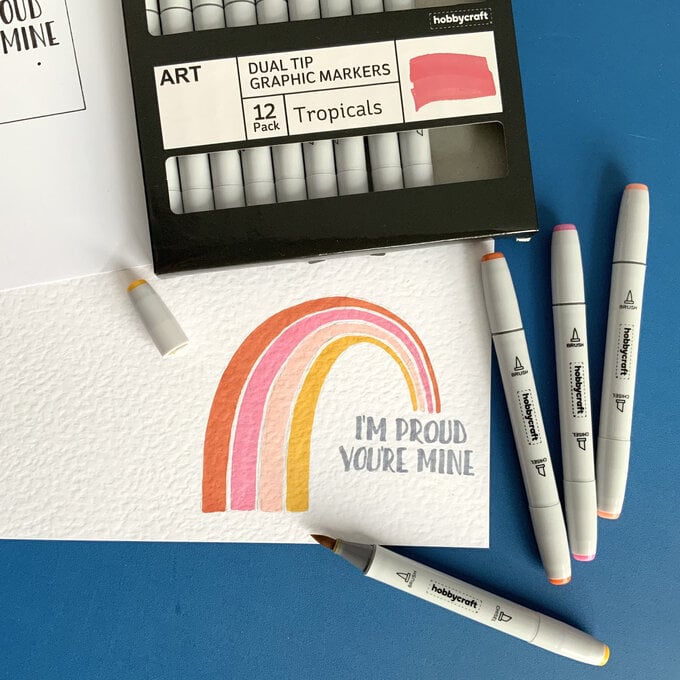
Begin by printing out the supplied template.
Transfer the design using a pencil onto the bottom right hand corner of a sheet of hammer card in the landscape position.
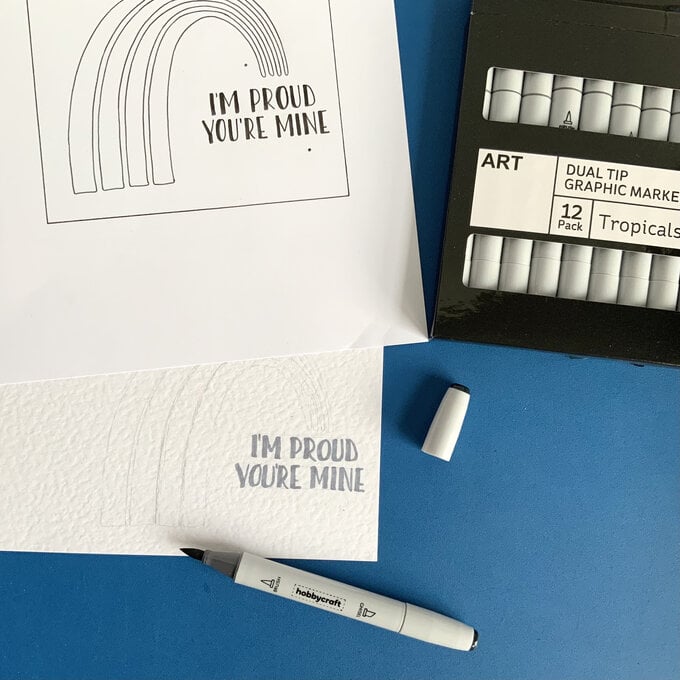
Choose the yellow and orange dual tip graphic marker from the ‘Tropicals’ set. Also choose the skin tone and pale pink pens from the ‘Brights’ set. Use these four pens to create the rainbow design.
Then erase all the remaining pencils marks.
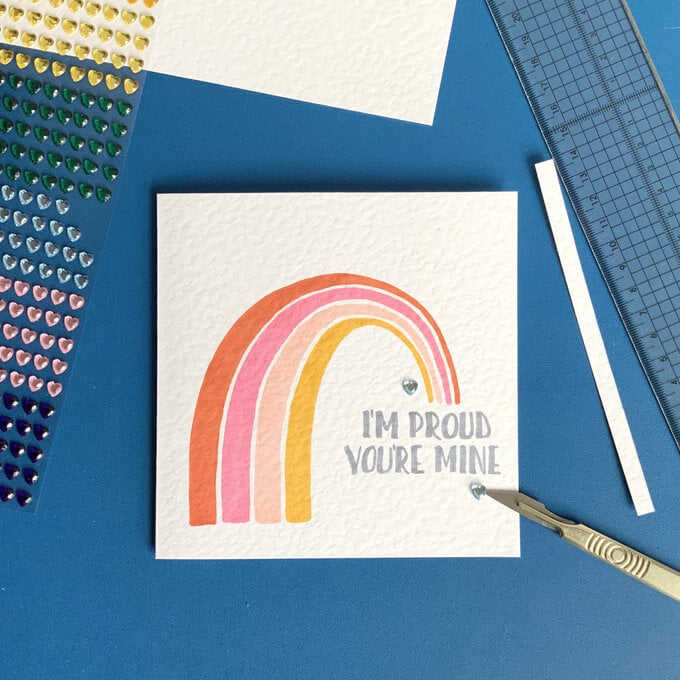
Measure 145 mm from the base of the card, and trim off the top section. Measure 145 mm from the left hand edge, and use a bone folder to score a vertical line.
Fold and crease the card.
Trim off the extra thin strip of card from the card base protruding out on the left side, making a neat square card.
Use the template to position five pale blue heart gems to complete the card.
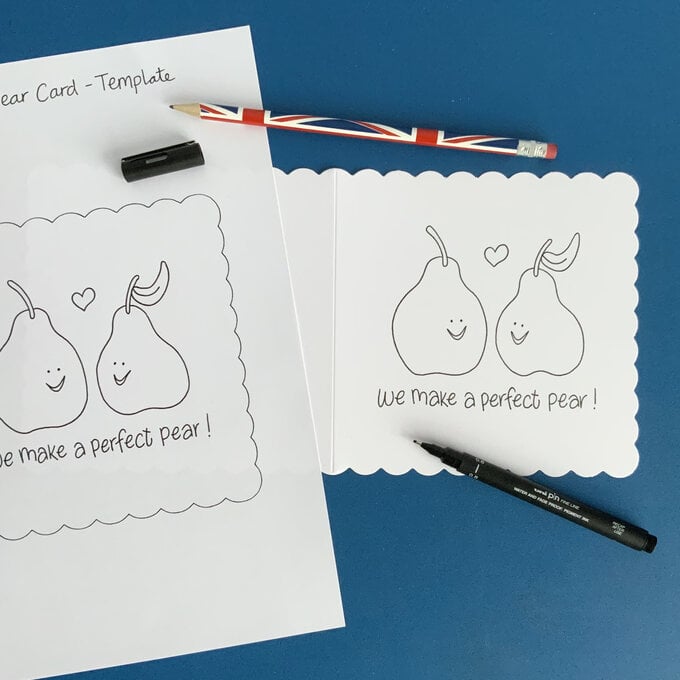
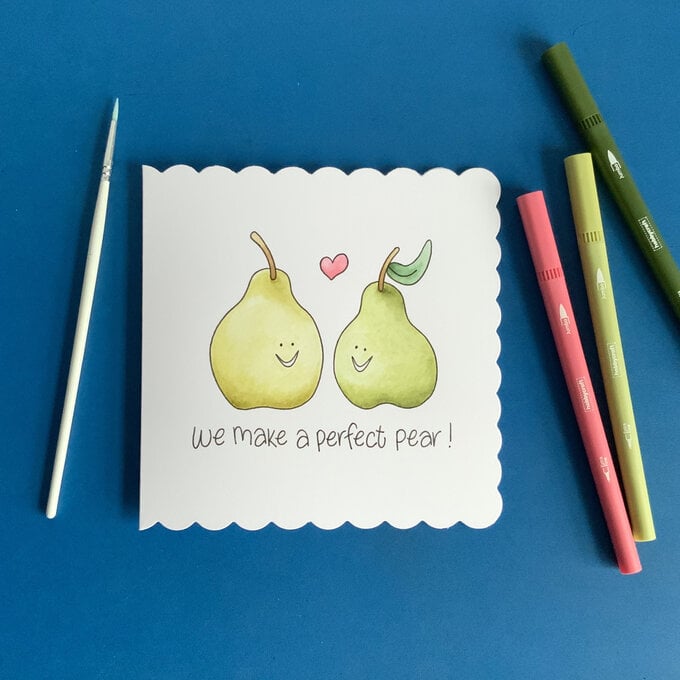
Begin by printing off the supplied template. Use this to transform the design to a scalloped white card blank, drawing all the outlines and lettering in a black fine line pen.
Choose a selection of dual tip brush markers in soft muted colour tones. A pink for the heart, two browns for the stems, and a dark green for the leaf. Using the brush nib scribble some colour onto a stamping block or similar surface.
With a fine paint brush add a little water. Then pick up the watered down colour, and paint the various areas lightly.
Allow to dry before adding a bit more colour to create a shading effect.
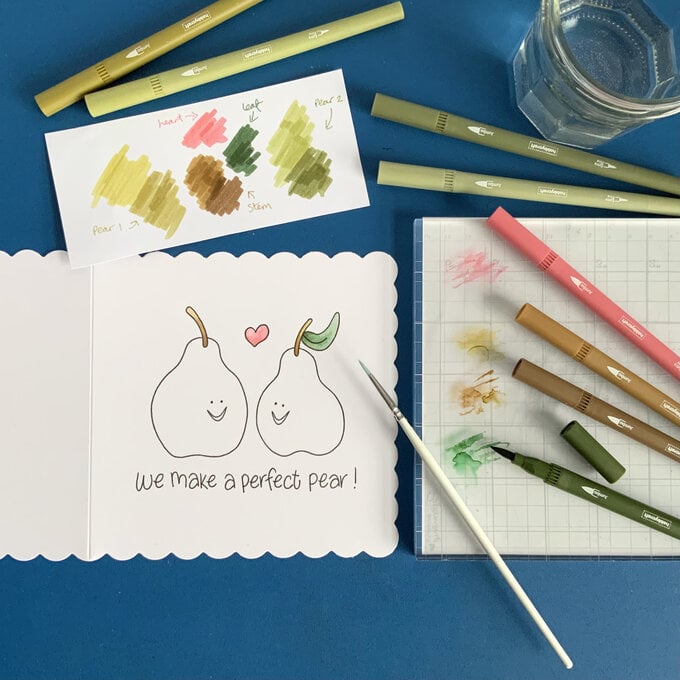
Pick out two more pens in a warm muted green, one slightly darker than the other, for the left hand pear. Also pick out another two pens in a brighter muted green tone, for the right hand pear.
Using the same process as before, begin painting each pear all over using the lighter colours.
Allow to dry.
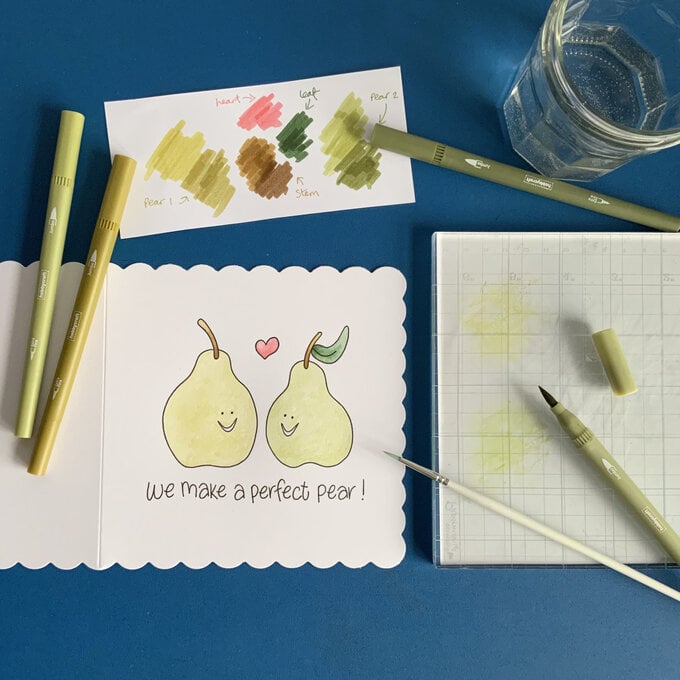
Keep working with the same lighter colours, by adding more colour to create a shading effect.
Build up the colour at the base of the pears, and also at the top where the stem grows from.
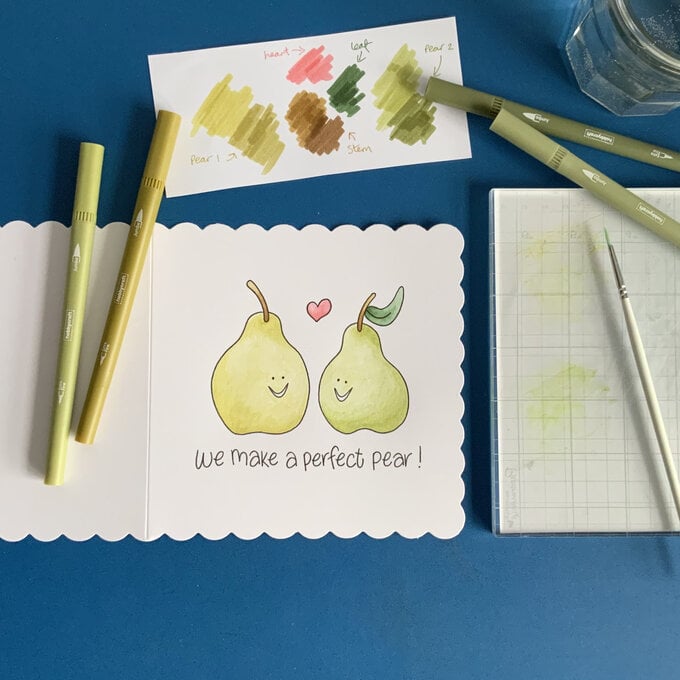
Repeat the process again, but this time use the darker pens.
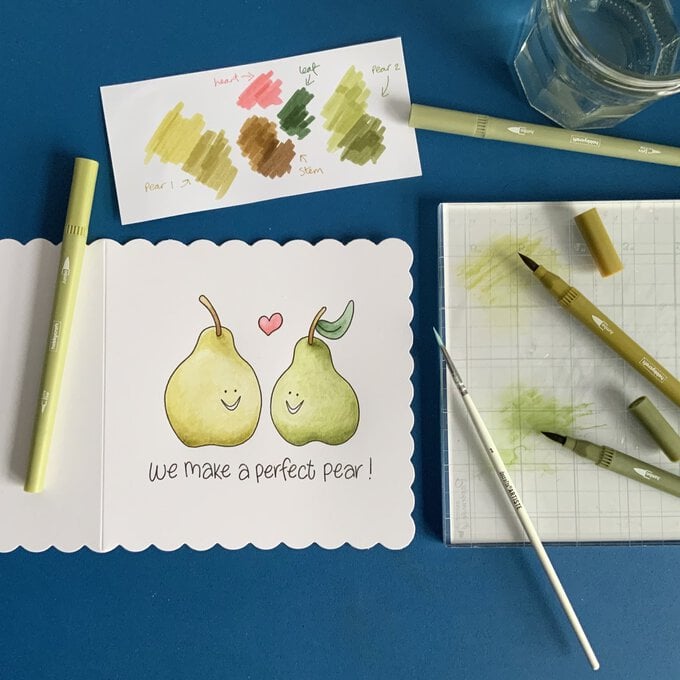
Once completely dry, fold the card to finish.
Related Products