How to Make a Never-ending Birthday Card
Extra special occasions deserve an extra special handmade gift, and this never-ending birthday card definitely fits the bill! Featuring some clever scoring and precise assembly, this mind-boggling card will have the lucky recipient flipping through the different panels for hours. Dies are are ideal for decorating the panels of the card, simply pick plain patterned papers that compliment your chosen patterned designs and the "jobs a good 'un". All of the elements included on your never ending card should be stuck down flat, without the use of foam pads, this will enable the panels to turn effortlessly.
You will need
Subtotal
Is $ 3.49

Subtotal
Is N/A
Subtotal
Is $ 4.49
How to make
You will also need:
Intricut Hello Die set
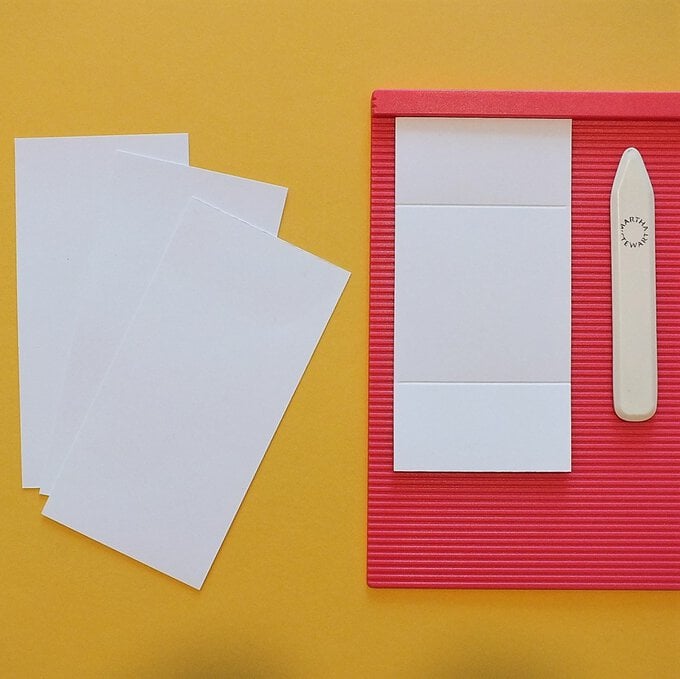
Cut four white cardstock panels of 3 x 6” then use a scoreboard to score along the long edge at 1.5” then again at 4.5”. Repeat the scoring on the remaining three panels.
Attach double-sided tape to two corners of two panels as shown in the photo below.
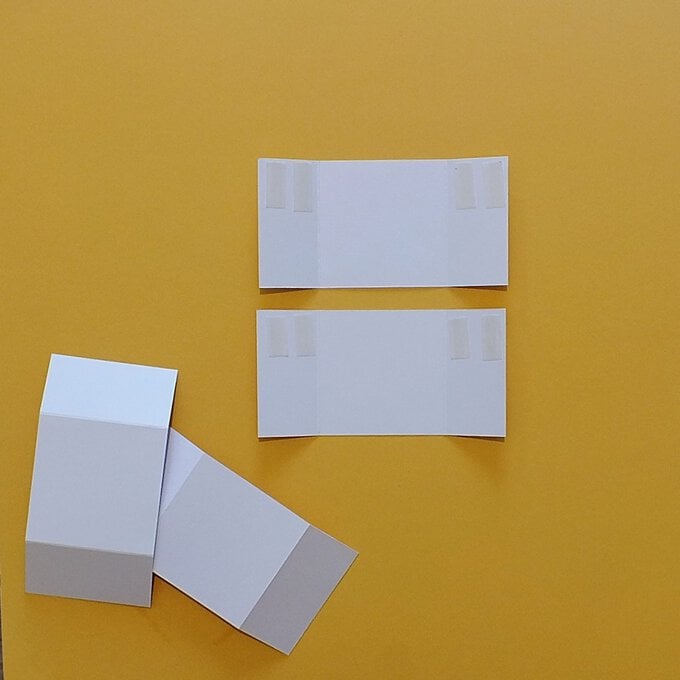
Place two panels vertically and two horizontally, peel off the tape backing paper and carefully line up each corner.
Top Tip: Ensure to keep each corner straight to prevent friction when the card flips.

Cut all the decorating panels as follows.
Plain Cardstock
– 8 pieces measuring 2 7/8 x 2 7/8
– 8 pieces measuring 2 7/8 x 1 3/8
– 8 pieces measuring 1 3/8 x 1 3/8
Patterned Papers
– 8 pieces measuring 2 ¾ x 2 ¾
– 8 pieces measuring 2 ¾ x 1 ¼
– 8 pieces measuring 1 ¼ x 1 ¼
Glue all the patterned papers to their corresponding plain card panels, then fix them all in place on the card base.
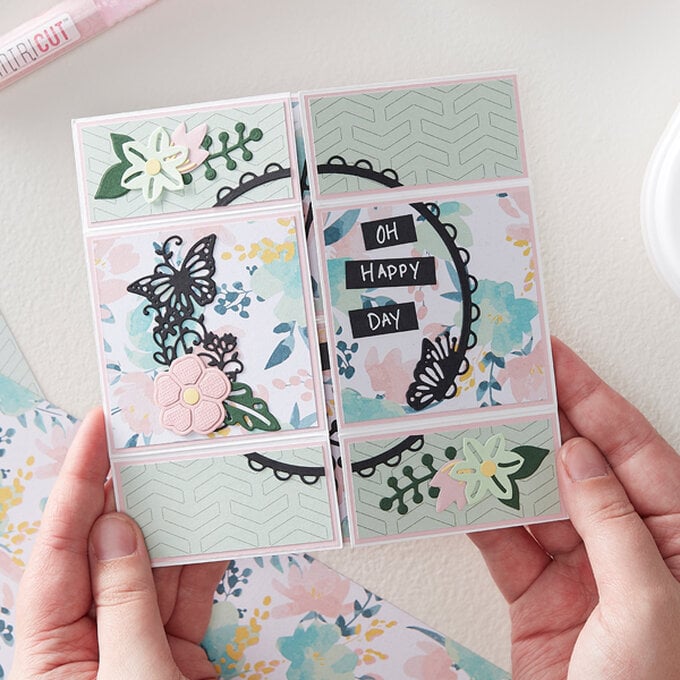
Die cut the wreath into black cardstock, trim the wreath into six parts, fussy-cutting any parts of the design that will overhang any of the panels.
Top Tip: Use any pieces of the wreath that you prefer as long as you keep the circle shape.
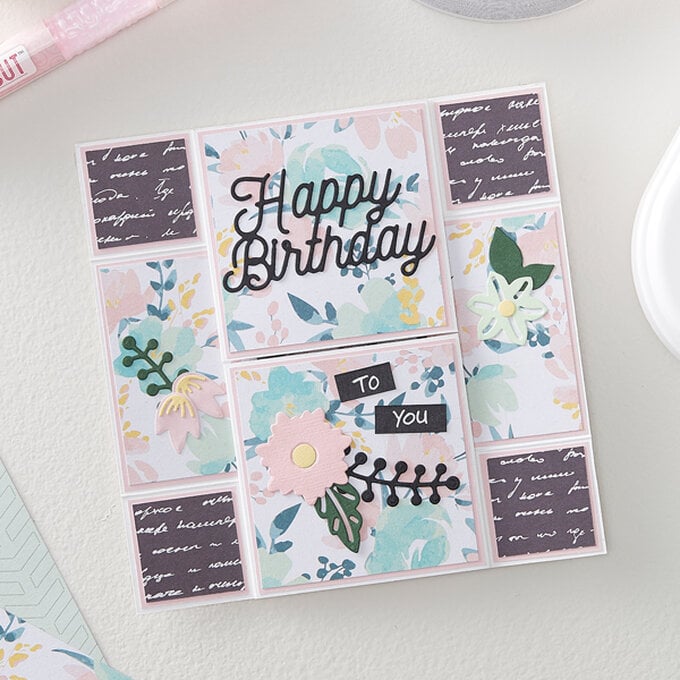
Use the Happy Birthday sentiment along with the foliage dies to decorate each panel.
Finish off with a handful of sentiments hand written using a white gel pen onto thin strips of black cardstock.
Related Products
Is $ 22.00