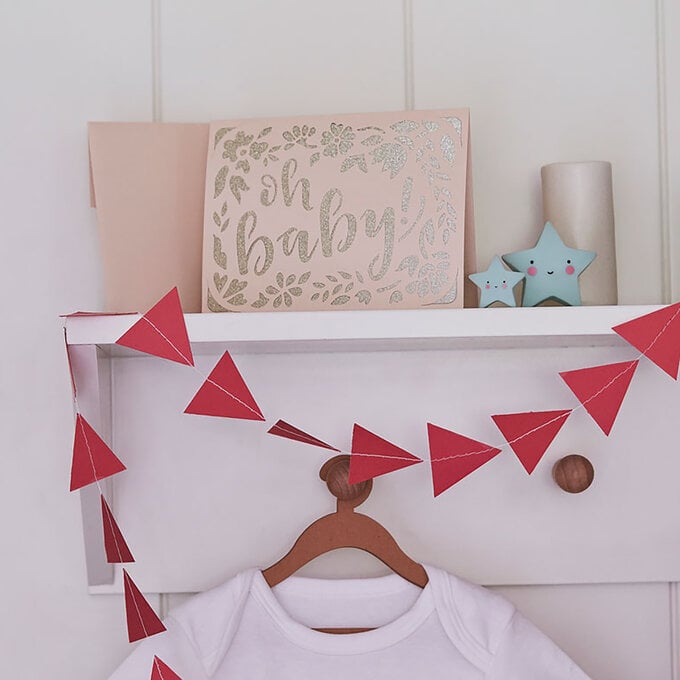
How to Make a New Baby Pop-up Card
With Spring in the air, one of the first things it signifies for me is 'Birth', so I decided to make a New Baby pop-up card. In general, I illustrate my own cards, so it was lots of fun having a go at a very VERY basic pop up .
Project and how-to make instructions by Emma Jones
You will need
Subtotal
Is $ 17.00

Subtotal
Is $ 3.49
Subtotal
Is $ 3.49
Subtotal
Is N/A
Subtotal
Is $ 9.49
How to make
Take a 6 x 6″ white card and envelope to work with and select a flowery sheet from the paper pack. Trim your selected paper down to 6 x 6″ so that it covers the entire front of the card.
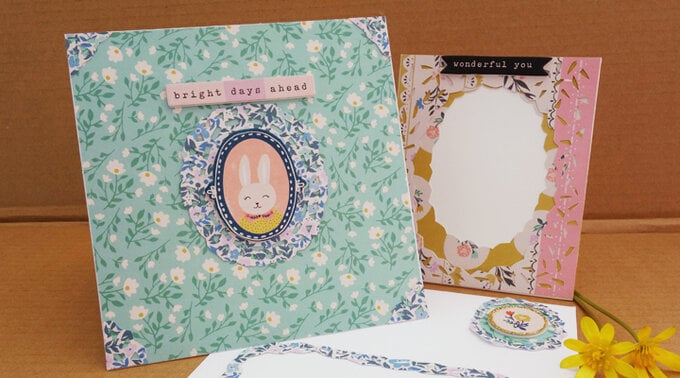
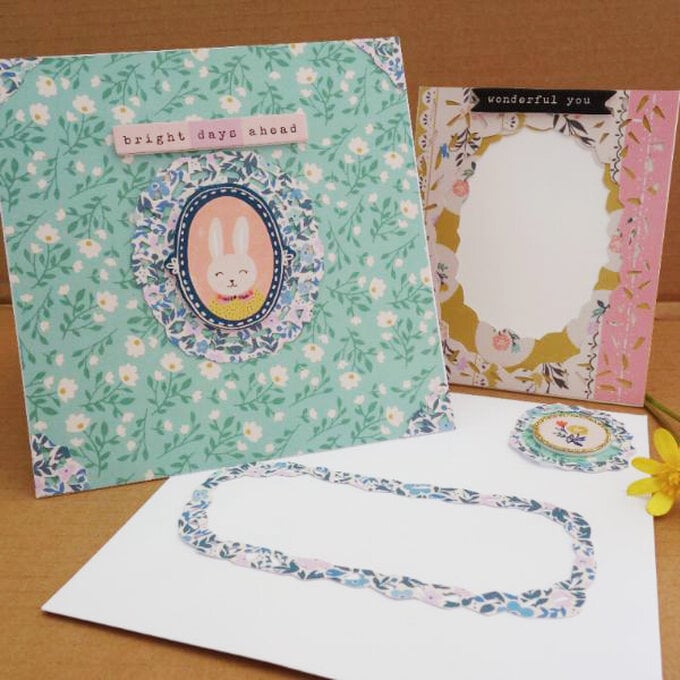
To decorate the card further, select another floral print and fussy-cut sections to decorate the card corners and create a large frame for the rabbit sticker to sit on top of. A craft knife is perfect for cutting out these intricate shapes.
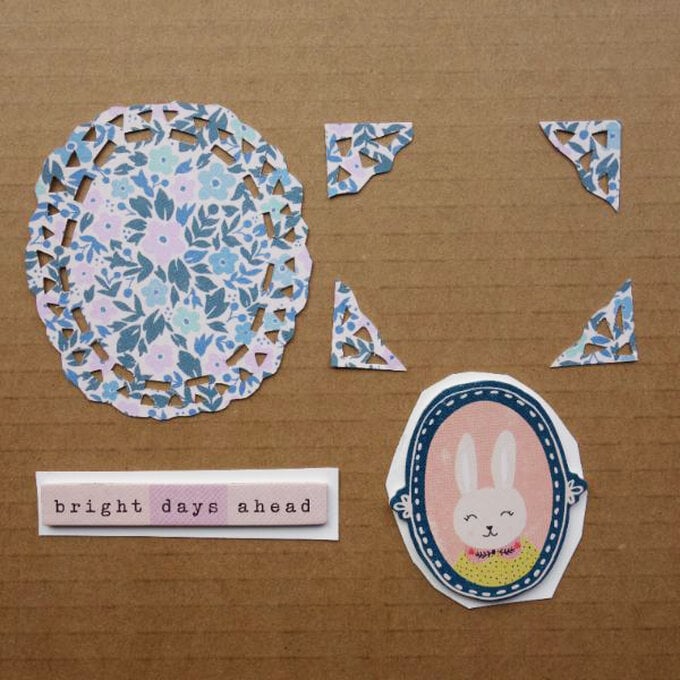
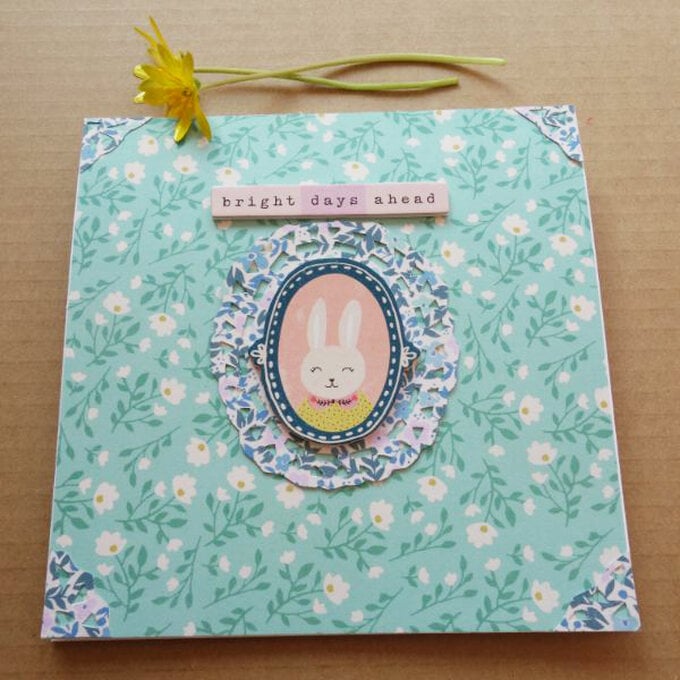
Once all of these components have been cut, secure them to the front of the card blank, securing the rabbit sticker centrally on top of the frame.
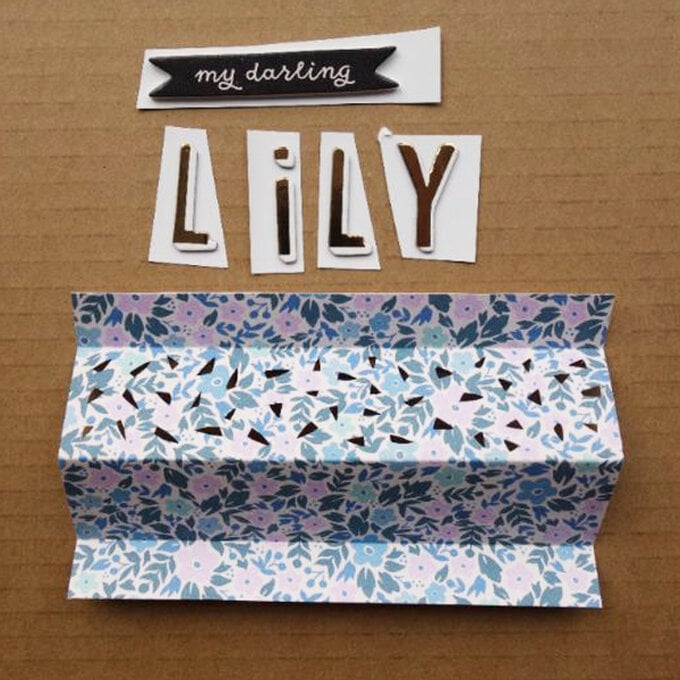
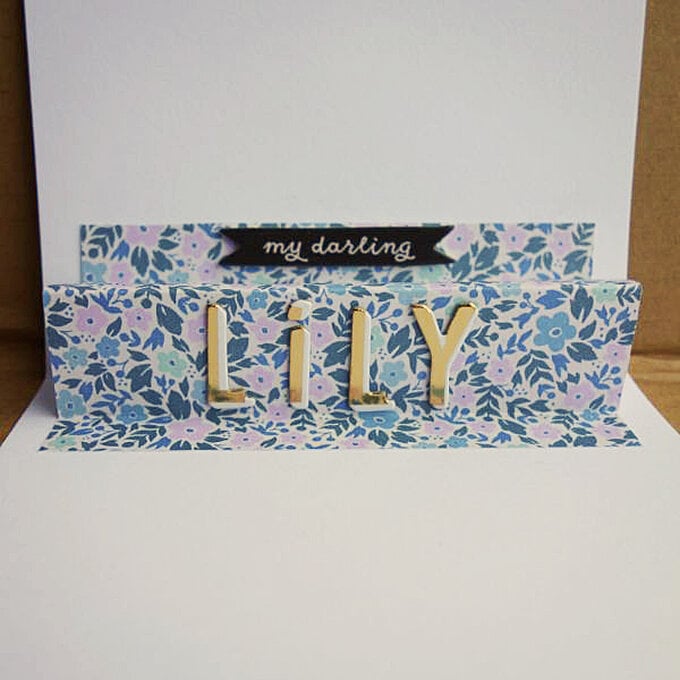
For the inside of the card I wanted to do a very basic pop up, so I trimmed the remainder of the paper I used to create the frame to 14 x 9cm. With the panel positioned in a landscape orientation, score at 1.5 /4.5/7.5/9cms along the vertical side. Fold along the score lines creating a valley fold, followed by a mountain fold and finally a valley fold on the right side of the floral cardstock, using the image below as a guide. Use Thicker stickers to spell out the lucky recipients name, then add any other additional stickers you like.
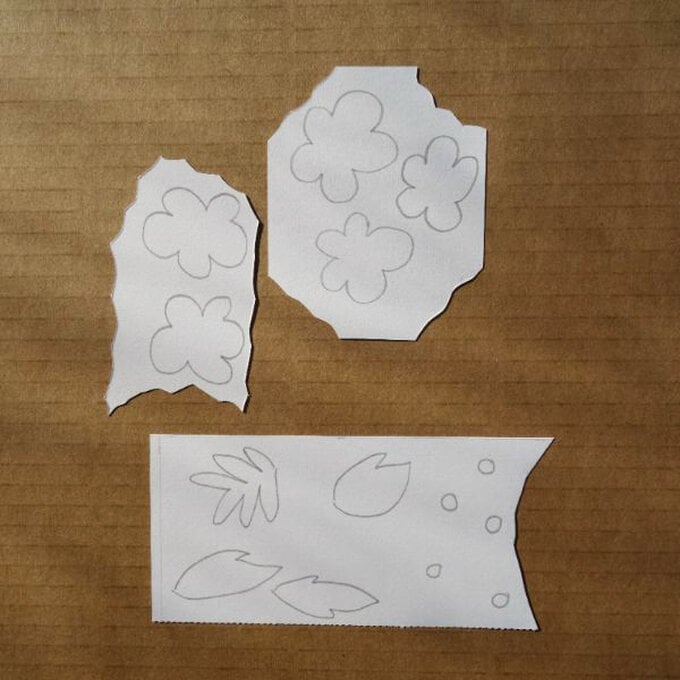
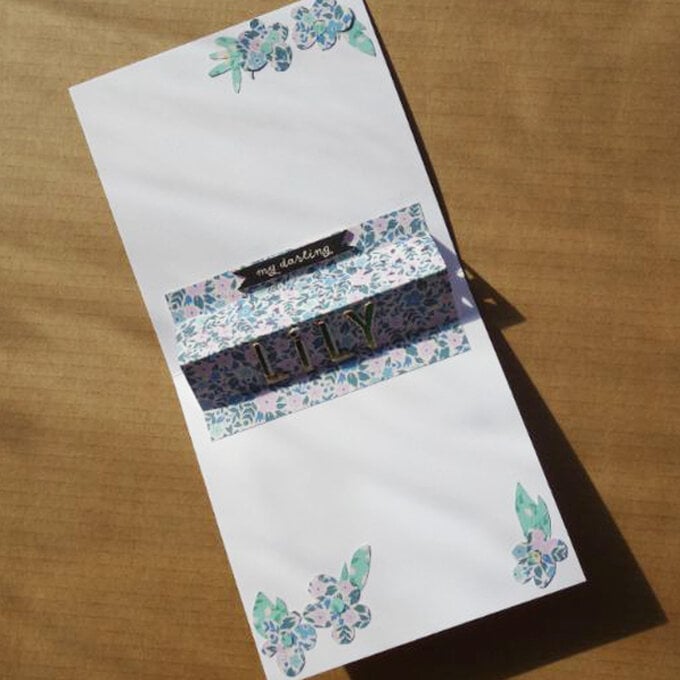
Fussy-cut some floral elements to add to the inside of the card, I drew some out on cardstock and used these as templates to cut the shapes out of the floral paper – adhere these in place with a glue stick at the top and bottom of the inside of the card blank.
Using double-sided tape, secure the structure to the inside of the card blank using the image below as a guide, along with double-sided tape.
Using the leftover paper I then created a frame to emulate the frame on the front of the card, to create a space for the name to be added. I also placed some stickers in the top right-hand corner of the envelope to create a faux-stamp.
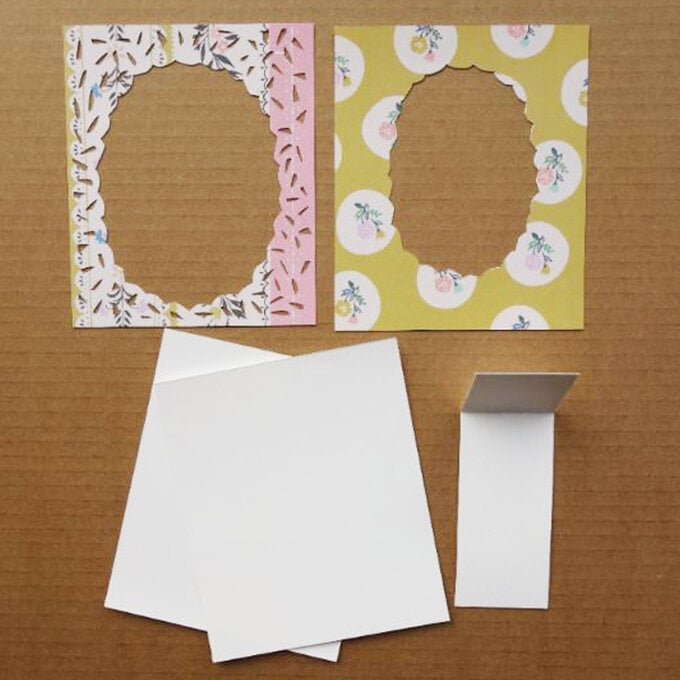
I then thought it might be quite nice to send a little paper frame that could be used for a picture of the new arrival. I started by cutting two white pieces of card and selecting two different pieces of floral paper and cutting them to 10 x 12cms using a craft knife and metal ruler.
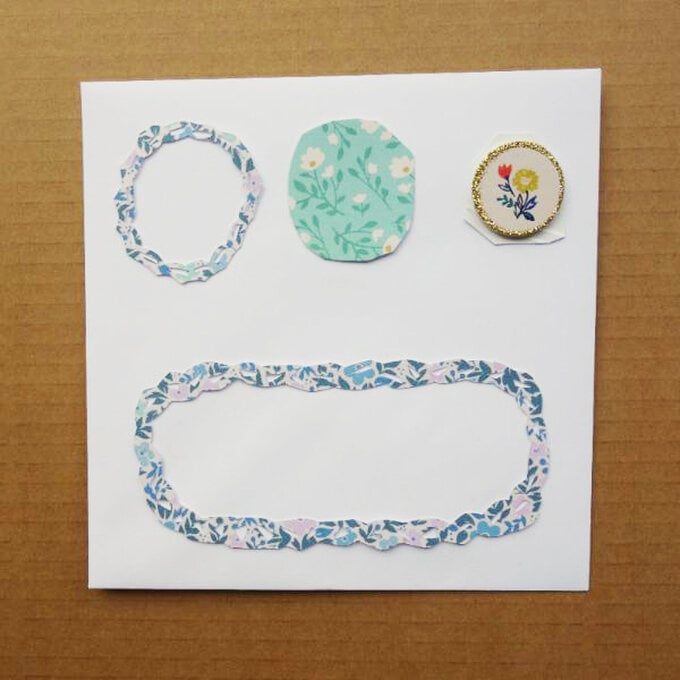
To construct the frame, glue both white sheets of card together to give the frame strength. Decide which of the patterned papers you would like to sit on the front of the frame and which you would like layered underneath. Taking the piece of paper that you have chosen to sit on the front, use a craft knife to hand-cut shapes (I cut tiny triangles) and a scalloped oval frame (this is the left-hand rectangle pictured below). For the piece of patterned cardstock that is to sit behind, cut a slightly smaller frame so that you can see hints of the paper pattern when the top piece is layered on top (right-hand rectangle in the image below).
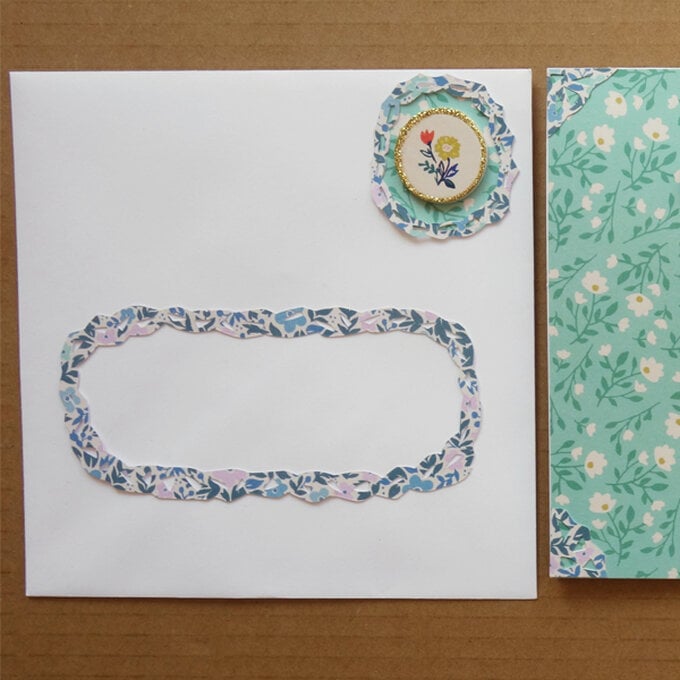
Glue the two floral paper pieces together using a glue stick, then adhere to the white cardstock panel created in step eight.
Top Tip: When gluing the floral paper panel to the white ,remember to glue only around the bottom, left, and right-hand edges. Do not glue along the top, as this is where the photo will slide in.
To complete the frame's construction take a spare piece of white cardstock and trim two panels measuring 12 x 4cms. Secure both pieces together. Score the cardstock 3cms from the top along the long edge, then secure this to the back of the frame.
Top Tip: Use a glue stick to adhere the stand on the back of the frame, so that it can be moved around until you get the positioning exactly how you want it.
Related Products