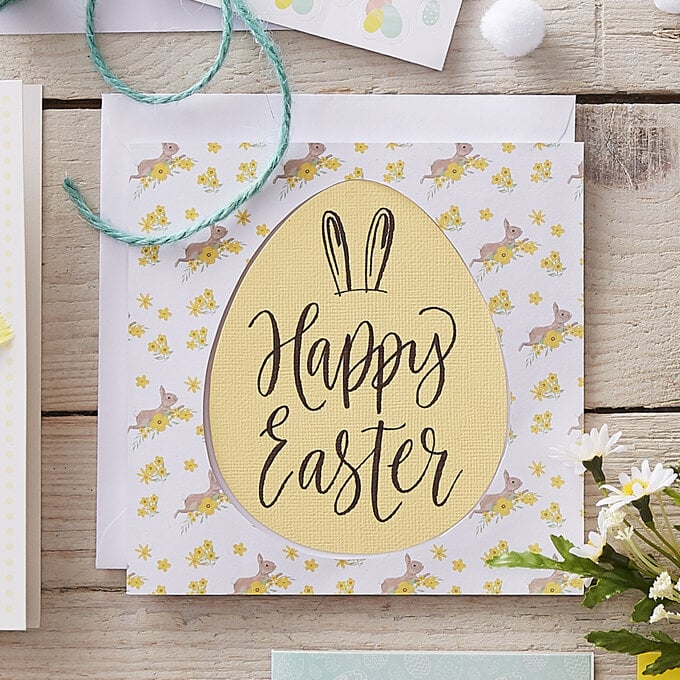
How to Make a Washi Tape Easter Card
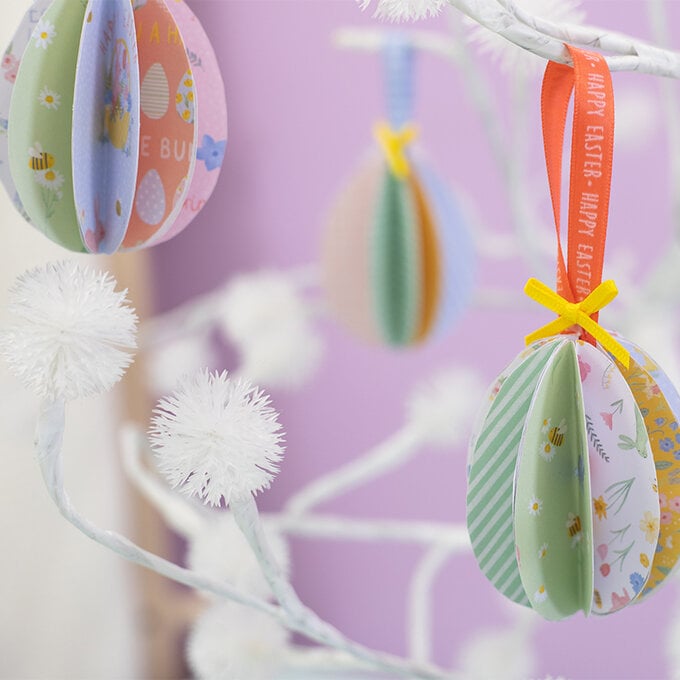
Creating quick and simple Easter cards has never been easier thanks to the beautiful washi tape and paper die-cut topper designs from the new (and exclusive to Hobbycraft) Hello Spring collection!
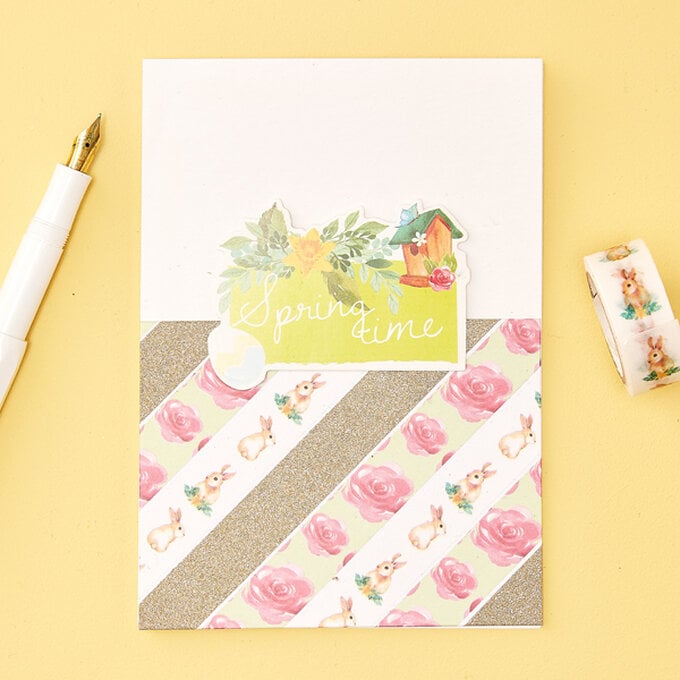
This cute washi tape card design is ideal if you've got lots of greetings to send out. There are three tapes included in the pack that can be mixed and matched (just like we have) or for an even simpler design, a single patterned tape could be used. The choice is yours…
You will need
Subtotal
Is $ 3.49
Subtotal
Is $ 17.00
Subtotal
Is $ 4.49
How to make
Trim a piece of A4 hammered card in half along the long edge so that you have two pieces of A5 card, take one of the panels and fold in half so that you end up with a portrait A6 card blank.
Trim a panel of white hammered cardstock to 8 x 10.5cm. Attach the washi tape diagonally across the front, folding over the two ends to the back of the panel and sticking them in place on the reverse side; press down firmly to secure all the tape in place.
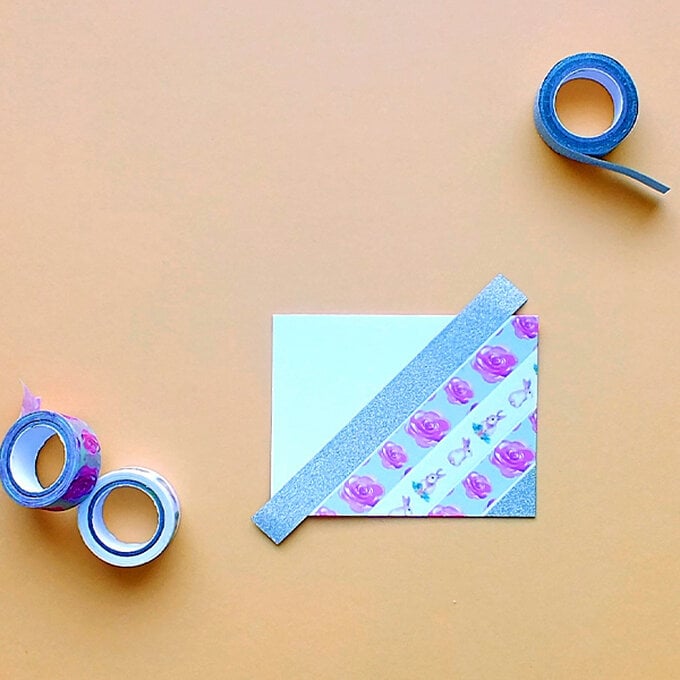
Apply double-sided tape to the reverse of the panel and secure to the card blank created in step one so that it sits at the bottom of the card (making sure to line up the edges).
To complete, fix your chosen topper in place.
Related Products