How to Make an Envelope Advent
The run up to the big day is always exciting for little ones, make sure this year even more exciting with this 12 days of Christmas envelope advent, complete with a decorated box to keep them all in.
You will need

Subtotal
Is $ 36.00
Subtotal
Is $ 1.49
Subtotal
Is N/A
Subtotal
Is $ 23.00
Subtotal
Is $ 1.49
Subtotal
Is N/A
How to make
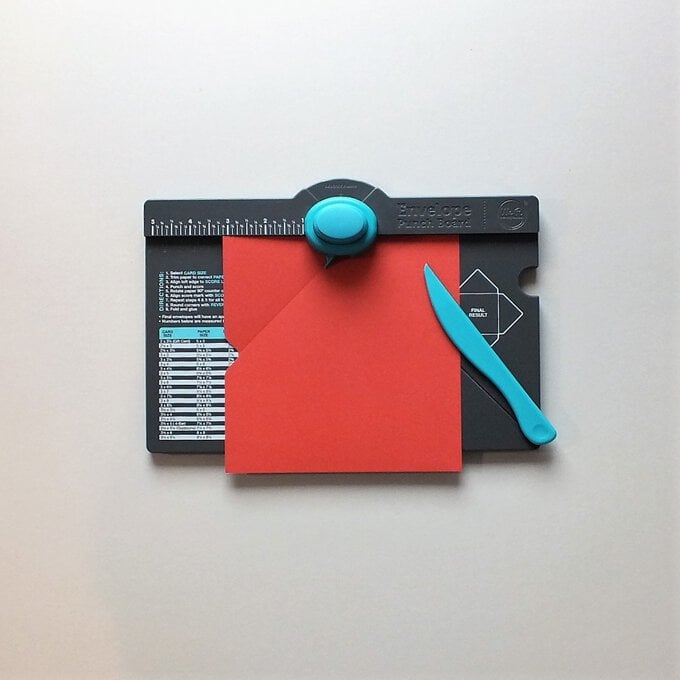
Cut a 16 x 16cm piece of patterned paper, place the piece onto the punch board and slide up to the 8cm measurement.

Use the included scoring tool to score along the diagonal indentation on the board then punch the button at the top creating a V shape.
Turn the paper piece 90 degrees and line up to the score guide marker then repeat step two.
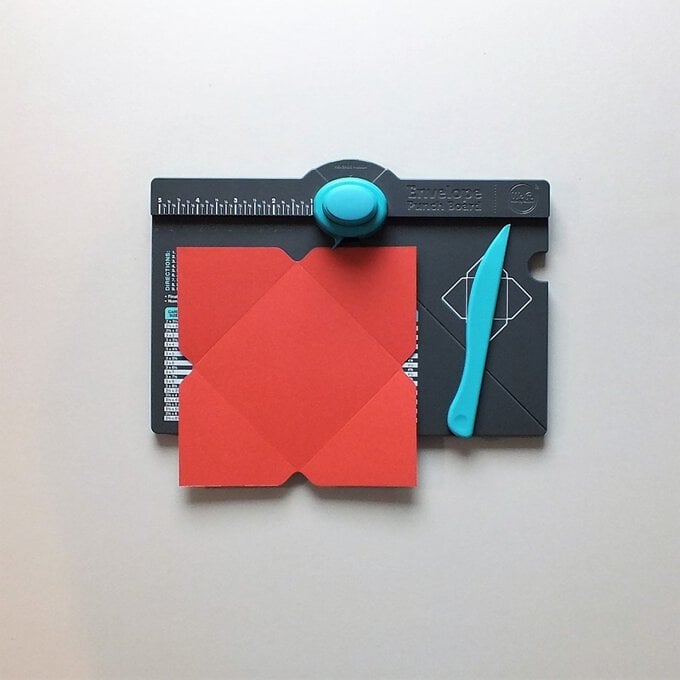
Repeat step two a further two times creating the envelope base.
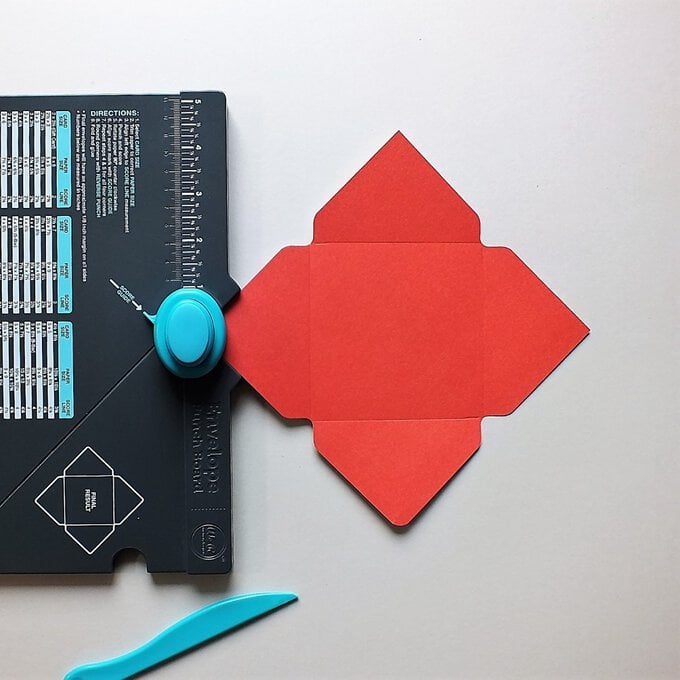
Fold up all the score lines using the scoring tool, glue three sides ensuring to leave the top open.
Once you have created 12 envelopes use an array of wooden toppers, puffy stickers, pegs, stars, snowflakes and bits and pieces to decorate each one.
To Make the box take a 12 x 12” piece of kraft cardstock, score at 10cm turn 90 degrees score again at 10cm, turn score, turn score, until you have created a grid like pattern.
Measure and mark at 1.5cm on each corner square then use a bone folder to make a score line – see photo.
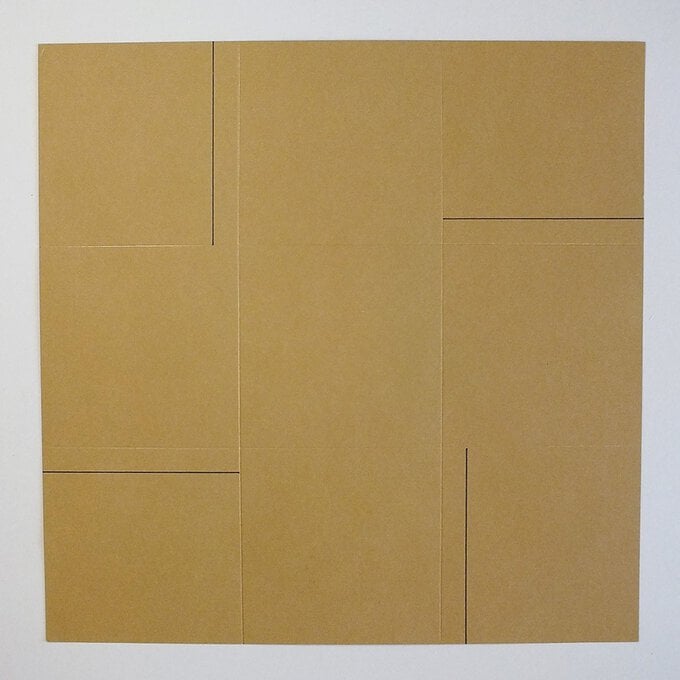
Cut along each line trimming diagonally at each end then cut the other side creating a cross shape.
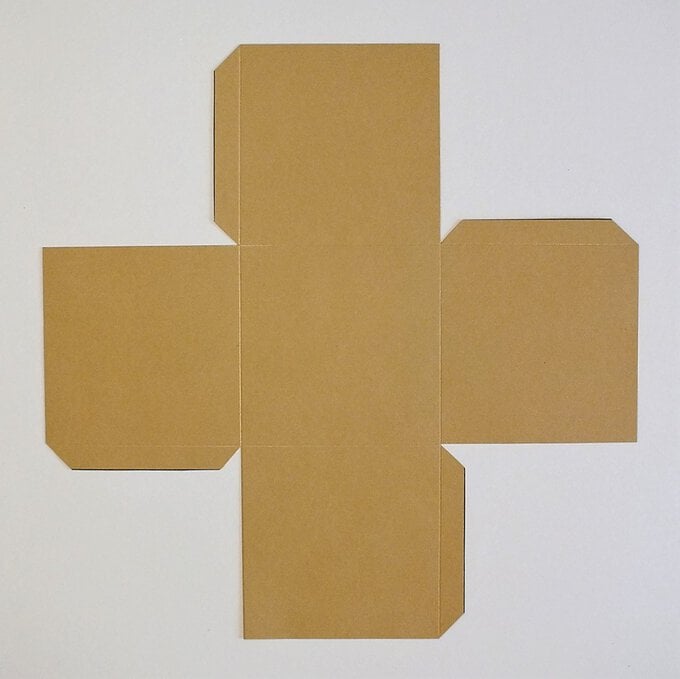
Fold all score lines including the four side tabs, glue along each tab attaching to the next side creating a box.
Create the box lid in the same way except start with a 18.6 x 18.6cm cardstock panel scoring at 4cm.
Decorate the box and lid using patterned papers and more embellishments.


