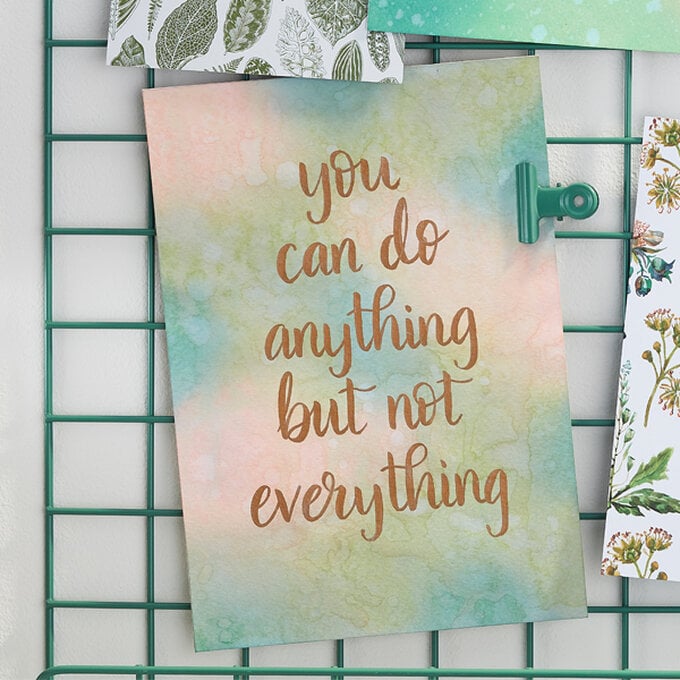
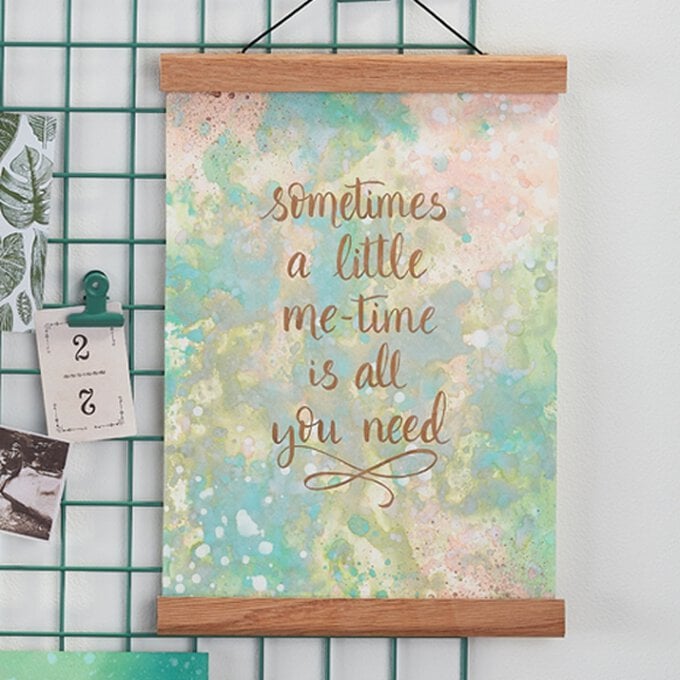
How to Make Brush Lettered Wall Art
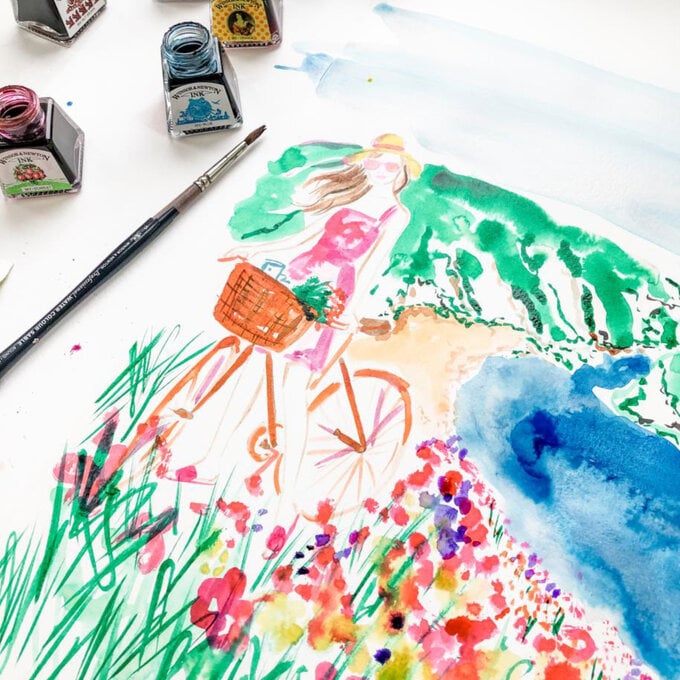
Create beautiful wall art for your home using Tim Holtz Distress Oxides and stunning metallic brush pens. These watercolour-themed inspirational wall plaques are perfect for any room in the house and can be reproduced any size or colour you like, as there are over 40 Distress Oxides colours to choose from!
You will need
Subtotal
Is $ 3.49

Subtotal
Is $ 11.00
Subtotal
Is N/A
Subtotal
Is $ 1.49
Subtotal
Is $ 12.00
Subtotal
Is $ 11.00
Subtotal
Is $ 4.49
Subtotal
Is $ 18.00
Subtotal
Is $ 12.00
Subtotal
Is $ 8.49
How to make
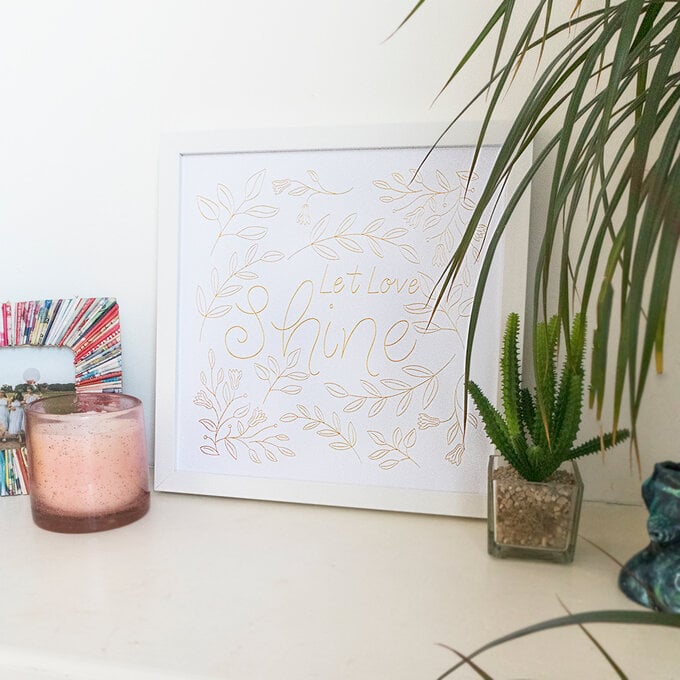
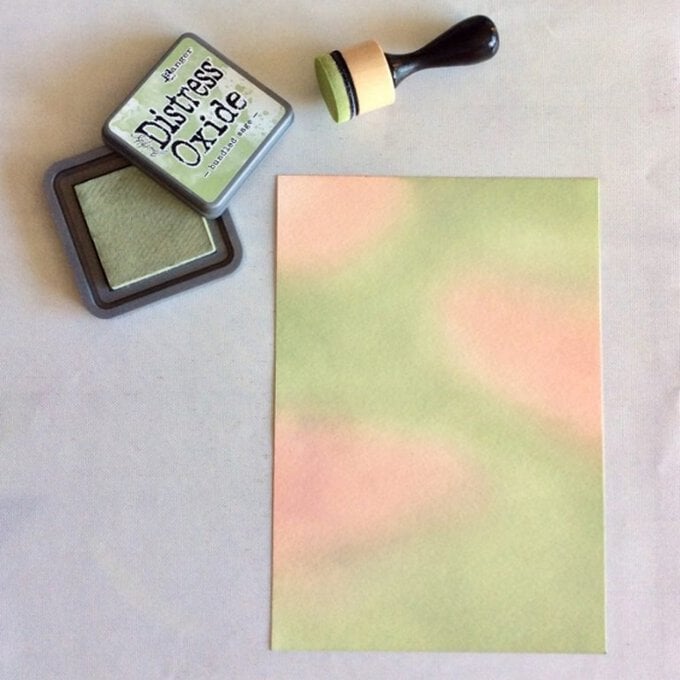
Begin by cutting a sheet of A4 watercolour paper in half to create two A5 pieces.
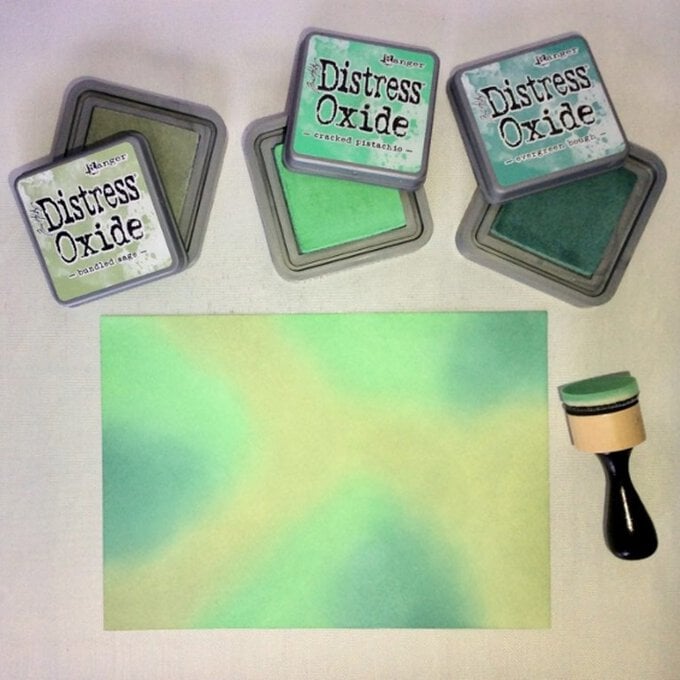
Working on a craft inking mat or glass surface, start to blend the lightest colour of Tattered Rose ink. Randomly add the ink in three areas onto the A5 paper, using a blending tool with a soft pad.
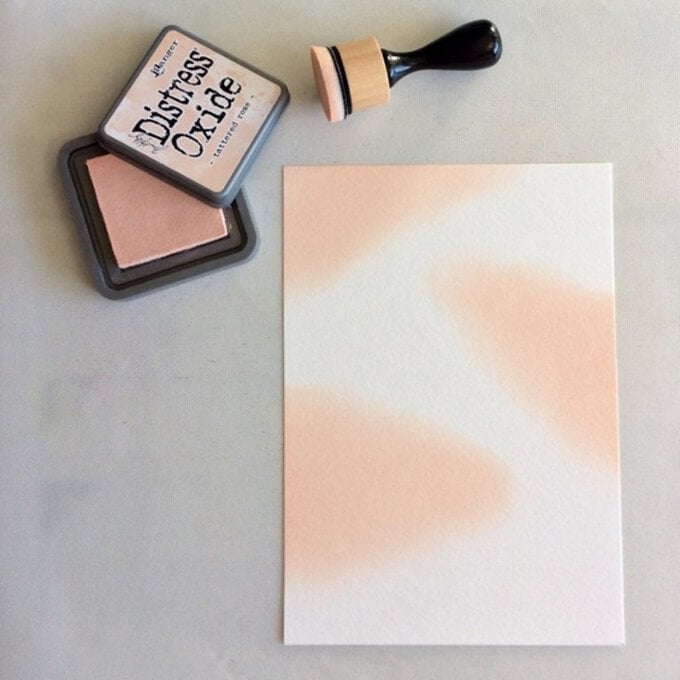
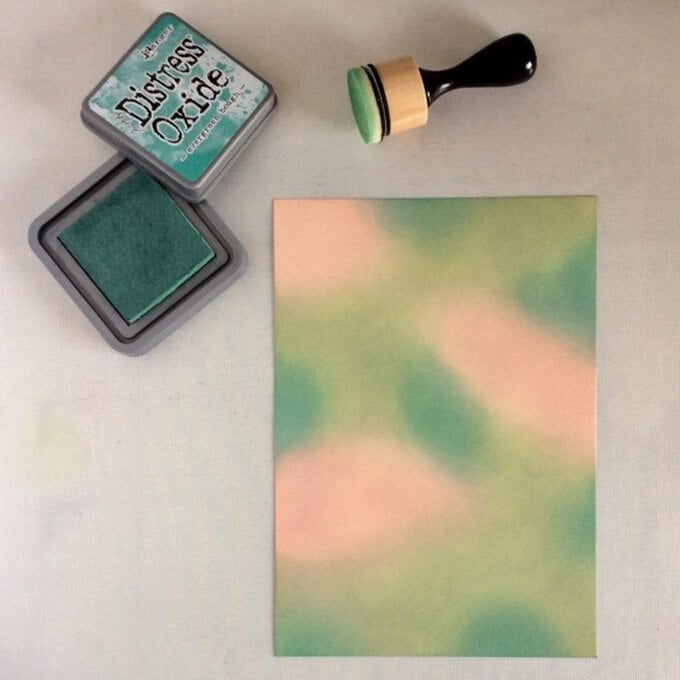
Next blend in the second lightest colour of Bundled Sage in a similar way as before. Remember to use a different blending pad for each colour. Use this colour to almost cover the paper, leaving a few lighter areas for a third colour.
Blend smaller areas of the darker Evergreen Bough coloured ink to add more interest to the background.
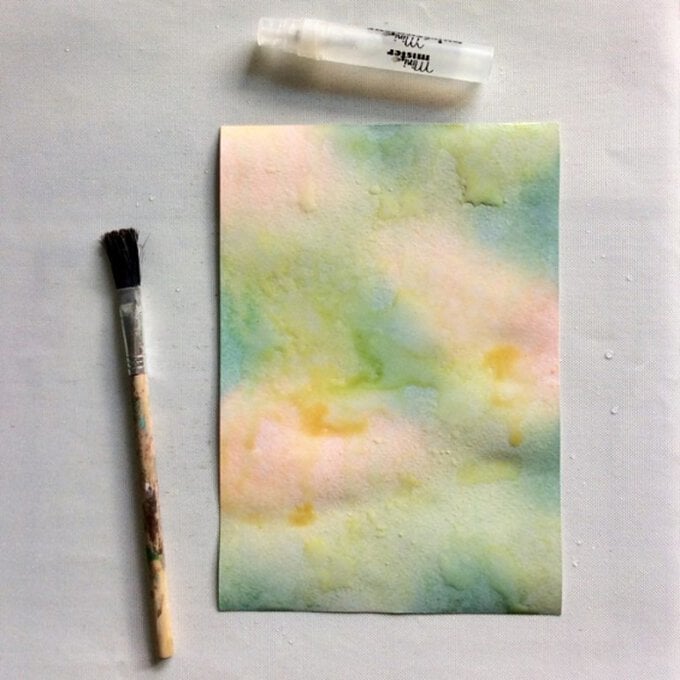
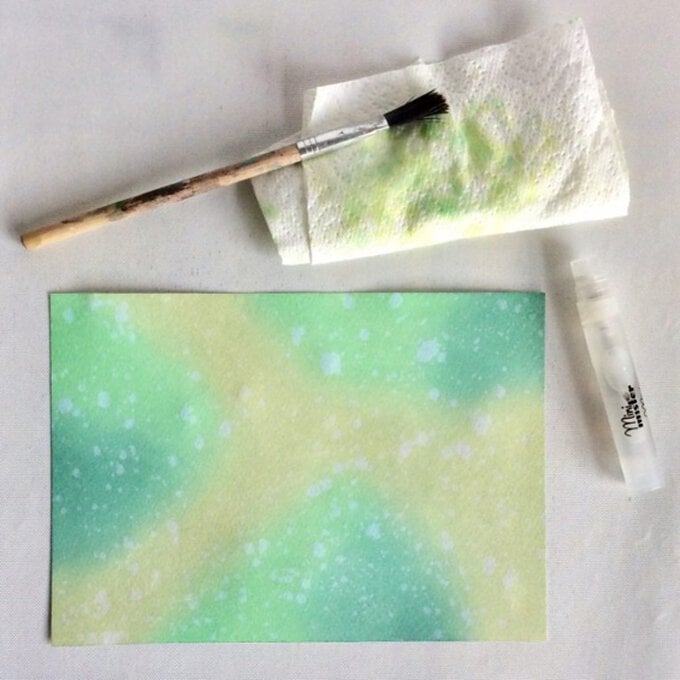
Once all the paper is nicely covered with ink, mist well to produce an oxide effect. Also use a paint brush to add splashes of water to get some of the colour dye to run. Dry naturally, or with a heat gun.
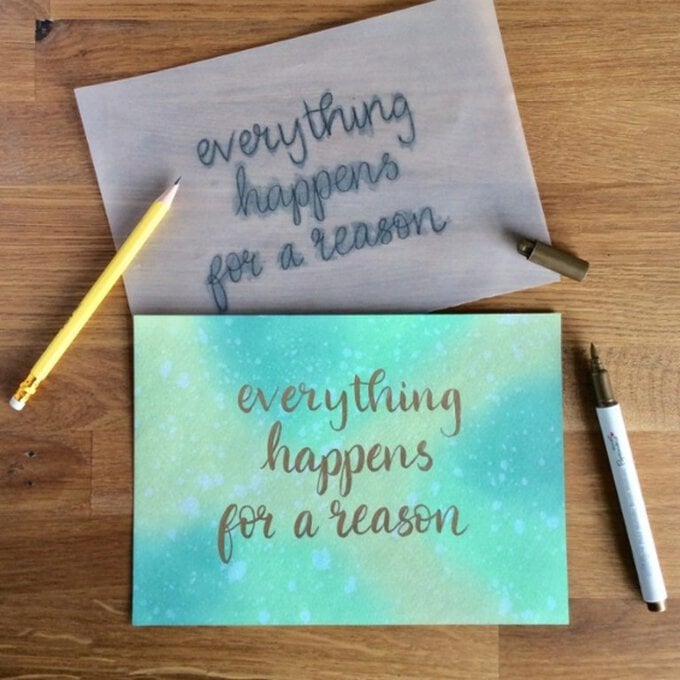
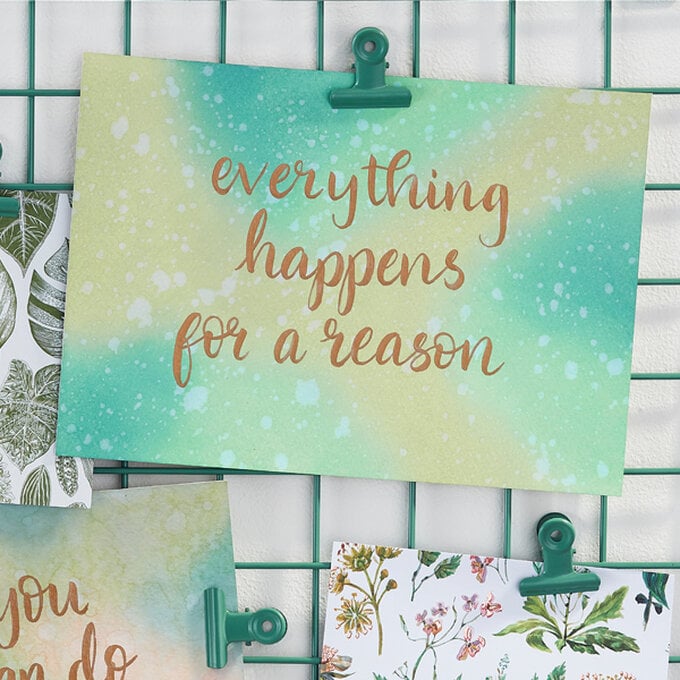
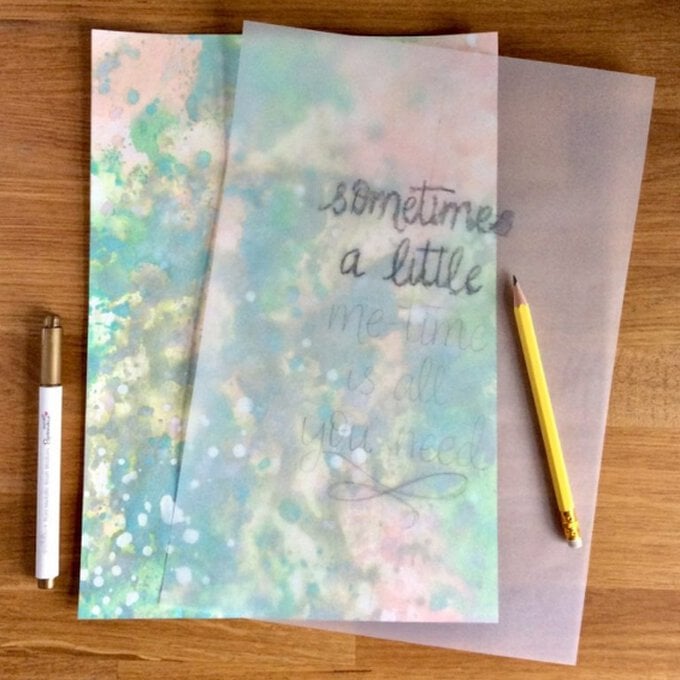
Design some simple hand-lettering onto tracing paper using an inspirational phrase or quote (or why not download and print the template below). Draw a vertical centre line with a pencil and ruler as a guide to help centralise the words. When the lettering is positioned correctly, transfer this onto the prepared background. Scribble with pencil on the reverse side of the tracing paper. Then place the tracing paper in position over the background before re-drawing the phrase.
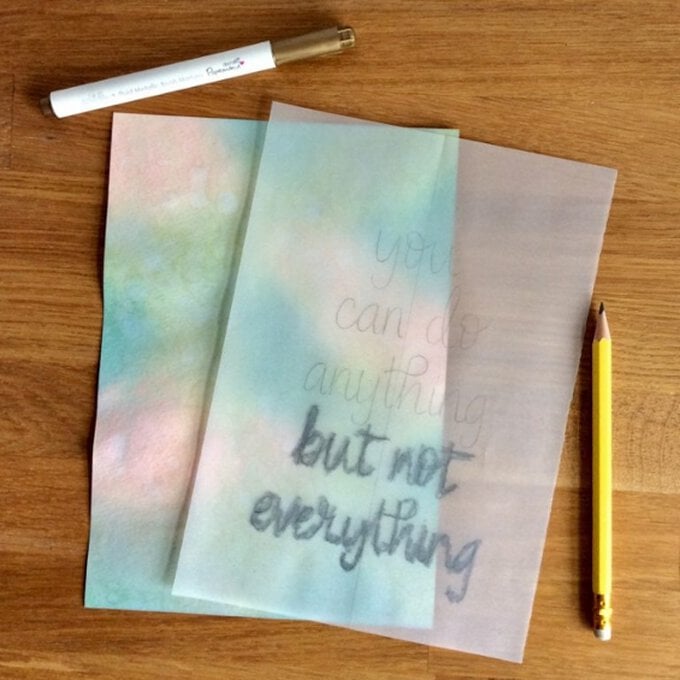
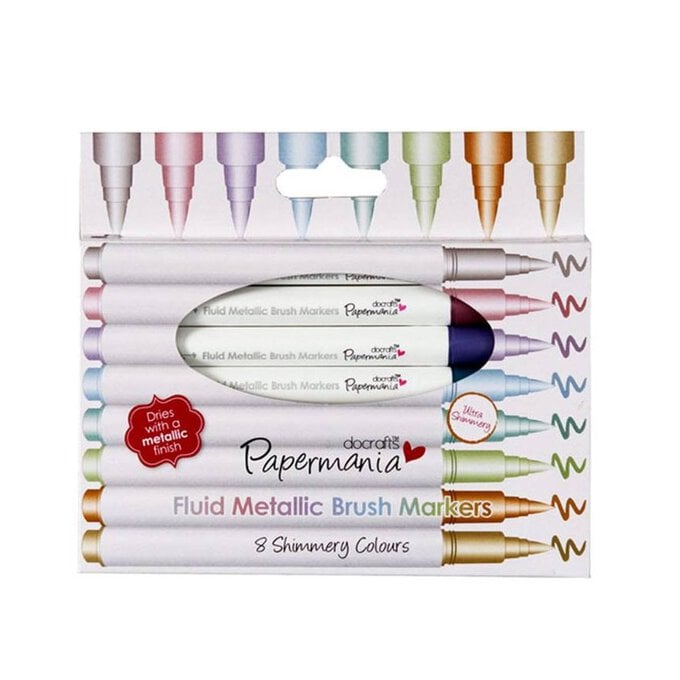
Select a copper coloured metallic brush marker to write the phrase in brush lettering using the faint pencil lines as a guide.
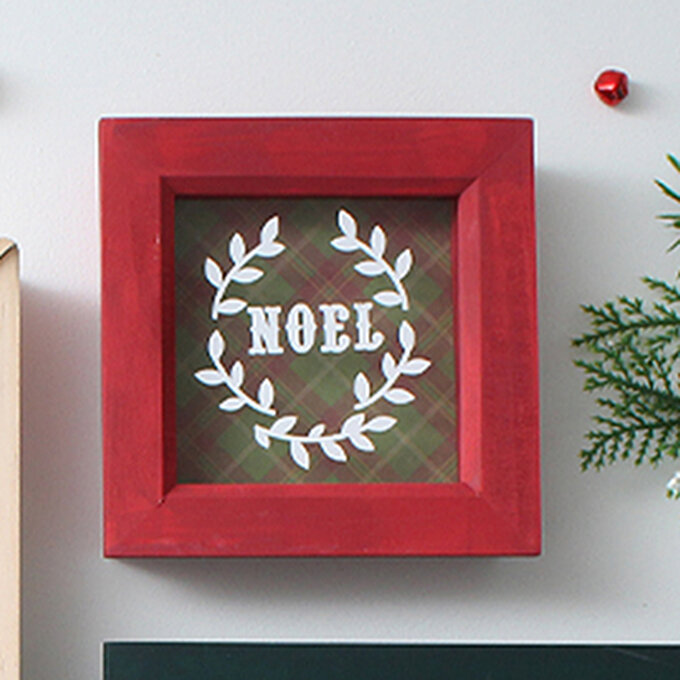
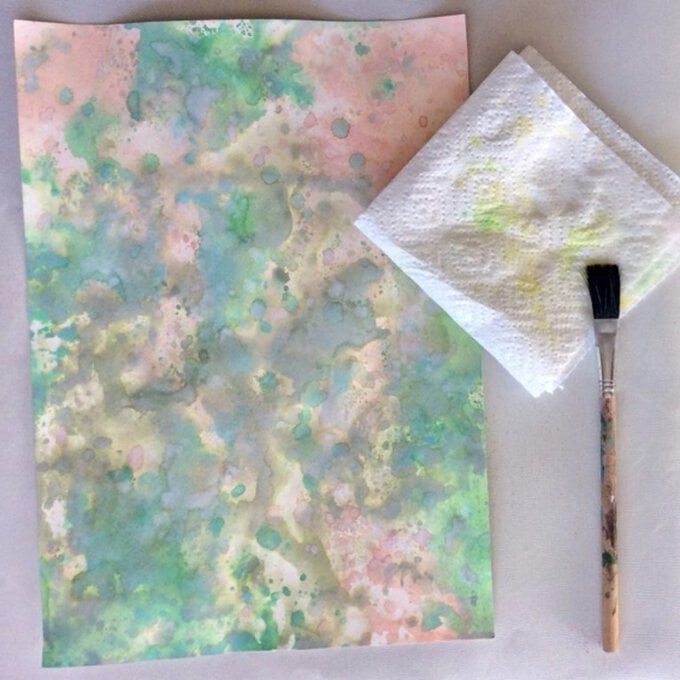
Use the second half of the pre-cut A4 watercolour paper from the previous project and blend the same three coloured inks onto the paper in a similar way as before.
Once the paper has been covered with ink, lightly mist with water. Also drop a sprinkling of slightly larger water droplets by flicking a wet brush over the work. Wait a few seconds before covering with a clean sheet of paper towel and pressing down lightly to soak up the water. Leave to dry.
In a similar way as before, design another hand-lettered phrase (or download the quote below) or quote to write over the prepared landscape background. Use the same copper coloured metallic brush marker to create simple brush lettering.
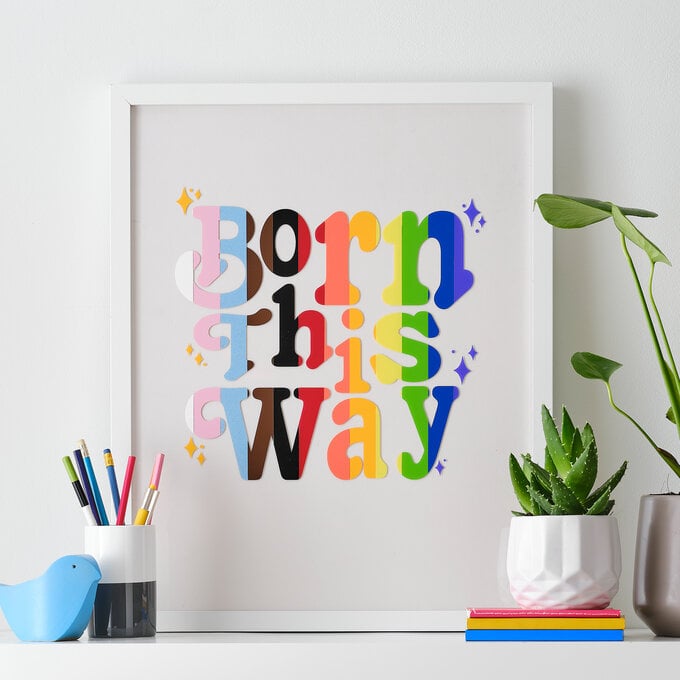
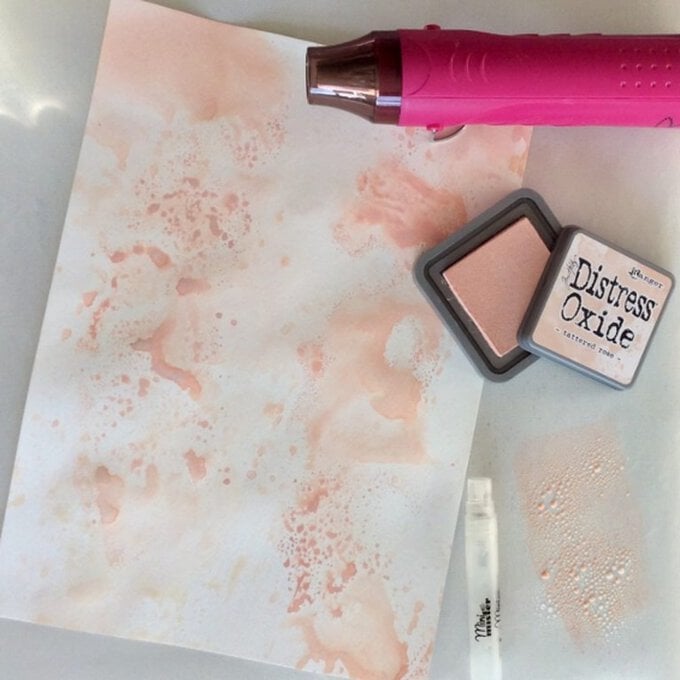
Using a sheet of A4 watercolour paper, apply Tattered Rose ink all over using the dab and drop technique. Add the ink to the surface of the craft mat, mist well until the ink beads up nicely. Dab the paper face down over the ink once or twice only before drying with a heat gun. Dab into the remaining ink again with the paper to add more splodges of colour. Dry again before repeating the process.
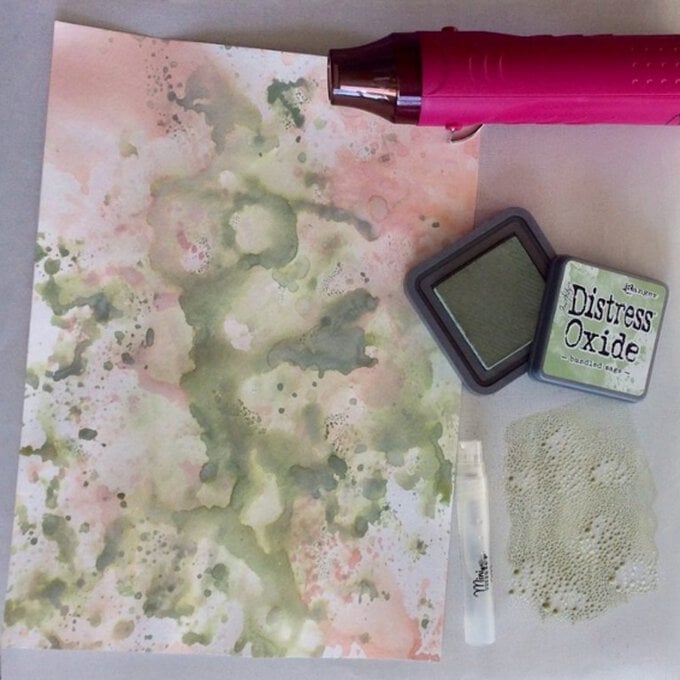
Repeat the inking technique again with Bundled Sage colour. Add colour anywhere across the paper.
Use a third colour of Cracked Pistachio to add more depth of colour to the background.
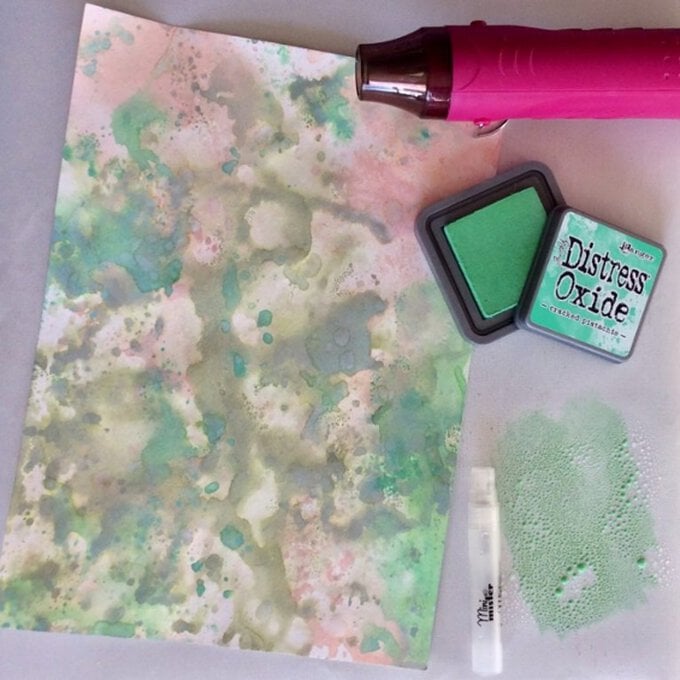
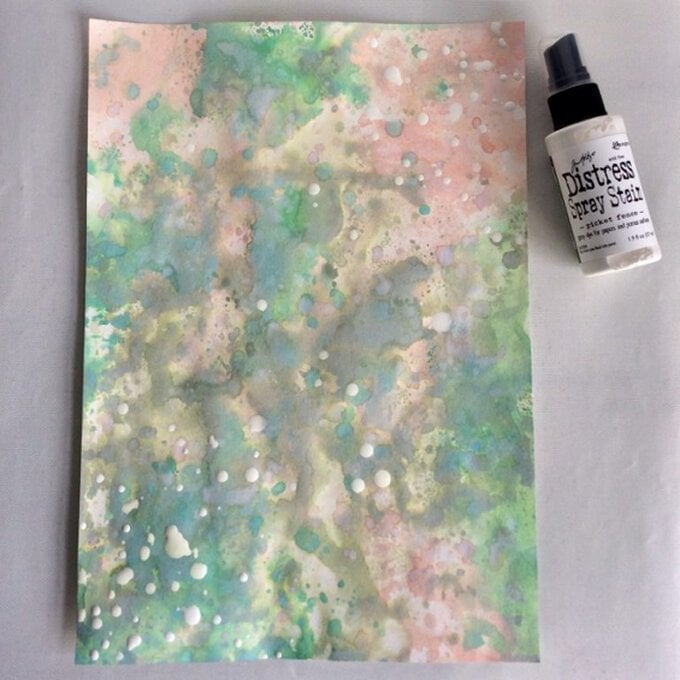
Keep adding colour in the way until the whole paper is nicely covered. Mist with water and add larger droplets with a paint brush to add the oxide effect. Dry with a heat tool.
Add some droplets of Picket Fence spray stain towards the top right hand corner, and bottom left hand corner of the piece. Unscrew the top and drop the ink from the tube. This will produce larger drops rather than a finer spray from the bottle sprayer.
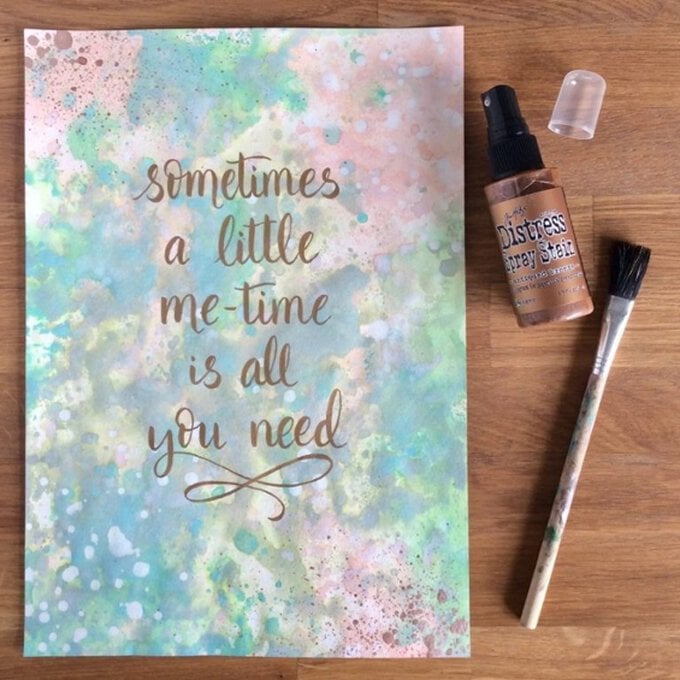
Design a hand-lettered phrase or quote in a similar way as before (or alternatively download the template below). Again using the copper coloured metallic brush marker to finish the brush lettering.
Complete the piece, by adding a few interesting splashes of Antique Bronze spray stain. Apply this to the opposite corners from the white droplets, using a paint brush for more control.
Related Products
Is $ 8.49