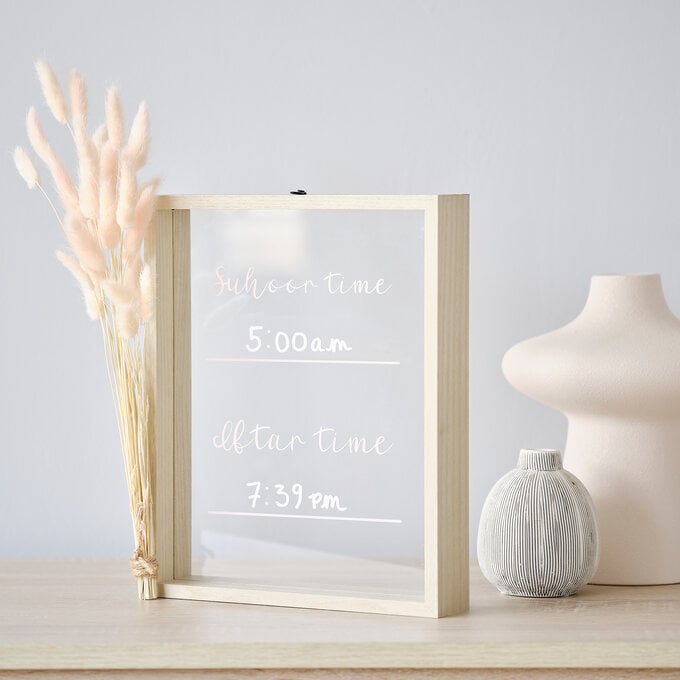
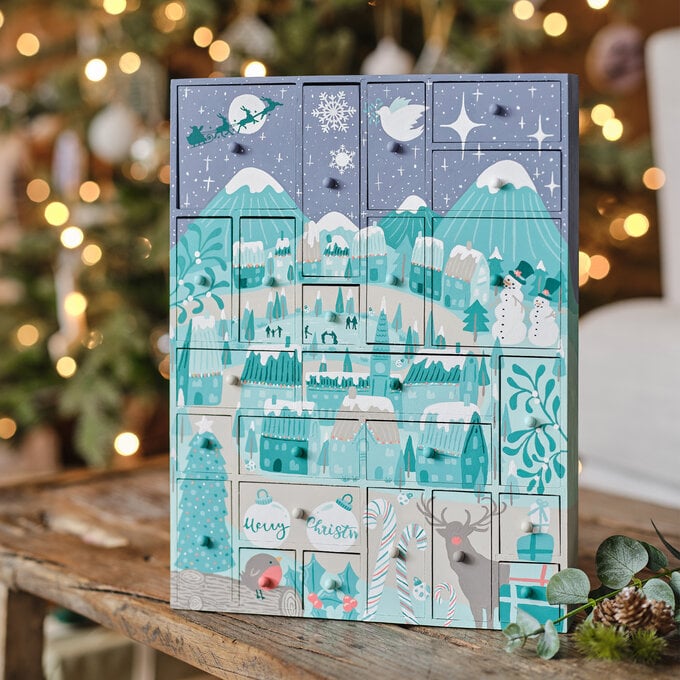
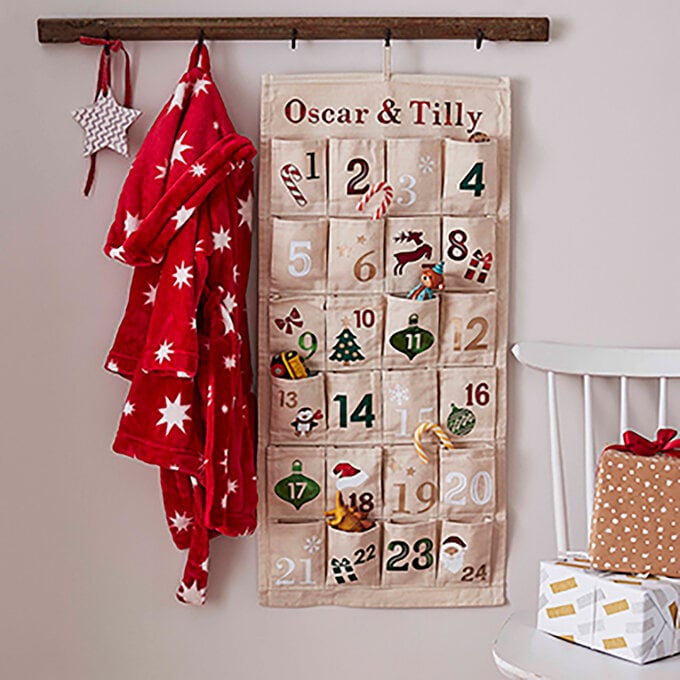
How to Make Christmas Countdown Calendar
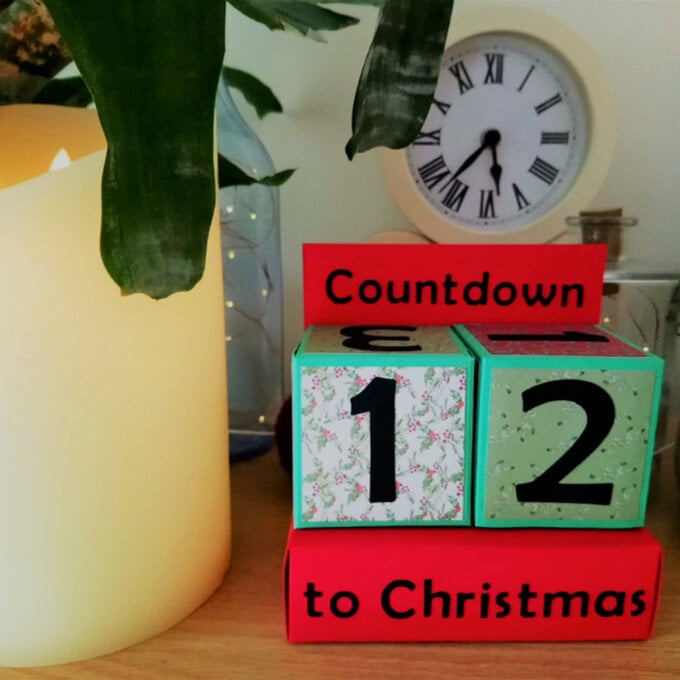
Counting down the number of sleeps until Christmas is just one of the things that makes the time of year so magical! Make a Christmas countdown calendar using your favourite coloured cardstock and patterned festive papers perfect for little ones and grown ups alike!
You will need

Subtotal
Is N/A
Subtotal
Is $ 12.00
Subtotal
Is $ 1.49

Subtotal
Is $ 4.49
Subtotal
Is $ 422.00
How to make
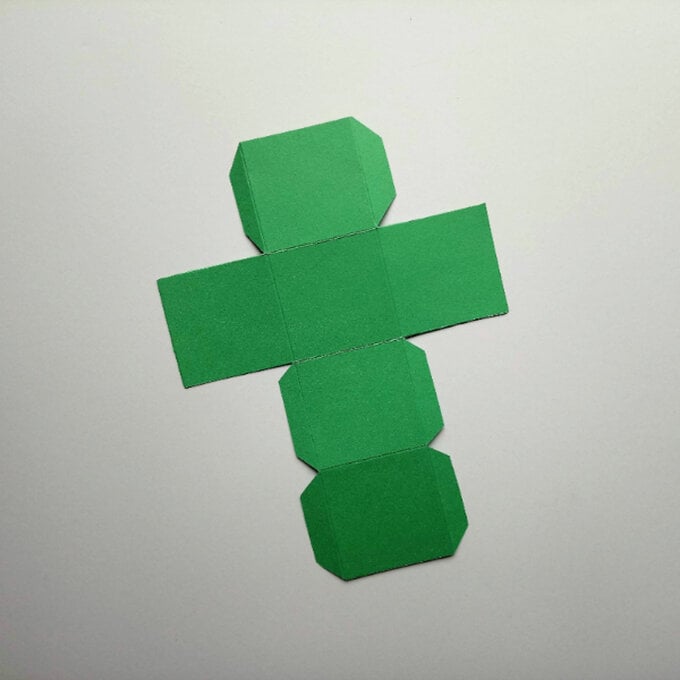
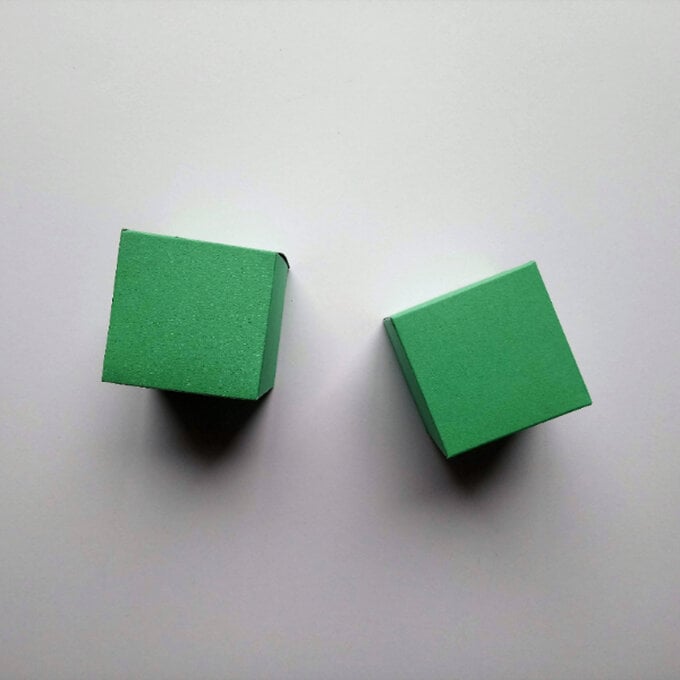
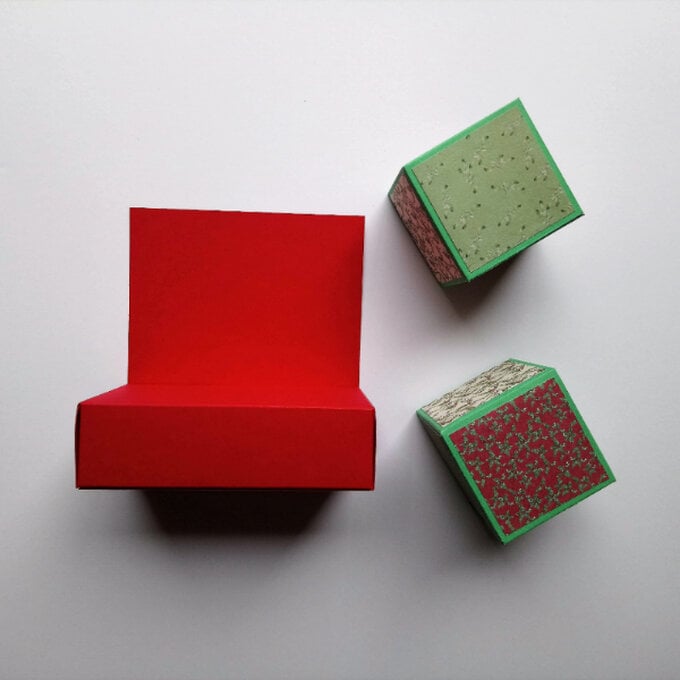
The Countdown Calendar is made of three pieces: two cubes which display the number of days until Christmas and a stand. Start by making the cubes by creating identical nets. Each of these cubes is 2 ½ x 2 ½ inches and are created from the green nets.
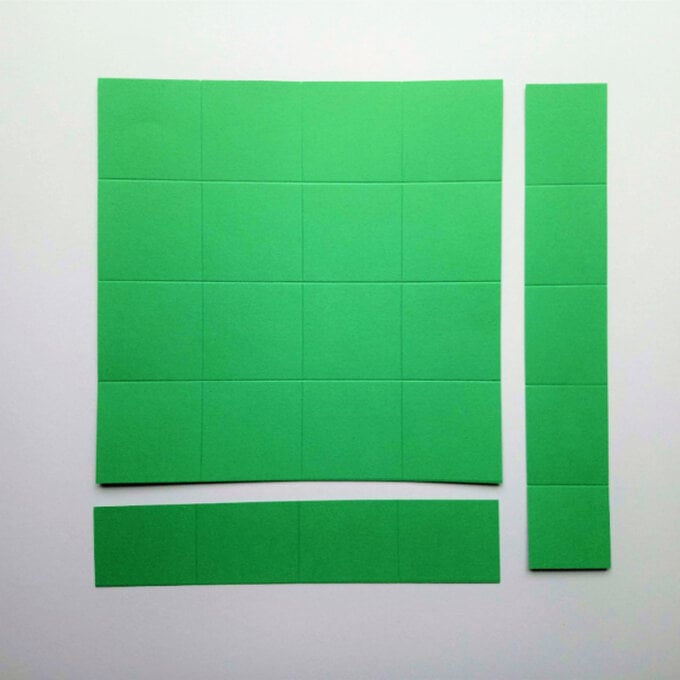
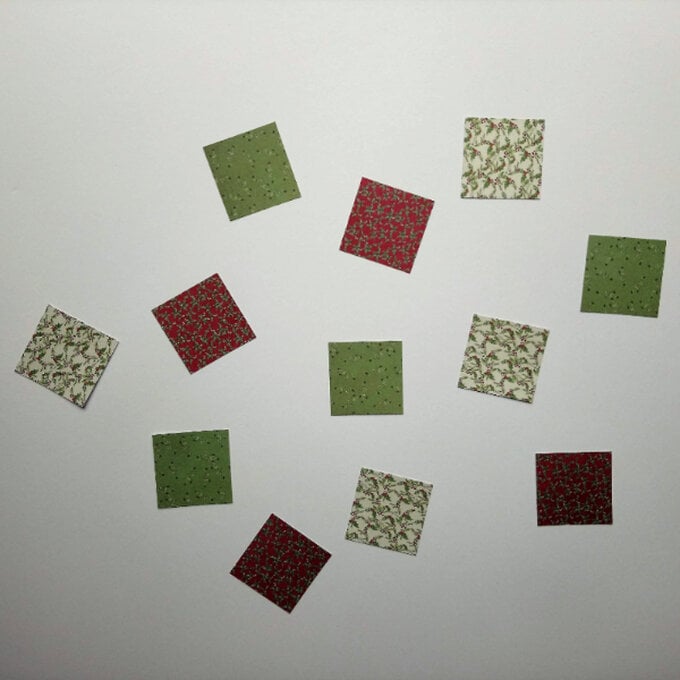
Next, cut pieces of patterned paper to 2 ¼ inch square. You will need 12 squares to cover the sides of both cubes. I chose to use three different patterns of paper, cutting four squares from each. Use double-sided tape or tacky glue to add the squares to the faces of your cubes.
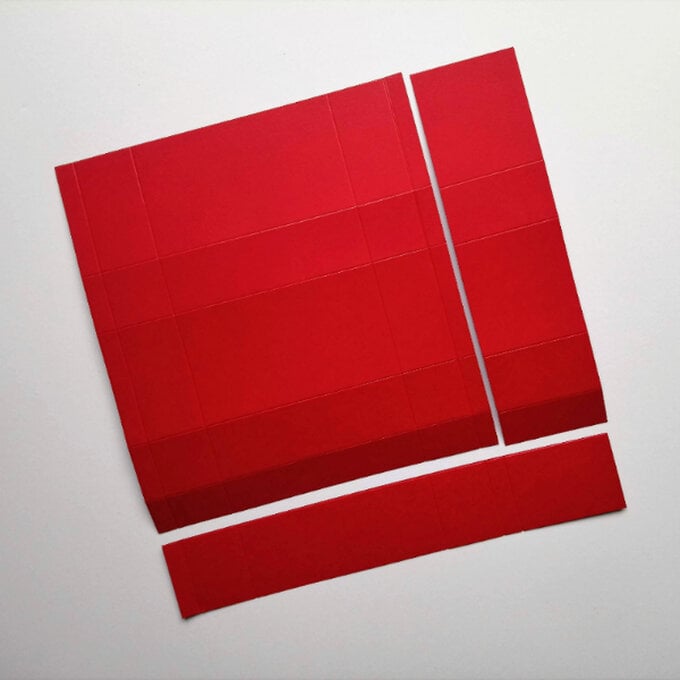
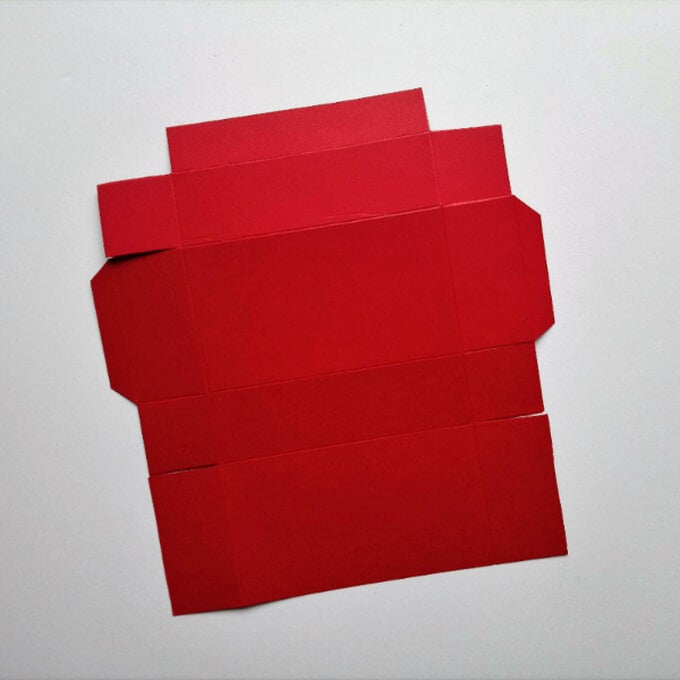
To assemble the base, you will need to create a flatter, rectangular box. To create this, I took a piece of 12 x 12″ cardstock and scored across at ½ inch, 2 inches, 7 ¼ inches, 8 ¾ inches, ad 9 ¼ inches. Then, rotate the card 90 degrees and score at 3 inches, 4 ½ inches, 7 ½ inches, 9 inches and 10 inches. It should look like figure 2
Once you've assembled your base, you need to create the back of your calendar. Take a piece of 5 ¼ x 9 inch cardstock and score at 3 inches. Glue the 3 inch section of the cardstock to the underside of your base.
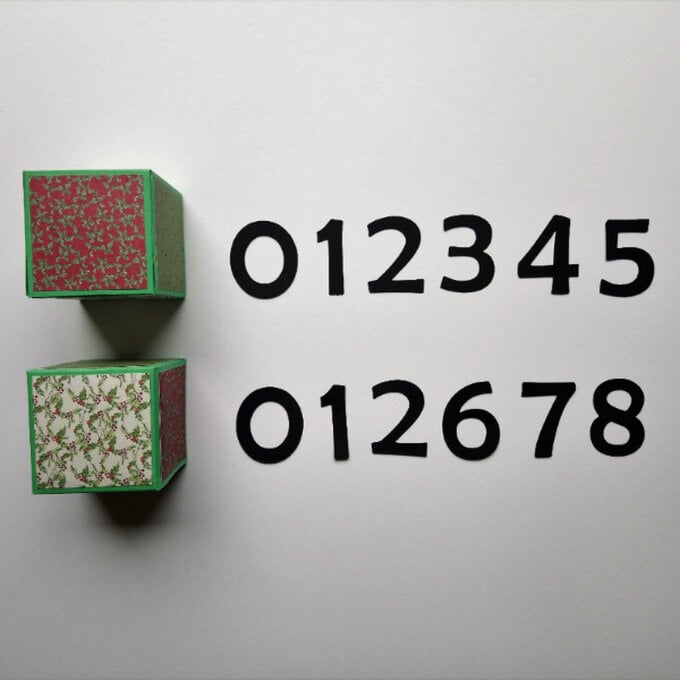
You are now ready to bring your calendar to life with numbers and a title. I used my Cricut Explore Air 2 to cut mine, but you could use Dies Pre-made Embellishments or even draw or fussy-cut them yourself! Cube one should contain the numbers: 0, 1, 2, 3, 4 and 5 and cube two should have the numbers 0, 1, 2, 6, 7 and 8.
Related Products