How to Make Scrapbook Bunting
Project and how-to make instructions by Cal Summers
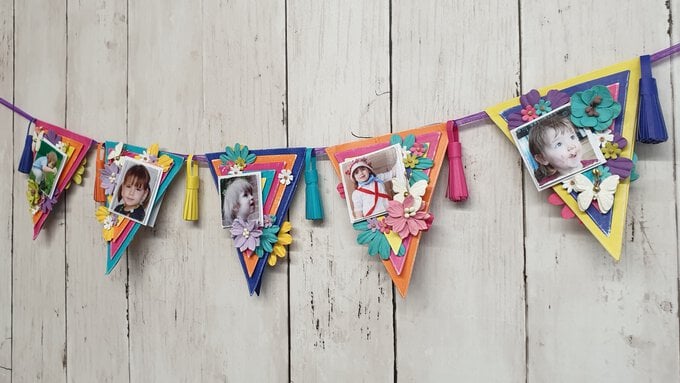
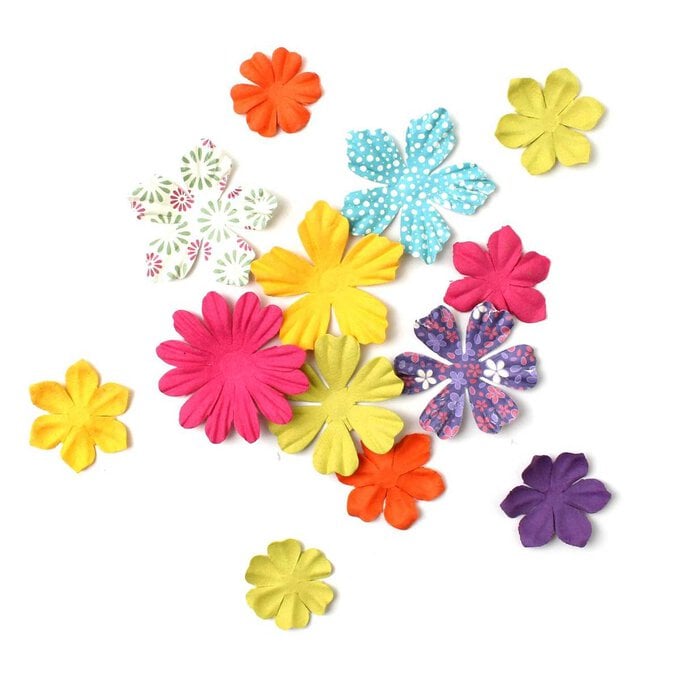
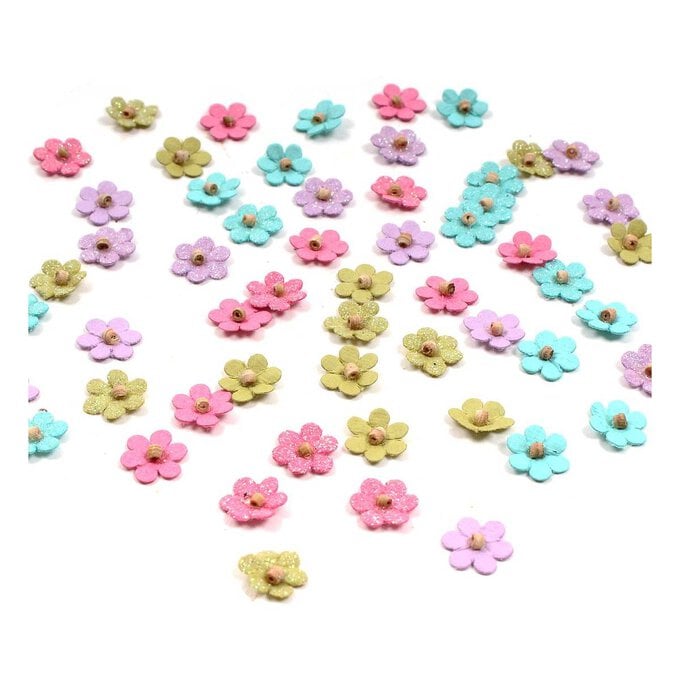
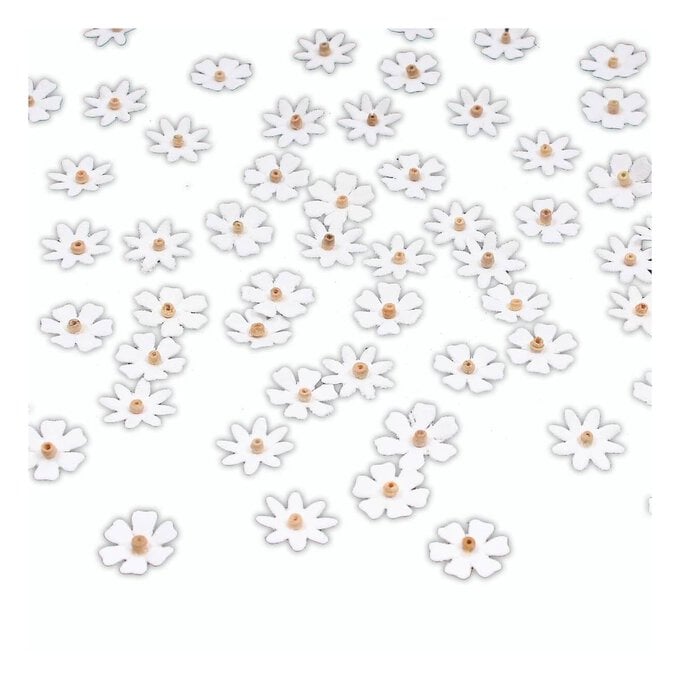
This simple double-sided scrapbook banner uses nesting dies and gorgeous paper flowers along with handmade tassels – so easy to make as well as pretty to look at!
You will need

Subtotal
Is $ 1.49
Subtotal
Is N/A
Subtotal
Is $ 1.49
Subtotal
Is $ 3.49
Subtotal
Is $ 5.49
Subtotal
Is $ 5.49
Subtotal
Is $ 5.49
How to make
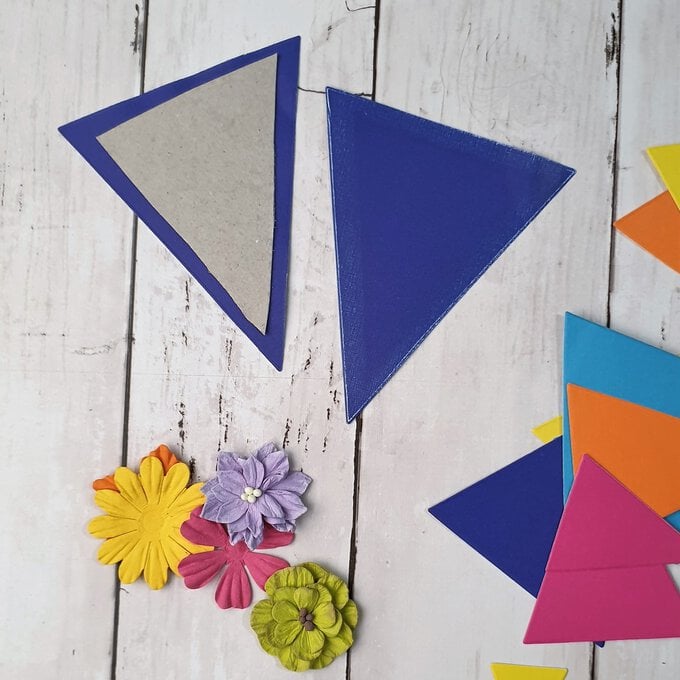
Cut out each of the sizes of nesting die from the pack twice from each colour paper – there are five different colours in the pack. So, for each colour you should have two of each size of die.
Print out your photos – I had ten each printed at around 5cm square or smaller. I layered each of these onto white card and left a small border around the edge of each.
Use an ordinary nail file to distress the edges of the banners and also my photos for added interested. The card has a white core, so you get a really nice contrast.
Glue the bunting layers together. I didn't glue them directly on top of each other but used foam pads to give them height. I layered the bunting up so no two colours were the same on each piece of bunting. I then put greyboard between two finished layered pieces of bunting so they were back to back. This left me with five pieces of double-sided bunting.
The next step is to add your photos to both sides of the bunting and adhere the flowers and butterflies to make the bunting look pretty. I decorated both sides of the bunting differently.
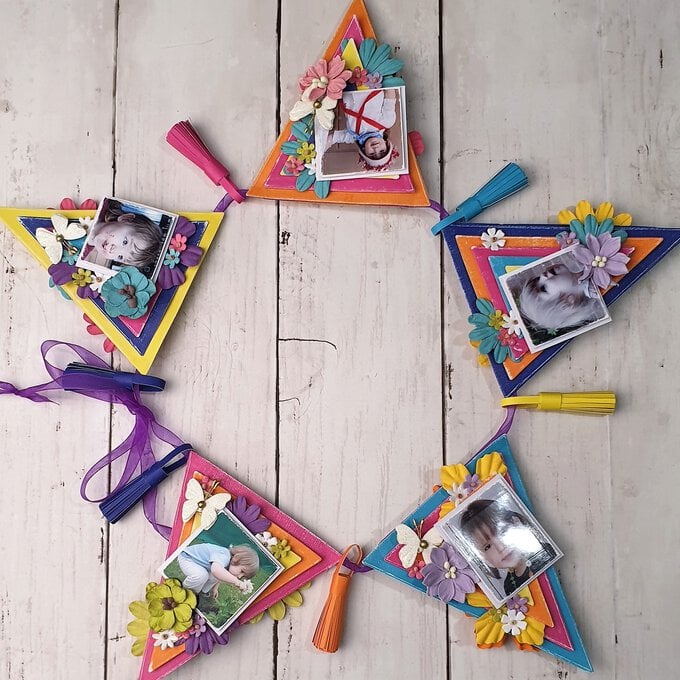
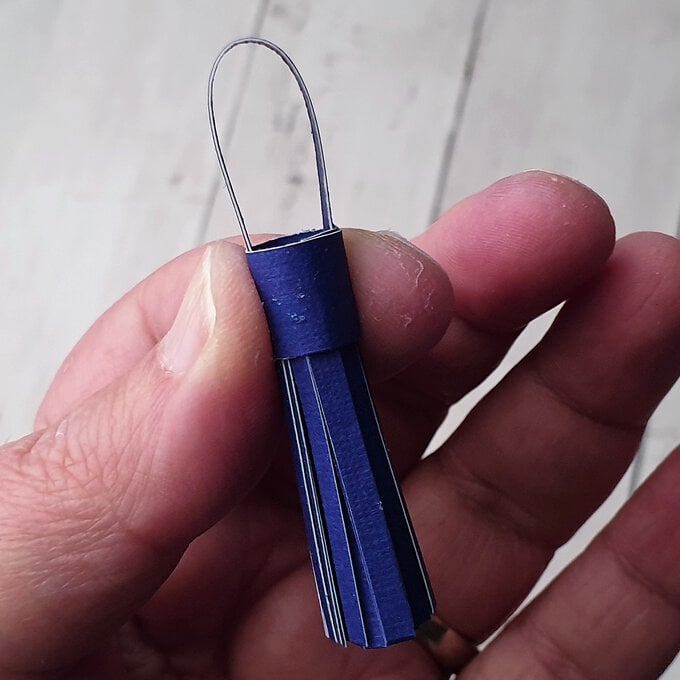
Create six tassels to go between each piece of bunting and one at each end.
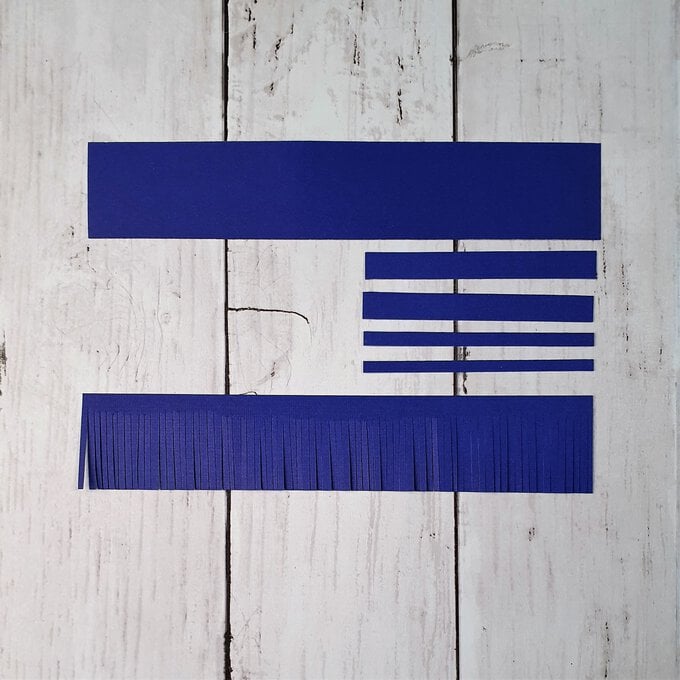
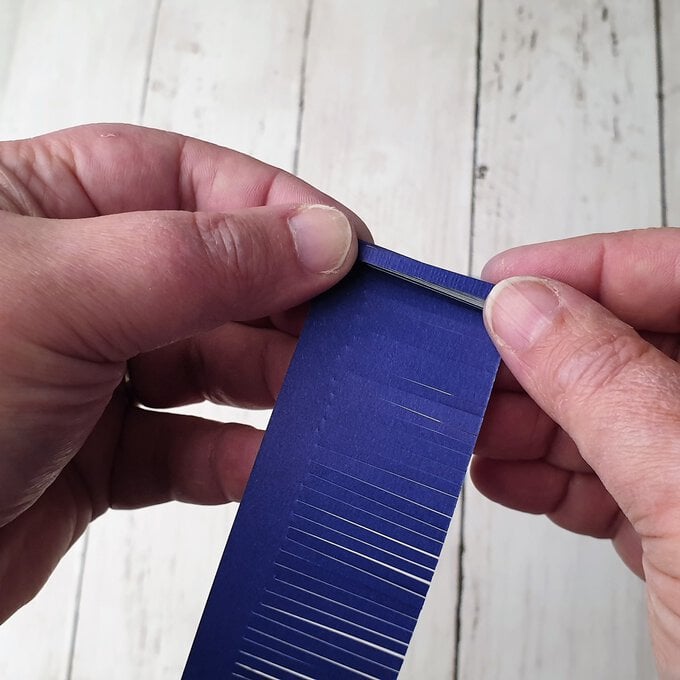
To make the tassel first cut a piece of card to 4 x 20cm for each tassel. Plus one piece 0.5 x 5cm and one 1 x 4cm.
Next frill the larger piece by snipping thin snips into the card up to the about 0.75cm mark.
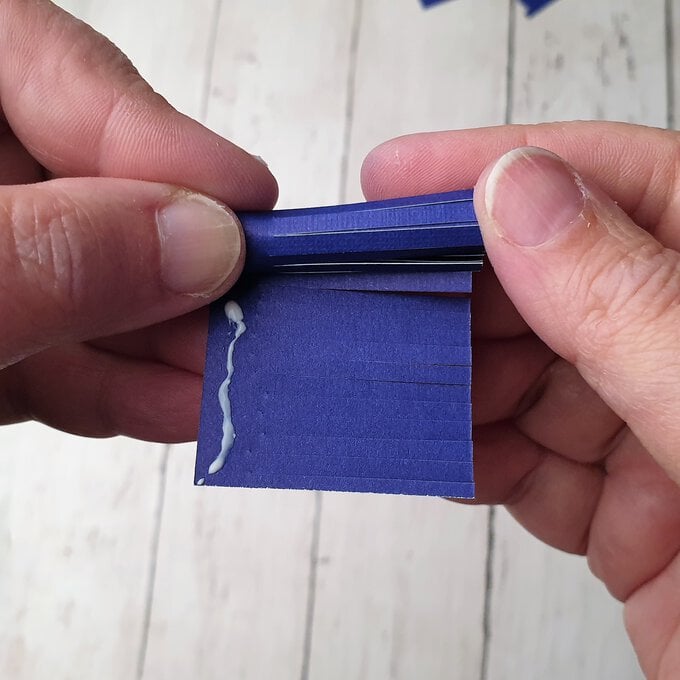
Next roll the tassel up and use wet (tacky) glue to adhere into place.
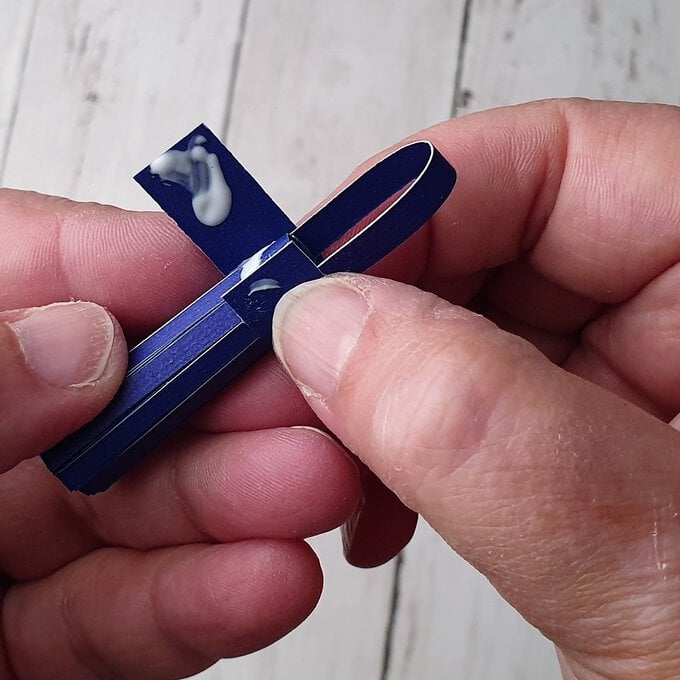
Next, glue the thinner of the other pieces across the head of the tassel to form the loop. When this is in place glue the final piece around the head of the tassel to finish it off.

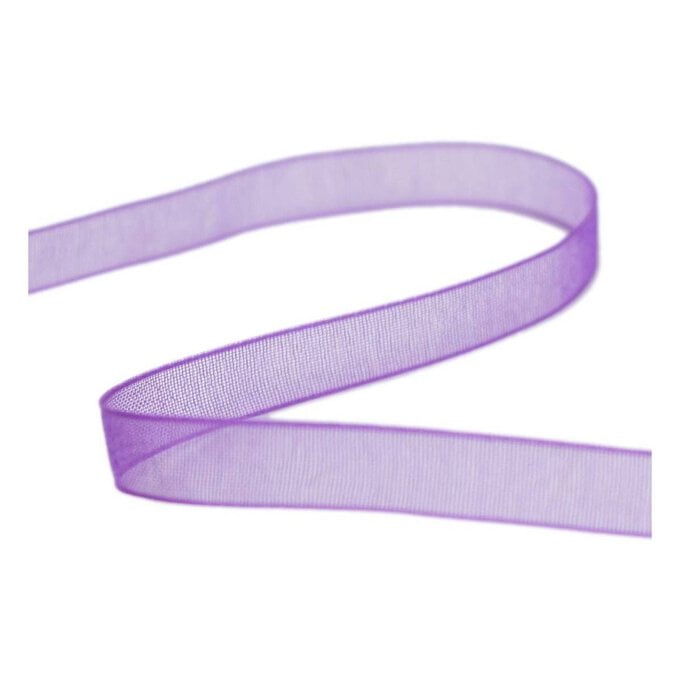
Finally glue the ribbon to the inside of each banner piece with a tassel hung in between and before and after the first and last pieces.
Top tip - You might find it easier to glue with a hot glue gun.