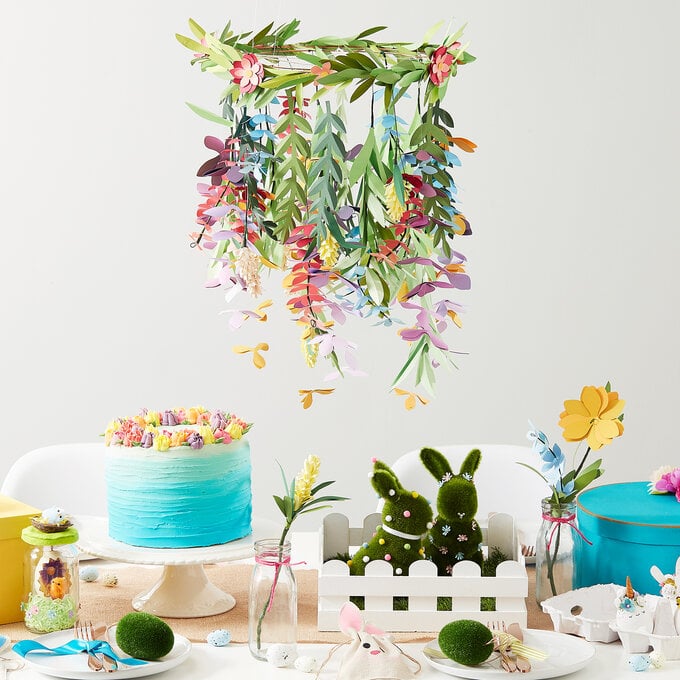
3 Ways to Make a Light-Up Flower Garland
If you're looking to add a pop of colour and light to your garden décor, this project guide is just for you! Ideal for beginner papercrafters, this guide will show you three different ways to create a light-up flower garland that's beautiful during the day, and at night!
Whether you decide to display your flower garland indoors all year round or as part of your garden party display during the summer months, you're sure to make a stunning impression!
Project and instructions by Sue Smith
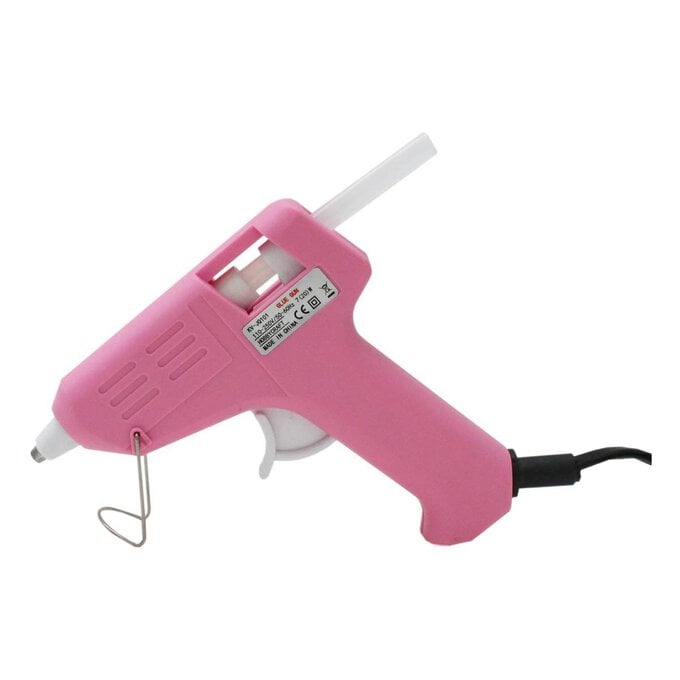
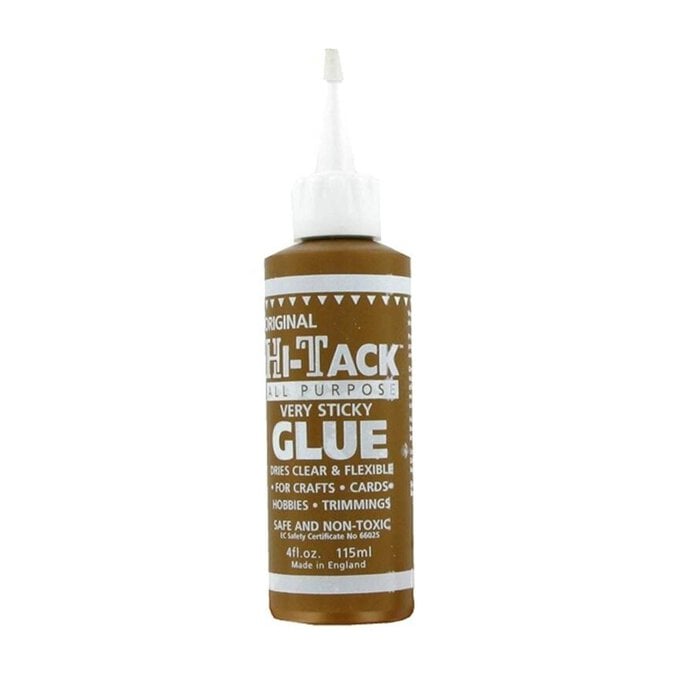
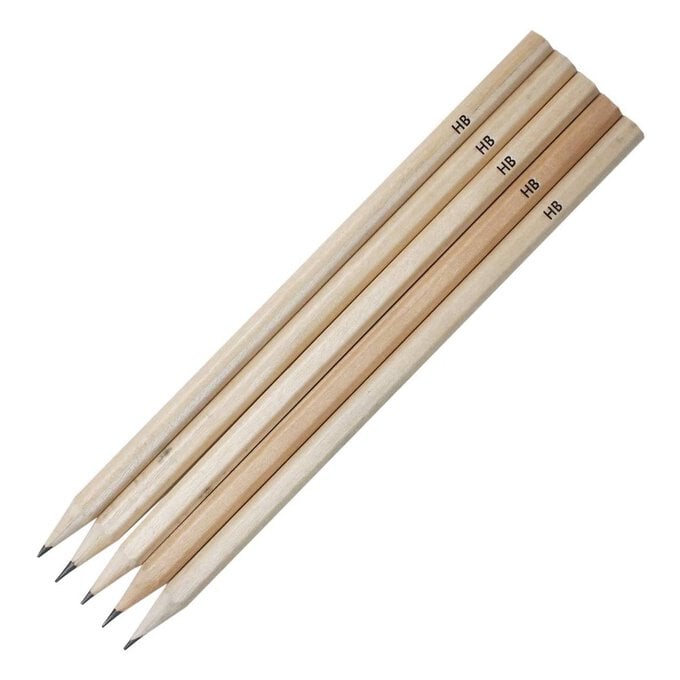
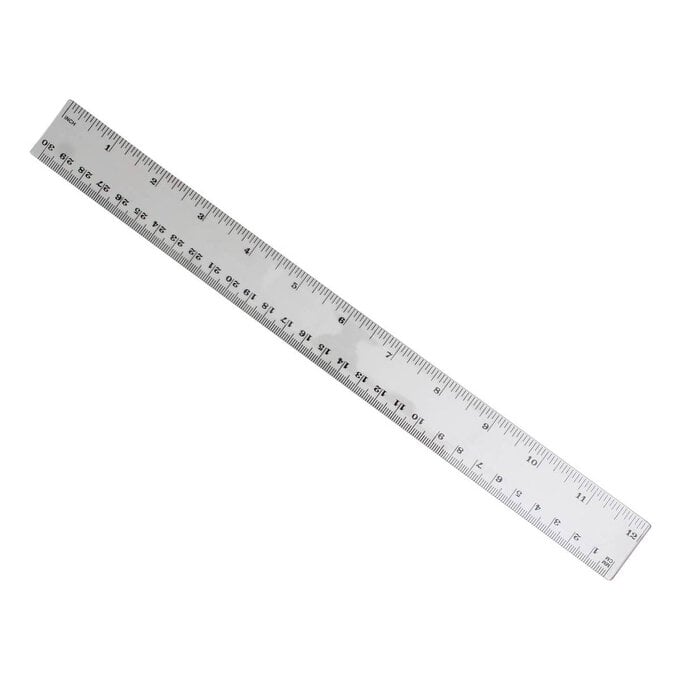
You will need
Subtotal
Is $ 4.49 , was $ 9.49
Subtotal
Is $ 9.49
Subtotal
Is $ 4.49 , was $ 9.49

Subtotal
Is $ 5.49 , was $ 7.49
Subtotal
Is N/A
Subtotal
Is $ 1.49
Subtotal
Is $12.98
Subtotal
Is $ 7.49
Subtotal
Is $ 6.49
Subtotal
Is $ 3.49
Subtotal
Is $ 4.49
Subtotal
Is $ 4.49
Subtotal
Is $ 5.49
You will also need:
* FREE downloadable templates
Download the FREE templates for this project below -
Anemone Light Garland PDF Template >
Peony Light Garland PDF Template >

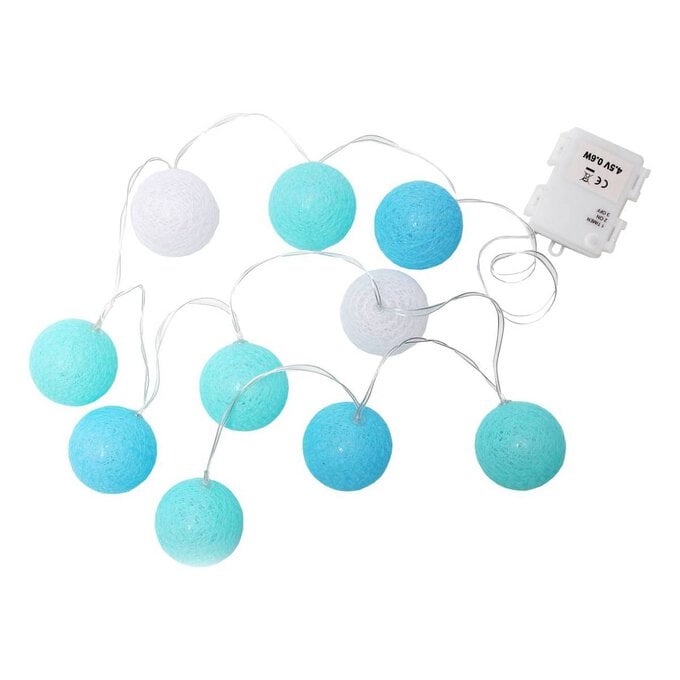
Begin by removing the required sheets of card from the paper pads. Use the turquoise, pale blue, and bright blue sheets from the brights pad. Together with a couple of pale turquoise-coloured sheets from the aqua pad.
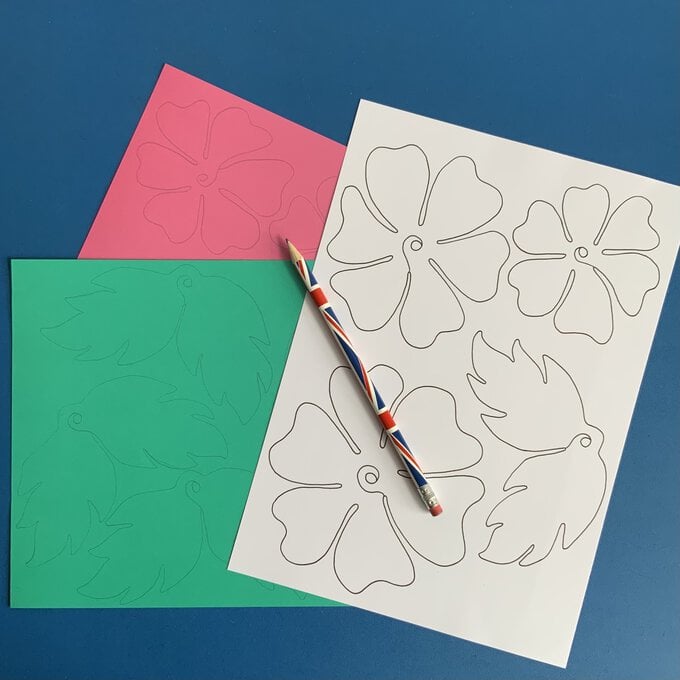
Print a copy of the anemone flower template supplied. With a pencil, transfer the two petal designs onto a variety of the coloured card. It is possible to fit two large and a small petal design on each sheet, and four small petals to a sheet.
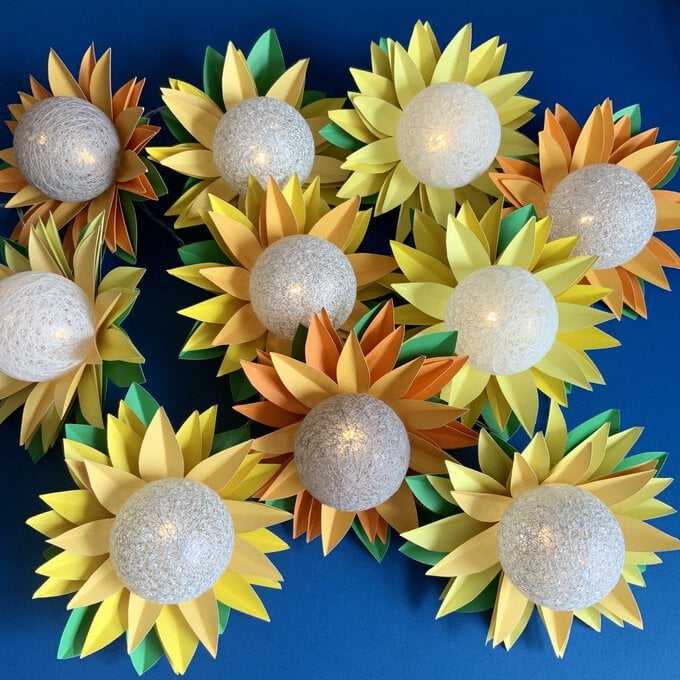
Fussy cut as many leaves and petals to decorate the ten cotton ball lights. Each light will require three different coloured flower petals and one green leaf.
Begin to shape the leaves and petals by first scoring them down the centre line of each leaf and petal, using a bone folder and rule.

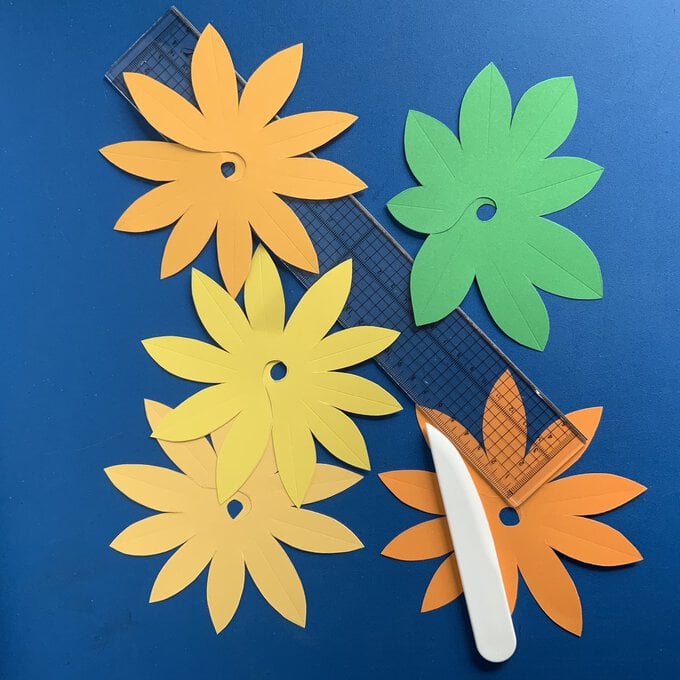
Next, carefully valley fold every leaf and petal.
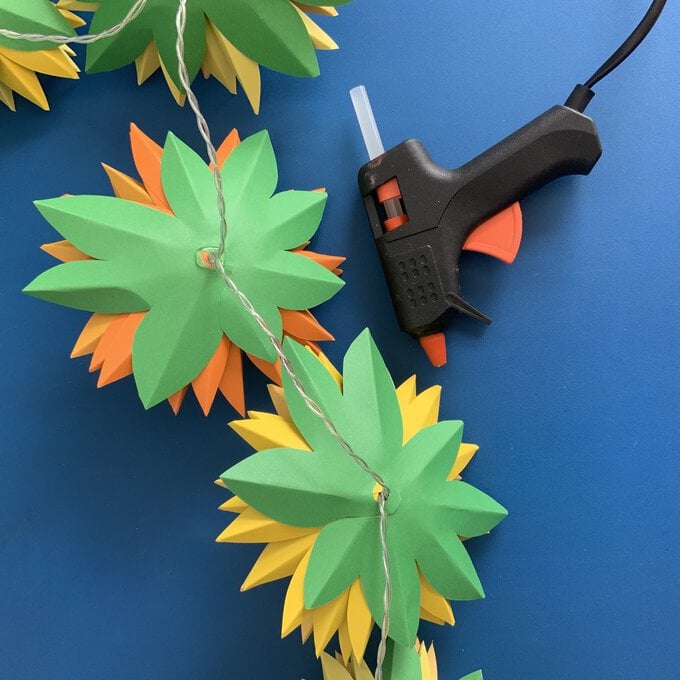
Create ten plies of cut outs ready to slot behind each light ball. Add a petal right behind the light ball, then behind this add another coloured petal, then a third, slot in the leaf cut out to finish.

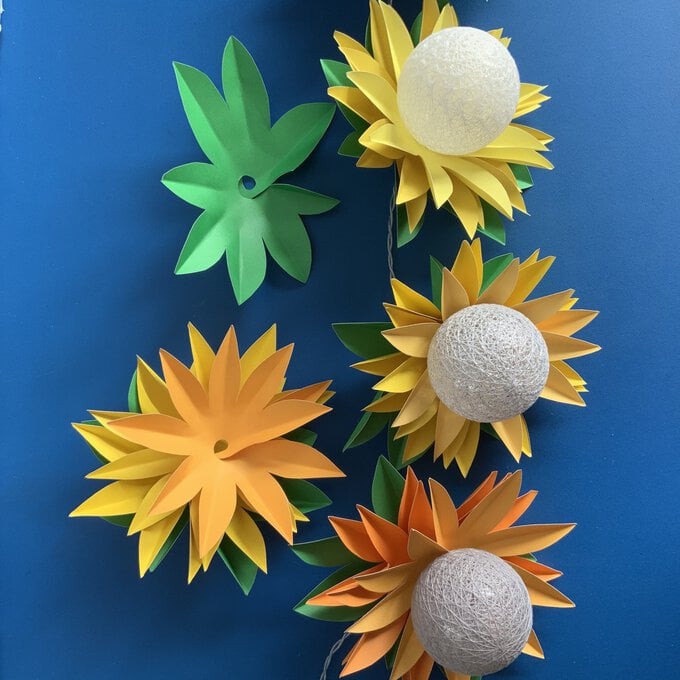
Carefully handle one of the flowers, pulling up the first petal to hug the ball light ball. Add tacky glue around the centre hole of the second petal and pull up to fix onto the underside of the first petal. Turn slightly to make sure the petals offset each other. Then add glue around the centre hole of the third petal, pulling up to fix under the second petal, again offset as before. Lastly, add glue around the centre hole of the leaf, and fix in place behind the three petals. Repeat, gluing together all ten flowers.
Finally, and carefully, add a small ring of hot glue to the underside of each flower, to hold the petals close to the light ball. It is very important to make sure the tiny, clear collar supporting the wire into the cotton ball is lifted all the way. This will protect the wire from touching any of the hot glue.
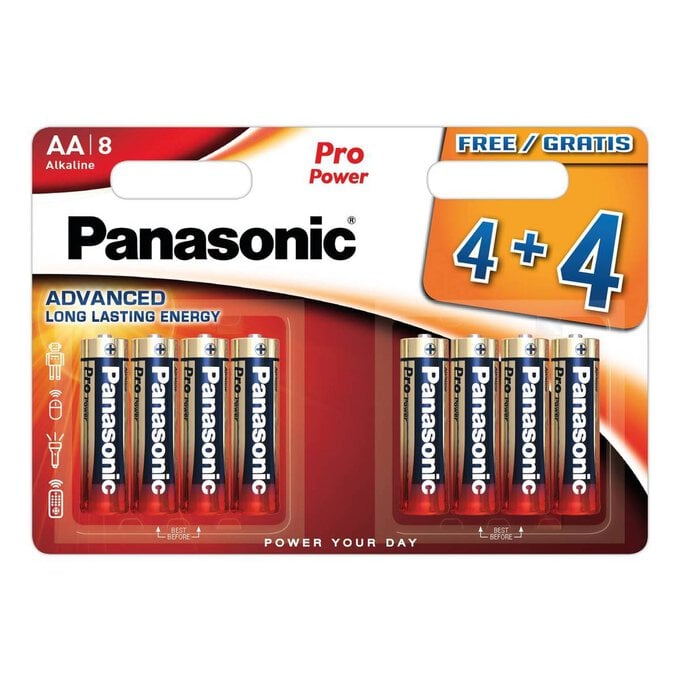
Insert three AA batteries into the battery case, and clip the lid closed. Read the instructions on the box of the lights to switch on.
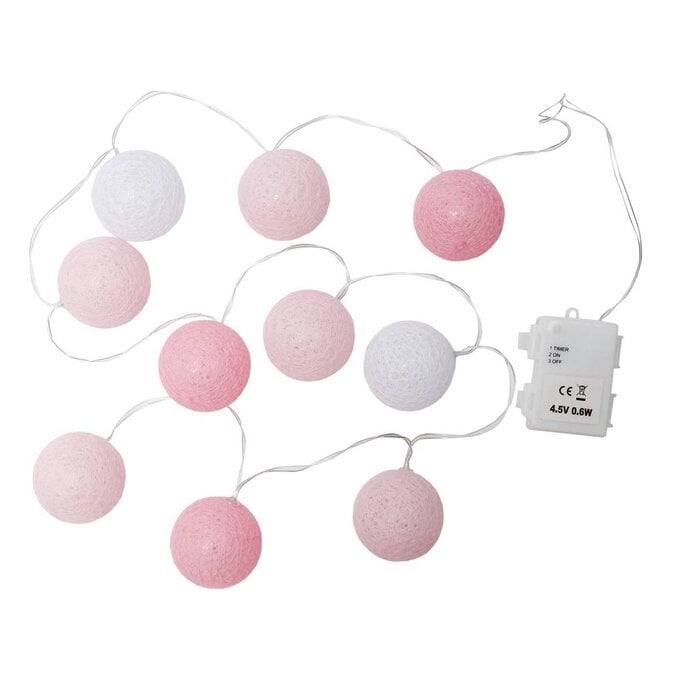
Begin by removing the required sheets of card from the brights paper pad. Use the orange, red, pale pink, bright pink, purple and turquoise colours.
Print a copy of the peony flower template supplied. With a pencil, transfer the leaf design onto the turquoise card. It is possible to draw five leaves on one sheet. Use all three petal templates to draw onto the remaining-coloured card. Keep lighter colours such as the orange sheet for just the small petals, and the darker colours such as the purple sheet for just the largest petals.
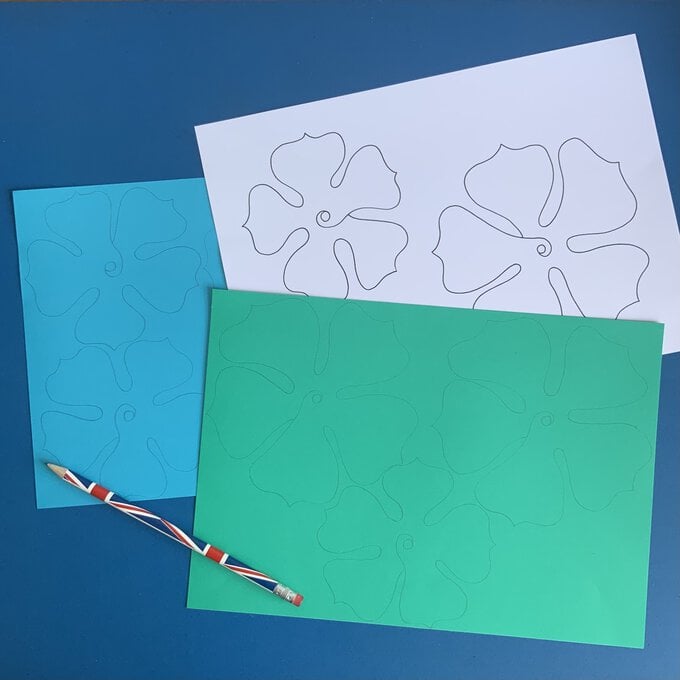
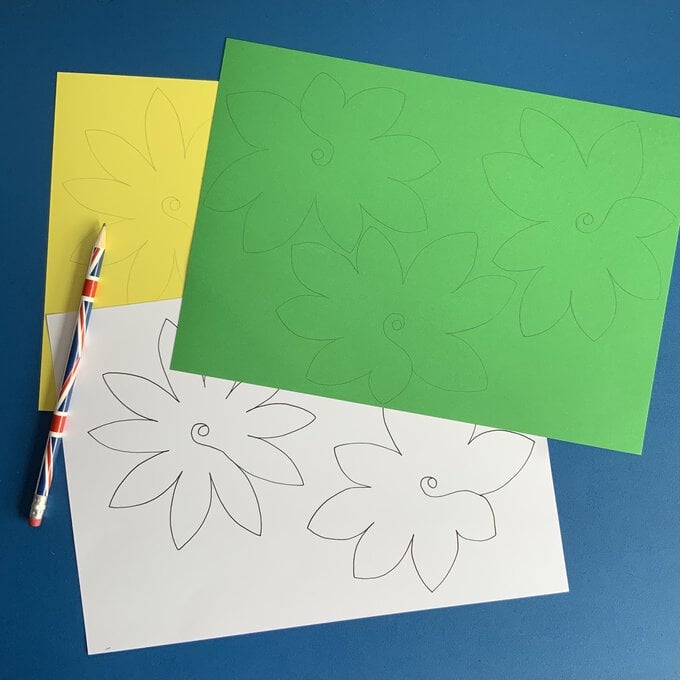
Begin by removing the required sheets of card from the paper pads. Use the bright yellow and green sheets from the brights pad. Together with a couple of pale-yellow coloured sheets, and the two-lighter orange-coloured sheets from the orange pad.
Print a copy of the rudbeckia flower template supplied. With a pencil, transfer the leaf design onto the green card. It is possible to draw three leaves on one sheet. Use the petal template to draw onto the remaining-coloured card.
Related Products