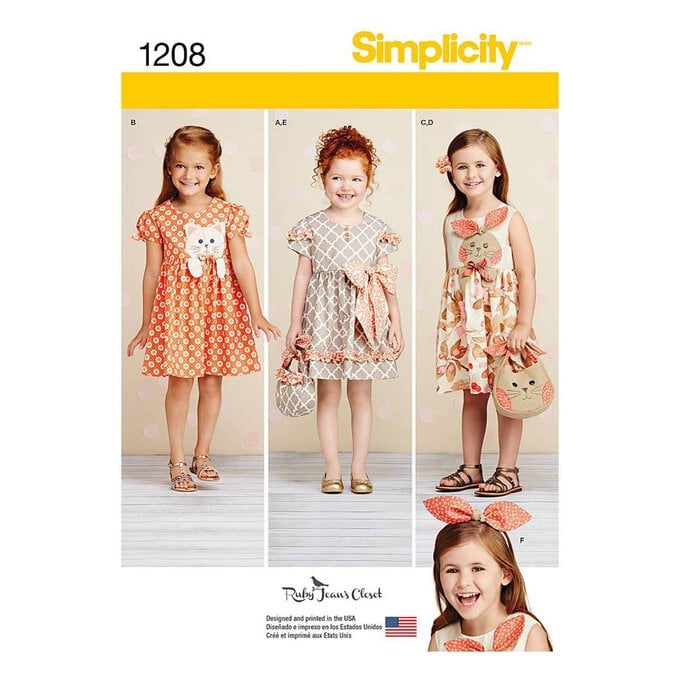
How to Make a Child's Cat Dress and Matching Bag
Make this adorable young child's dress from Simplicity – it looks super cute when paired up with the co-ordinating bag.
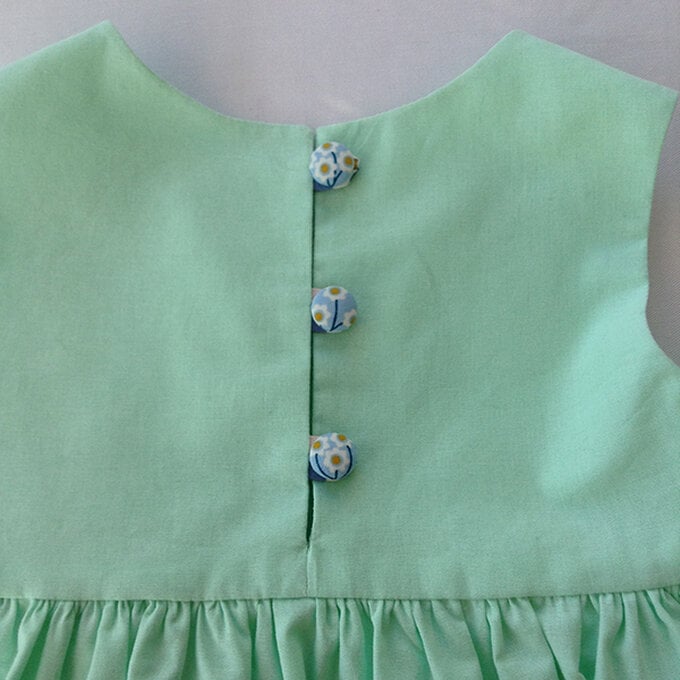
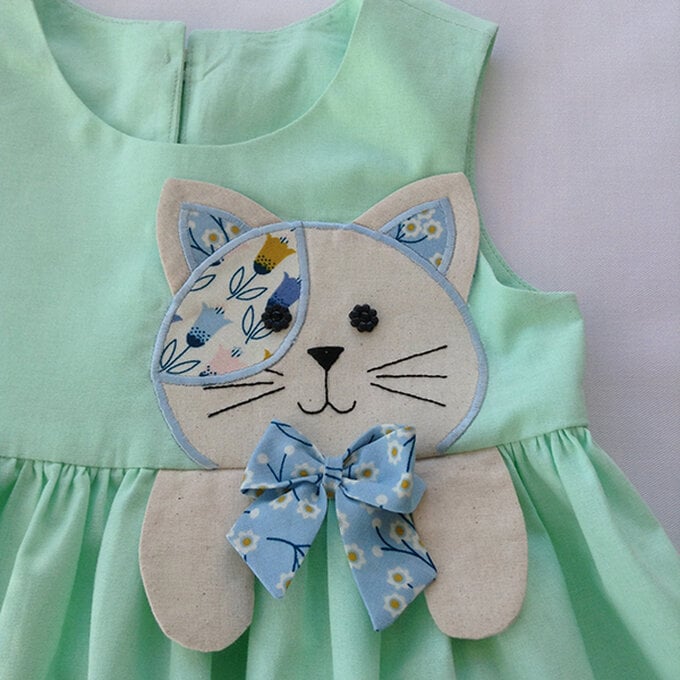
For the dress we chose to complete option C- the sleeveless dress with the appliqued cat just to show that you can mix and match all the options within the pattern. The bodice is self-lined and I have used covered buttons on the back for that designer touch.
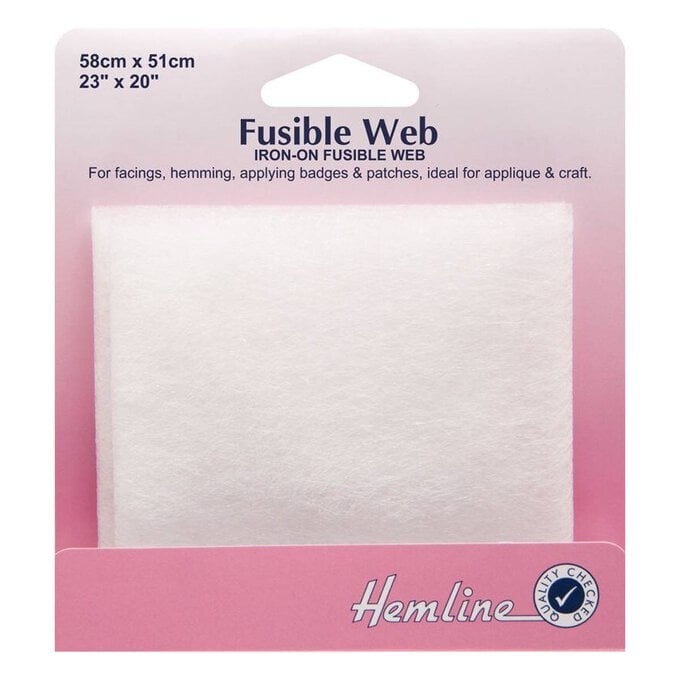
For the applique we used Heat and Bond fusible web as this allows you to position the applique in place, iron to secure and then embroider. The embroidery on the cat's face is very simple back stitch with a little satin stitch nose. Try it in a variety of fabrics, plain and patterned, enjoy and have fun!
You will need
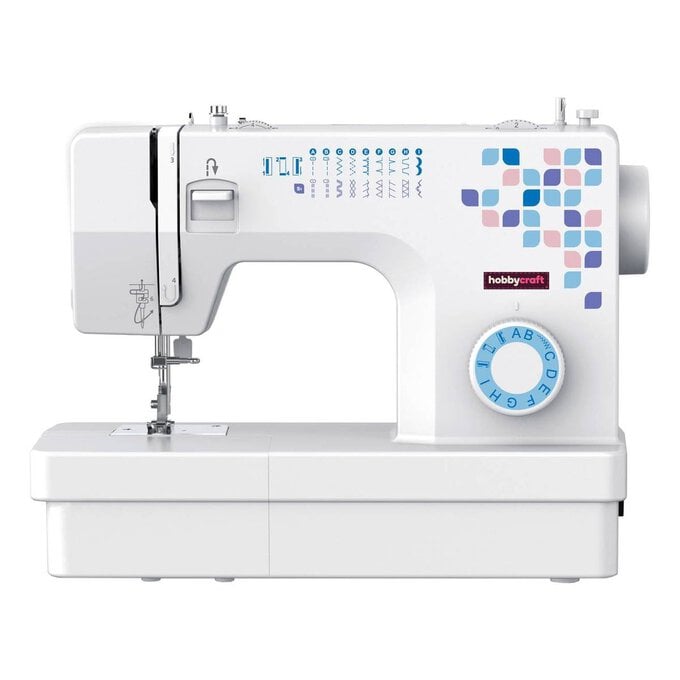
Subtotal
Is $ 120.00

Subtotal
Is $ 22.00
Subtotal
Is $ 5.49
Subtotal
Is $ 7.49
Subtotal
Is $ 16.00
Subtotal
Is $ 4.49
How to make
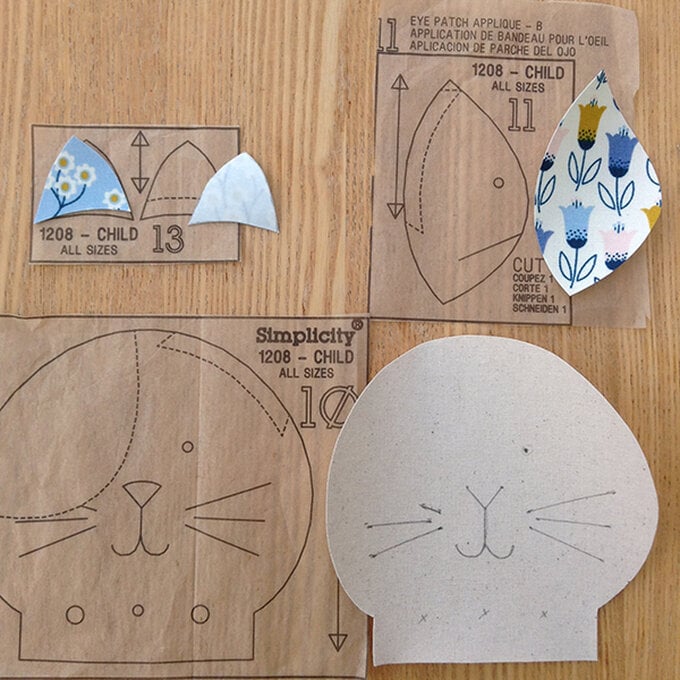
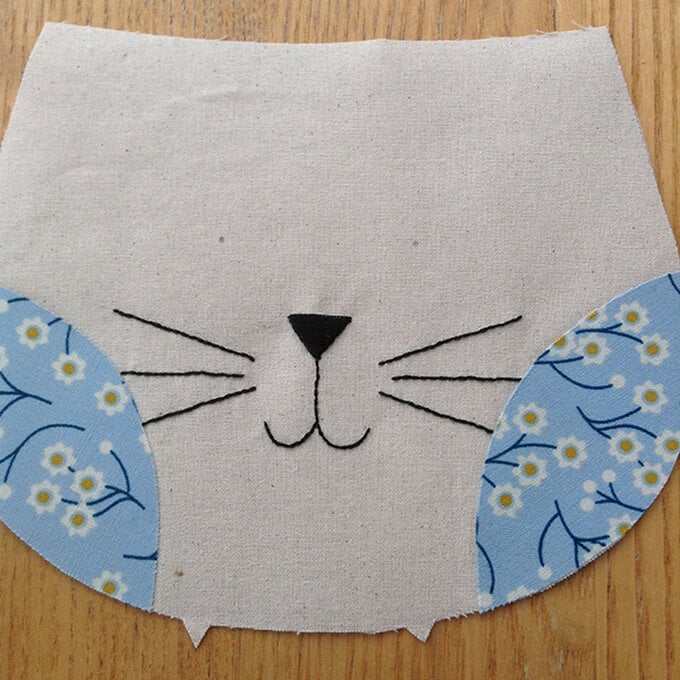
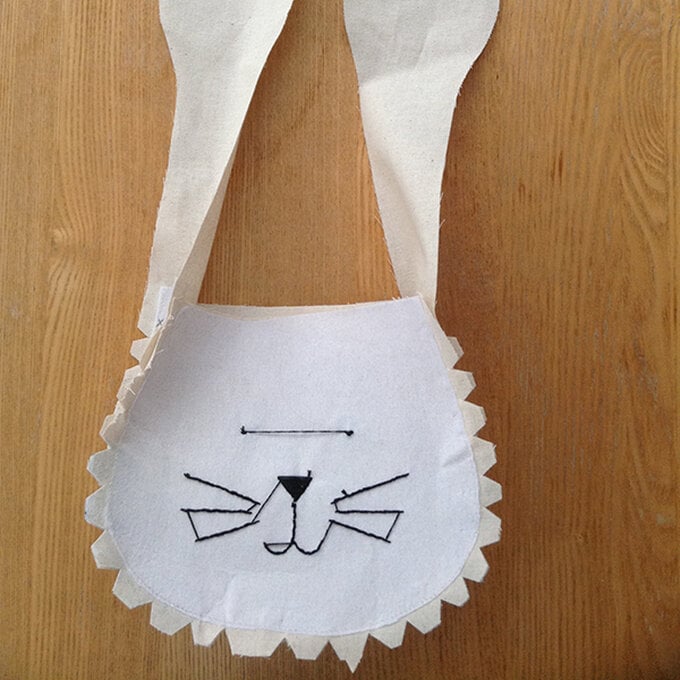
Decide which fabrics you wish to use for the applique. Cut the rough shape from the Cut & Bond for your applique. Trace the outline shape onto the paper side of the Cut & Bond, remembering to reverse the shaped pieces. Following the manufacturer's instructions iron the Cut & Bond onto the reverse of the fabric. Cut out each applique piece and transfer the markings to the cat's face.
Cut out the required dress pieces. Stay stitch the bodice front and back as instructed.
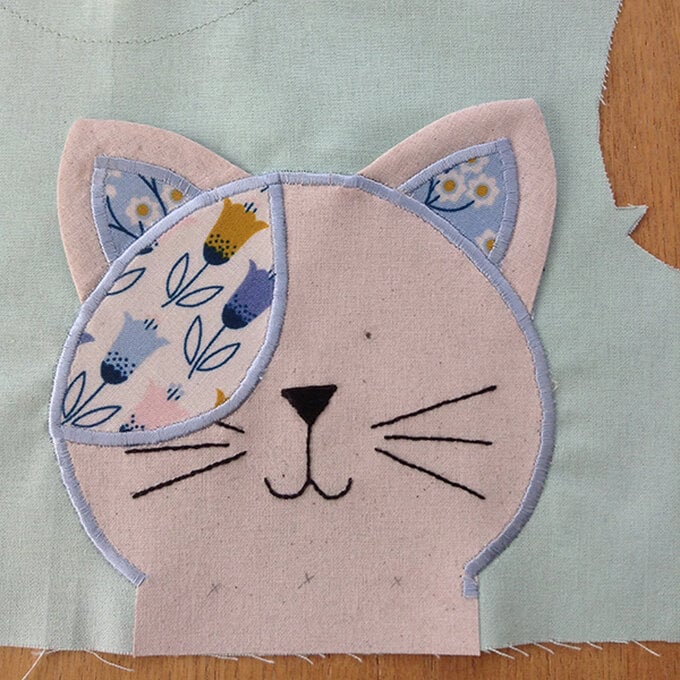
Remove the paper backing from the appliqued pieces. Iron the inner ear in position. Using your preferred method, applique the inner ears to the outer ears. I used Satin Stitch (a tight, even zig zag stitch on my machine) and a Gutterman embroidery thread which adds a lovely lustre. Using ¼” (6mm) seam allowance and right side together stitch both ears. Trim, turn right sides out.
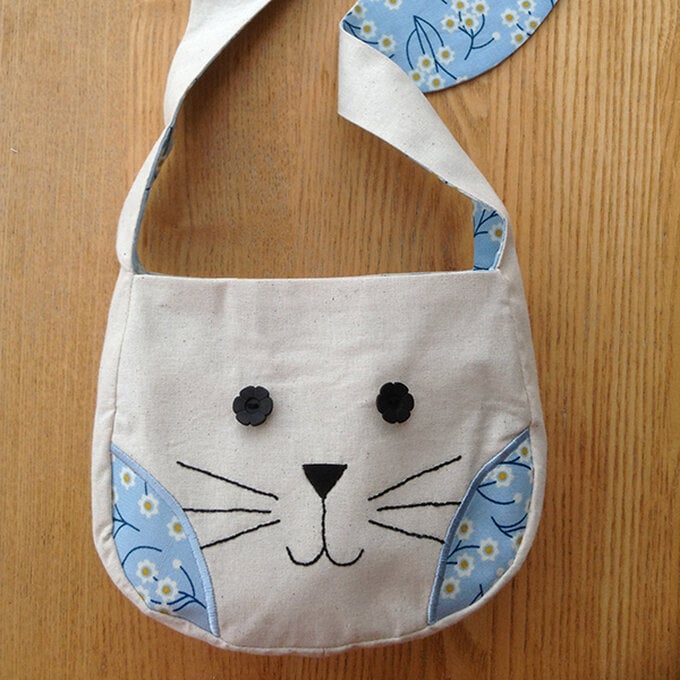
Position the ears first and then the kitty face where indicated on the bodice front, and iron in place. Position and iron the eye patch. Again using Satin Stitch applique the eye patch inner shape and then the kitty’s face.
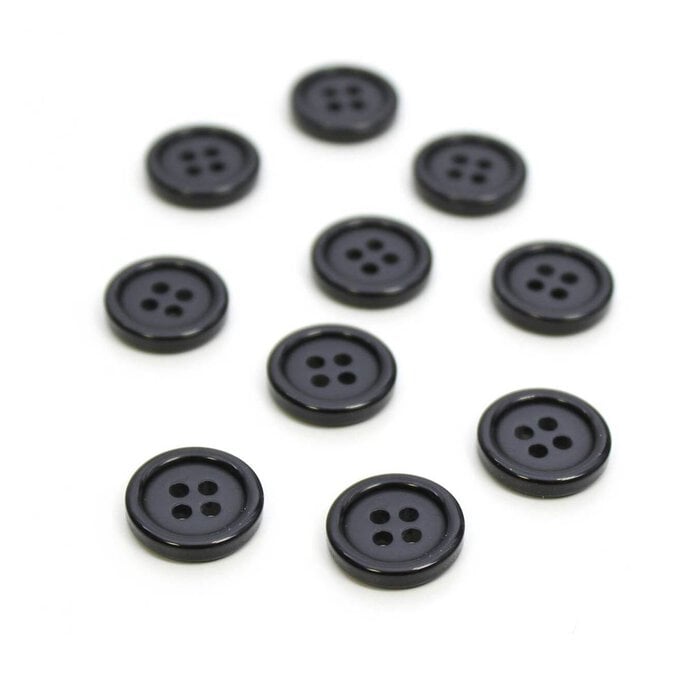
Now embroider the kitty’s face. I used Satin Stitch and two strands of embroidery floss (thread) for the nose and Backstitch, or if you prefer Outline Stitch for the mouth and whiskers. Sew the smaller buttons in position for the eyes.
Now follow the pattern instructions 6 and 7 on bodice B and complete the paws.
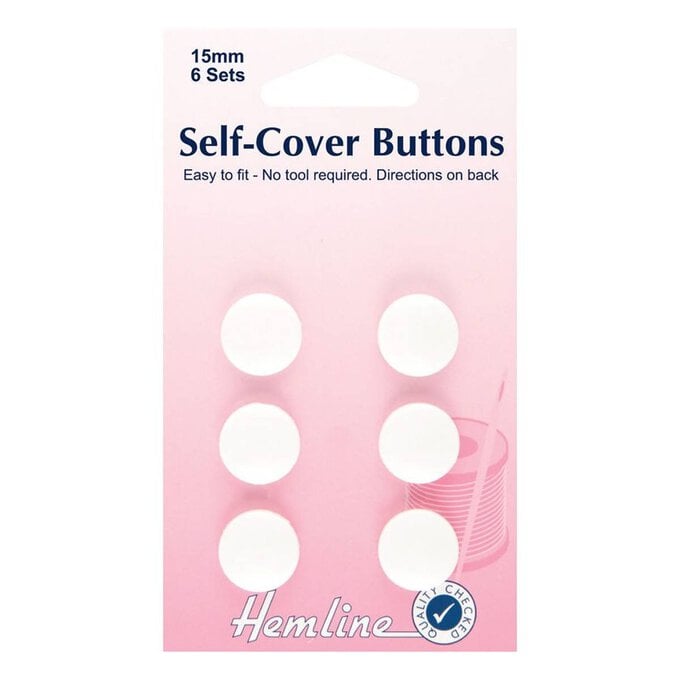
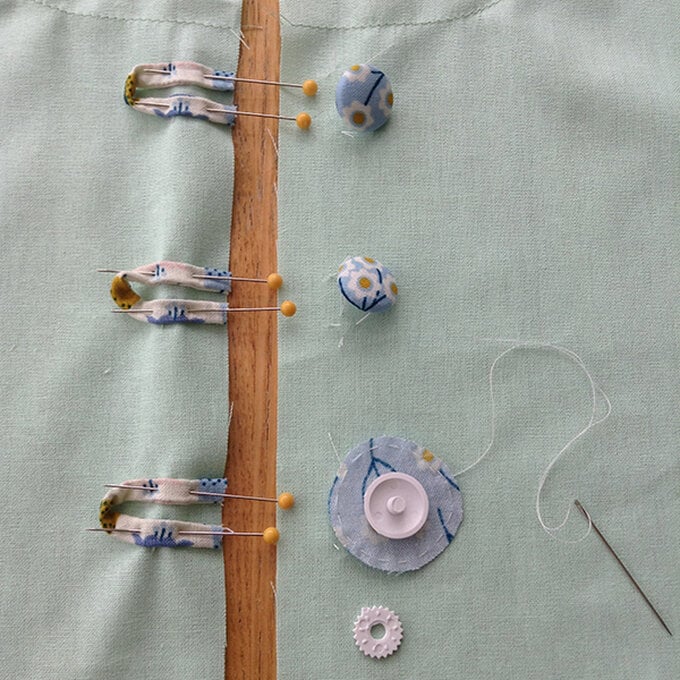
Prepare the loops for the back closure as for Dress A, steps 2 through to 4. Make the covered buttons as per the picture below and manufacturer’s instructions.
Follow steps 15 as for Dress C. Trimming the seams and clipping the curves may be a little fiddly but it means the bodice will turn through easily and result in a good curve.
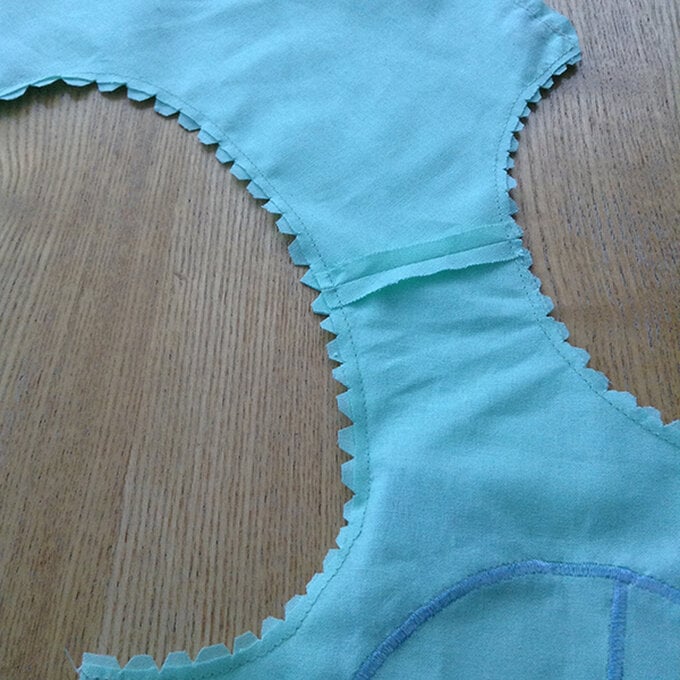
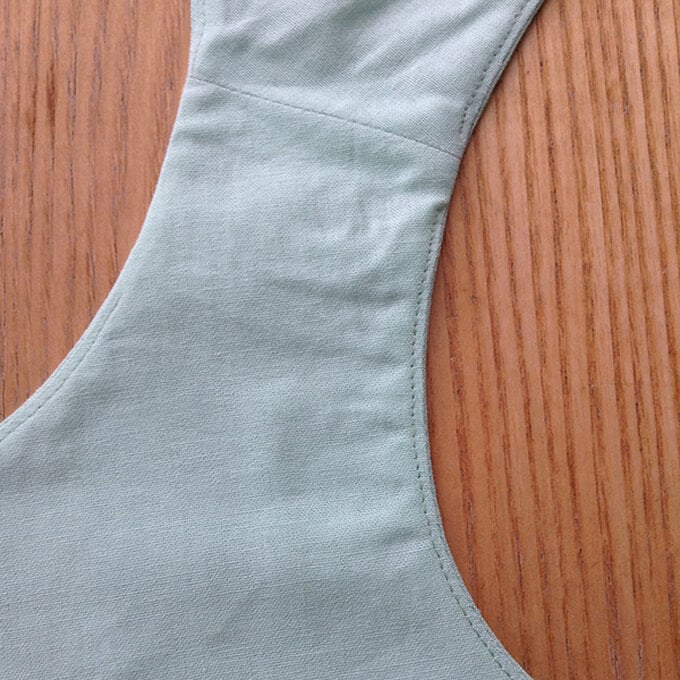
Turn the bodice right side out as in step 16 and under-stitch as in step 17. Again, this can be fiddly, but this will give a professional finish to the bodice.
Follow steps 18 and 19 for the back closure and the side seams.
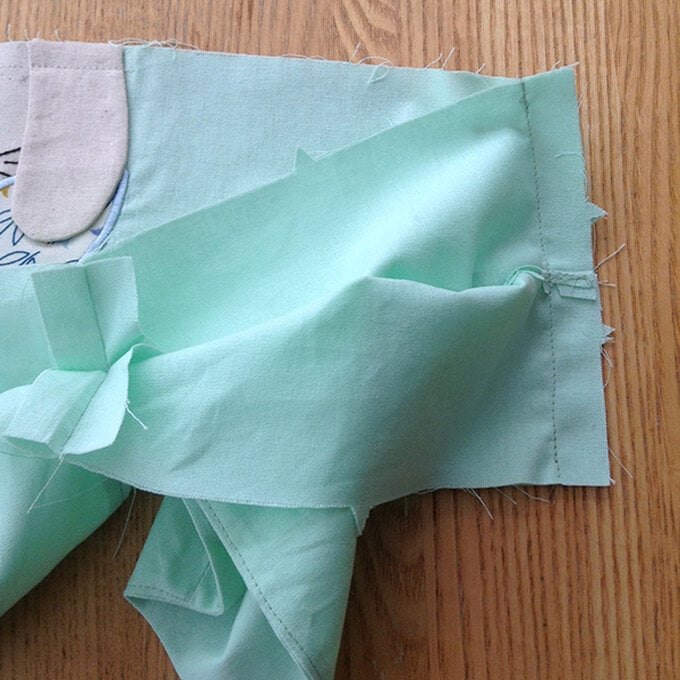
Make up the skirt front and back as per step 20 then continue as Dress A 19 through to 20
On the outside, bring the back opening edges together. Sew the covered buttons under the loops.
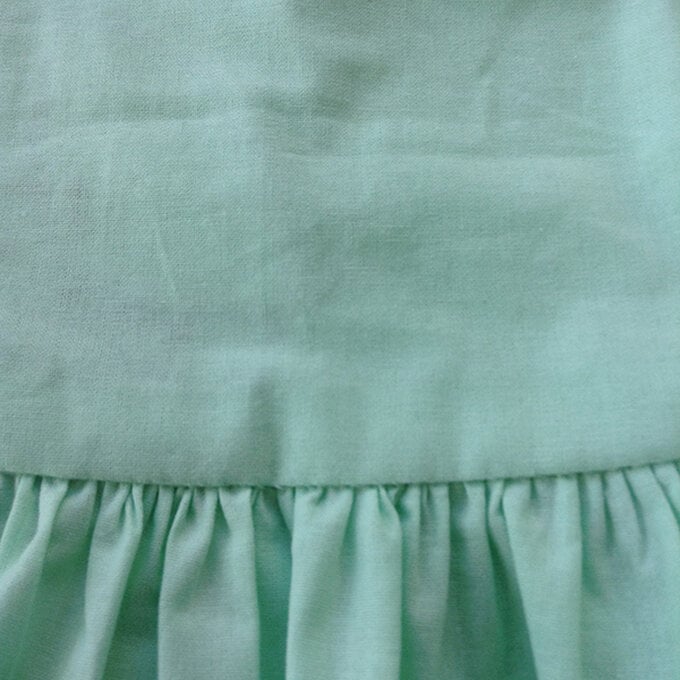
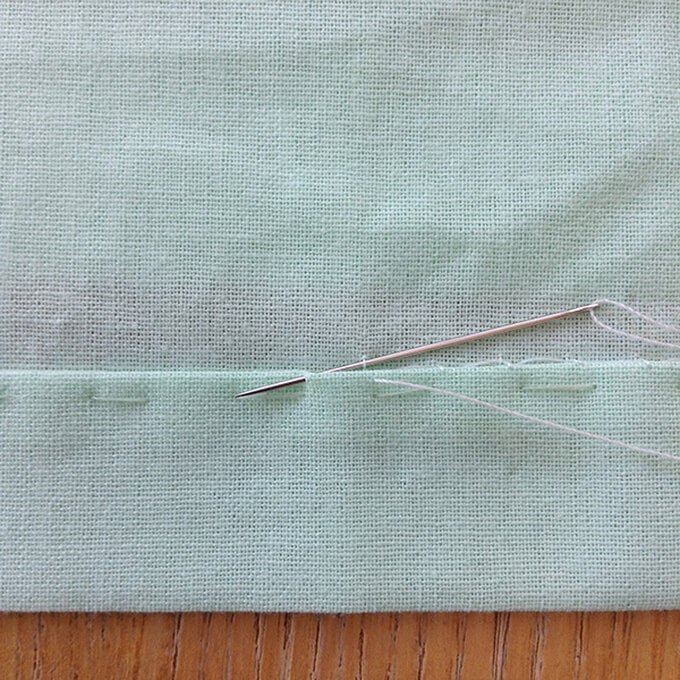
Stitch the hem in place – this can be done by either hand or machine. I prefer to hand stitch hems for a more professional finish.
Finally, make the bow and attach to the front of the dress. Your dress is now finished.

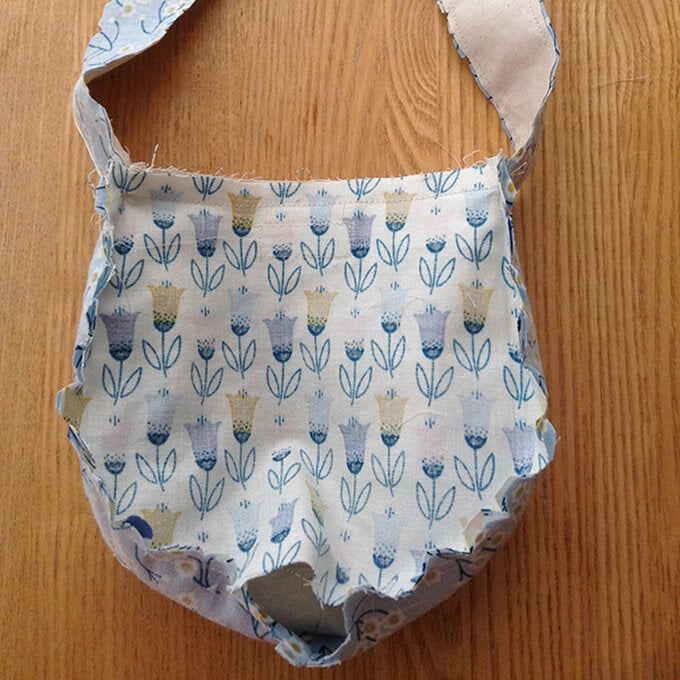
Decide which fabrics are to be used for the applique and lining. Follow the cutting guide.


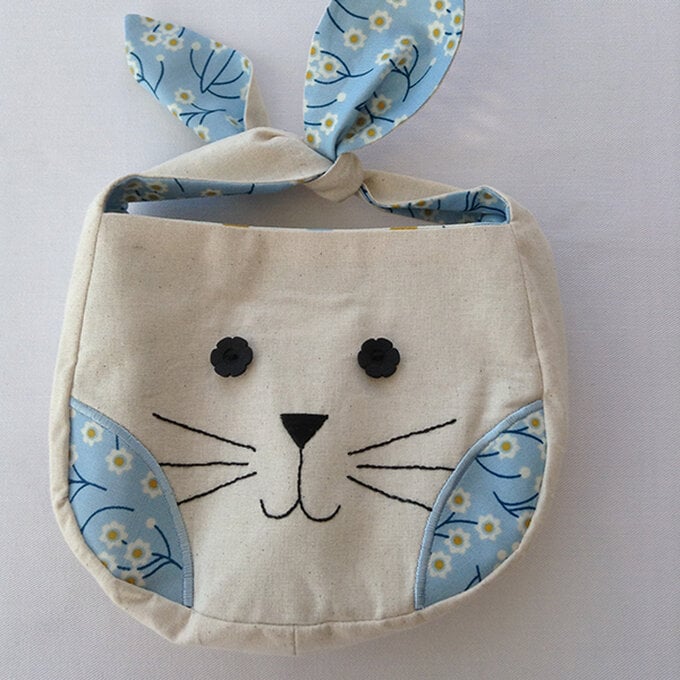
The bag is now complete.
Enjoy your beautiful handiwork!
Related Products