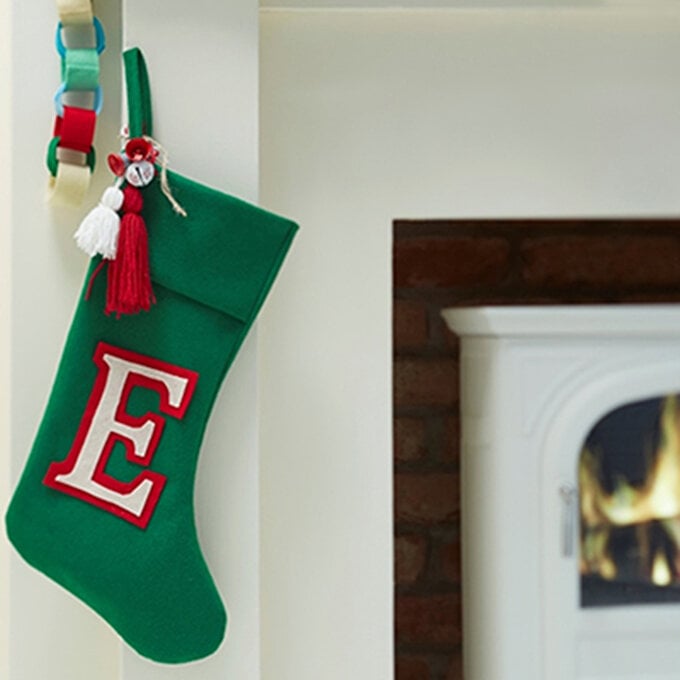
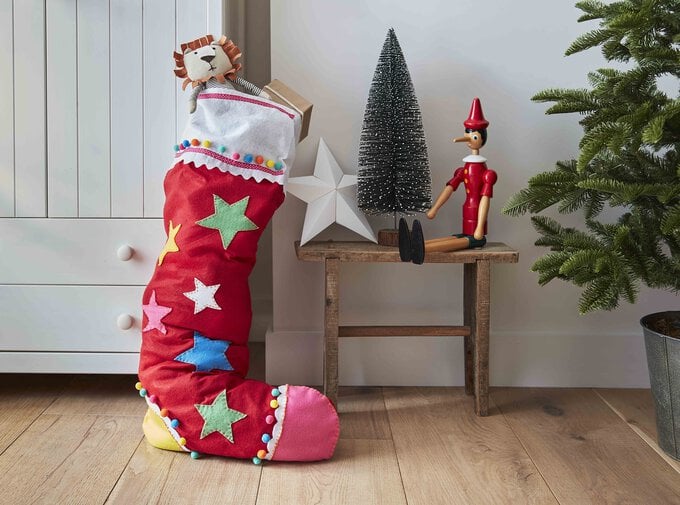
How to Make a DIY Christmas Stocking
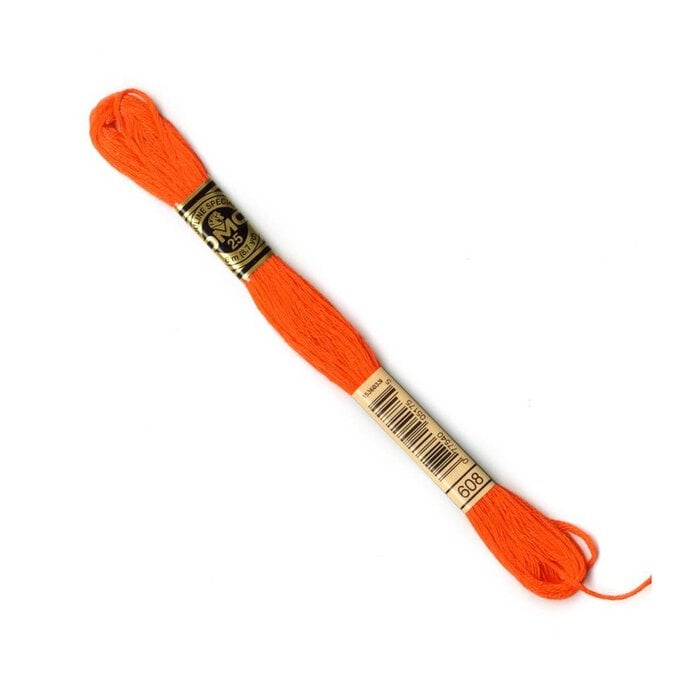
This brightly coloured DIY Christmas stocking is just the thing to add a touch of kitsch to your Christmas festivities. Using a bright orange embroidery thread, this project is perfect for sewers of all levels to showcase their favourite stitches and make them *pop* by sewing on all the elements in this starry design.
Sewing is a wonderfully mindful thing to do in this busy time; however, if you're short on time, you could easily glue the elements on using fabric glue and/or a glue gun to quickly make this eye-catching decoration.
Project and instructions by Georgia Coote
You will need
Subtotal
Is $ 4.49
Subtotal
Is $ 4.49

Subtotal
Is $ 1.49
Subtotal
Is N/A
Subtotal
Is $ 5.49

Subtotal
Is $ 1.49
Subtotal
Is $ 1.49
Subtotal
Is $ 1.49
Subtotal
Is $ 1.49
Subtotal
Is $ 1.49
Subtotal
Is $ 2.49
Subtotal
Is $ 5.49
How to make
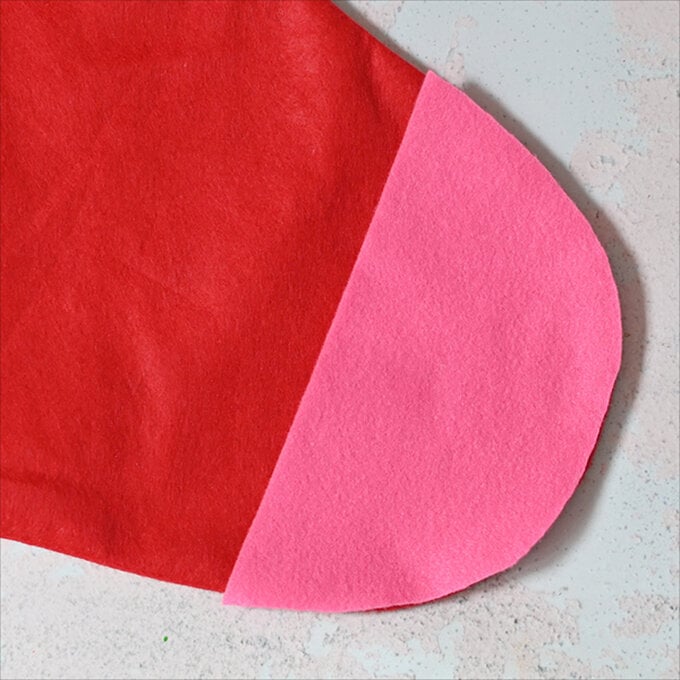
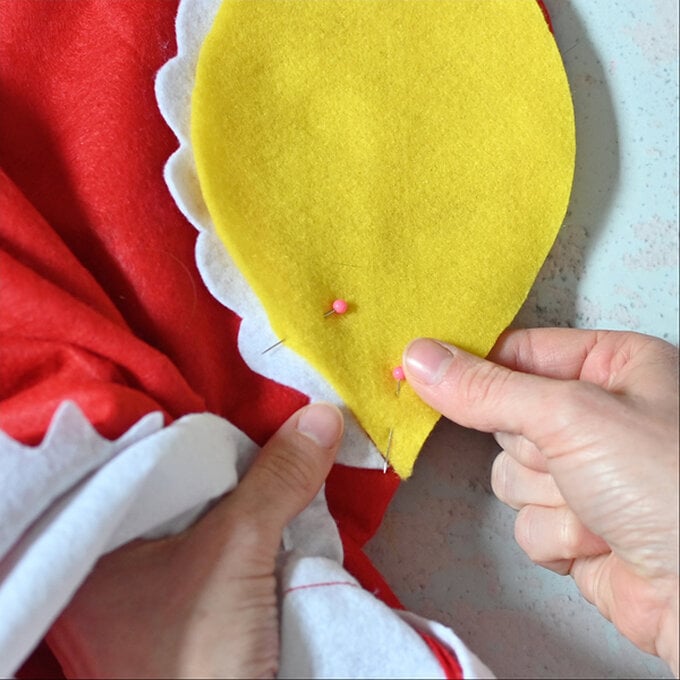
Using a pencil, trace around the toe of the stocking onto a piece of felt and cut out.
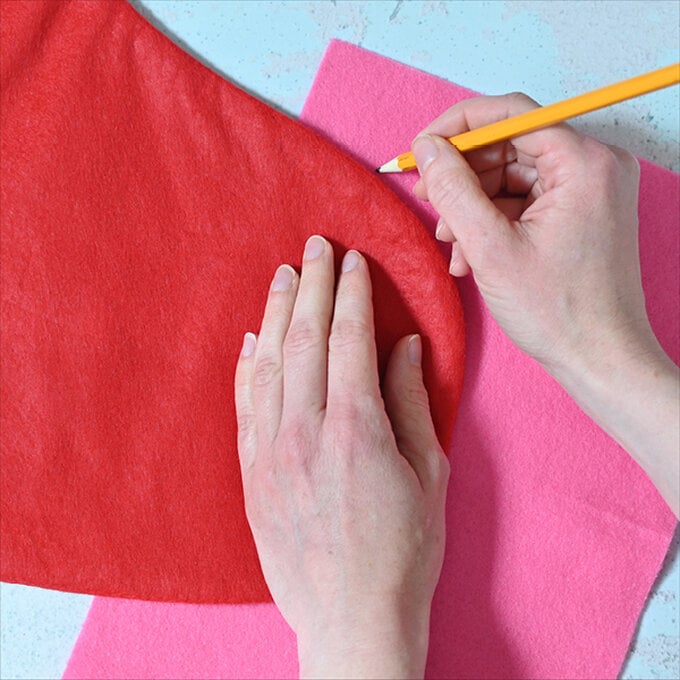
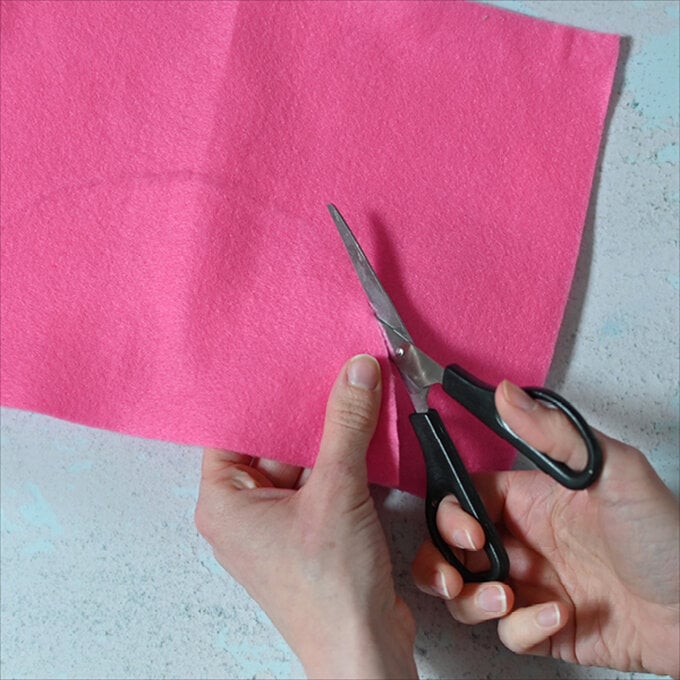
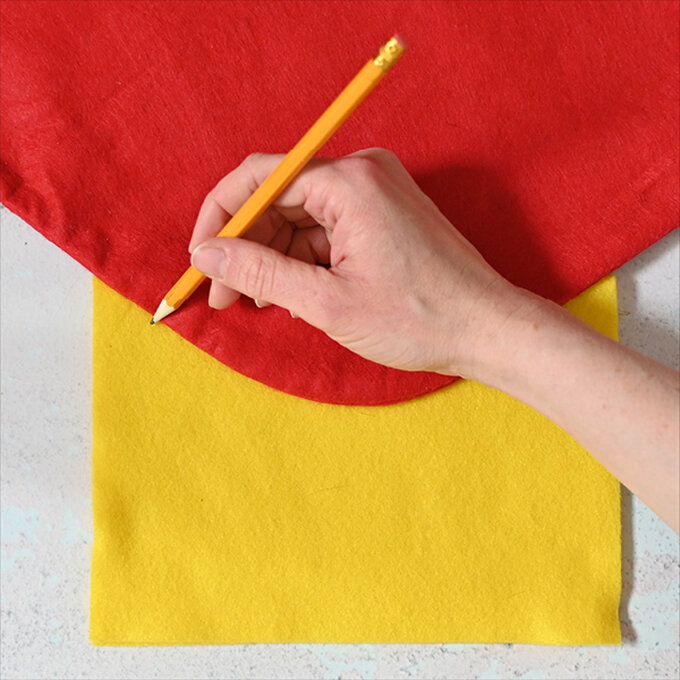
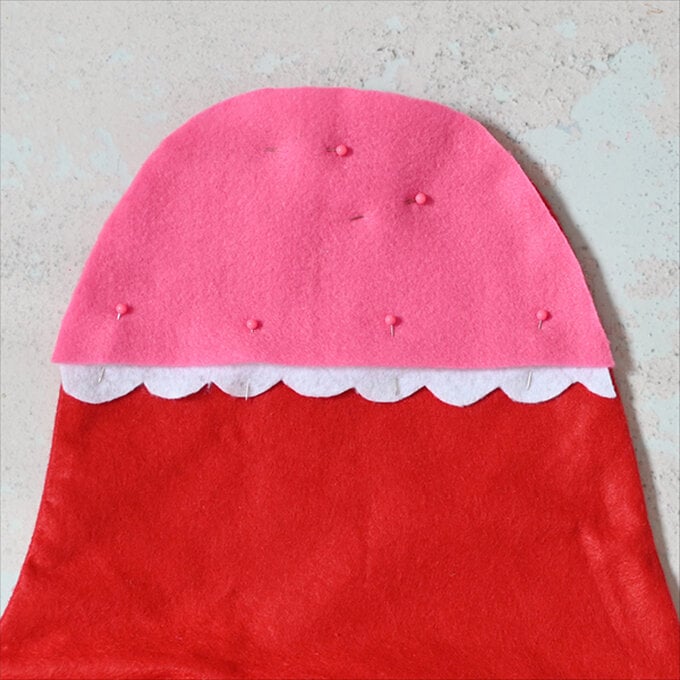
For the heel decoration, fold a piece of A4 felt in half lengthwise and then trace around the heel, with the folded end of the felt under the stocking. Cut and unfold and you will have the heel shape.
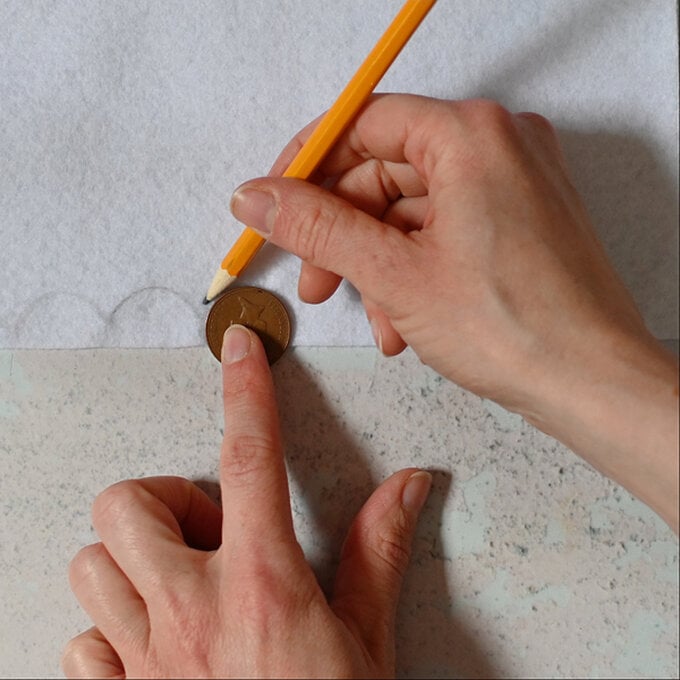
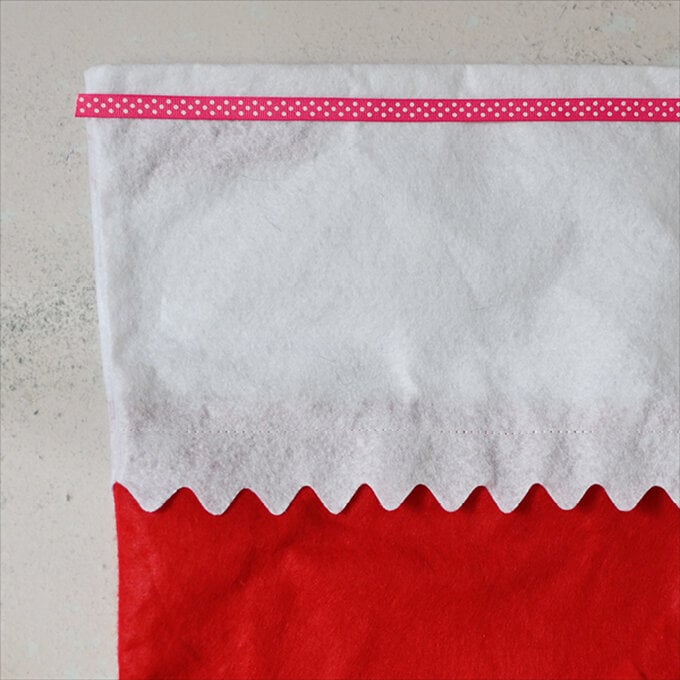
To make the scalloped white edging: Place a 2 pence coin half onto the edge of the felt and then trace around it and repeat until you have enough to edge the toe. Cut to size. Then place it under the toe piece and pin in place. Repeat with the heel.
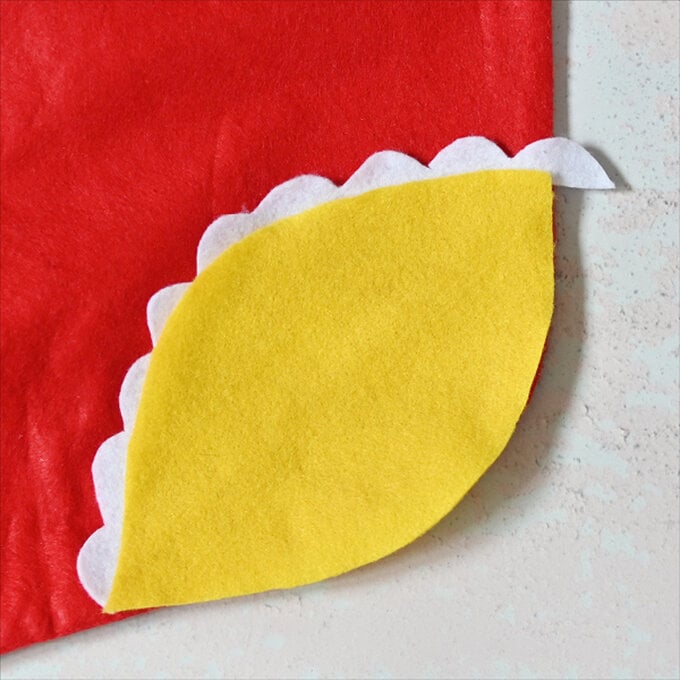
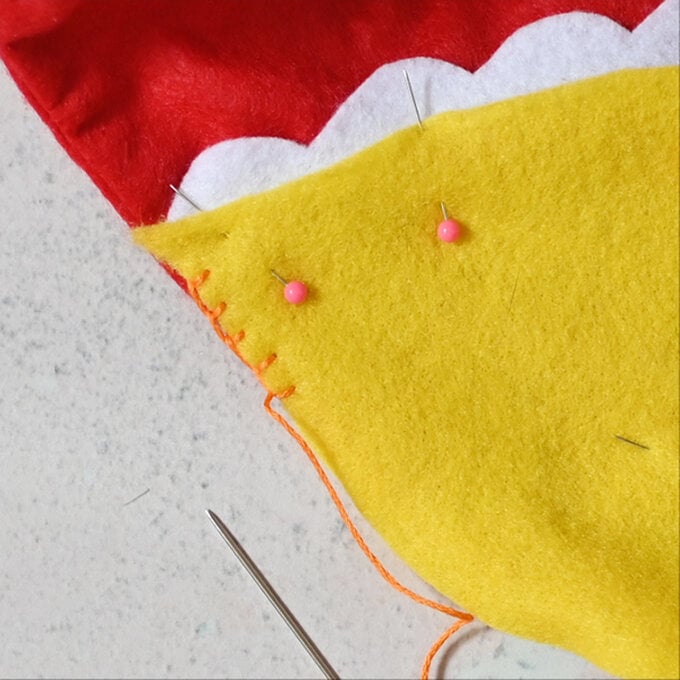
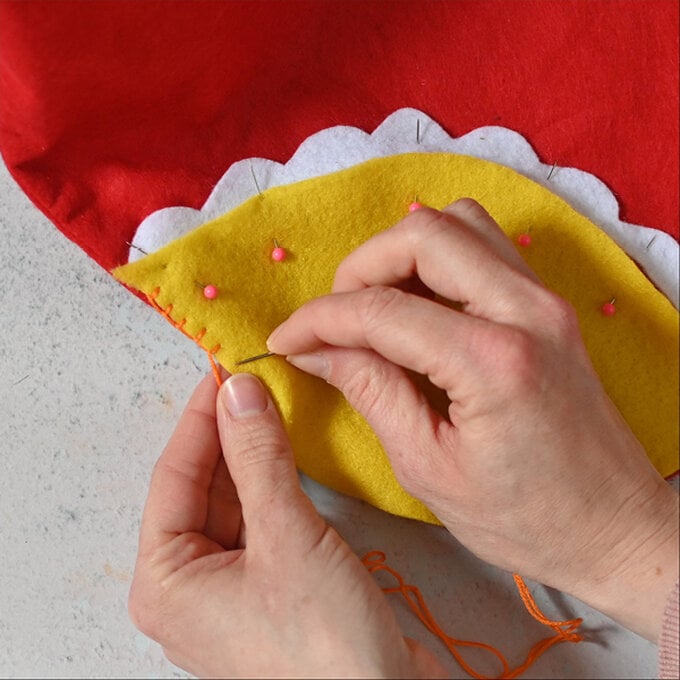
Placing your hand inside the stocking so that you don't sew the insides together. Banket stitch* around the edge of the shape and ensure you catch the scalloped edging as you go. Repeat with the toe/heel.
*You can find out how to blanket stitch in our post here: https://www.hobbycraft.co.uk/ideas/sewing/how-to-embroider---beginner-stitch-guide
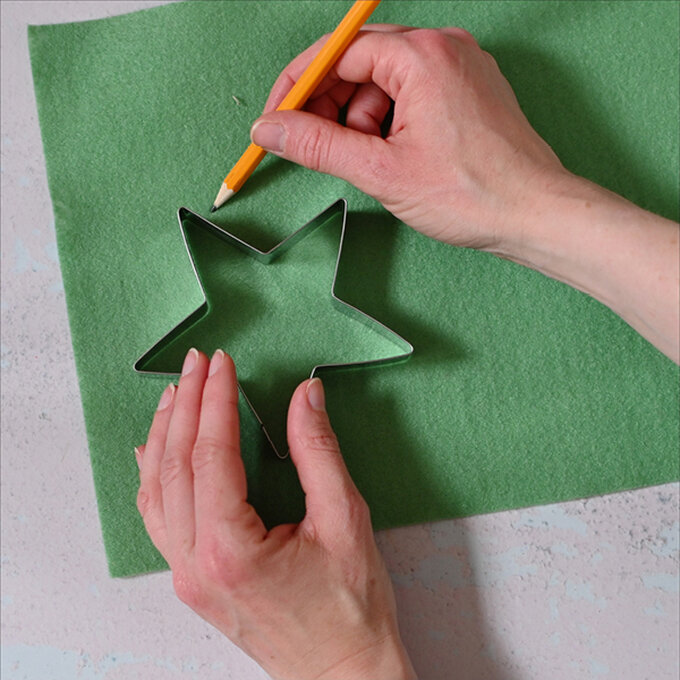
Using a range of star shaped cookie cutters (or any other kind of star templates you may have) draw out various colours and sizes onto felt and cut out.
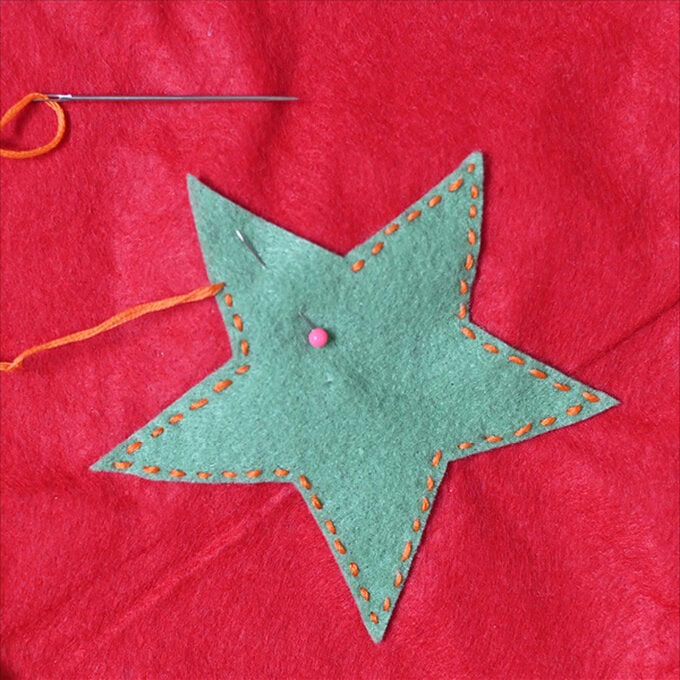
Arrange the stars on the stocking and then pin in place. Sew around the edge using embroidery thread.
Top Tip: You could use any stitch for this, using embroidery thread means that the stitching will be a feature so this could be a great opportunity to experiment with any decorative stitches.
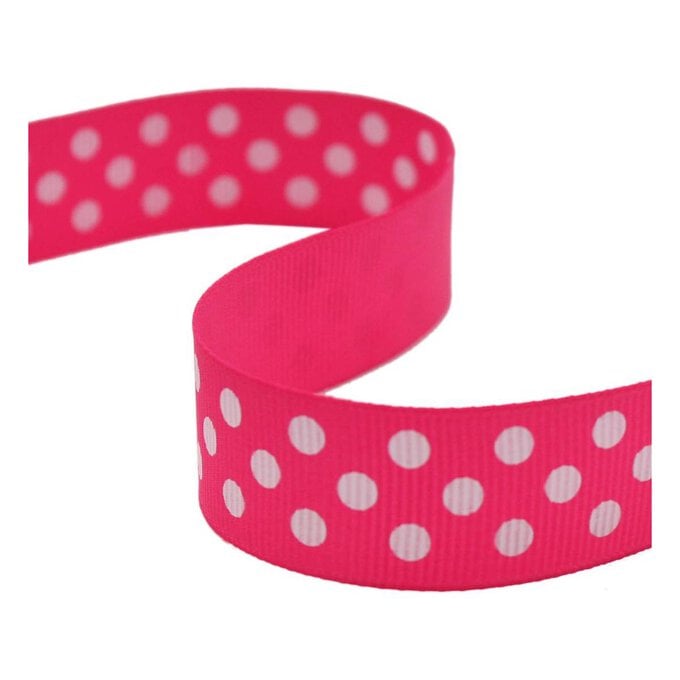
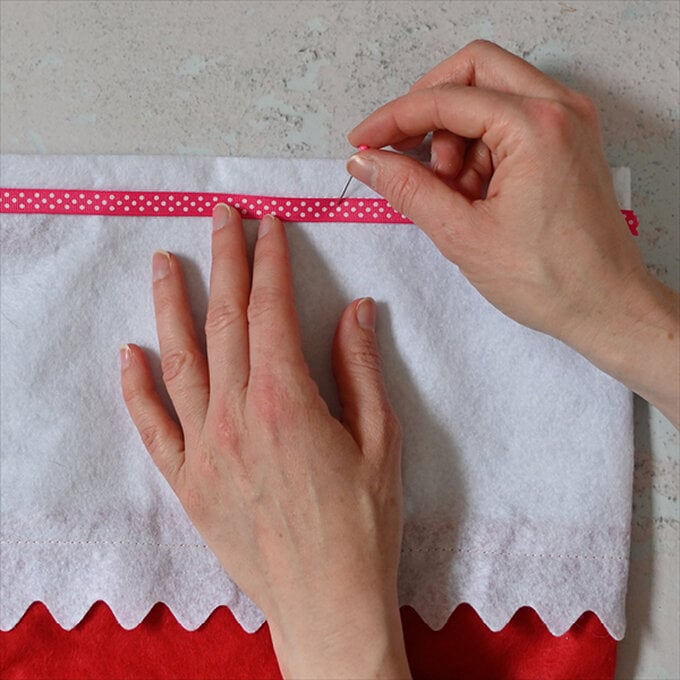
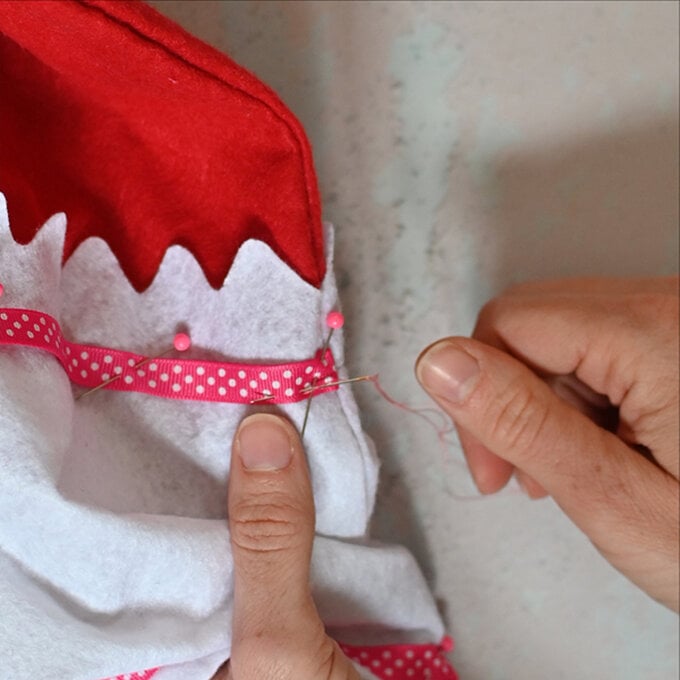
Cut a piece of ribbon about 1cm longer that the length of the stocking cuff and cut and lay on top - use the stitching as a helpful guide for where to place it. Turn under the ends and pin in place and then sew a running stitch along the top and bottom of the ribbon.
Repeat with another strip of ribbon running along the stitching at the bottom of the cuff, near to the wavy edge.
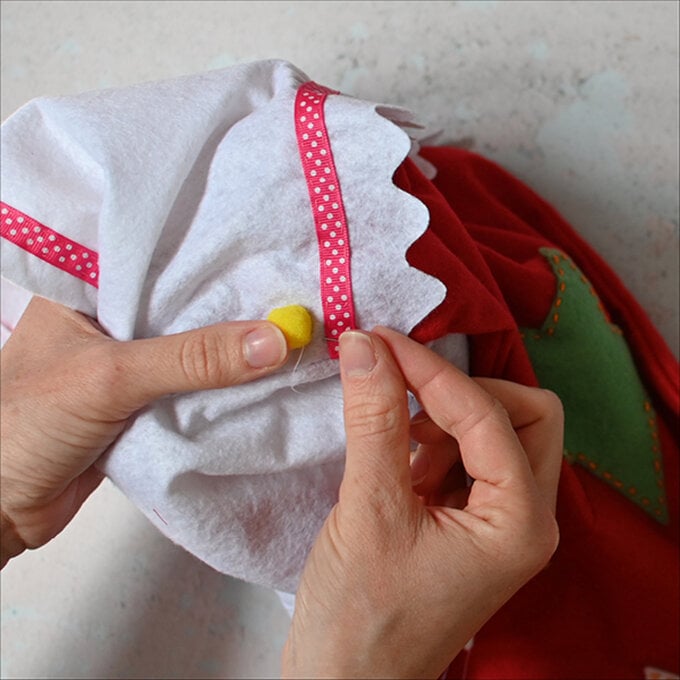
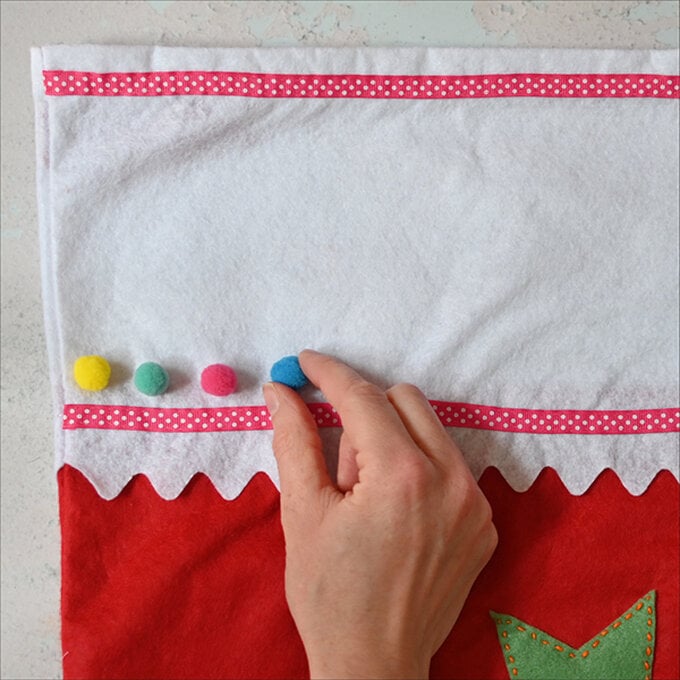
Sew a stitch through the cuff and then stitch through the pom pom to attach it to the stocking, repeat to create a line of pom poms across the cuff, and around the toe and heel.
Your stocking is then ready to hang!
Related Products