How to Make a New Baby Hamper
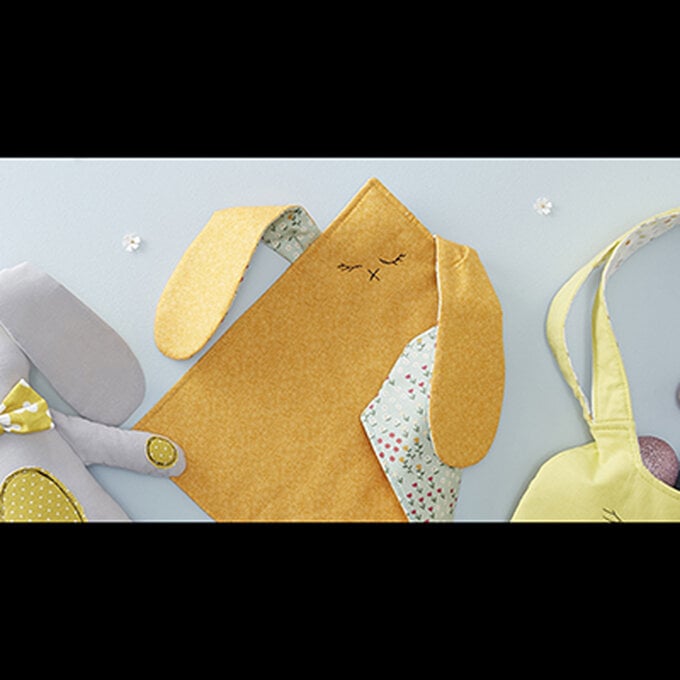
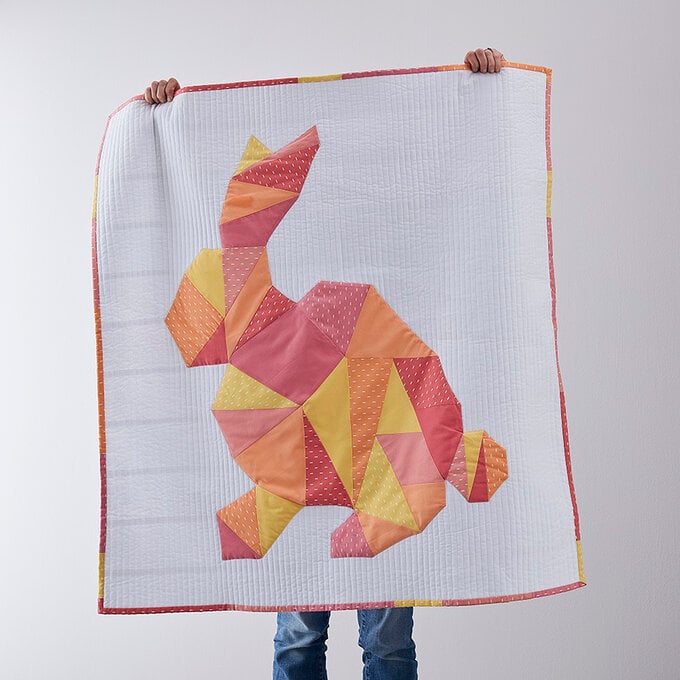
This personalised baby hamper is the perfect gift for a newborn! With a cute baby otter theme, this project includes step-by-step guides to create beautiful hand embroidered baby grows, a muslin cloth and a birth announcement hoop.
Follow along with the instructions below to create a range of adorable gifts!
Project and instructions by Katherine Lucy Creates
You will need
Subtotal
Is $ 5.49
Subtotal
Is $ 6.49
Subtotal
Is $ 5.49
Subtotal
Is $ 13.00
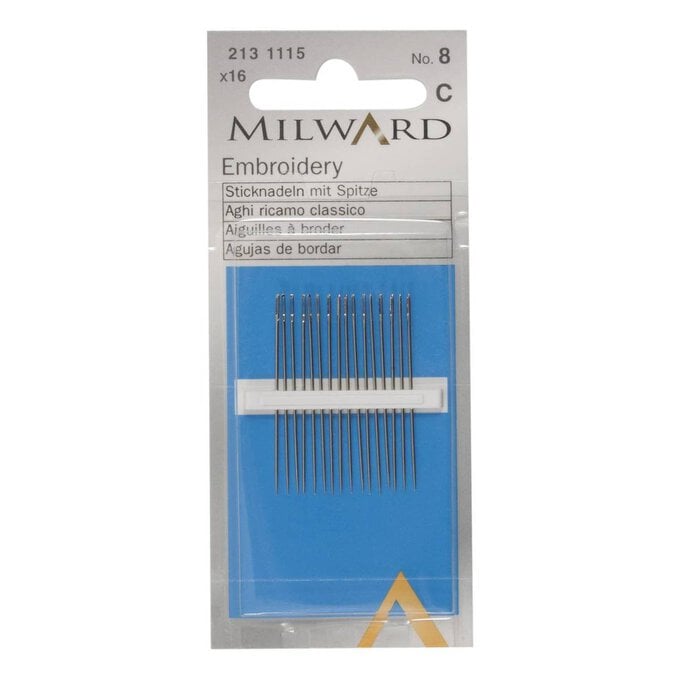
* Embroidery Needles (No. 8)
* Embroidery Threads
* Embroidery Scissors
* Sewing Marking Pencil/Regular Pencil
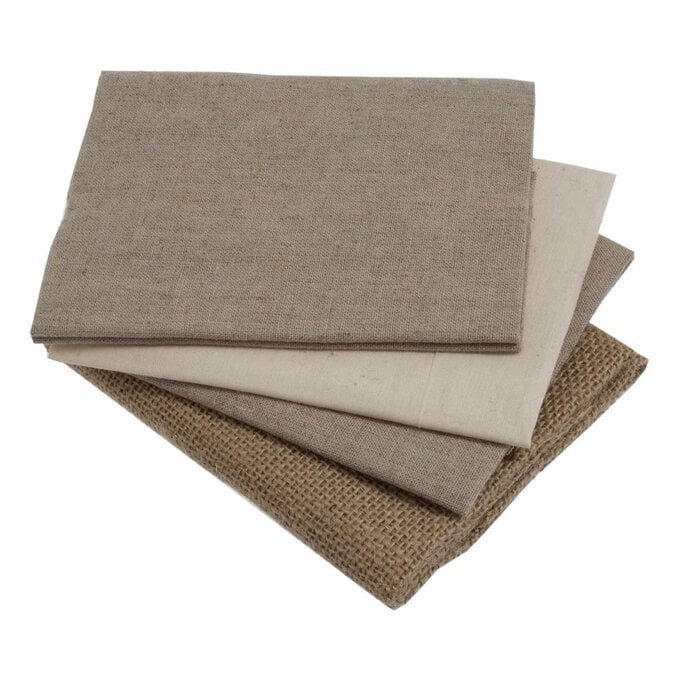
* Natural Fabric Fat Quarters
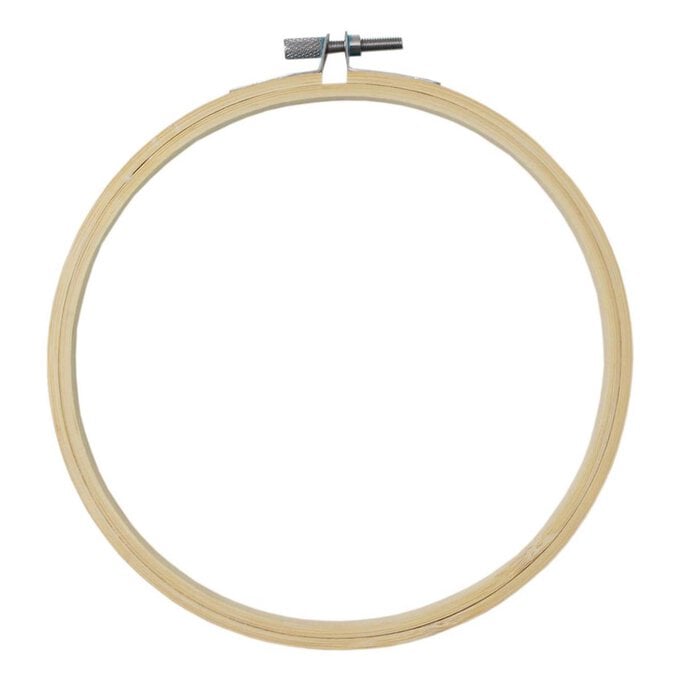
* Embroidery Hoop 6"
* Baby Grows x2
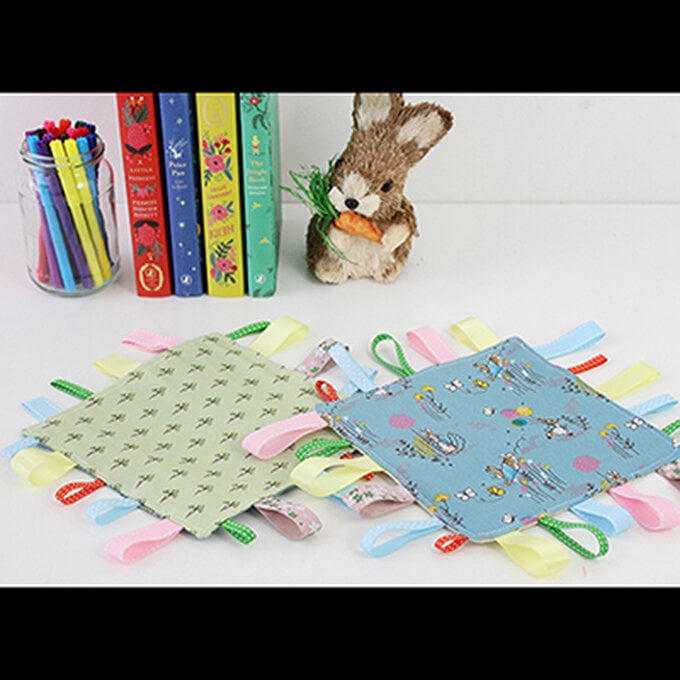
* Muslin Cloth


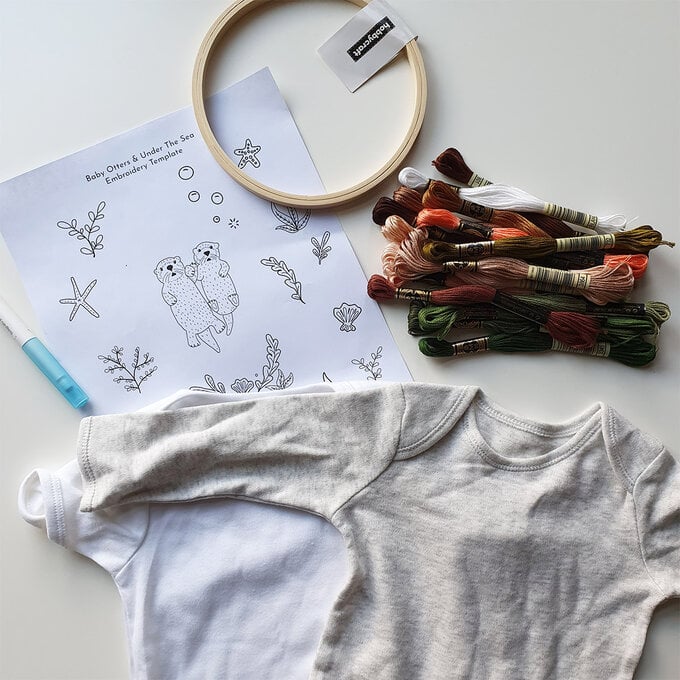
Download and print the A4 Baby Hamper Embroidery Template and gather everything you need for stitching.
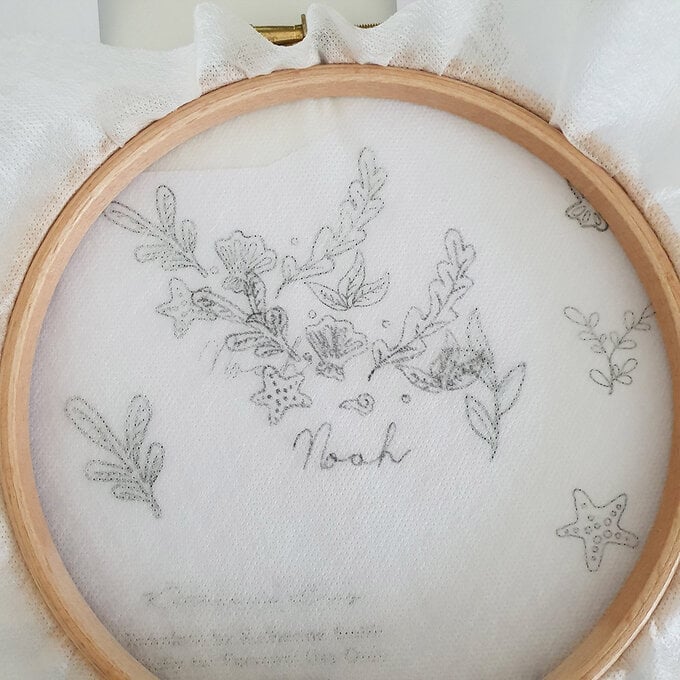
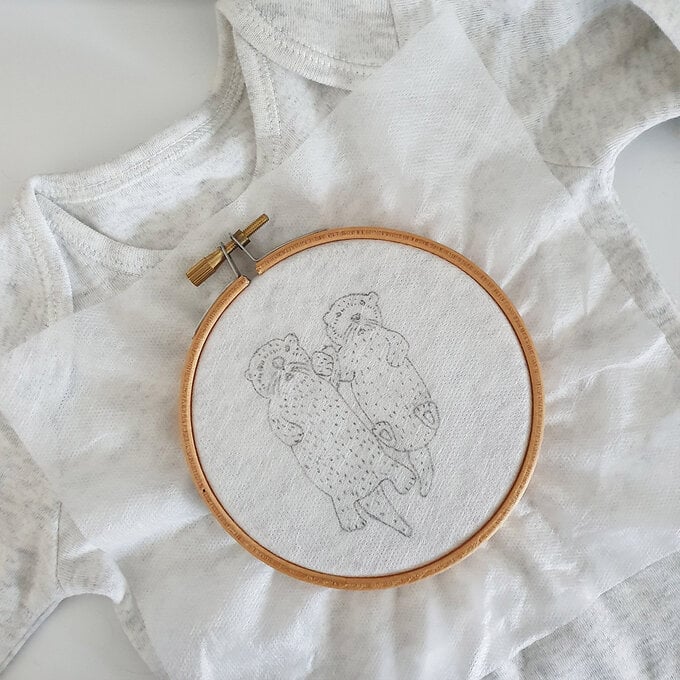
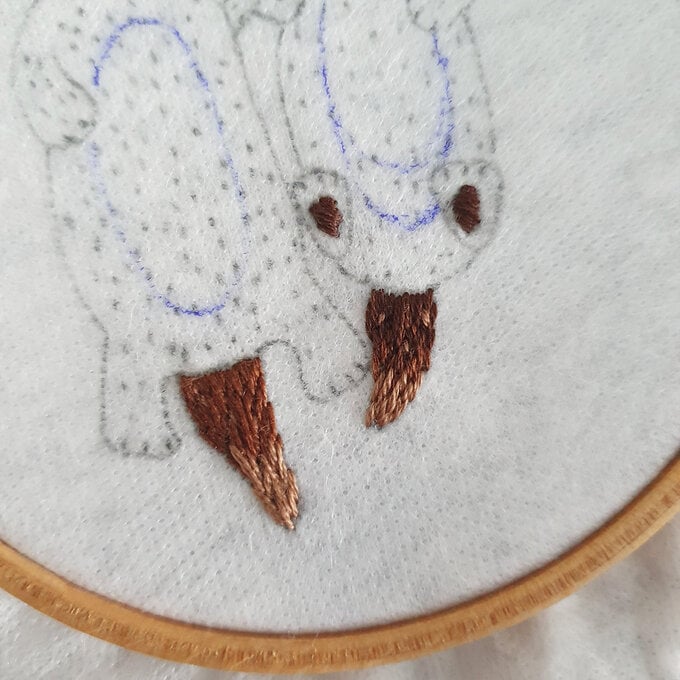
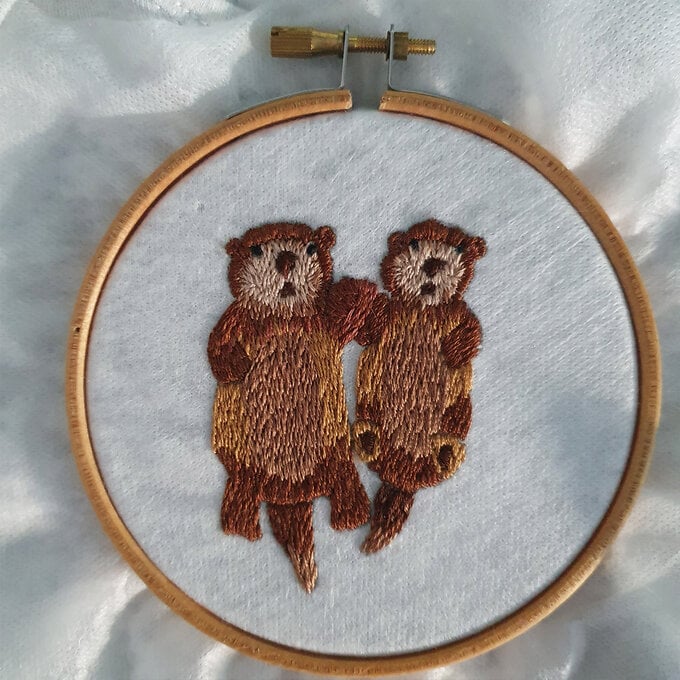
Using a good light source or a lightbox, transfer the otter design onto one piece of magic paper. Write the baby name under the sea themed design and transfer this onto a separate piece of magic paper.
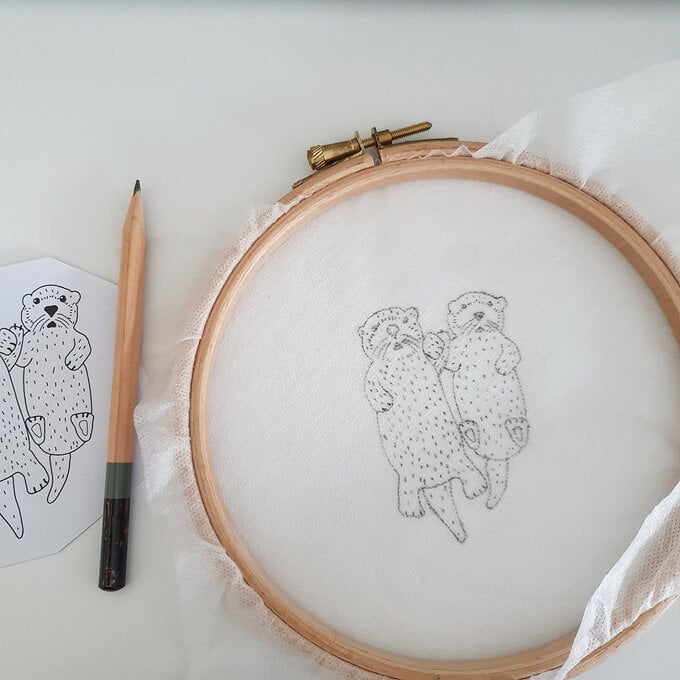
Place each design centrally onto the baby grows and secure with a hoop.
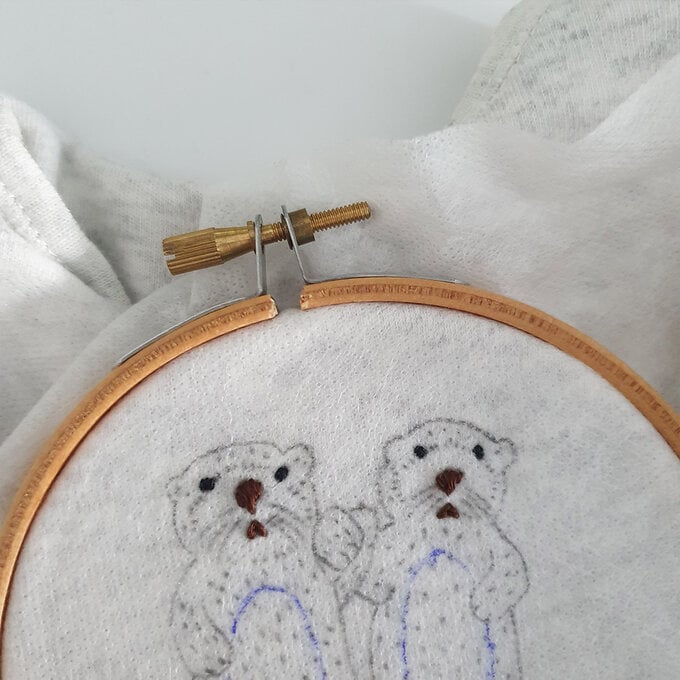
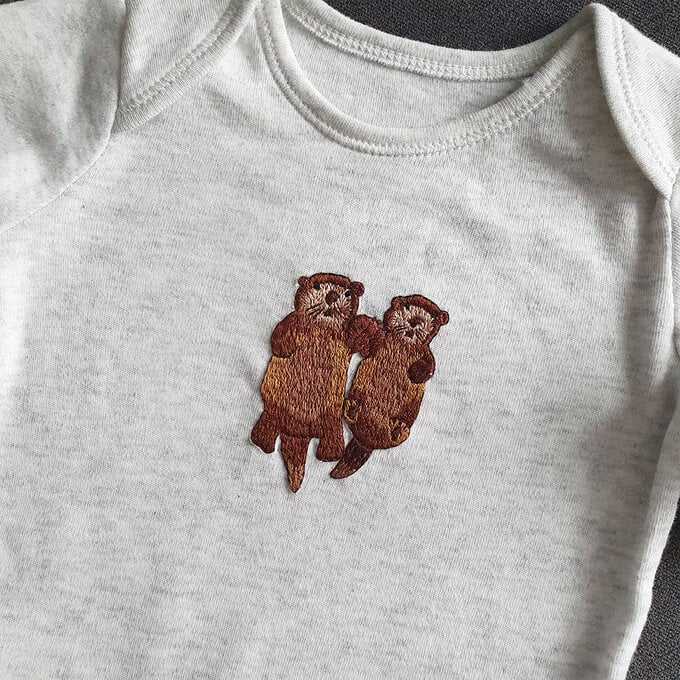
Starting with the otter design, use Satin Stitch for the eyes, nose, mouth and feet pads. Use two strands of black thread for the eyes and dark brown for the rest.
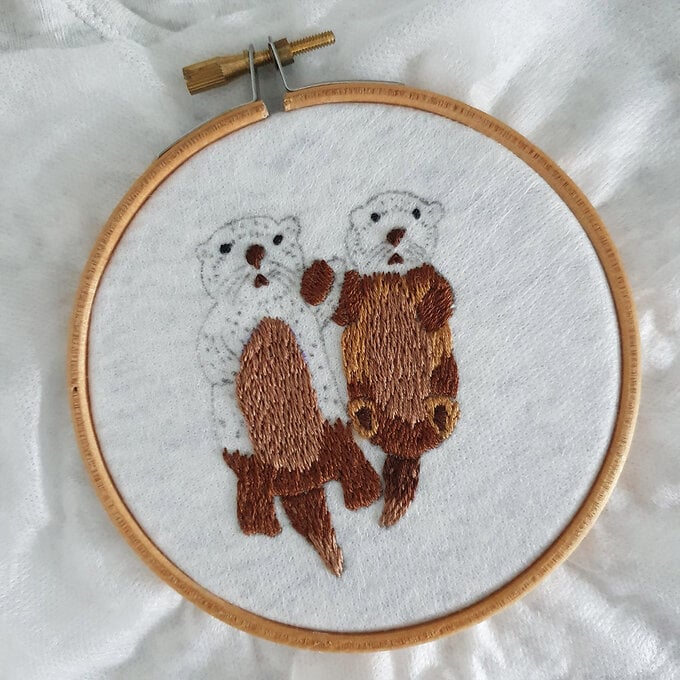
Fill in the tail and main body of the otter using a technique called Long and Short Stitch. Use two strands of thread for this and vary the brown colours used. Start with the tail using a darker brown to fill with alternating long and short stitches. Then using a lighter brown fill the remaining space using long and short stitches and overlap with the top stitches.
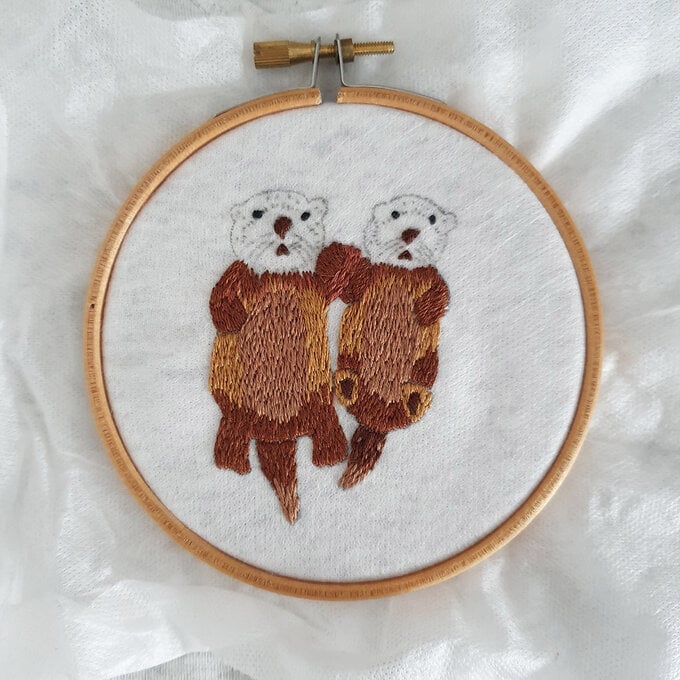
Use the same method to fill in the otter faces, taking care around the eyes, noses and mouth.
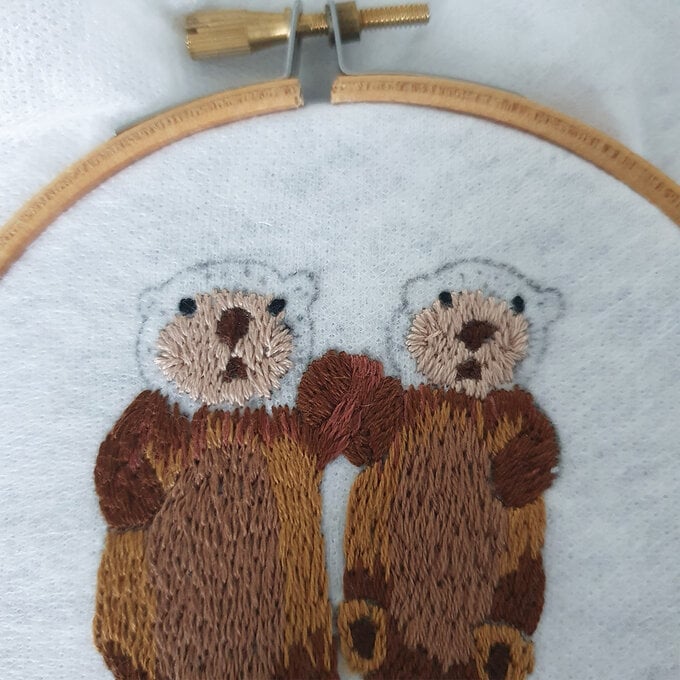
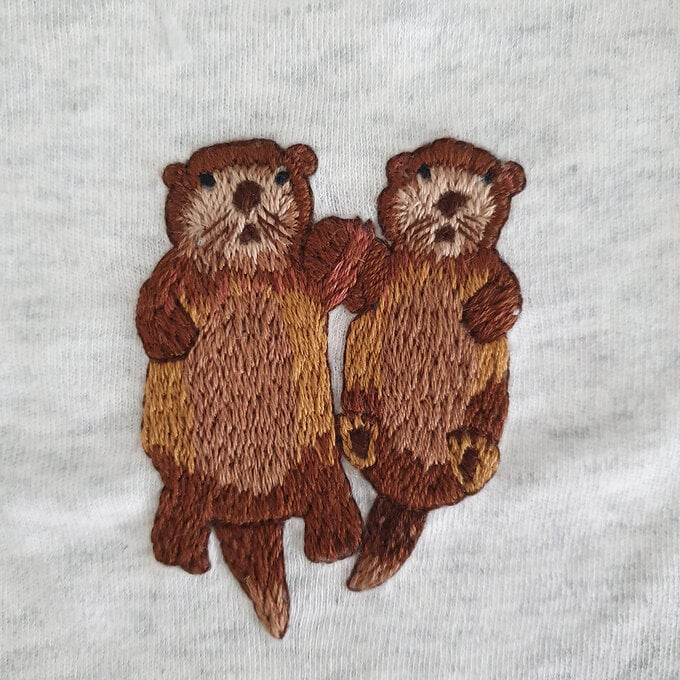
Add the whiskers and any other facial detail. Finally outline the otters using one strand of the darkest brown thread and place your design to one side.
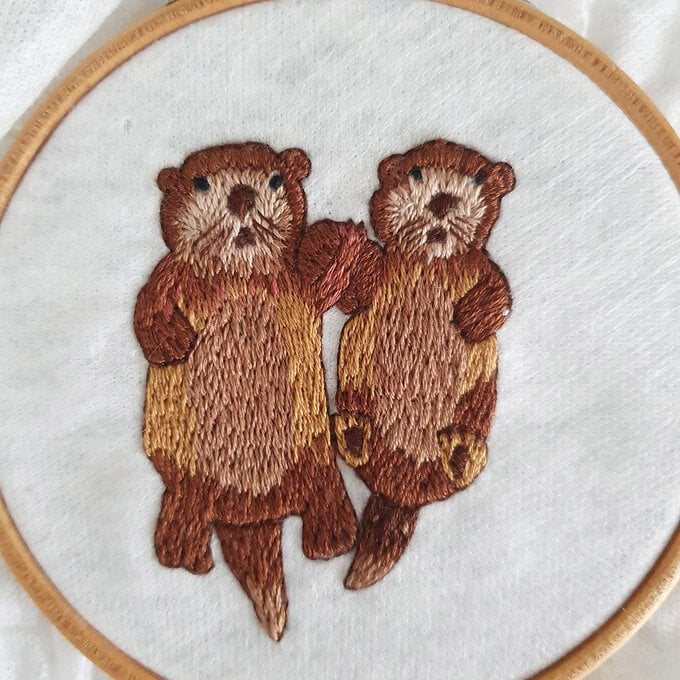
Remove the hoop and wash away the magic paper or stabiliser.
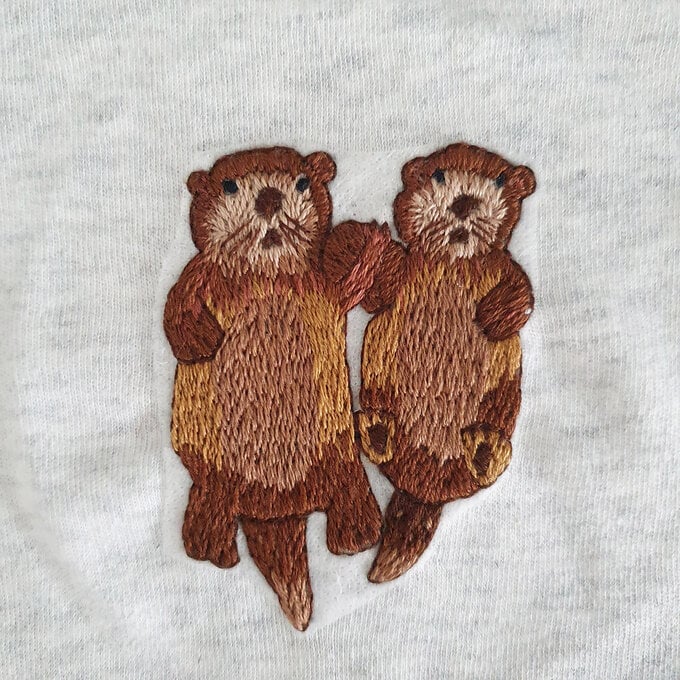
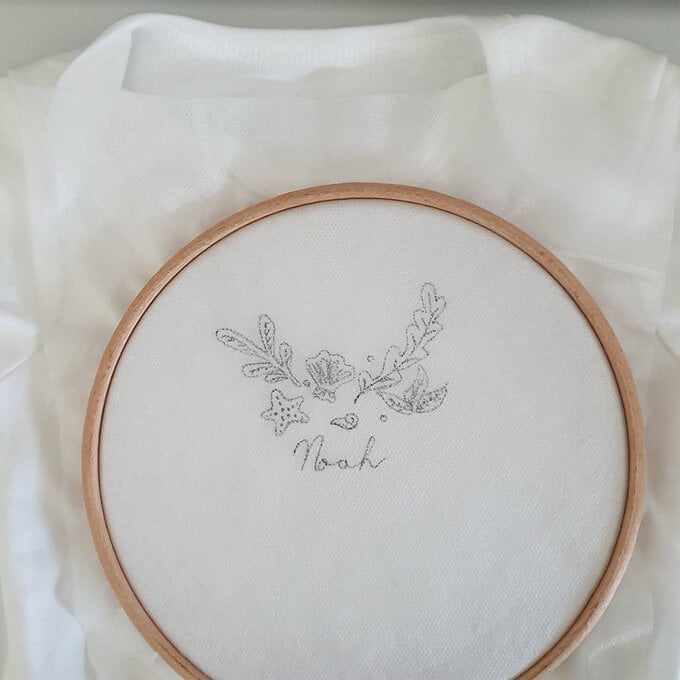
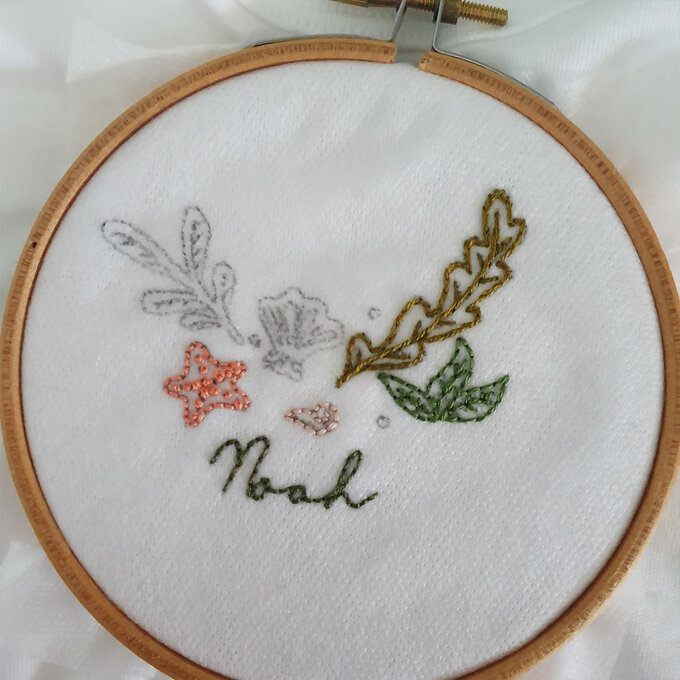
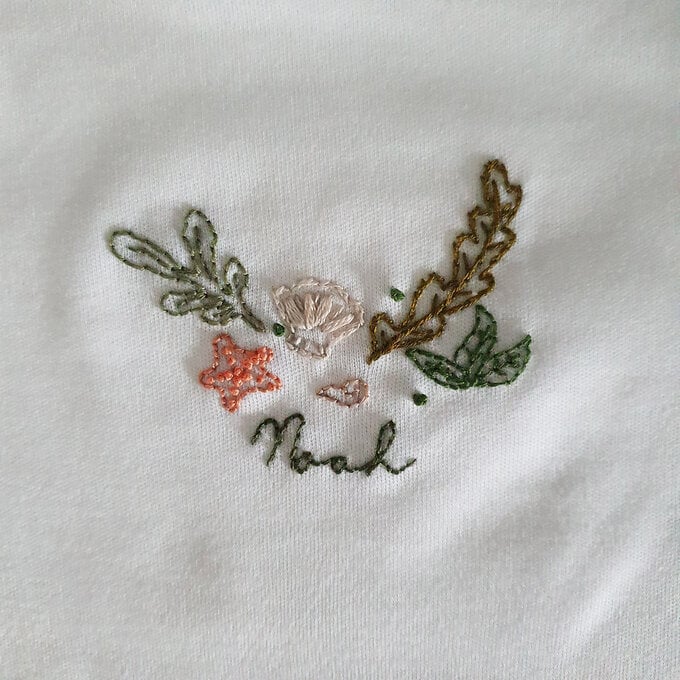
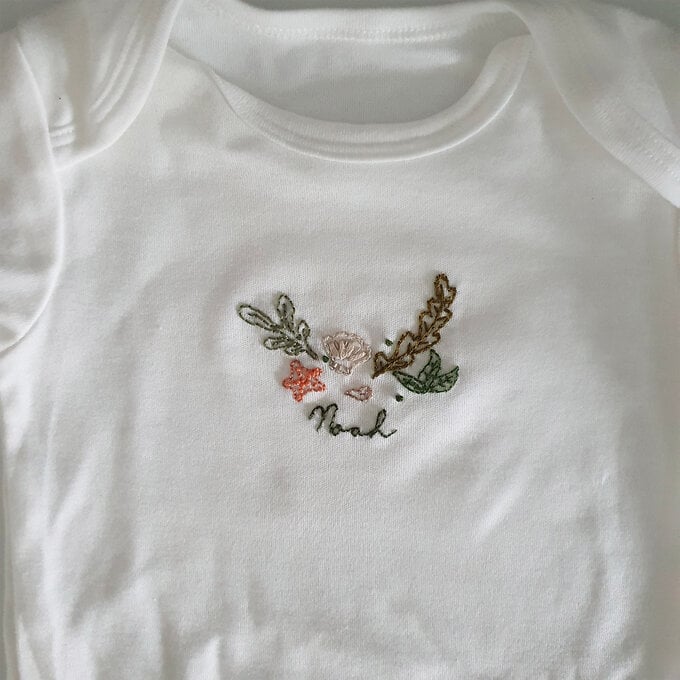
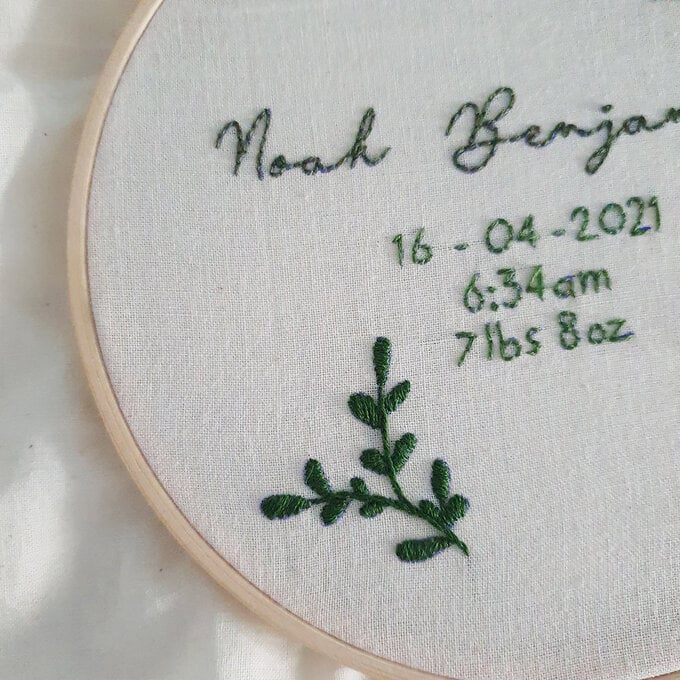
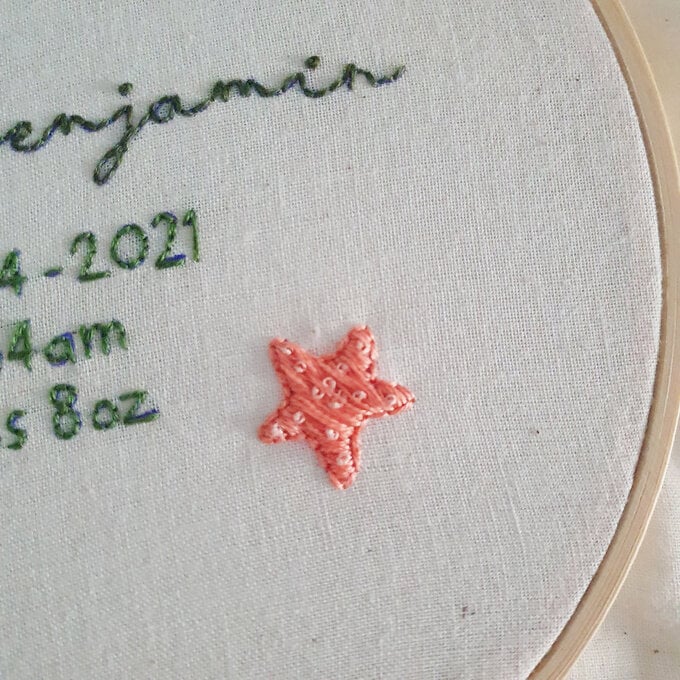
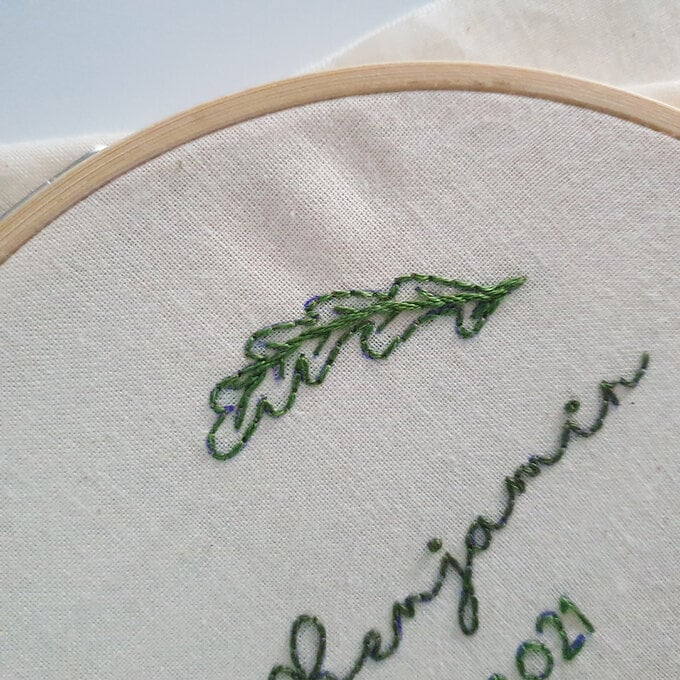
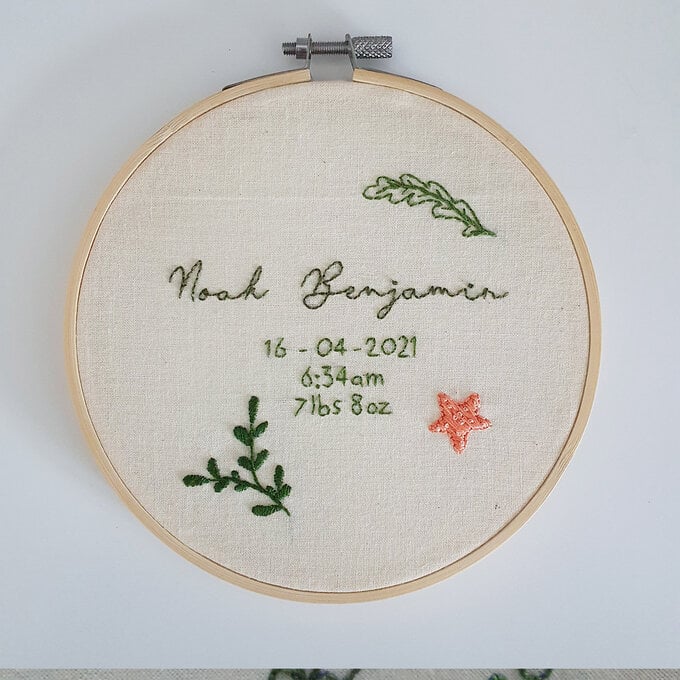
Start stitching the sea themed baby grow. Use two strands of thread for the name, each sea element. Use a combination of Back Stitch, Split Stitch and Stem Stitch for the designs.
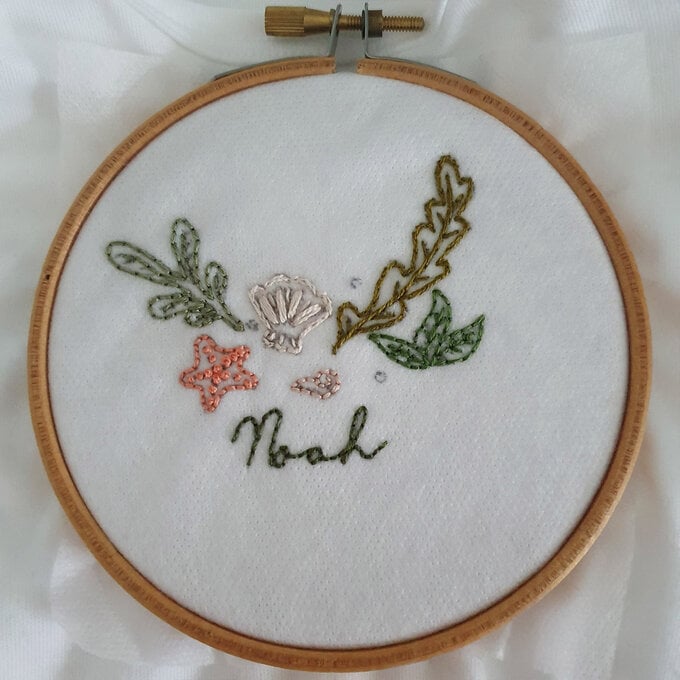
Remove from the hoop and wash away the magic paper or stabiliser.
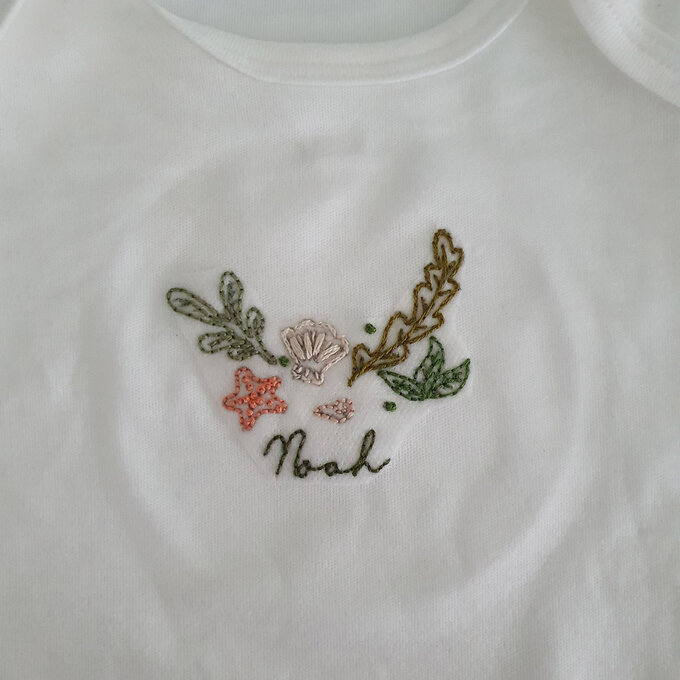
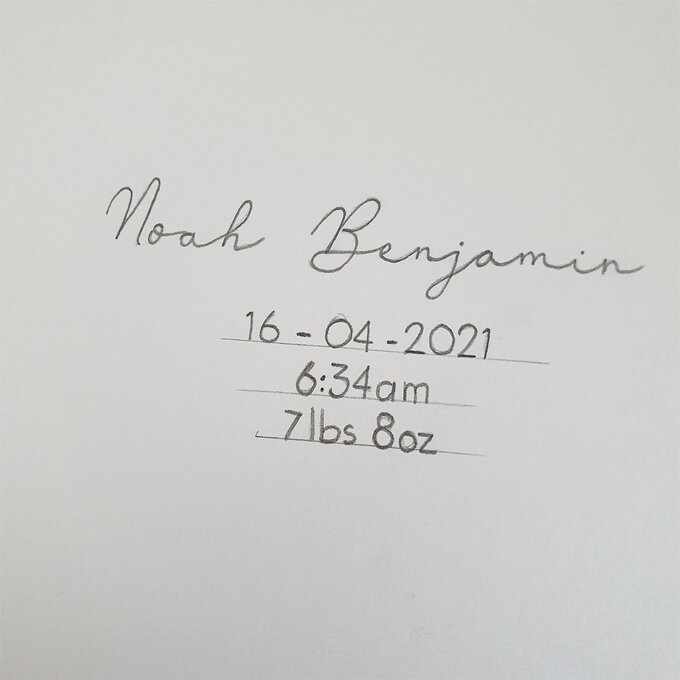
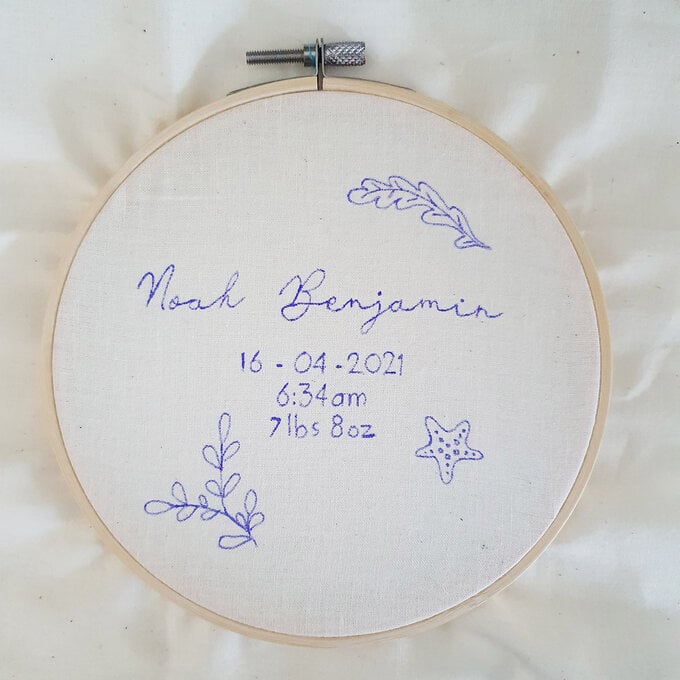
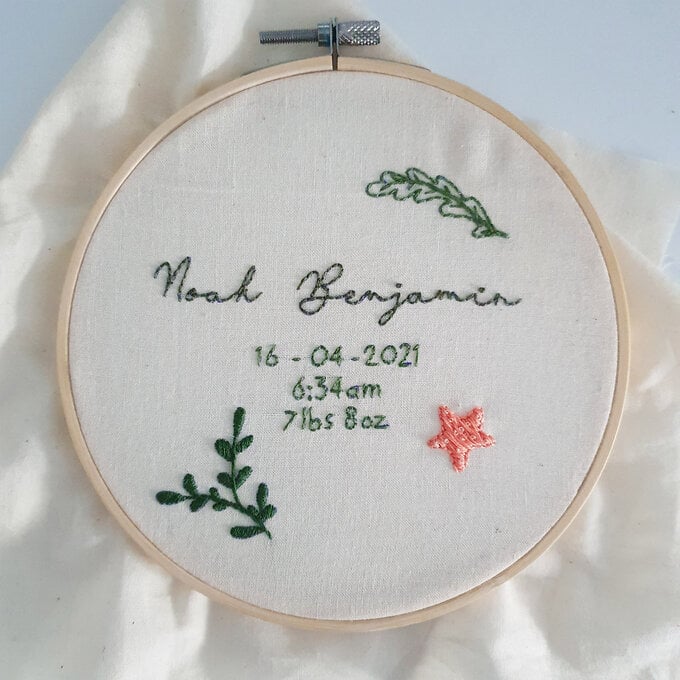
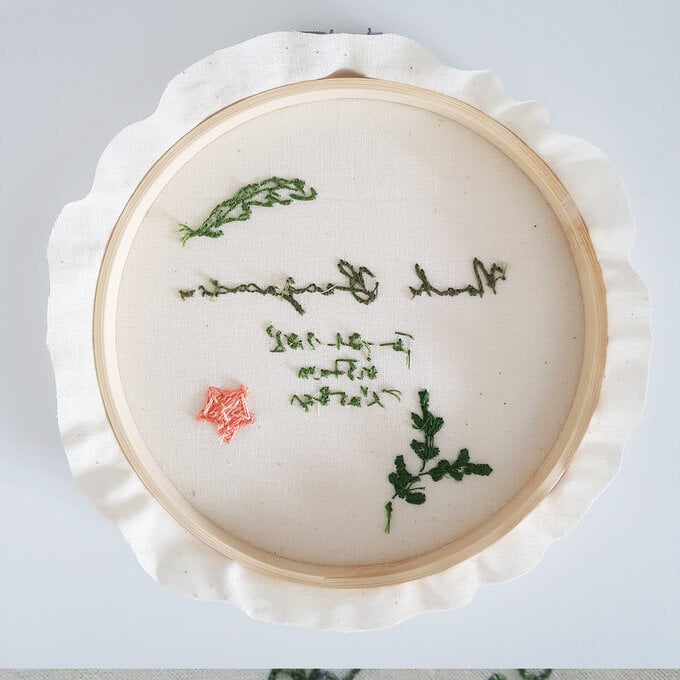
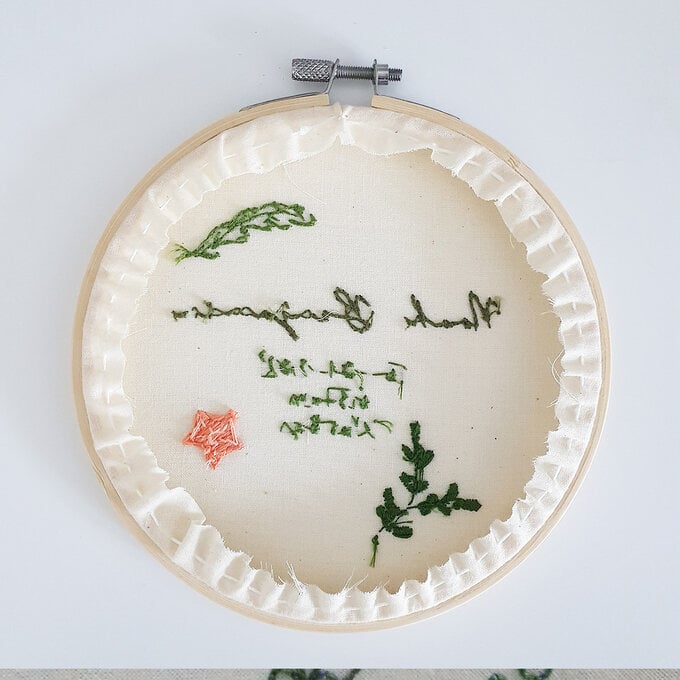
Write out the baby name and details onto a piece of paper. Using a good light source of lightbox transfer the design onto the fabric and add some of the sea elements. Use a heat-erasable or washable fabric pen for this.

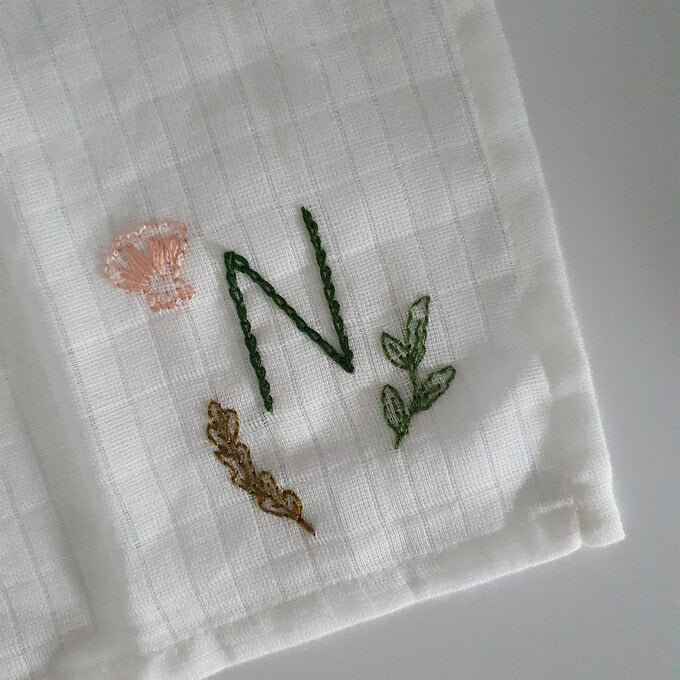
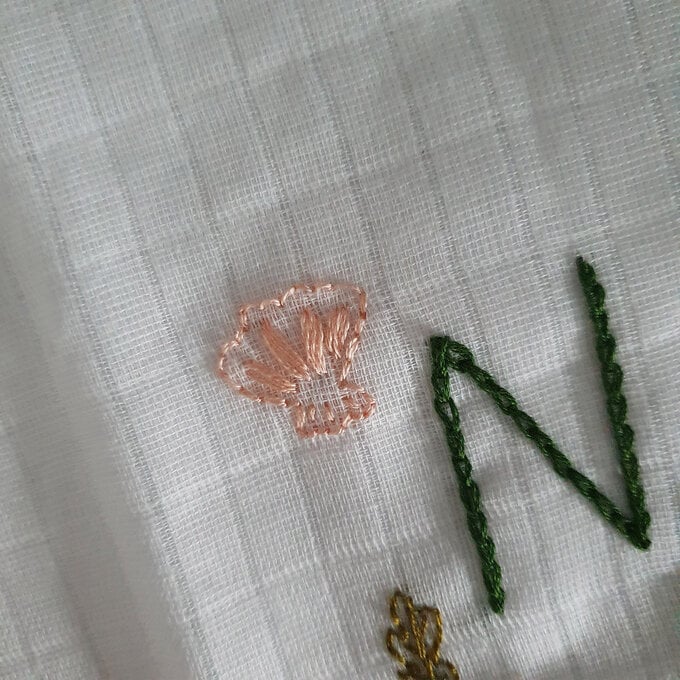
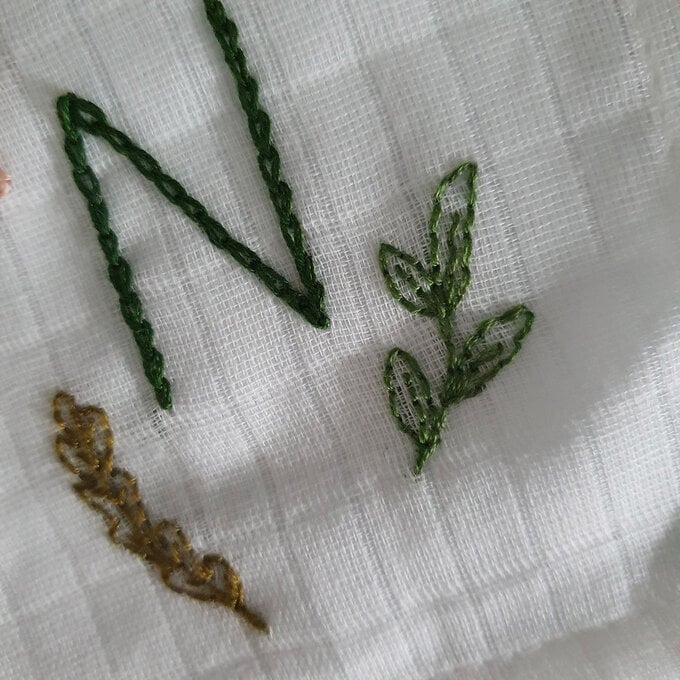
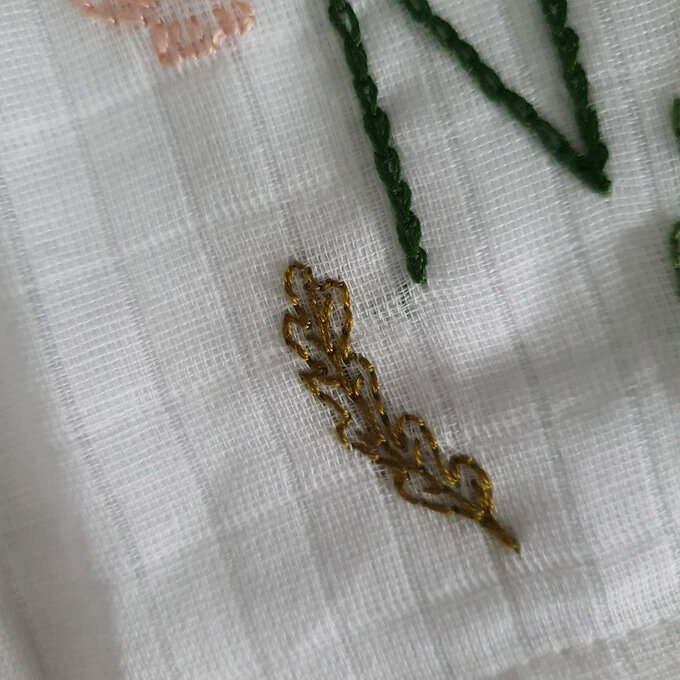
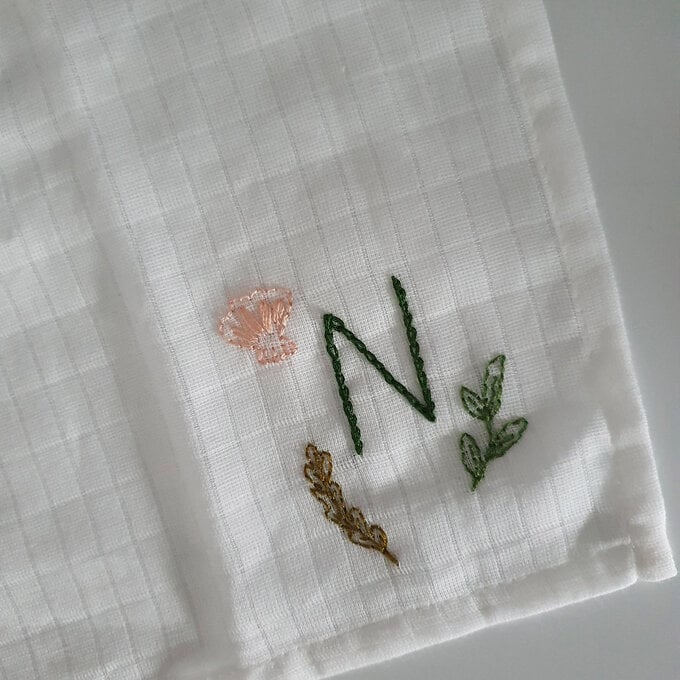
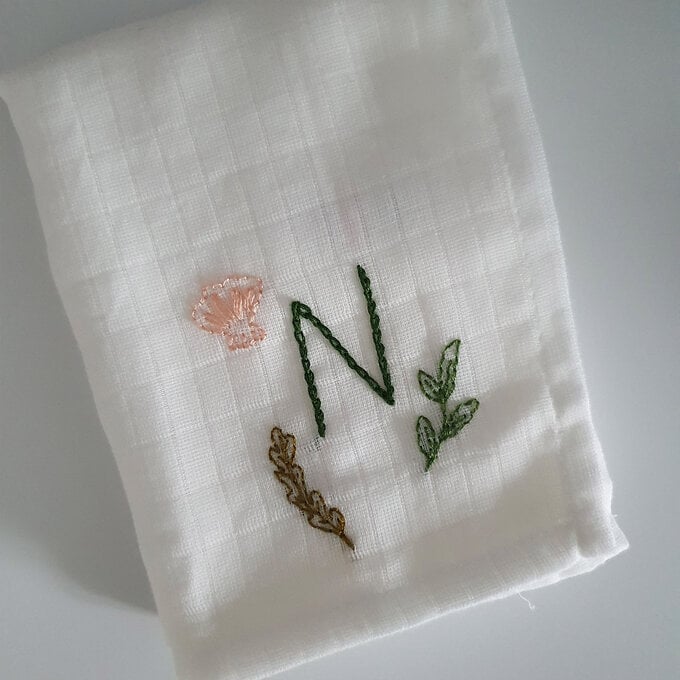
Using a good light source of lightbox transfer some of the sea elements and your chosen initial to one corner of the muslin cloth. Use a heat-erasable or washable fabric pen for this.

Related Products