How to Make a Pillow Floor Mat
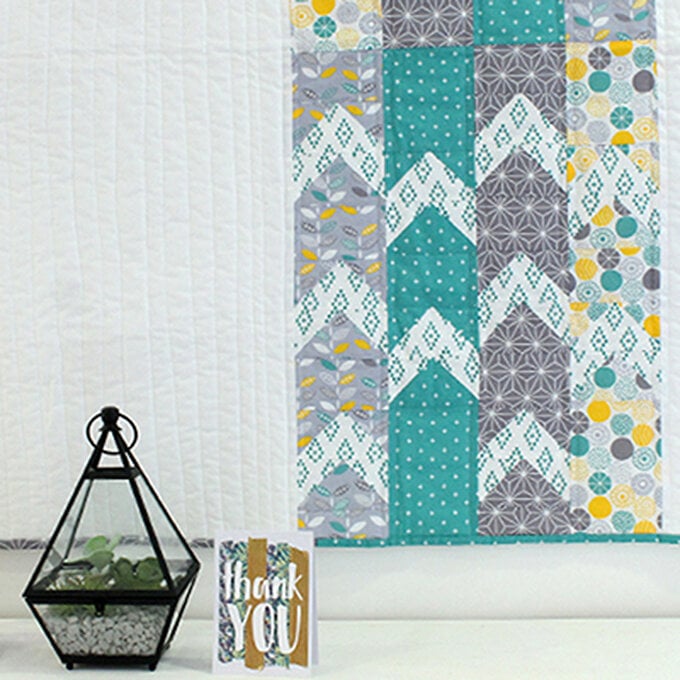
Relax at home in style with this giant floor pillow! A surprisingly easy project despite its size, this chic floor mat is a great way to complement your home décor.
It'll be perfect for camping, movie nights, garden parties and much more!
Project and instructions by @thecraftylass.
You will need

Subtotal
Is $ 106.00 , was $ 142.00
Subtotal
Is $ 3.49
Subtotal
Is $ 4.49
Subtotal
Is $ 18.00
Subtotal
Is $ 7.49
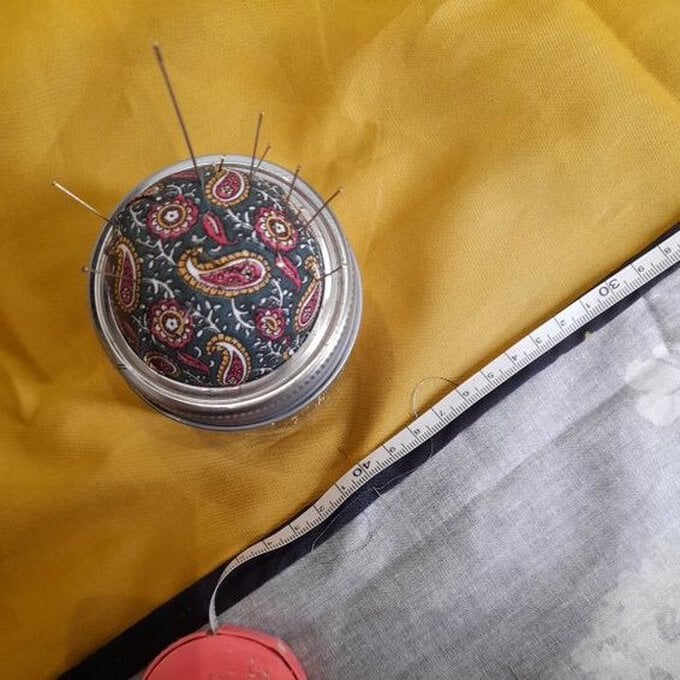
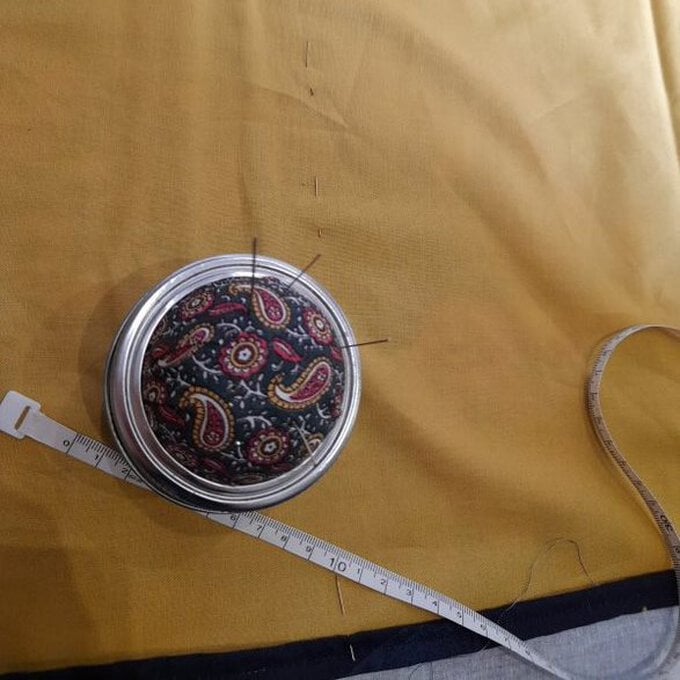
Measure the width of one of your pillow inners and times that number by 4 to give you the total length you will need for your pillow mat.
The pillow inners I used were 45cm wide. 45cm x 4 = 180cm.
Measure the length of one of your pillow inners. The length on the one I used was 70cm.
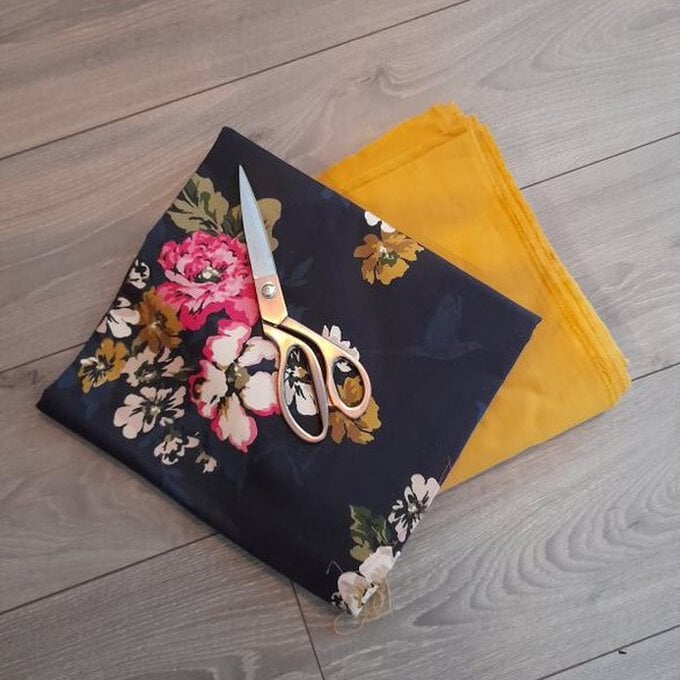
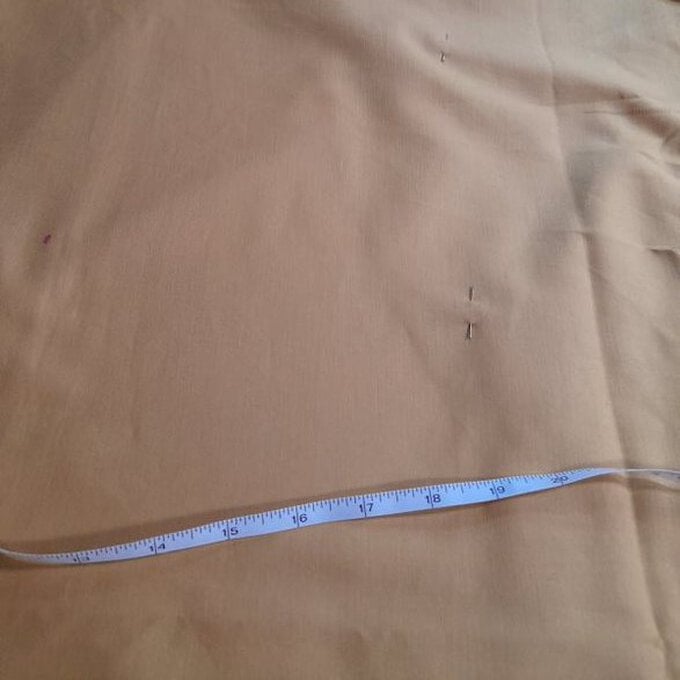
Taking into consideration seam allowances, take your measurements and cut as below or adapt for your own sized pillows:
BACK - 1 piece of fabric 182cm, (180cm plus 2cm for the seams) x 75cm (70cm plus 5cm for seams)
FRONT – 1 piece of fabric 182cm, (180cm plus 2cm for the seams) x 90cm (this part needs to be longer as it is folded – as you will see below.)
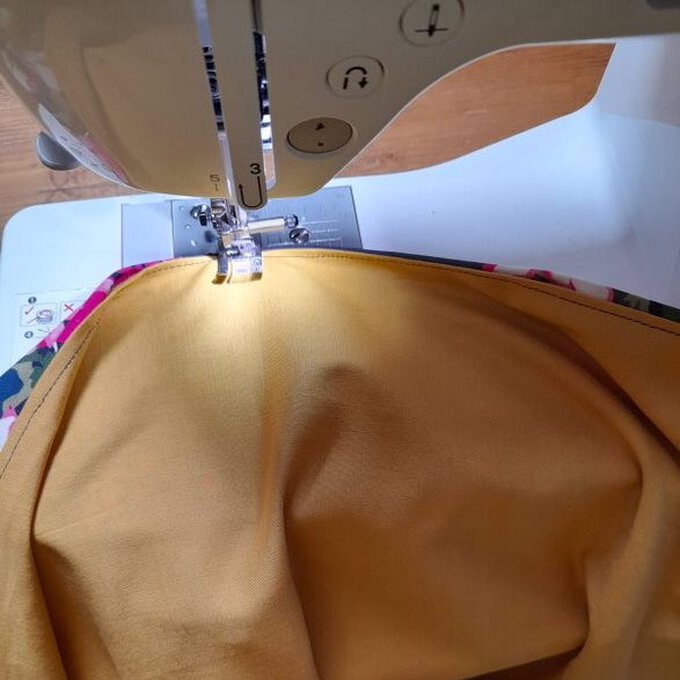
Take your front fabric piece and turn over one of the long edges by 1cm, and again so that the raw edge is enclosed. Press if desired, pin into place and with a simple running straight stitch in place.
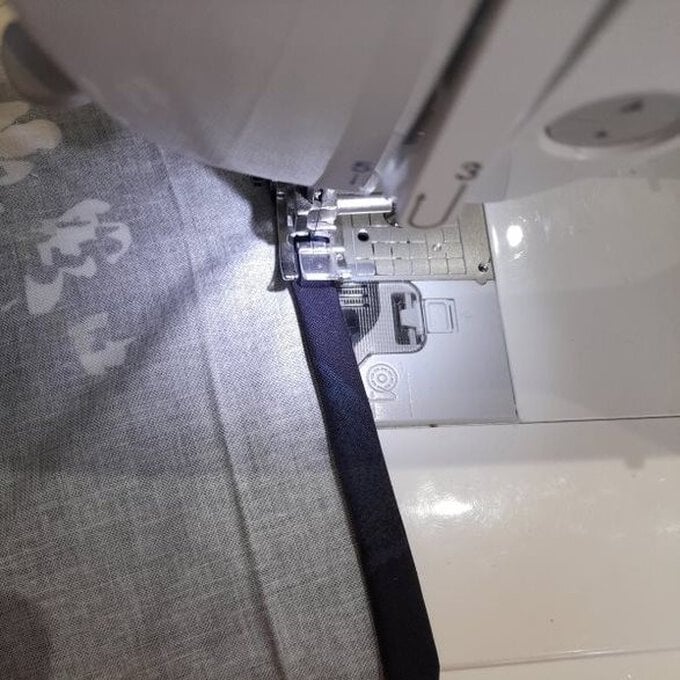
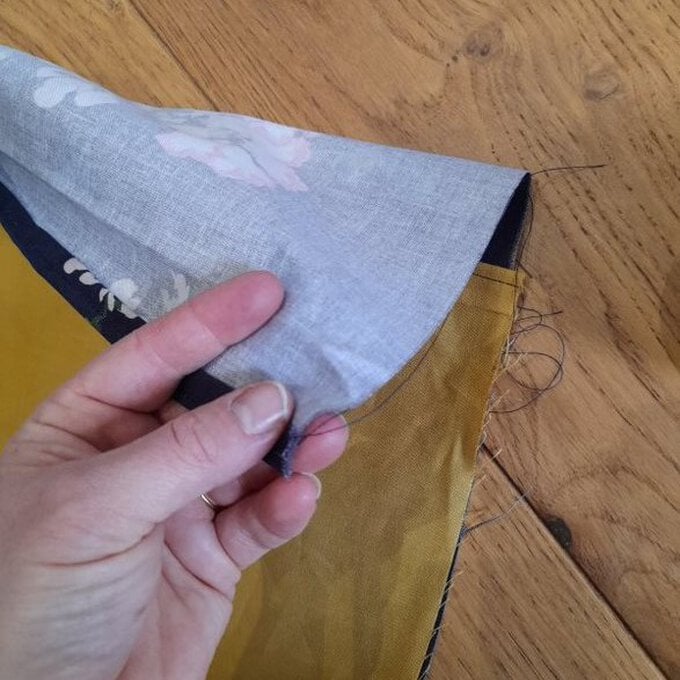
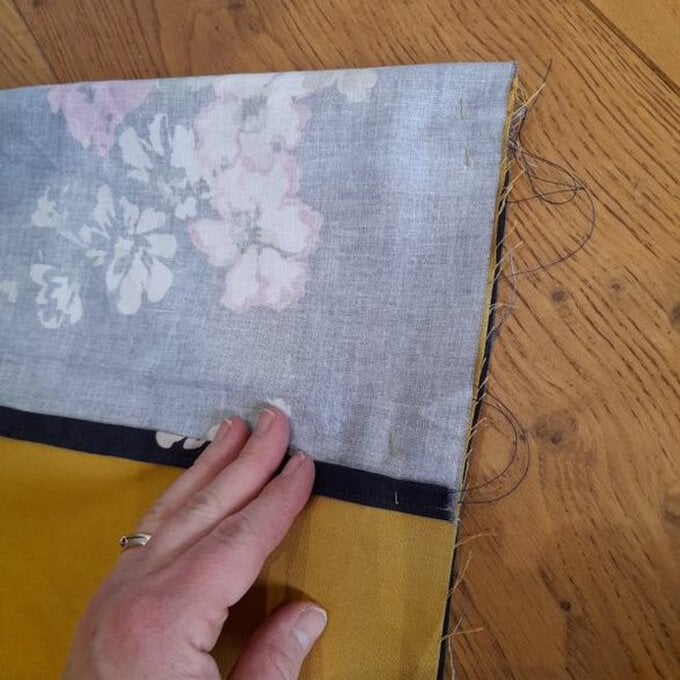
Repeat this with one of your long edges on your back fabric piece. Lay your fabrics right sides together lining up the raw edge side of your fabrics. This will mean your 'front' fabric sits with the seamed edge right side showing above the back piece slightly.
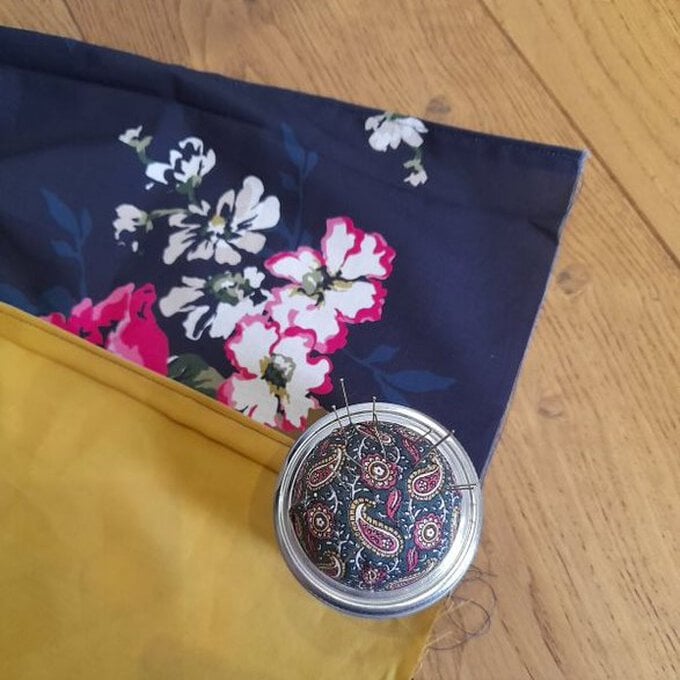
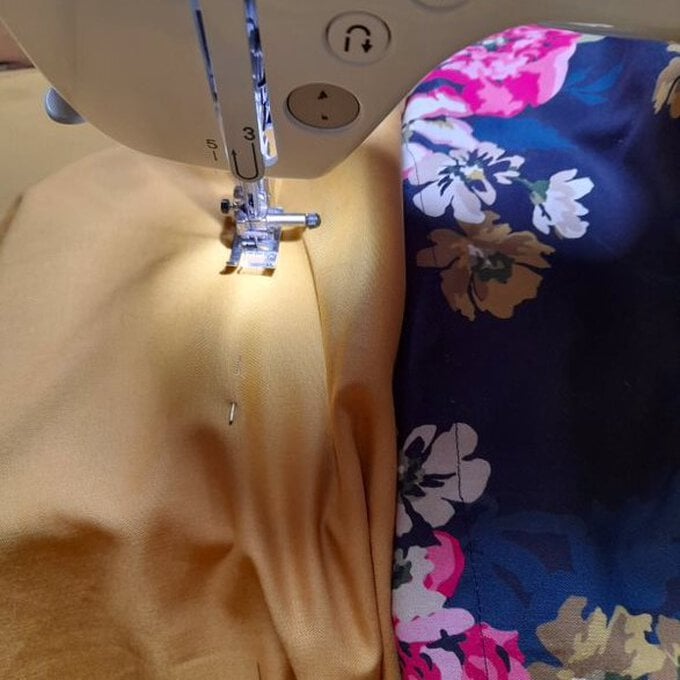
Fold the top showing seamed front piece of fabric over the seamed edge back piece so it is enclosed inside. Pin into position.
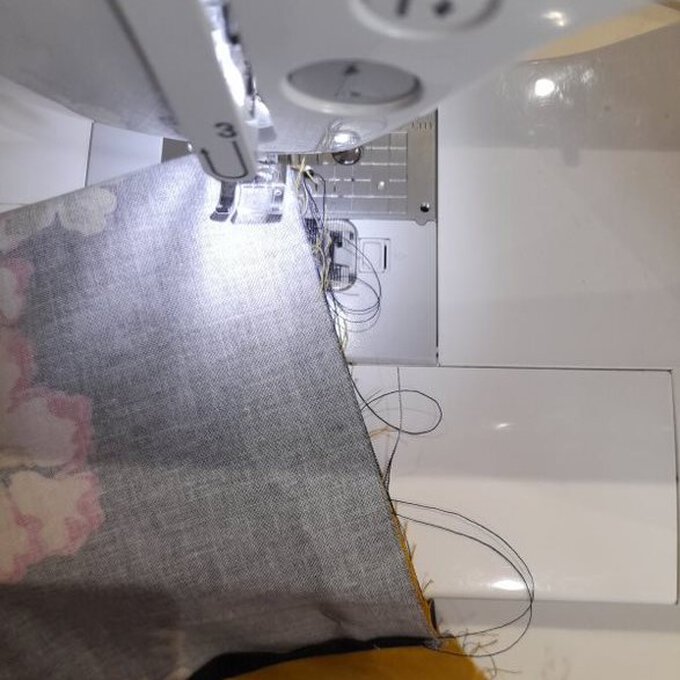
Using a 1cm seam allowance using a straight running stitch - sew down one short side, all the way along the raw edges side, and then back up the other short side. Do not sew along the top folded over seams edge. Secure your threads.
Turn your sewn large pillow case out the right way and press. Every 45cm (or whatever your pillow width) pin your long case into four even sections.
Sew in straight lines on each of those pinned sections. Secure your threads and insert your four pillows into their sections.
Et voila! Decorative pillow floor mat: done!
Related Products