How to Make a Ribbon Weaving
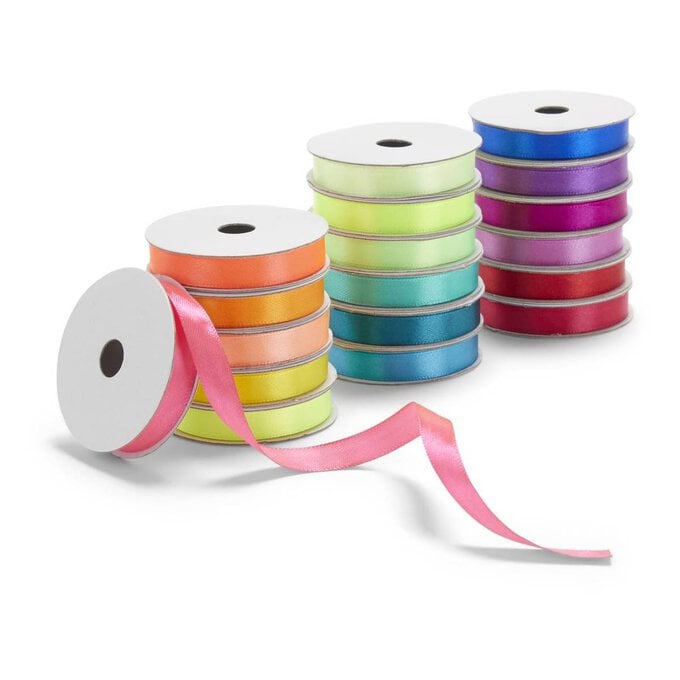
Ribbon weaving is a great way to experiment with colour schemes and weave patterns. With amazing ribbon packs available at Hobbycraft, there's so much possibility for experimentation! Read the tutorial below to find out how to make your own.
You will need

Subtotal
Is N/A
Subtotal
Is $ 4.49
Subtotal
Is $ 7.49
Subtotal
Is $ 14.00
Subtotal
Is $ 1.49
How to make
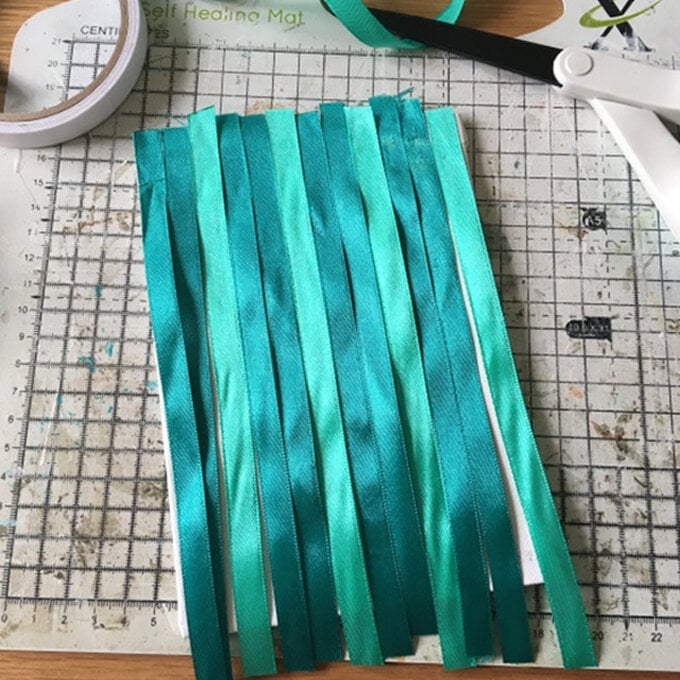
Start by selecting the colours of ribbons you would like to include within your weaving, we opted for a mixture of bright and pastel tones, but it's completely up to you!
From the ribbons chosen, select two that you would like to feature predominantly in the hanging. Position the canvas panel portrait and run a strip of double-sided tape along the top edge. Secure cut lengths of your chosen two ribbons to the tape, ensuring that there is around 1cm of excess ribbon overhanging both the top and bottom edges, and that the ribbon is positioned parallel to the side edge.
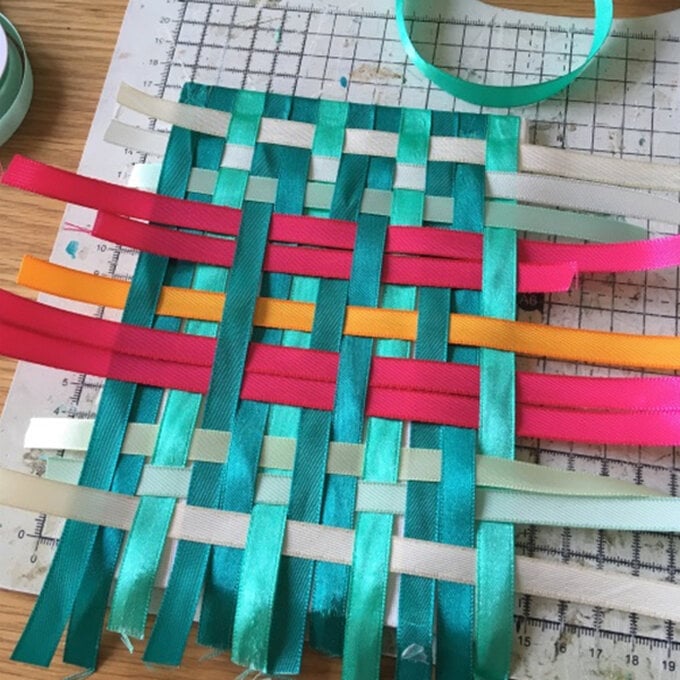
Pre-cut lengths of the remaining selected ribbons to weave horizontally through the vertical ribbons, again making sure to cut so that there is a 1cm overhang on both the right and left hand-side edges.
Working from the top of the panel down, start to weave the cut ribbons into the vertical strands by running the ribbon over or under the horizontal strands. If you wish to see the coloured horizontal ribbon go over the top of the vertical ribbon, if you wish for it to be hidden, go underneath the vertical ribbon.
Continue working in this way until the whole panel has been filled.
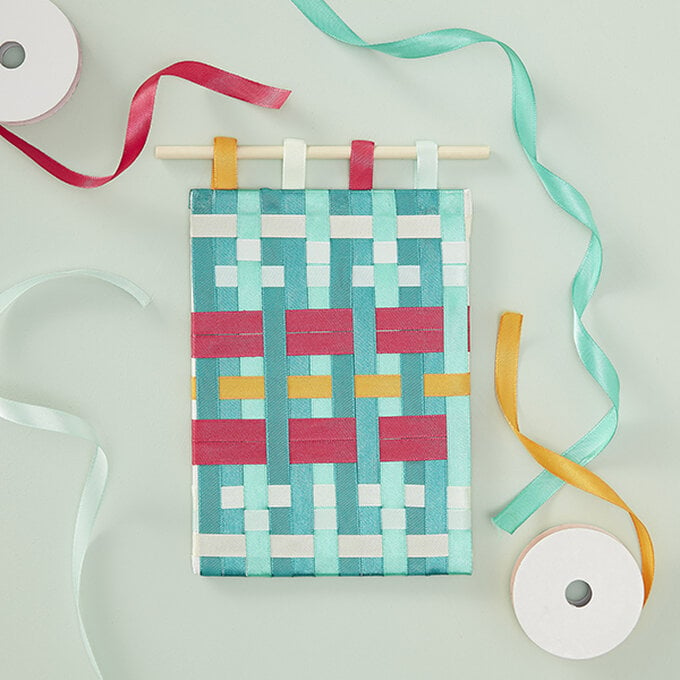
Once happy with the composition, carefully flip the panel over and run a strip of double-sided tape along the top edge of the panel, fold the excess ribbon from the front of the panel to the back and secure in place. Repeat the process along the bottom edge of the panel, then on the two side panels.
With the woven panel face down, trim four lengths of ribbon to approximately 8cm, fold in half to create loops and space evenly along the top edge of the panel. Secure the loops into place with a hot glue gun.
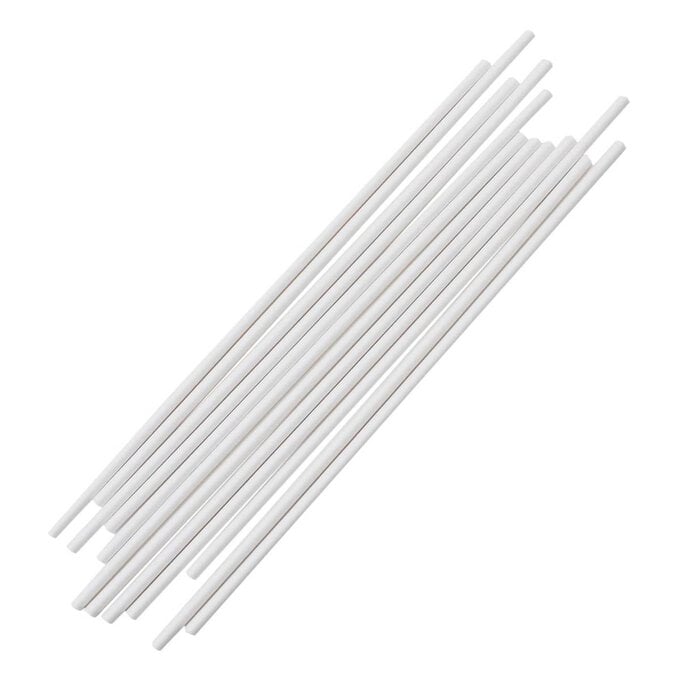
To complete, thread a length of dowelling through the ribbon loops and hang your ribbon weaving in pride of place.
Related Products