How to Make a Shopping Bag
This capacious bag has handles wrapped all the way to the bottom for strength, and a convenient outside pocket, so there'll be no need to rummage to the bottom of the bag for keys when reaching the front door.
Step by step courtesy of Fat Quarter: Gifts by Jemima Schlee, published by GMC Publications, available from Hobbycraft online and in stores.
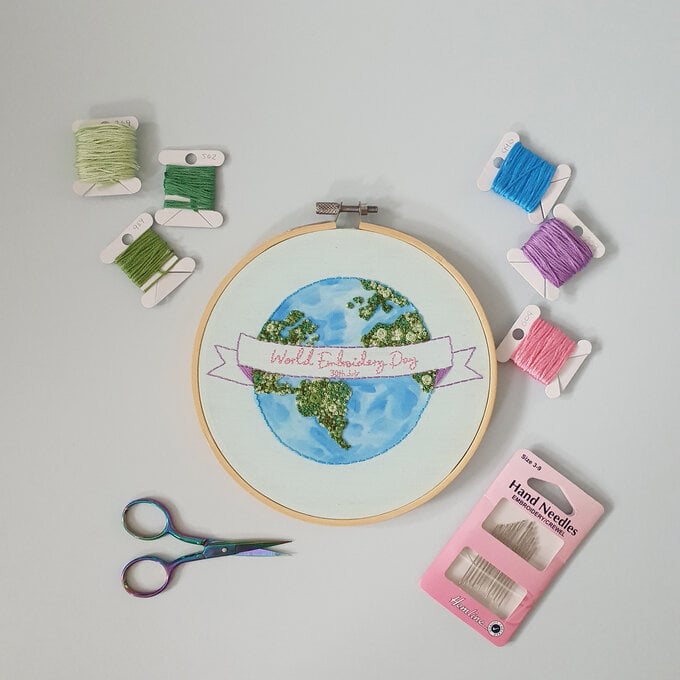
You will need
Subtotal
Is $ 6.49
Subtotal
Is $ 6.49

Subtotal
Is $ 3.49
Subtotal
Is $ 3.49

Subtotal
Is $ 8.49
Subtotal
Is $ 7.49
How to make
You will also need
2 fat quarters of patterned fabric: 2 pieces 18 x 12½in (45.5 x 32cm) for the top of the bag, 1 piece 7 x 8in (18 x 20.5cm) for the pocket.
1 fat quarter of contrast fabric: 2 pieces 18 x 6¼in (45.5 x 16cm) for the base of the bag, 1 piece 7 x 8in (18 x 20.5cm) for the pocket
Thread to match fabric
Iron
Lay the two pocket pieces down right sides together. Pin together along one long edge and sew a 3⁄8 in (1cm) seam by machine.
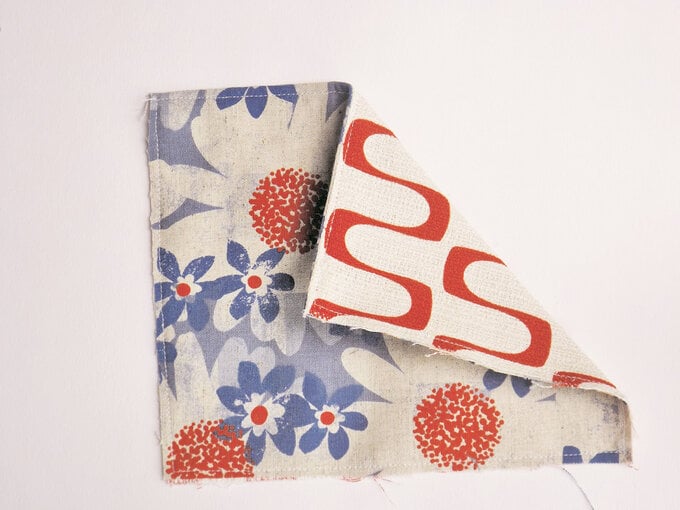
Turn your work right side out and press to make a sharp seam. Topstitch 1⁄8in (3mm) from all edges to finish it off.
Topstitching
This is a line of straight machine stitching worked on the right side of the fabric, parallel to seams and edges. It is used as both a functional and a decorative stitch.
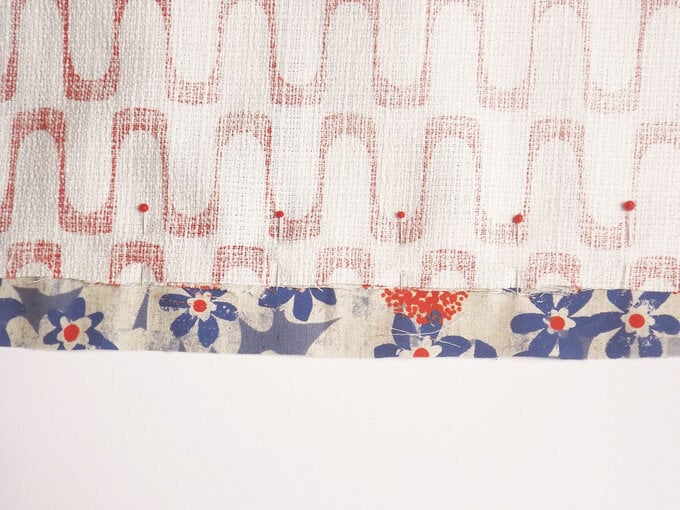
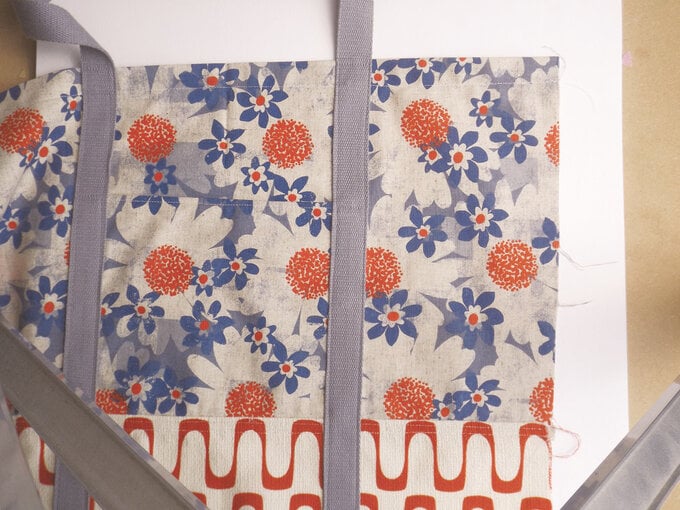
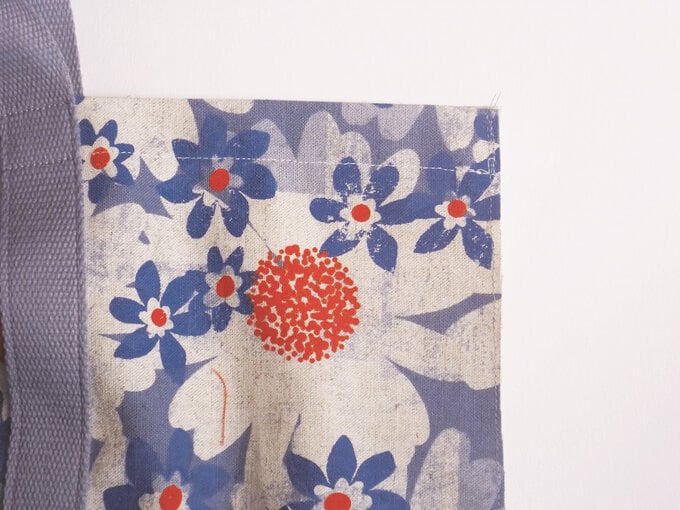
Place one piece of top fabric in front of you, right side up. Position the pocket piece so that it is centered on the fabric and with its raw base edges aligned with the bottom. Tack in position.

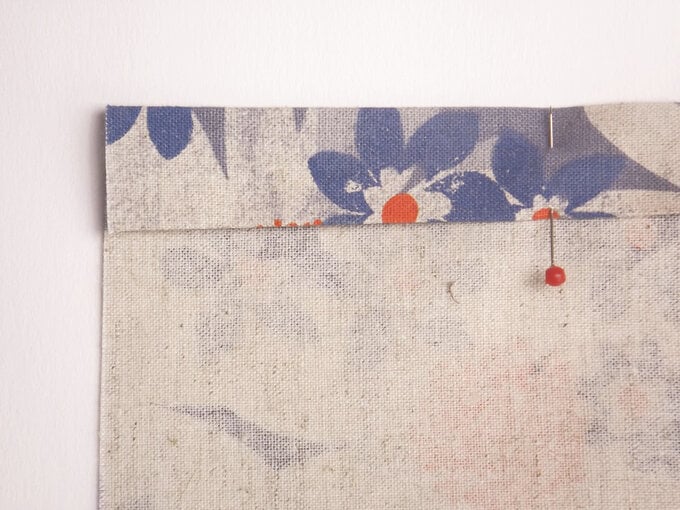
Lay one piece of base fabric on top of the top fabric and pocket, right sides together. Position the edge of your base fabric so that it lies ¾in (2cm) above the raw bottom edge of your top fabric and pin or tack along this edge.
Sew a 3 ⁄ 8in (1cm) seam along the edge of the base fabric by machine, passing over the bottom of the pocket. Fold the base fabric down over the seam and press the seam allowance towards the base. Turn the work over. Tuck ³⁄8in (1cm) of the overhanging top fabric seam allowance over the base fabric seam allowance to encase its raw edges. Press with a hot iron and pin or tack in position.
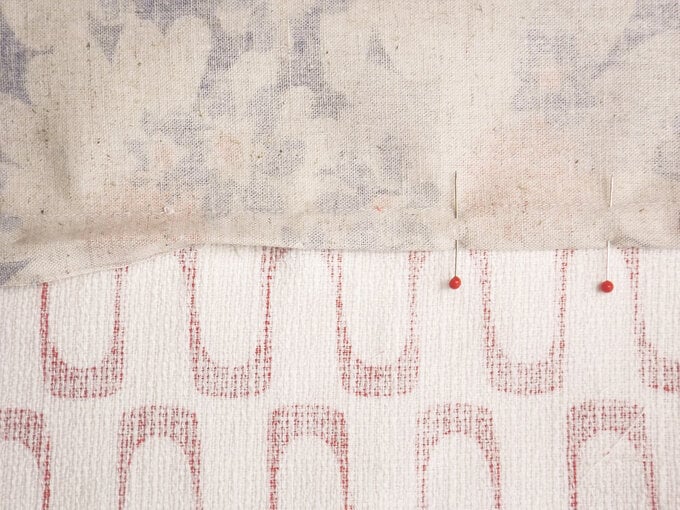
Stitch a flat fell seam (two lines by machine) along this seam, 1⁄8in (3mm) in from the original seam stitching and 1⁄8in (3mm) from the edge you folded under. Turn over your work and press again.
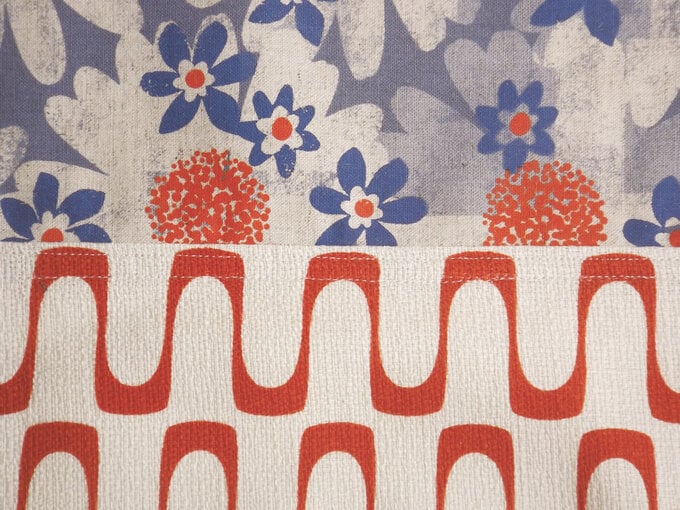
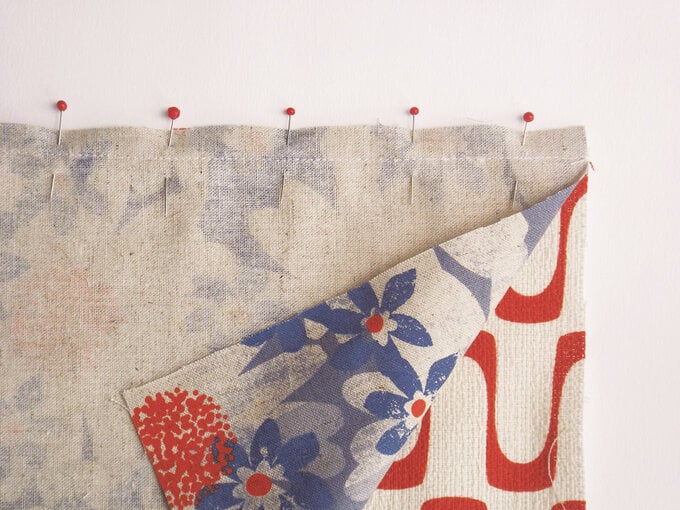
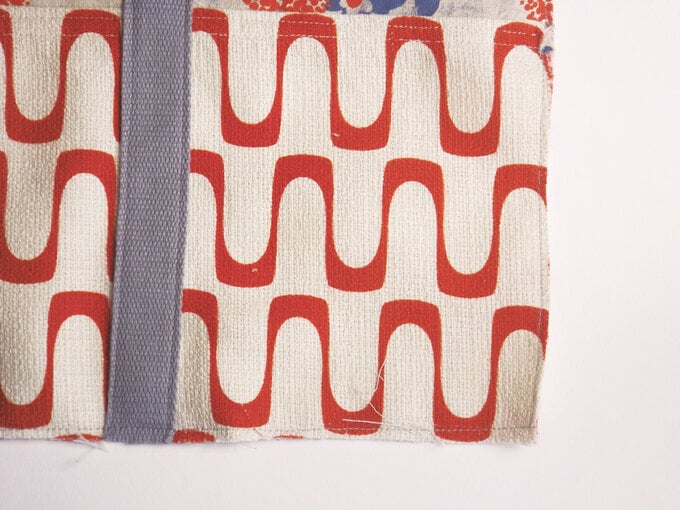
Turn over your work again and fold over the top raw edge of the fabric by 3⁄8in (1cm) and then ¾in (2cm) to make a neat hem. Pin or tack and stitch by machine.
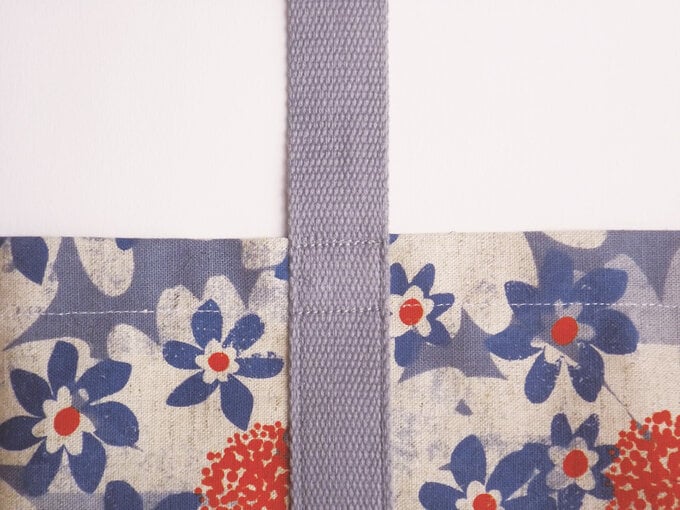
Position one piece of webbing to form a handle on the right side of your work. Both bottom edges should butt up with the bottom edge of your base fabric, 6¼in (15.75cm) apart.
Pin the handle vertically to pass over the top edge of the fabric – the two sides of the handle should continue to lie 6¼in (15.75cm) apart and cover the raw sides of the pocket.
Stitch each side of the handle down by machine. Sew just in from the edge from the bottom to the top on one side, turning 90 degrees at the top of the bag and stitching along the width of the webbing several times for strength.
Start stitching down the other side of the webbing, stopping at the level of the stitch line from step 7 – just short of ¾in (2cm) from the top edge.
Turn 90 degrees and stitch along the width of the webbing several times for strength. Stitch down the remaining edge of webbing to the bottom of your work.
Stitch back and forth across the webbing again to align with the topstitching at the top of the pocket, for extra strength.
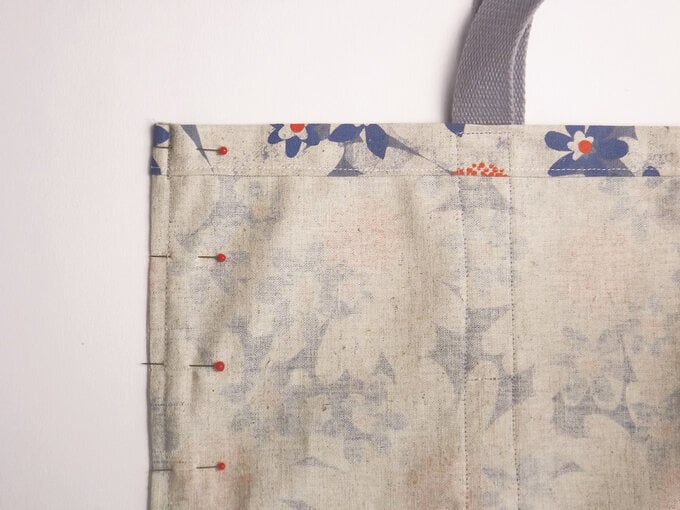
Repeat steps 4–9 with the remaining top and base pieces of fabric and handle. Place the two bag halves, wrong sides together. Align the edges and pin or tack, then sew a 3⁄8in (1cm) seam all the way around.
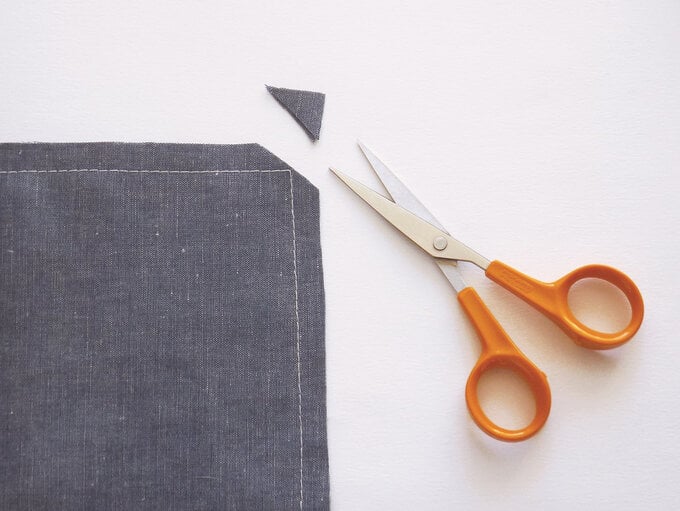
Reverse stitch as you start and finish. Trim the seam allowance to 3/16in (5mm) and clip the bottom corners.
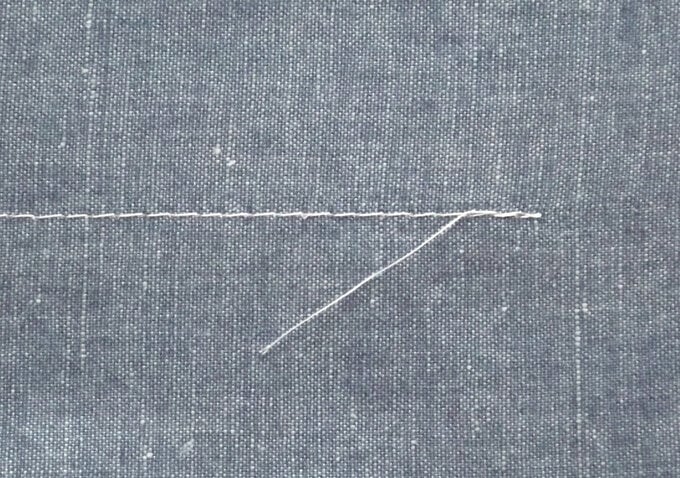
Reverse stitching
This is used to reinforce or strengthen a line of stitching, particularly in an area that will be subject to pressure or stress, such as the edges of a turning gap, for example. It can also be used as a quick way to start and end stitching without having to finish off thread ends by hand.
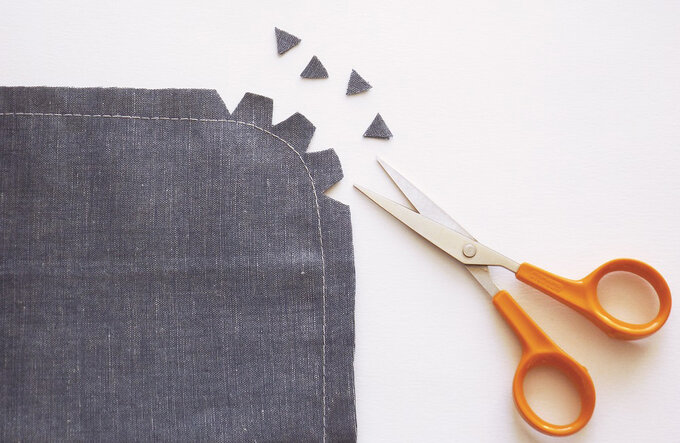
Trimming corners and curves
Corners should be cut across at an angle so they are sharp when the work is turned right side out (A). On curved seams, cut 'V' shapes into the seam close to the stitch line to make the seam smooth when the work is turned right side out (B). Snip very carefully with small, sharp scissors to avoid cutting through the seam line by mistake.
Turn the bag inside out. Tease the seams all the way around to make them as sharp as you can and press with a hot iron. Pin or tack around both sides and the bottom edge. Sew a 3⁄8in (1cm) seam all the way around, reverse stitching at the start and finish.
Related Products


Is $ 5.49