How to Sew a Buttonhole
Buttonholes are one of those things that we use virtually everyday but don't really think about how it's made, until the time comes to making one for yourself. Many are put off by the daunting foot that you clip onto your sewing machine, but the process is much quicker and easier than some realise.
Imagery and text courtesy of The Very Easy Guide to Using your Sewing Machine by Wendy Gardiner published by Search Press Ltd
You will need
Subtotal
Is $ 120.00
Subtotal
Is $ 27.00

Subtotal
Is $ 4.49
Subtotal
Is $ 4.49
How to make
Please Note:
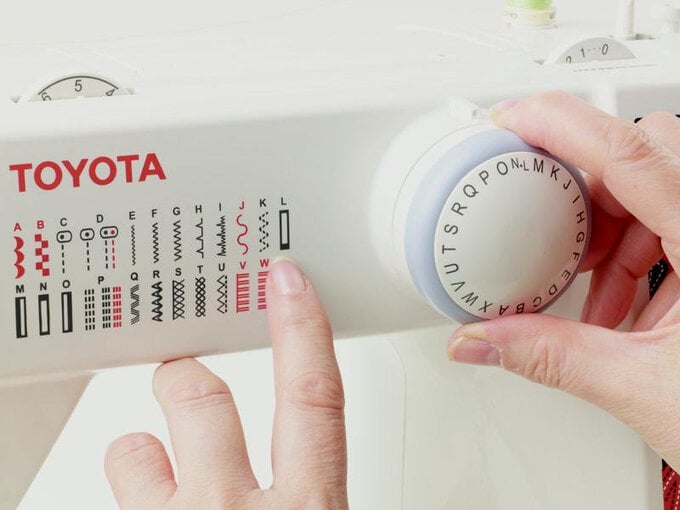
Check your user's manual to determine the type of buttonhole function you have and test it on a scrap of the same fabric with interfacing as on some other machines there are four steps to a buttonhole: down the left side, a bar tack at the end, up the right side and a bar tack at the top end.
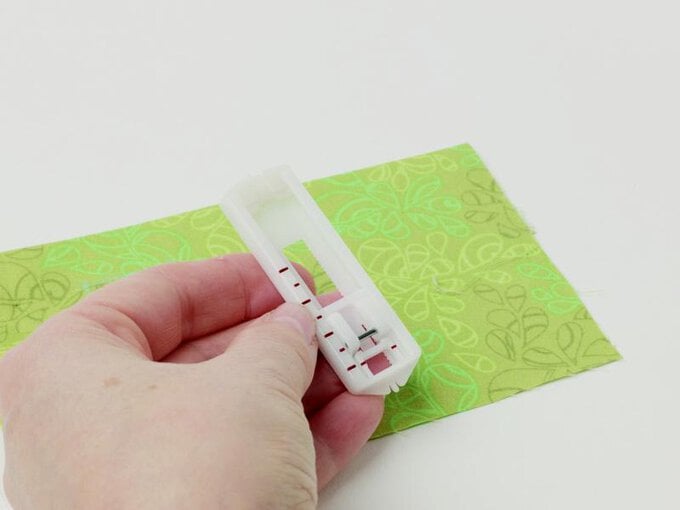
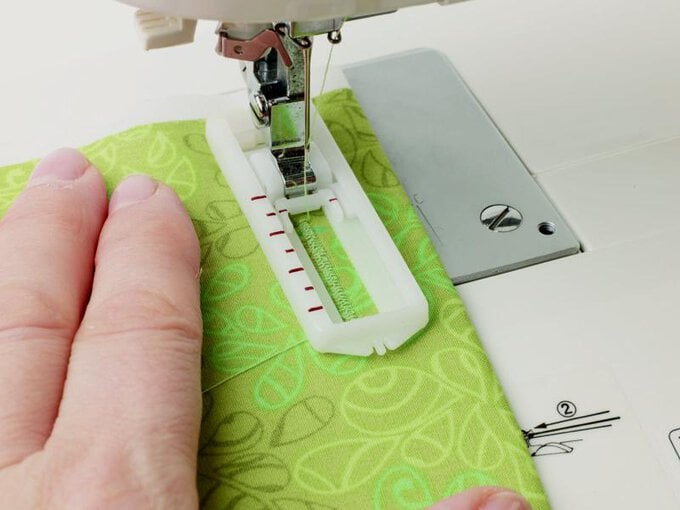
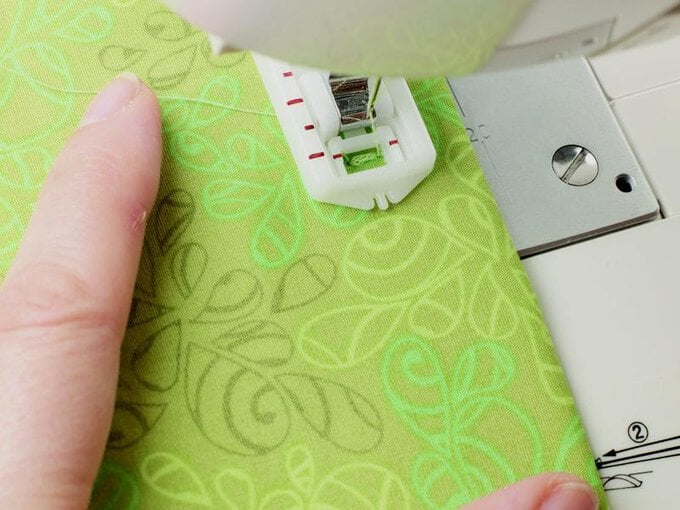
The buttonhole foot will have markings down the left-hand side and a tiny hook at the top with little forks at the front.
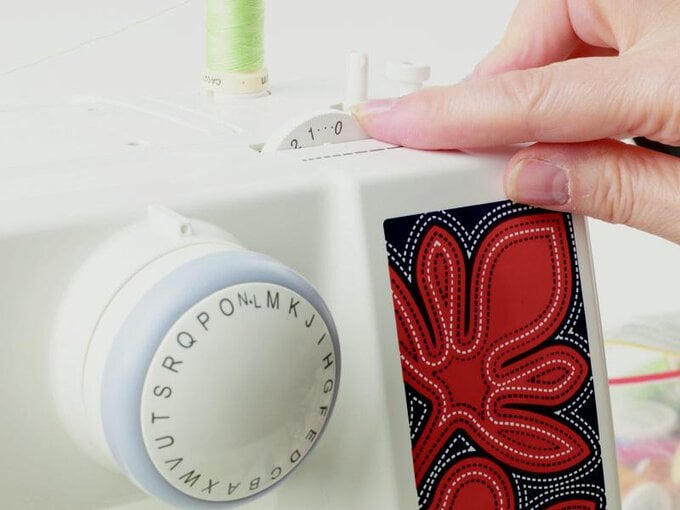
You may also need to alter the stitch length – most machines have the optimum length marked in the same colour as the buttonhole stitch selector. The closer to zero you go, the tighter together the stitches will be. Depending on your fabric choice, you can stitch with the length at almost zero (60 stitches per inch) or up to one (24 stitches per inch).
Choose the first part of the buttonhole by selecting the stitch with the left side stitched. Starting at the end of the buttonhole marked on the fabric, stitch up to the far end and stop with the needle raised.
Change to the bar tack stitch of the buttonhole sequence and stitch four or five stitches across the end.
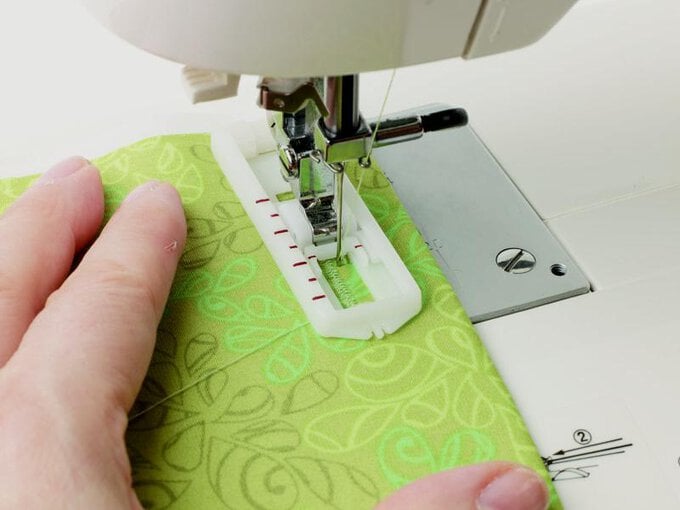
Change the stitch selection again, to the right side of the buttonhole sequence and stitch back to the beginning, stopping with the needle raised.
Change stitch selection to the bar tack again and stitch four to five stitches at the top end of the buttonhole. Finish by taking the thread tails through to the back and feeding them through the stitching before cutting them off.
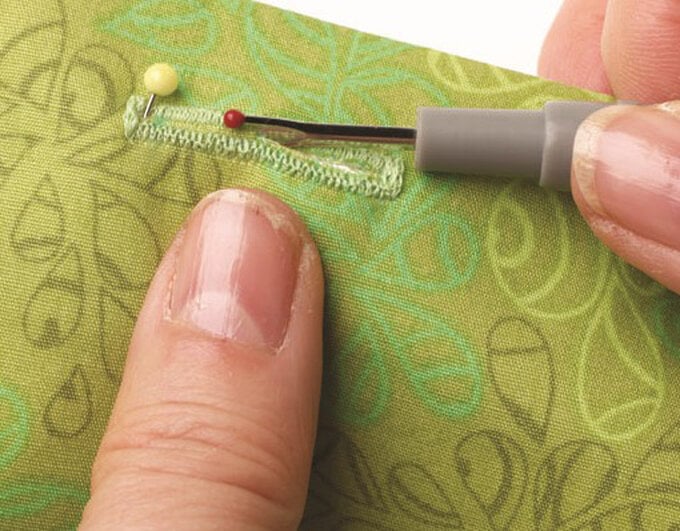
To open the buttonhole, place a pin at one end just inside the bar tack, then using the seam ripper, start at the other end and push the ripper towards the pin. If necessary, trim off any stray fabric threads inside the opening.
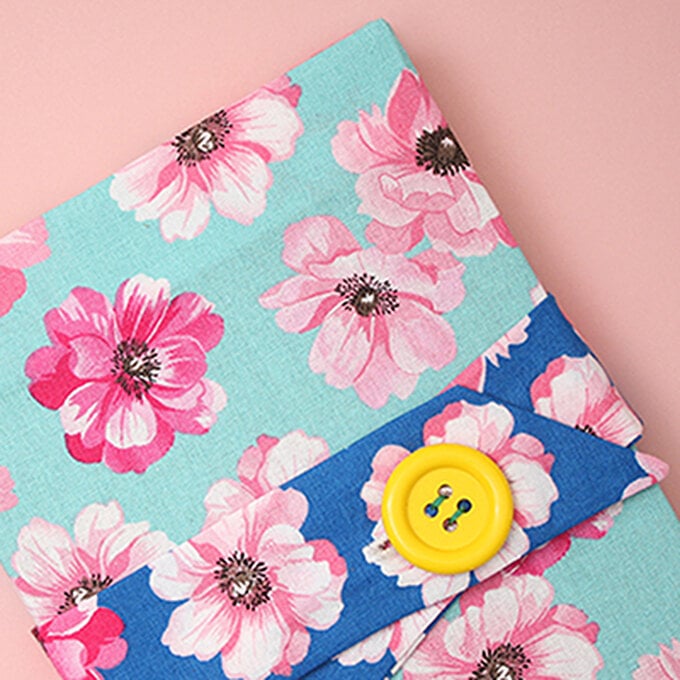
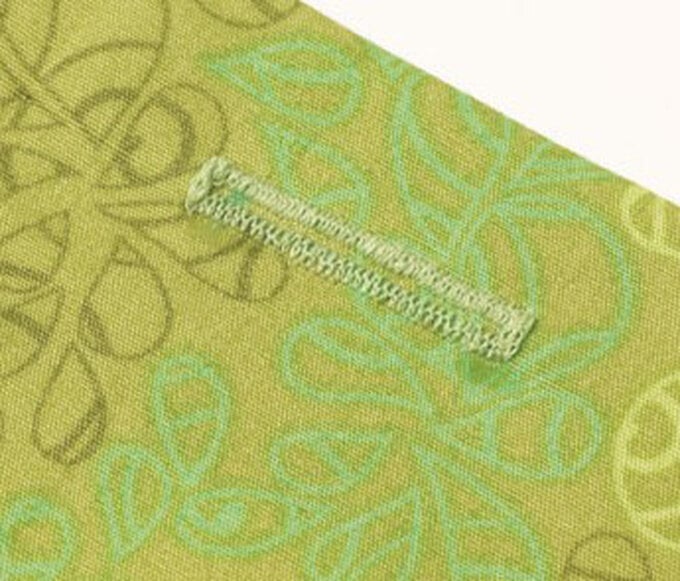
The completed buttonhole stitching.
Related Products