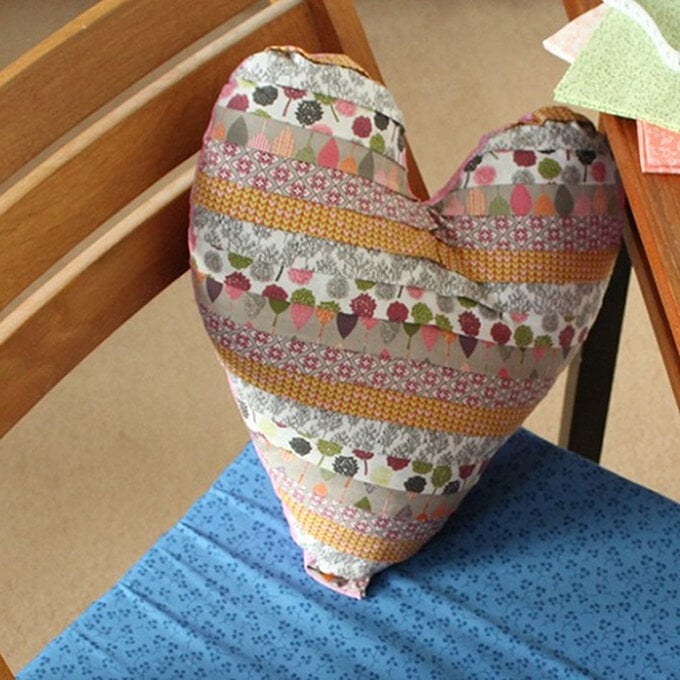
How to Sew a Round Cushion
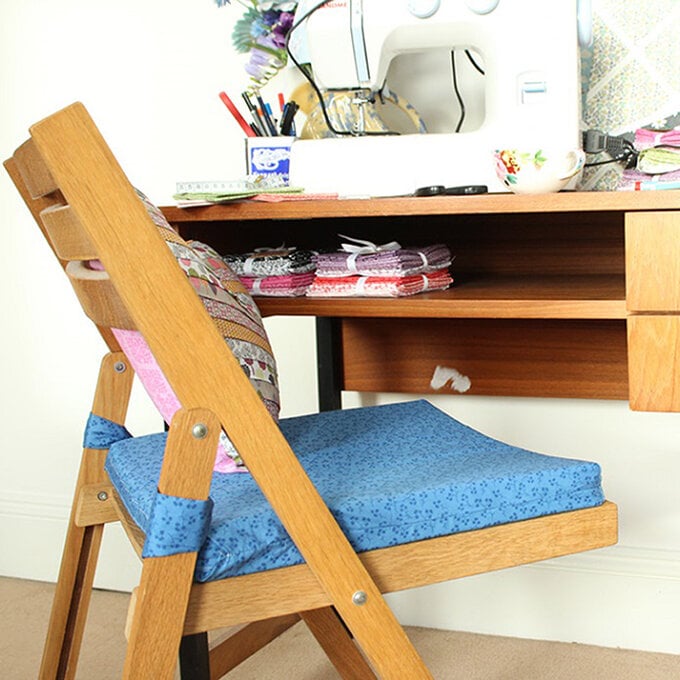
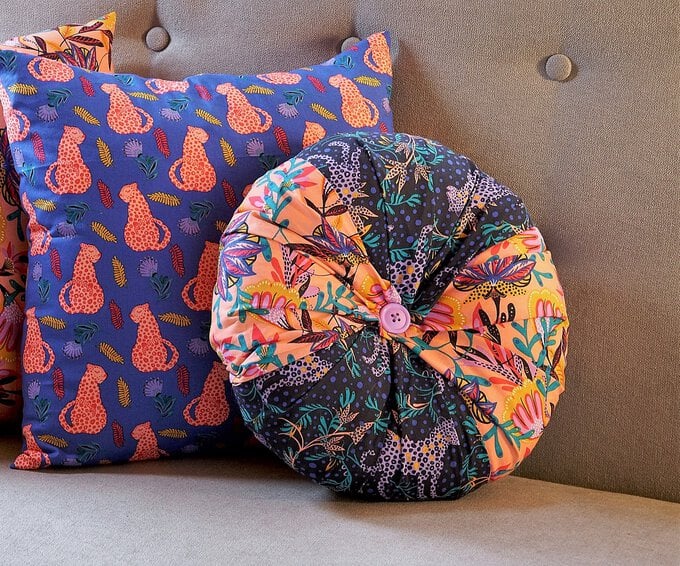
Add a cosy cushion to your home with a chic, contemporary print! Creating a round cushion for your home is easier than ever with this simple guide. The elegant, pleated cushion design will look great in any fabric – choose prints and colours to match the rest of your décor.
This is a great project for using up some of your fabric scraps as you can choose how many panels you incorporate within the design.
You will need

Subtotal
Is $ 50.00
Subtotal
Is $ 5.49

Subtotal
Is $ 31.00
Subtotal
Is $ 4.49
Subtotal
Is $ 3.49
Subtotal
Is $ 2.49
Subtotal
Is $ 3.49
How to make
How to make
Working out how much fabric you need -
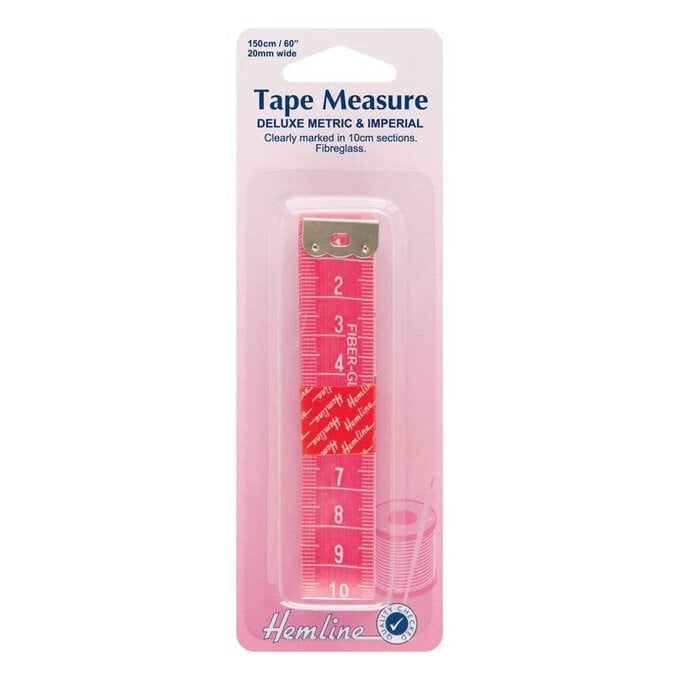
Measure the circumference of your cushion pad and measure from the centre top point round to the centre back.
The circumference will be how wide your fabric needs to be and from centre to centre will be the length.
My cushion measures approx. 42” around and 15” centre to centre. Be sure to add your seam allowance to these measurements and add an extra 2 inches to the width for hemming.
I divided my circumference measurement into 4 because I have 4 panels to my cushion cover.
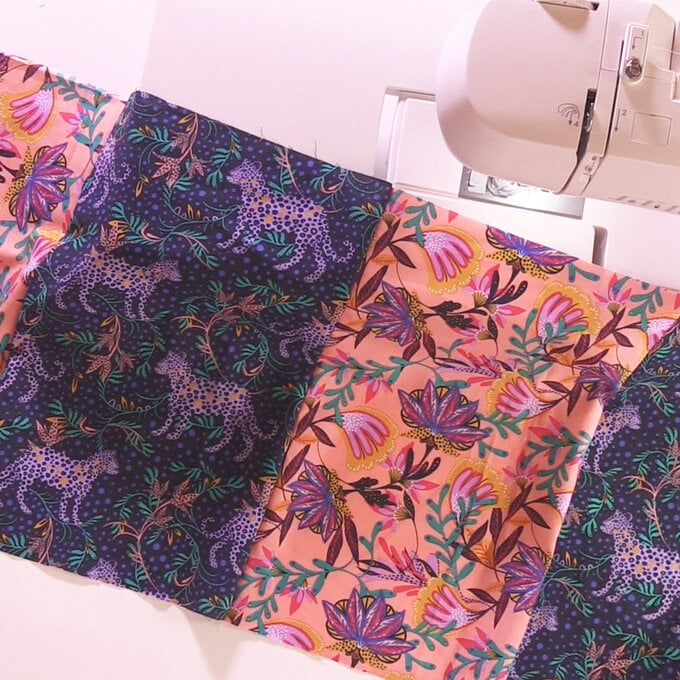
Place your first and second panels right sides together and sew.
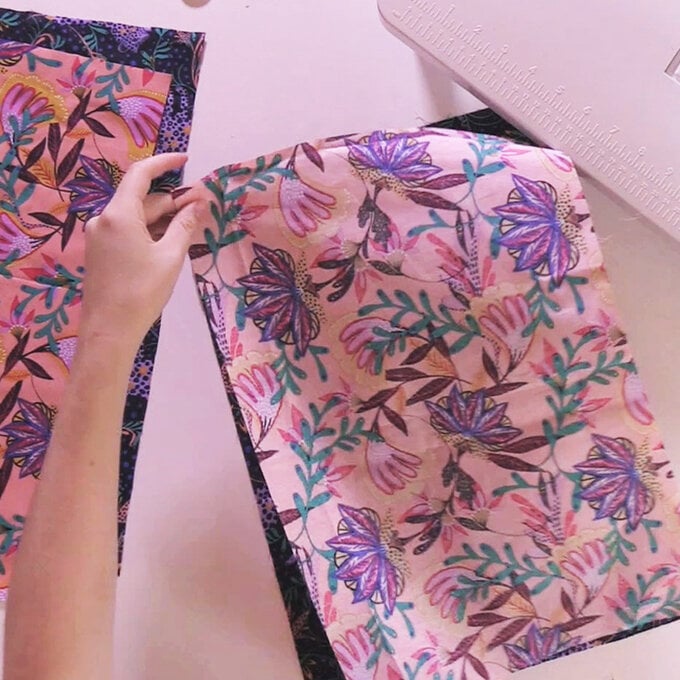
Place the third panel right side together on the second and sew.
Carry on working in this way until all four panels are joined.
Sew the first panel and fourth panel right sides together to form a tube.
Hem the top and bottom of this tube.
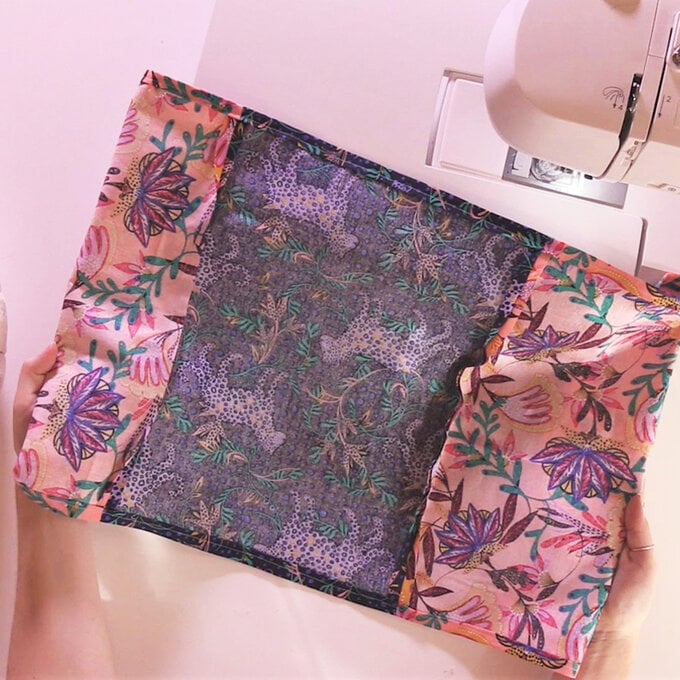
Turn the tube right side out and place your cushion pad in the middle of the tube.
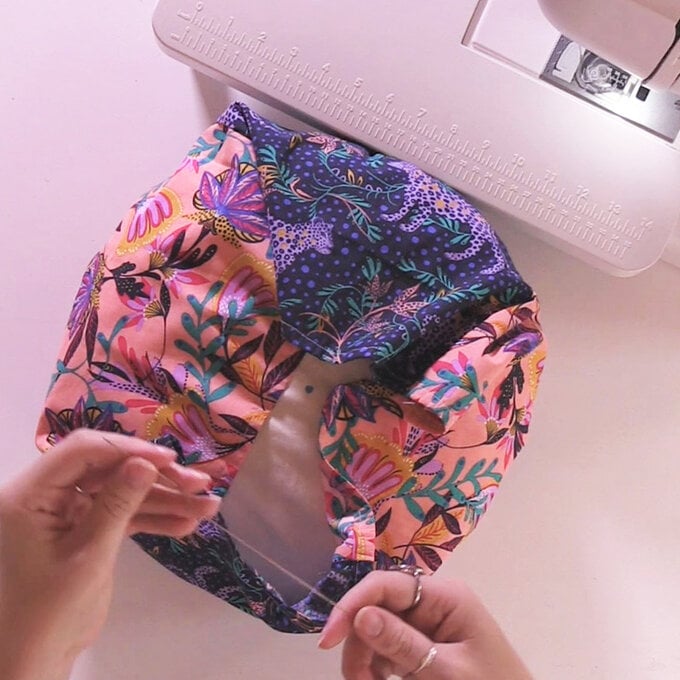
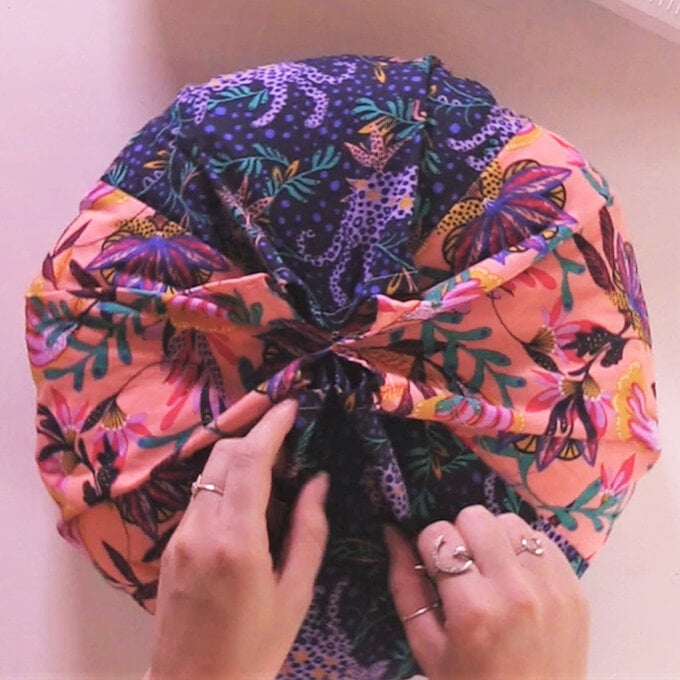
With the strong top stitch thread and a sewing needle, start by sewing the opposite points of the tube together to meet in the middle of the cushion, pull tight. Tie a knot in the thread to keep the points in place in the middle.
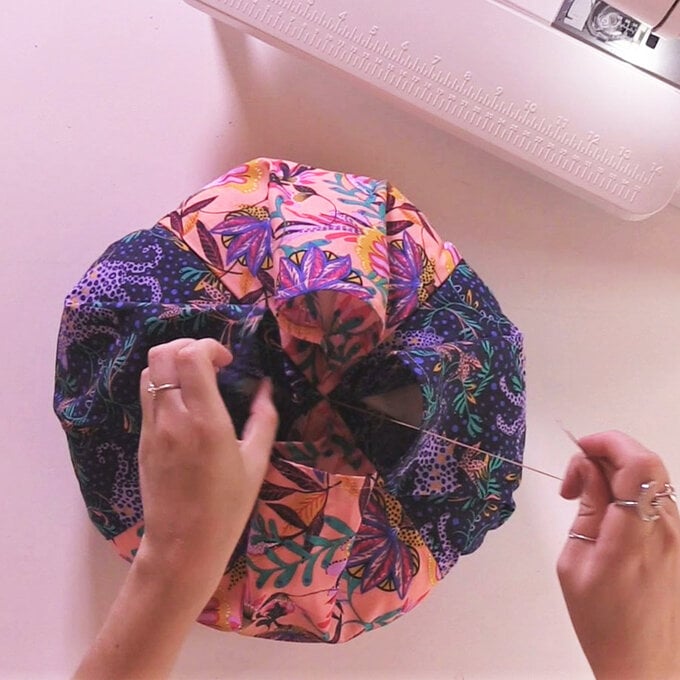
Repeat this by sewing the four new points together to meet in the middle of the cushion.
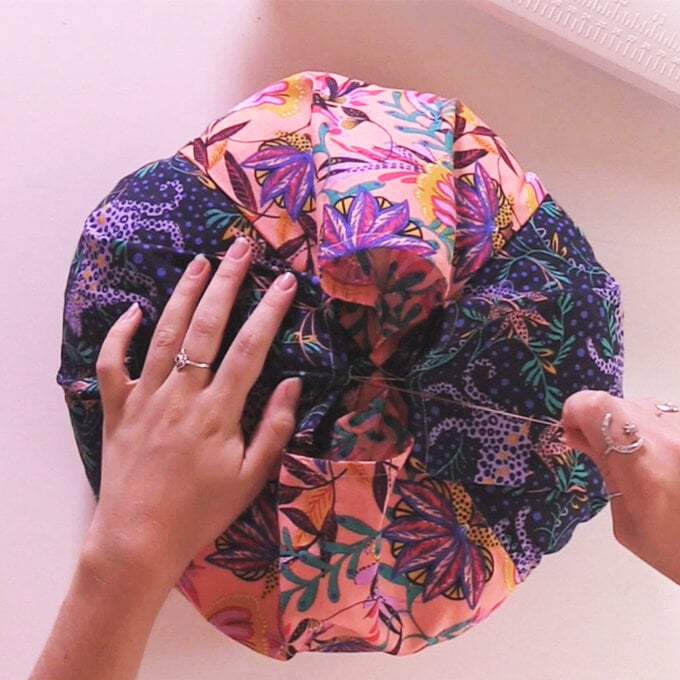
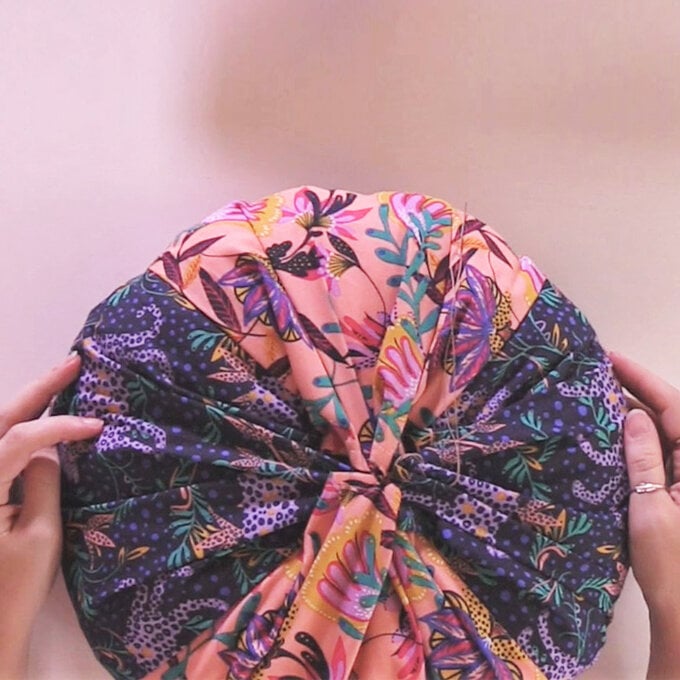
Keep repeating until all the points are sewn tightly to the centre. You may need to arrange the pleats when you are finished to position them neatly.
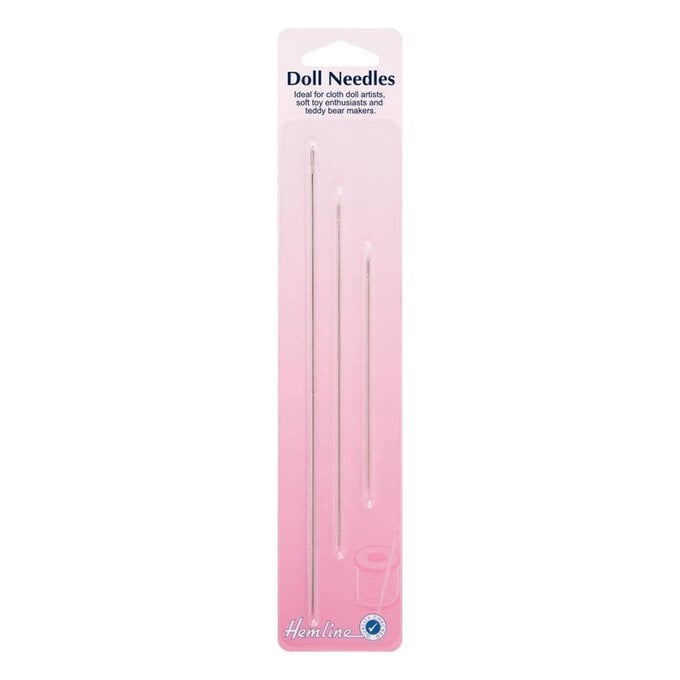
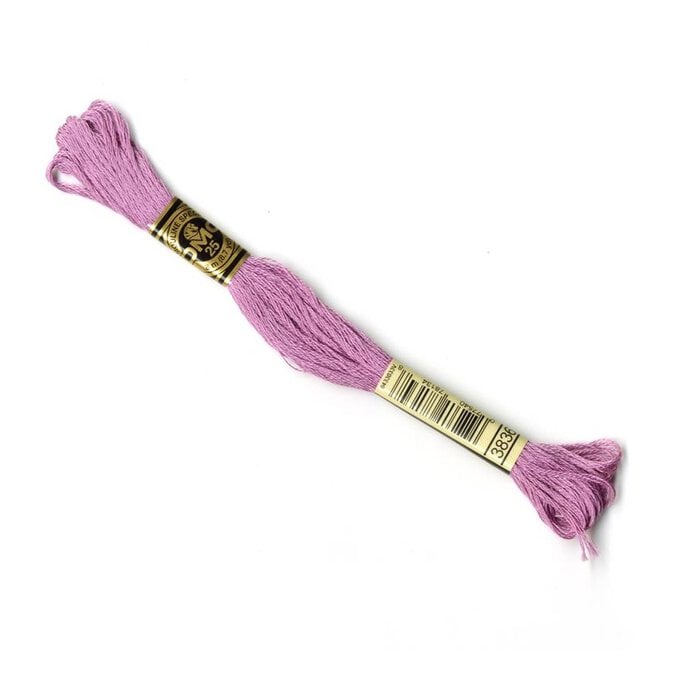
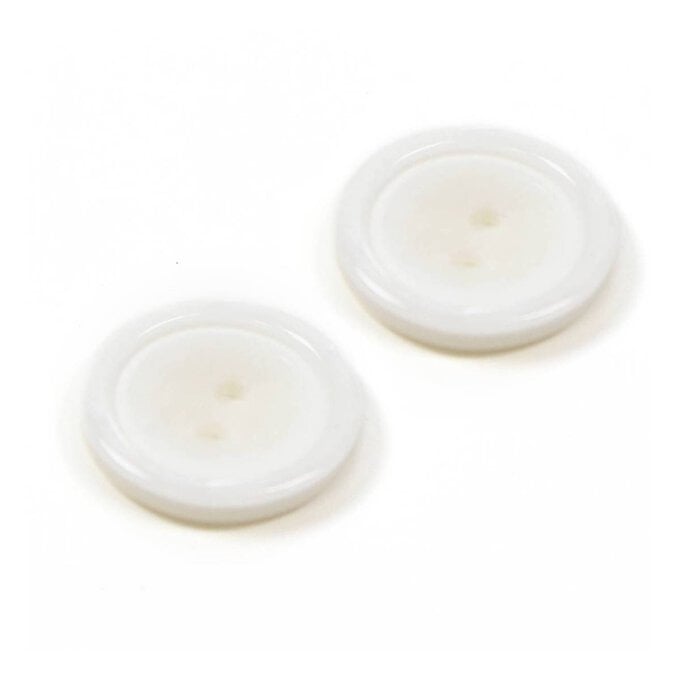
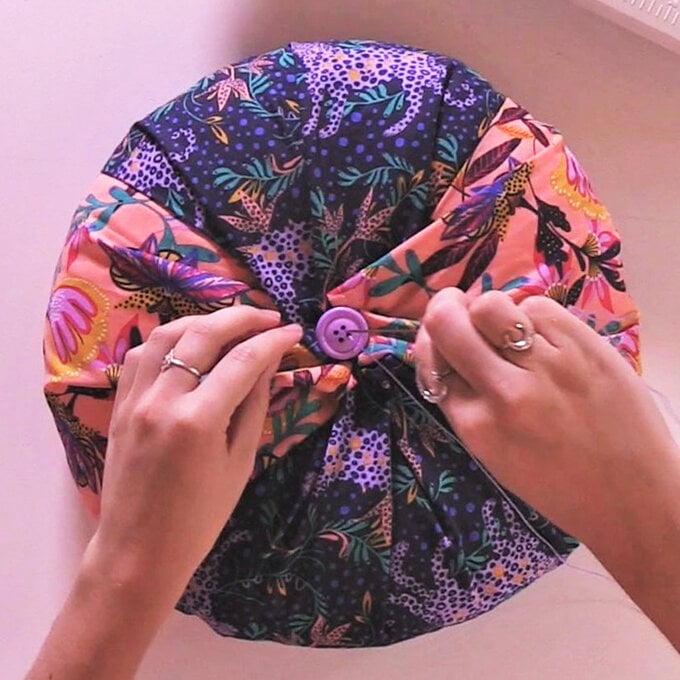
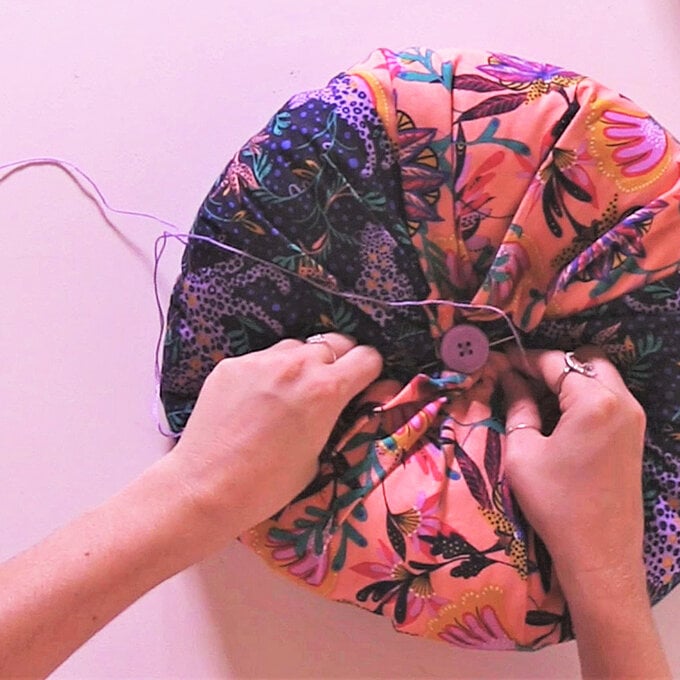
Using the doll needle and embroidery thread, sew the two buttons to the middle of the cushion, taking the needle straight through the centre of the cushion to the opposite side. Pull the thread tight as you sew to create the sunken in look.
To tie off the thread, take your needle underneath one of the buttons, make a loop and knot the thread.
Your cushion is then complete!
Related Products