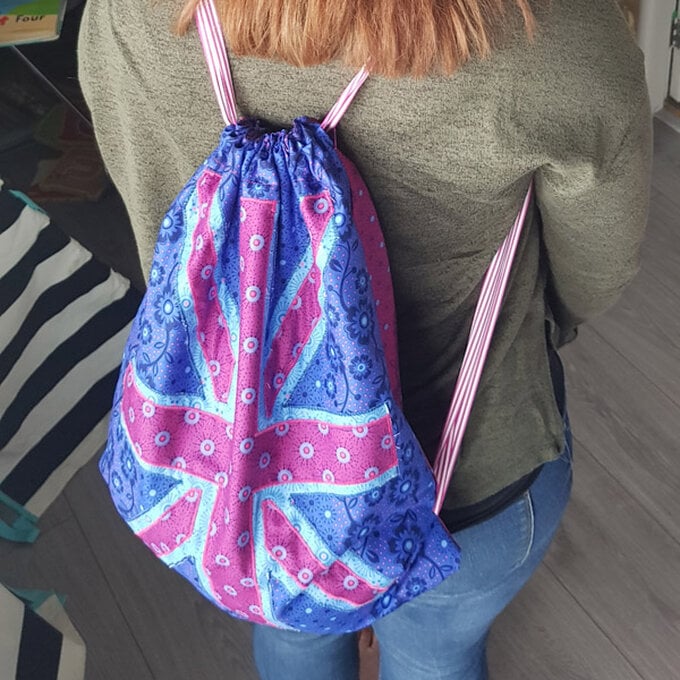
How to Sew a Union Jack Drawstring Bag
Sew a drawstring bag that displays the iconic Union Jack flag, perfect for celebrating the Coronation of King Charles III!
Measurements are given as a guide – you can adjust to make the bag bigger or smaller depending on who is going to be wearing it and/or it's intended use.
Project and instructions by Paula Milner from The Crafty Lass
You will need

Subtotal
Is $ 23.00
Subtotal
Is $ 17.00
Subtotal
Is $ 8.49
Subtotal
Is $ 141.00
Subtotal
Is $ 7.49
Subtotal
Is $ 6.49
Subtotal
Is $ 5.49
Subtotal
Is $ 5.49

Subtotal
Is $ 604.00
How to make
Select which fabrics you would like for the main outer bag and flag parts, back and lining. It doesn't need to be traditional 'red', 'white' and 'blue' colours – why not experiment! You can even think about doing a greyscale version – or using contrasting prints perhaps.
CRICUT
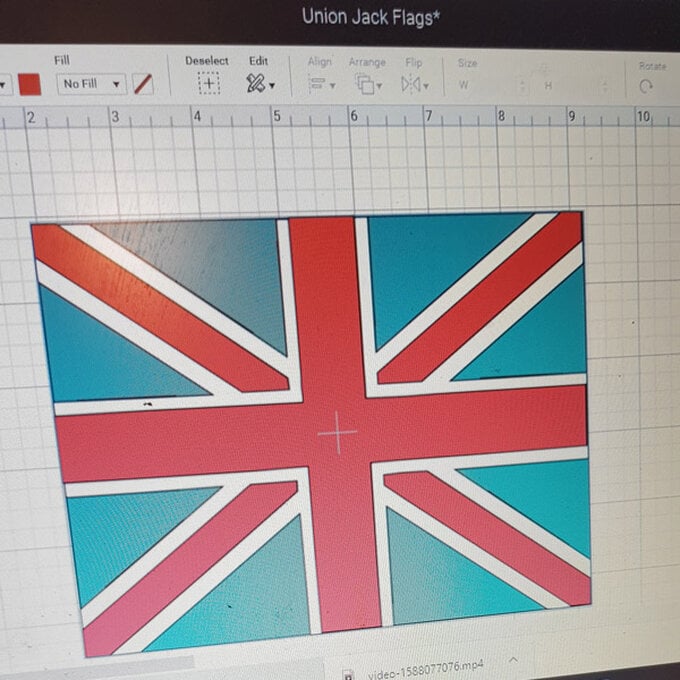
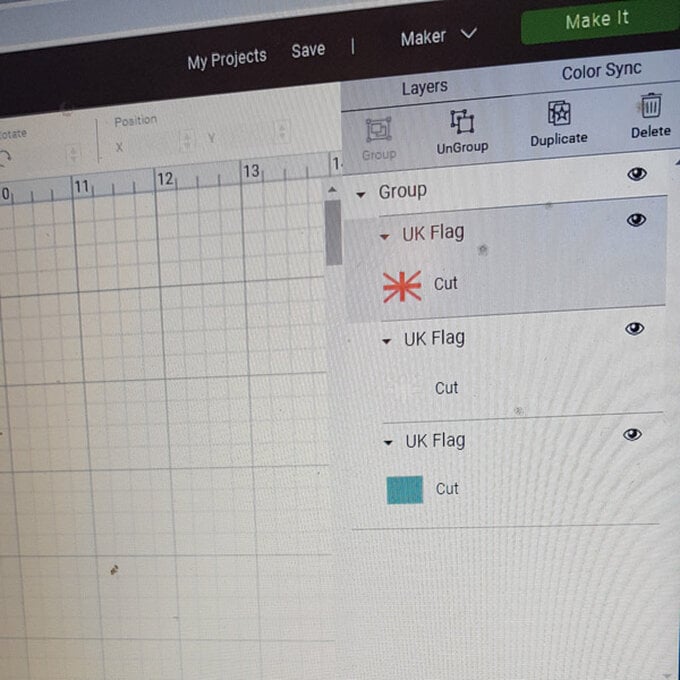
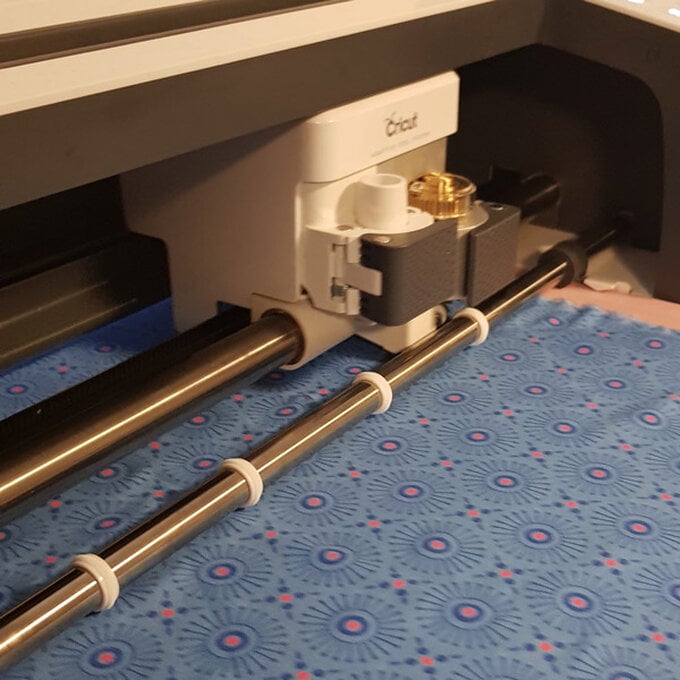
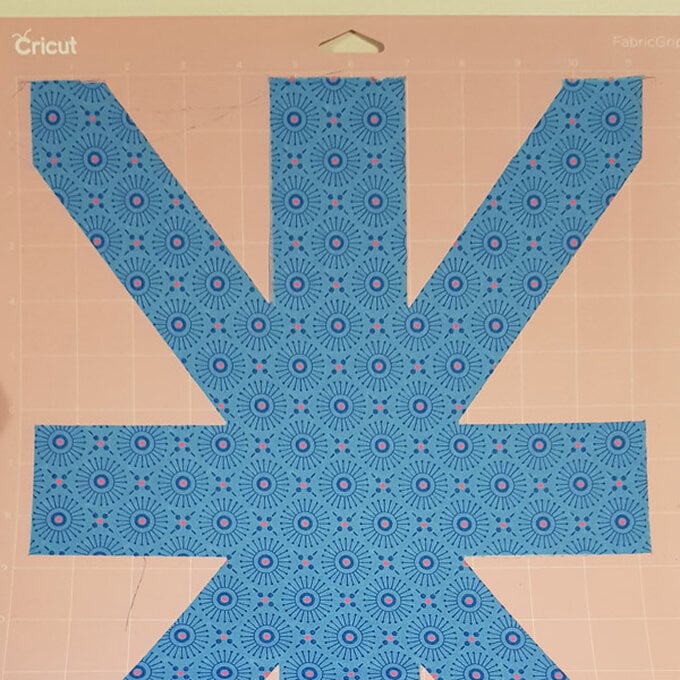
- Open Cricut Design Space, and using design templates – search for 'Union Jack'. Select the one intended for papercraft flags and click customise.
- Rotate the flag by 90 degrees and adjust the size of the flag to be 11” wide.
- Hide the blue part of the flag as you do not need this part – the main body of the bag will become this.
- Cut out the red and white pieces using your rotary blade and set aside to get sewing with!
PRINTER
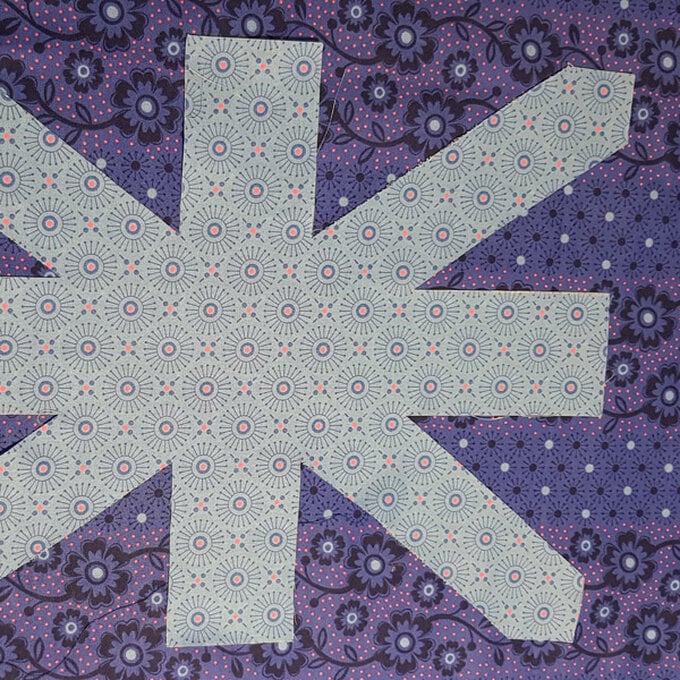
- Find an image of a Union Jack and print off – ideally around as large as you can get on an A4 printer. This might mean your flag is slightly smaller than the measurements listed for use from the Cricut make – but the bag will still work and it'll look great! Or, if you have access to an A3 printer, print the union jack at around 28cm wide and 37cm high.
- Cut out each piece of the colours for flags and get ready to use as pattern pieces. Pin each piece on to your relevant fabric colour and cut around.
- Start with your 'white' piece that has been cut out and pin into position on your 'blue' fabric. The blue fabric FQ that I started with was 45cm wide x 54cm high. This seemed too big for a bag in size and shape – however I deliberately kept this big to start with so that I could put the 'white' piece of the flag into a place that looked best in combination with the blue floral pattern. You decide where is best for your flag to be positioned however I decided to keep 5cm either side of the flag design – we will trim back the fabric after sewing everything into place as below.
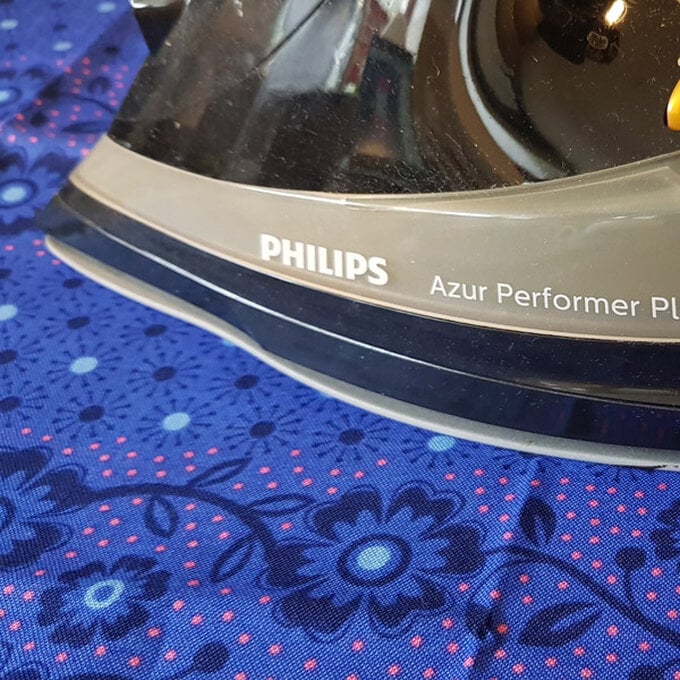
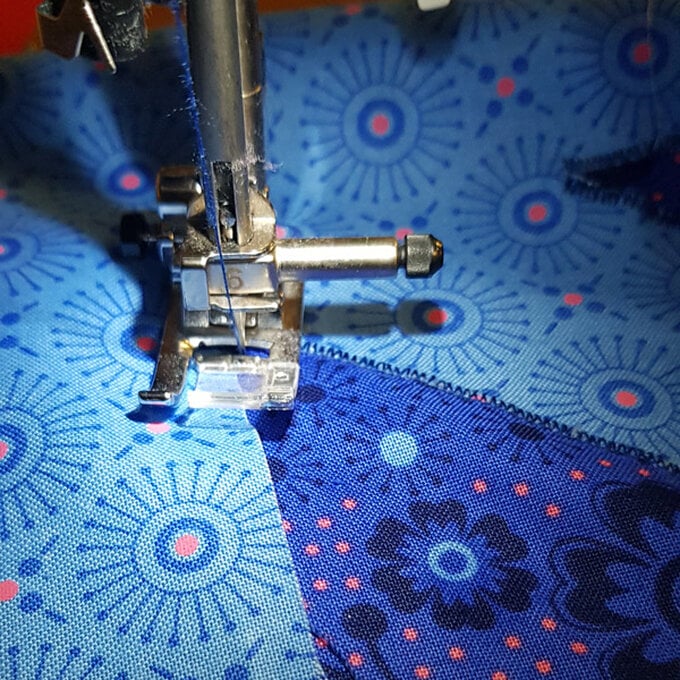
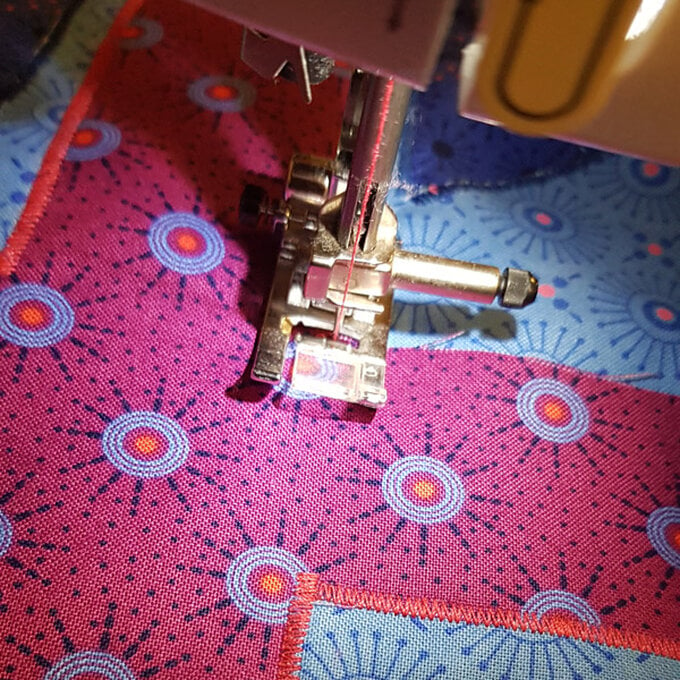
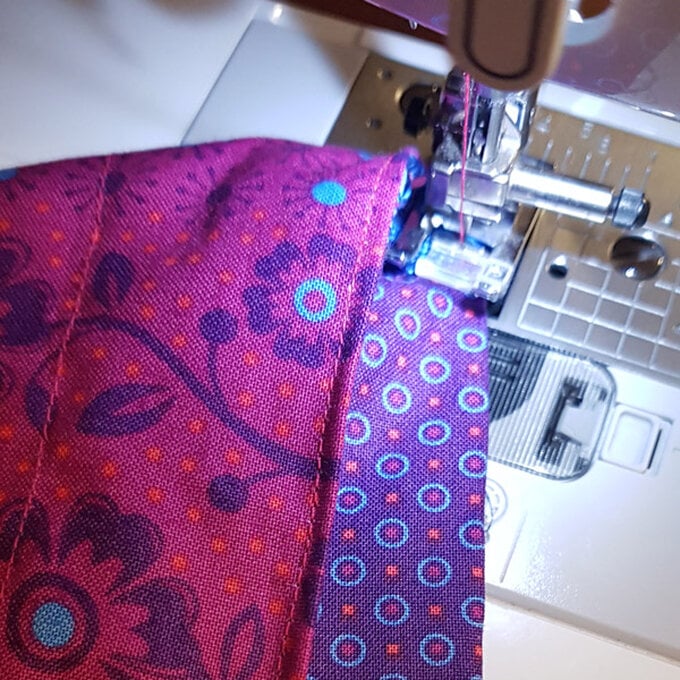
- Sew around every edge of your white part using a small zigzag stitch in coordinating thread
- Now add your red pieces and pin into position.
- Sew around every edge of your red parts using a small zigzag stitch in coordinating thread.
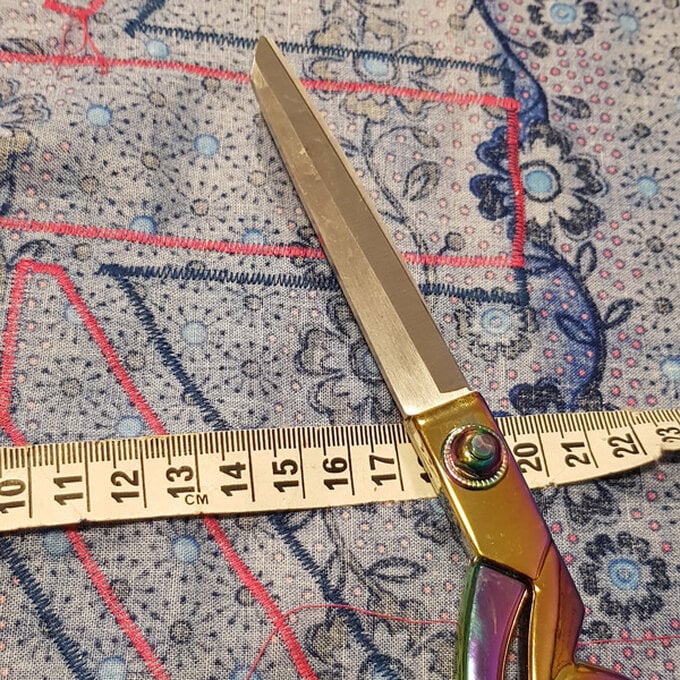
- Mark either side of the flag by 5cm and trim back your 'blue' fabric. This flag piece for the front of your bag is now 38cm wide x 54cm high.
- Cut your bag back FQ to now also be 38cm wide x 54cm.
- Using a pen, pencil or tailors chalk mark from the top of your bag front at 7cm down and 9cm down on the inside.
- From the bottom up mark at 5.5cm and 8.5cm up.
These are where we will leave gaps in the sewing – it is where the ribbons will go to make the bag wearable!
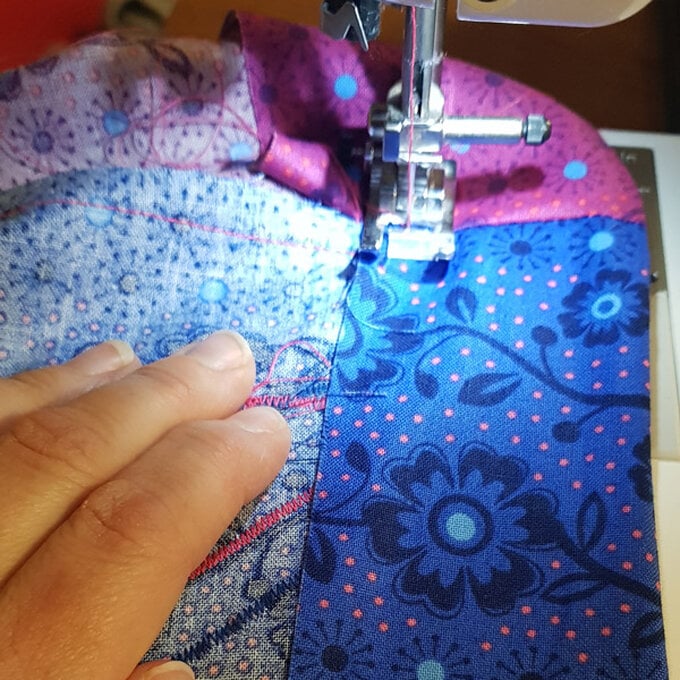
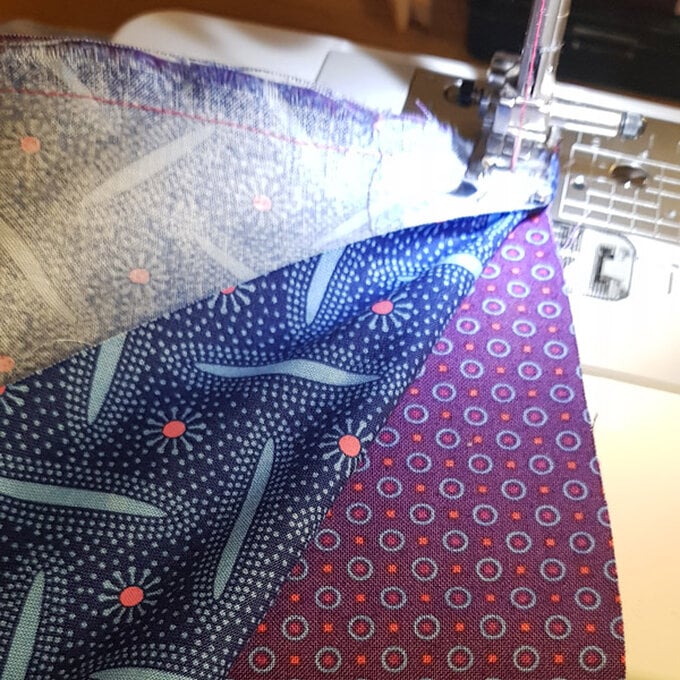
- Place the bag front and back right sides together and, taking a 1cm seam allowance, stitch the side seams from the top edge to the first mark. Backstitch to secure the stitching. Lift off and move your bag down slightly to start stitching again at the second mark. This leaves the casing section unstitched.
- Again, backstitch at the start to secure the stitching, then continue towards the bottom of the bag until you meet your first bottom mark. Backstitch to secure the stitching. Start stitching again at the second mark - again, backstitch at the start to secure the stitching, leaving the gap between unstitched.
- At the bottom of the bag, pivot with the needle down and stitch bottom edge. Pivot again at the second corner then stitch the second side edge as the first, leaving the gap at the bottom and casing section unstitched.
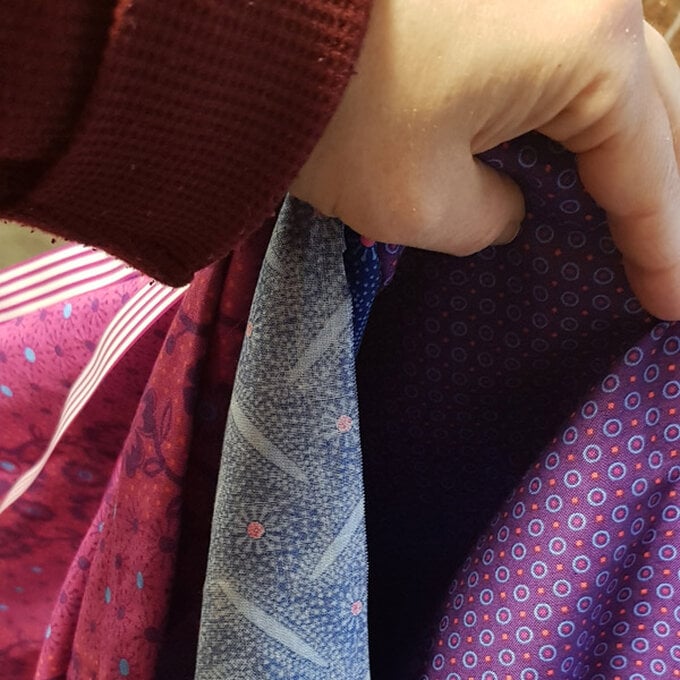
- To make the casing, turn under the top edge down by around 5cm ensuring that your casing gaps are within this folded down part. Press into position.
- Stitch all the way round, just below the open seam section at the side edges.
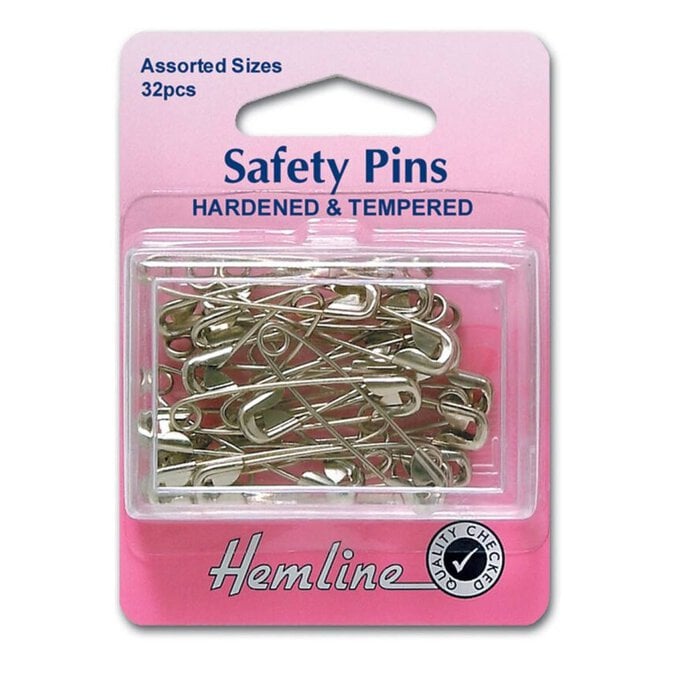
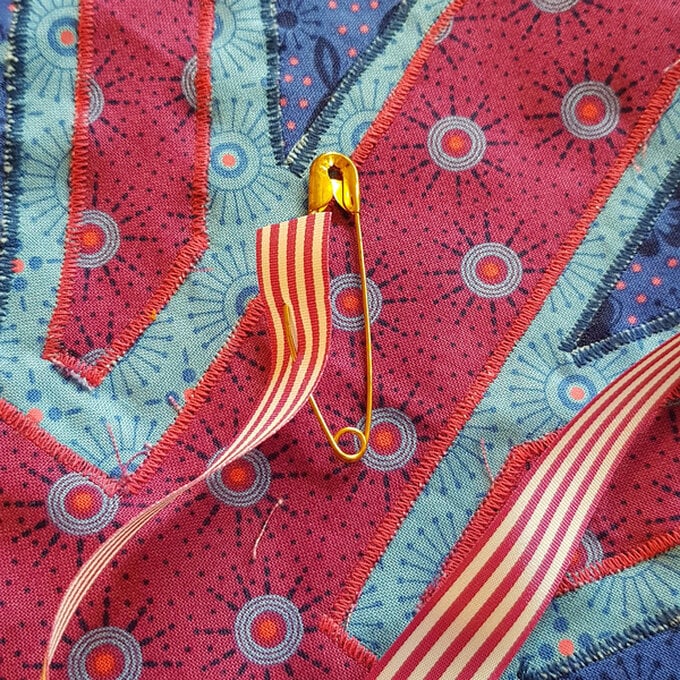
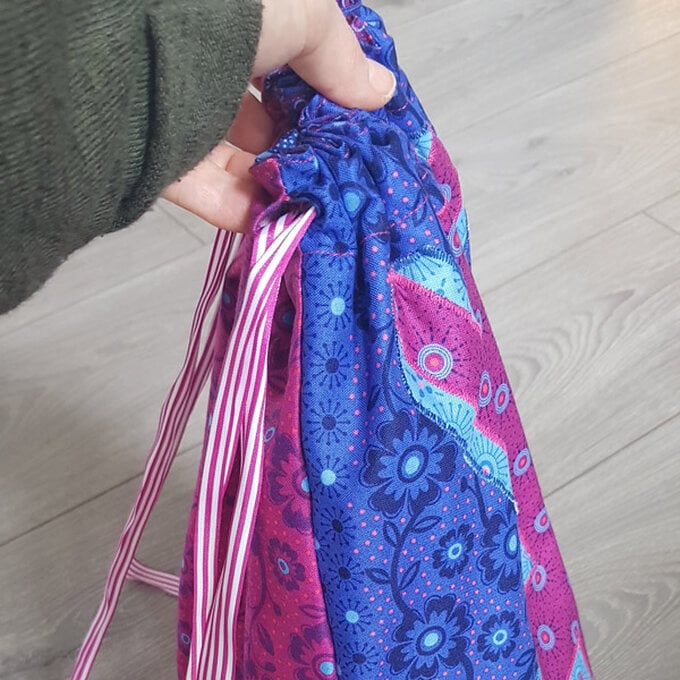
- Take one of your ribbons and attach a safety pin to one end.
- Using the safety pin, feed one end of the ribbon through the gap of the casing at the top – push all the way around and out the same side.
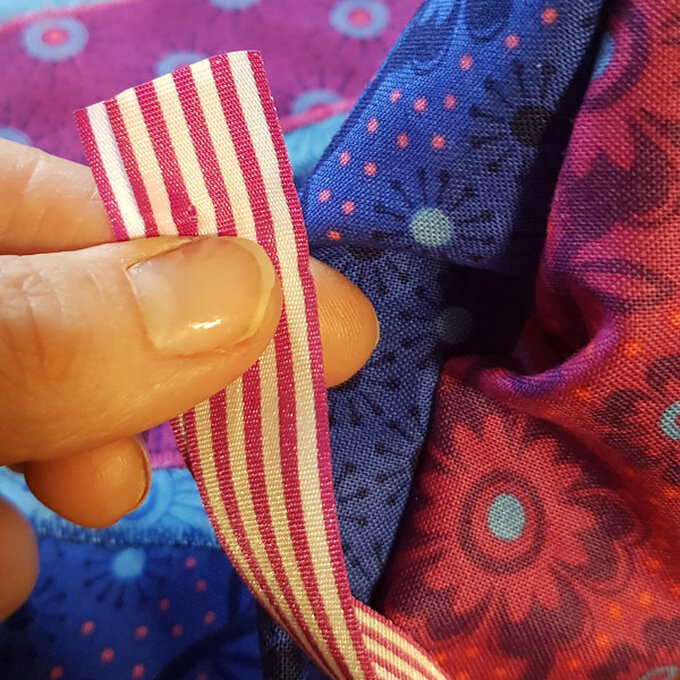
- Pull your ribbon so it is long enough to have both ends at the bottom of the bag. Then, push both ends of the ribbon through the gap you made at the bottom of the bag.
- On the inside of the bag, stitch over the gap/ribbons to secure them into place.
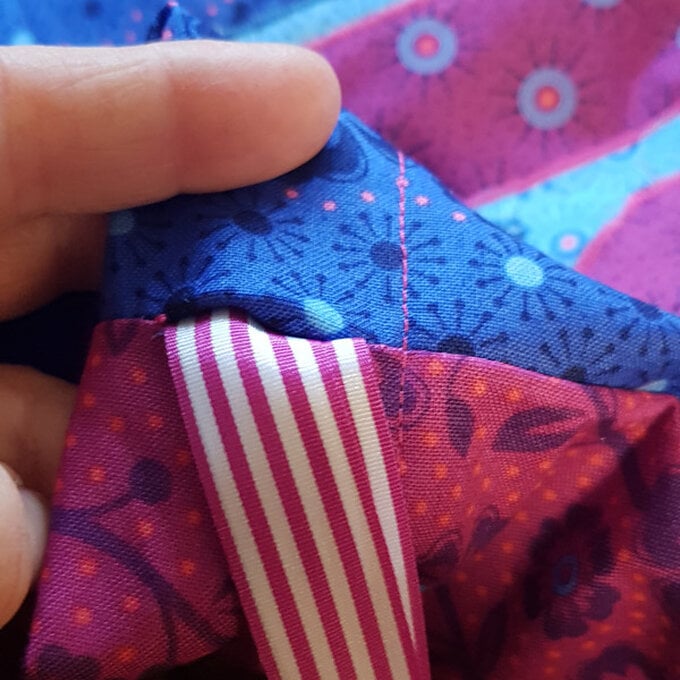
- Feed the second piece of ribbon from the other side edge, again all the way around, and then repeat by pushing through the gap at the bottom of the bag and on the inside, stitch over the gap/ribbons to secure them into place.
- From your FQ's cut 2 pieces of fabric 54cm high x 38cm wide to make your bag lining. Place these pieces right sides together and, taking a 1cm seam allowance, stitch the side seams from the top edge to the bottom of the bag. Pivot with the needle down and stitch along the bottom edge. Pivot again at the second corner then stitch up the second side edge as the first.
- Turn under the top edge by 5cm and press.
- Place inside the bag outer and line up the pressed edges together. Pin into position.
- Finally stitch both the outer bag and the inner lining together with a parallel row of stitches at the very top to create your ribbon channel – ensuring not to trap the ribbons inside your sewing! Secure your threads.
Related Products


Is $ 4.49