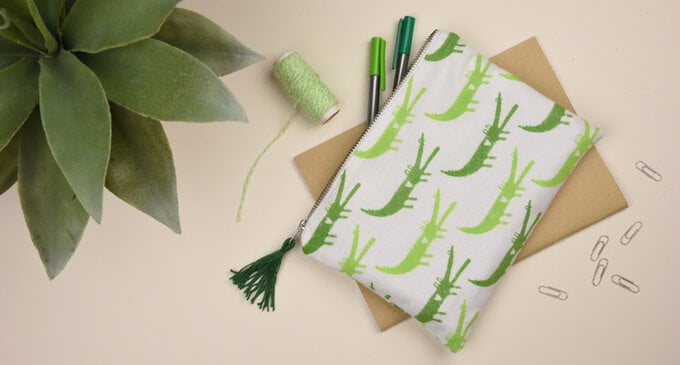
How to Sew an Alligator Zip Pouch
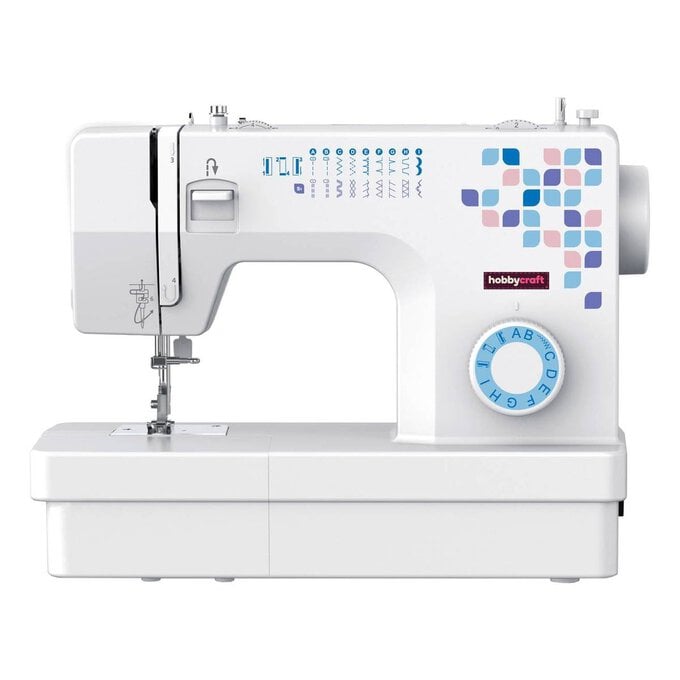
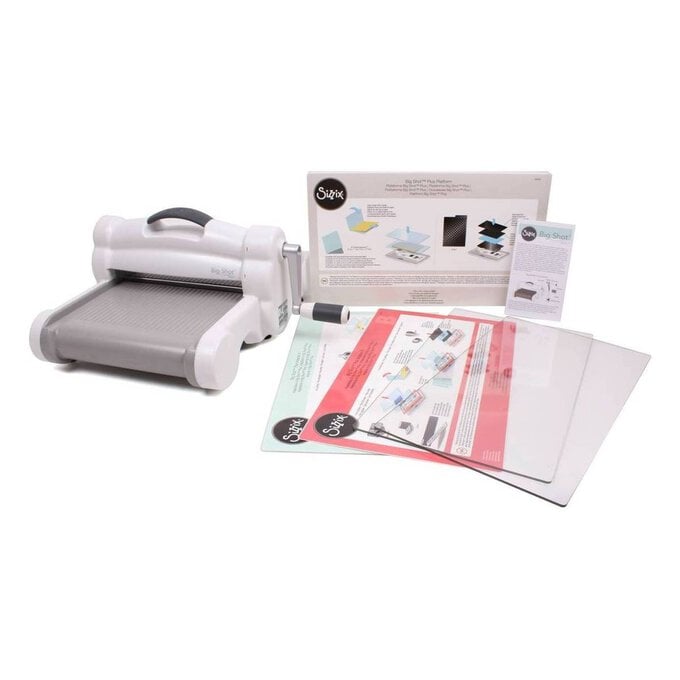
Make the most of your Sizzix machine and have a go at using it on fabric, to create an easy zip pouch! Try your hand at printing your own shapes or if you don't feel confident enough, use a patterned fabric. Project by Sizzix.
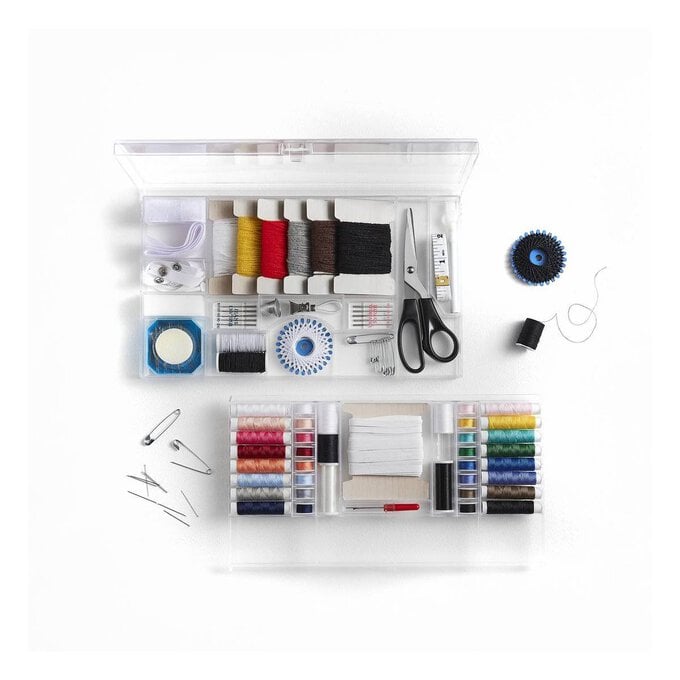
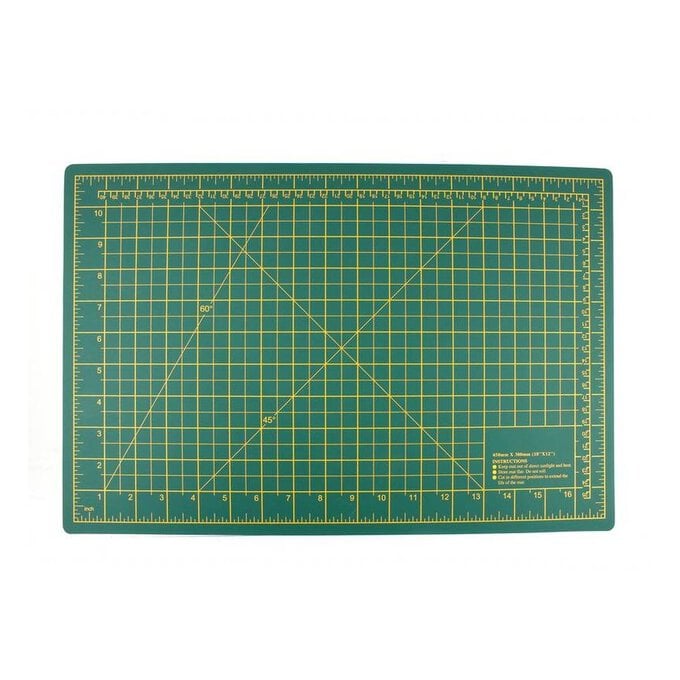
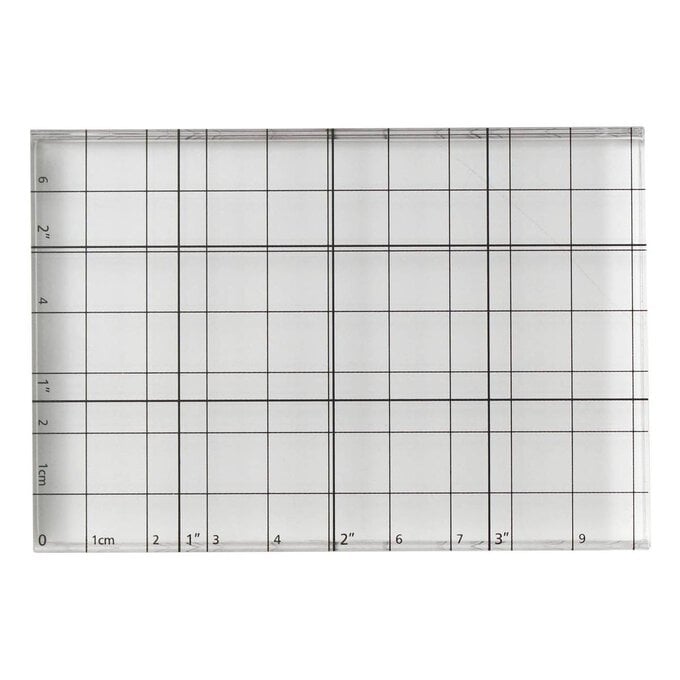
You will need
Subtotal
Is $ 120.00
Subtotal
Is $ 27.00
Subtotal
Is $ 17.00
Subtotal
Is $ 6.49
Subtotal
Is $ 6.49
Subtotal
Is $ 4.49
Subtotal
Is $ 2.49
Subtotal
Is $ 4.49

Subtotal
Is $ 11.00
Subtotal
Is $ 155.00
How to make
You will also need :
Sizzix Framelits Die Set 7pk- Baby Animals
An iron
To make the stamp, die cut alligator from self-adhesive foam sheet. Peel off backing and adhere to craft board.
Back craft board with Stix2 double-sided tape sheet, and using craft knife and cutting mat, careful cut around die shape leaving approx. 2mm all around.
Peel off backing and adhere into position on the acrylic stamping block.
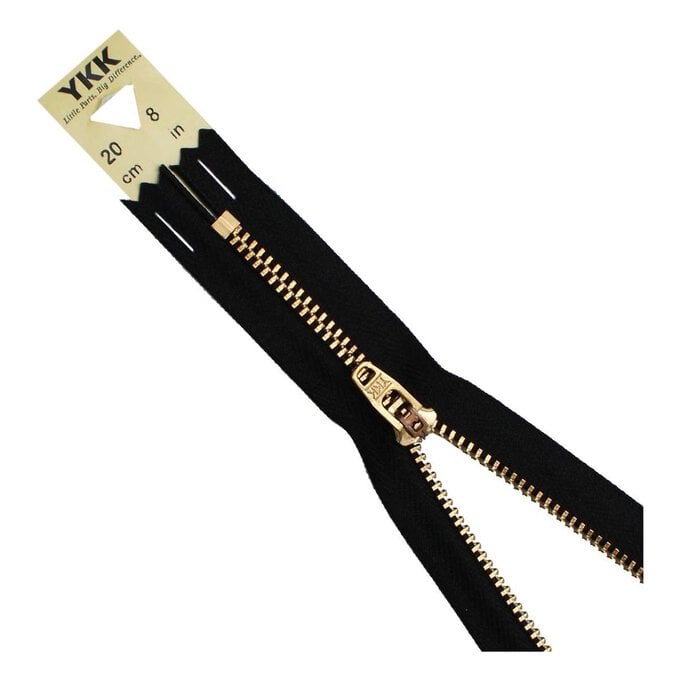
Cut 2 pieces of white cotton measuring approx. [full width of zipper] x 34cm and lay one piece vertically on a flat, protected surface. Mask edges 0.5cm all around to secure.
Your fabric is now ready for printing. Roughly work out how your alligators will repeat into a pattern, and stamp away! When doing this, ensure that ink is spread evenly over surface of stamp and press block evenly.
Once the ink has dried, fix using a dry hot iron so the colour becomes permanent.
To make up the pouch, take your printed fabric and your plain fabric and fold both pieces in half, short edge to short edge.
Cut down folds on both. You will now have 2 pieces of patterned outer fabric and 2 pieces of lining fabric all cut to the same length and width.
Now to make a zipper sandwich. Place 1 piece of lining fabric down horizontally, right side facing up, then the zipper, face up centrally along top edge, then your outer fabric horizontally, right side facing down. Line up the three edges and pin to secure.
Roughly tack zip into place with needle and thread.
Using your sewing machine with zipper foot, sew across top between the edge of the zipper sandwich and the zipper teeth (closer to zipper teeth). Repeat on other side with other 2 pieces.
Remove tacking. Bring wrong side of outer fabric to wrong side of lining fabric and top stitch along each side of zipper to neaten up.
Next, bring both pieces of lining fabric to one side and both pieces of outer fabric to the other.
Unzip zipper all the way and lay zipper ends on top of eachother, teeth toward lining side. Pin to secure.
Sew all the way around outer side leaving 1cm seam allowance, making sure you sew outside of the metal parts on each end of zipper. Repeat with lining side but leave a 2” opening on bottom edge.
Remove pins and turn right side out. Stitch opening closed by machine, or slip stitch by hand, and push lining inside.
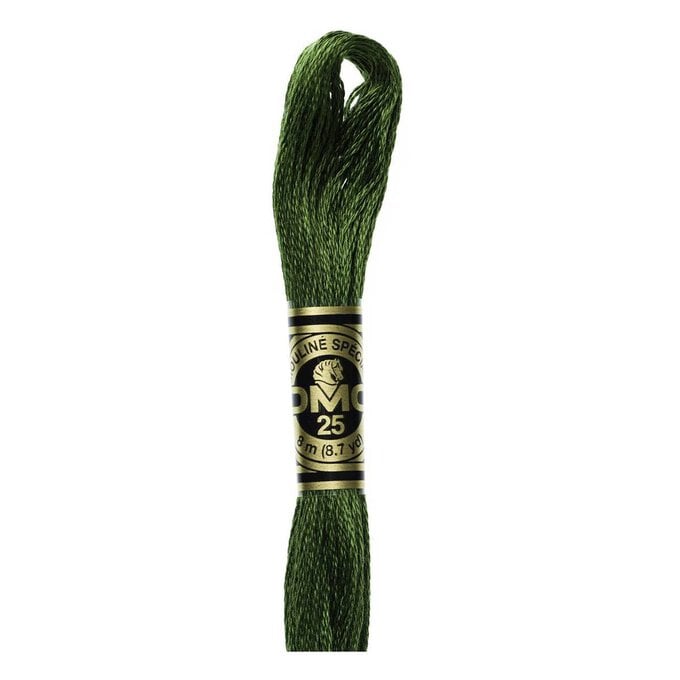
To make the tassel, wrap embroidery several times around four fingers and cut one point of the loop. Remove one strand of thread and put to one side.
Thread through zipper hole and pull until both sides level. Bring each side of the bunch together and tie the loose strand around near top to secure. Trim bottom ends of tassel to neaten.
Related Products