How to Make a Fabric Wire Headband
Vintage is still a huge trend for this spring / summer and there are lots of quick and easy things for sewers to get making.
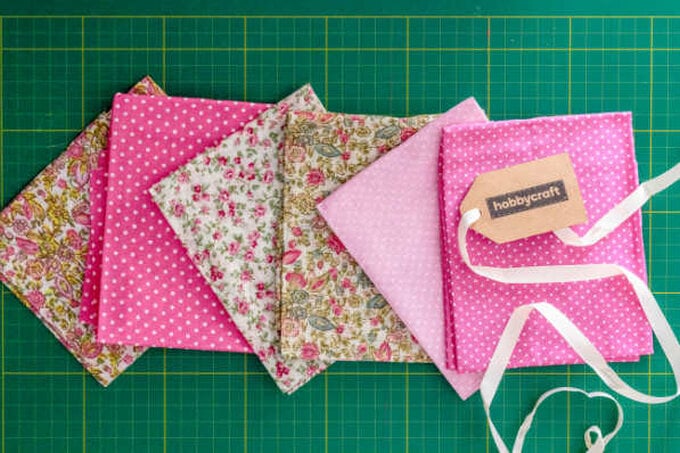
This fabric wire headband is really easy and perfect for beginners - you could even sew it by hand if you don't have a sewing machine. You don't need any specialist equipment for this make either so it's good for the bank balance too! Whats more, you can make them in any colour or pattern you like as there are so many great fat quarter fabrics out there to pick from…
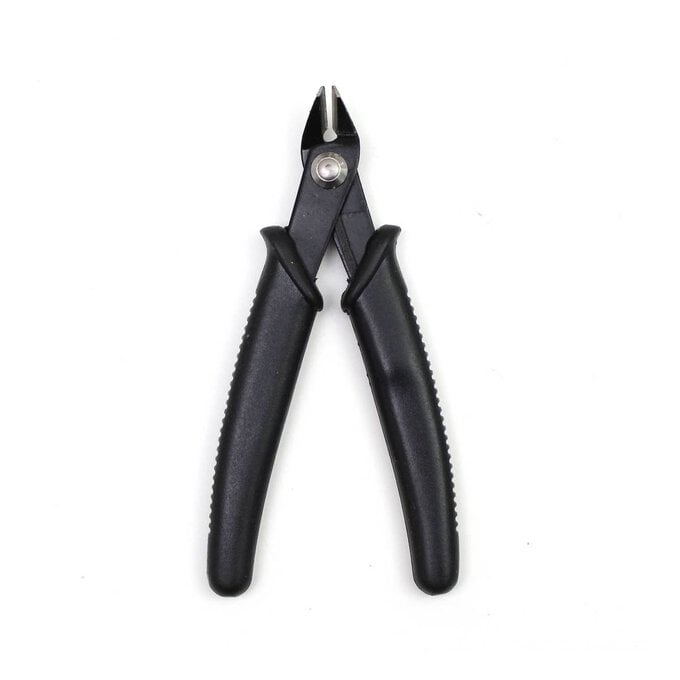
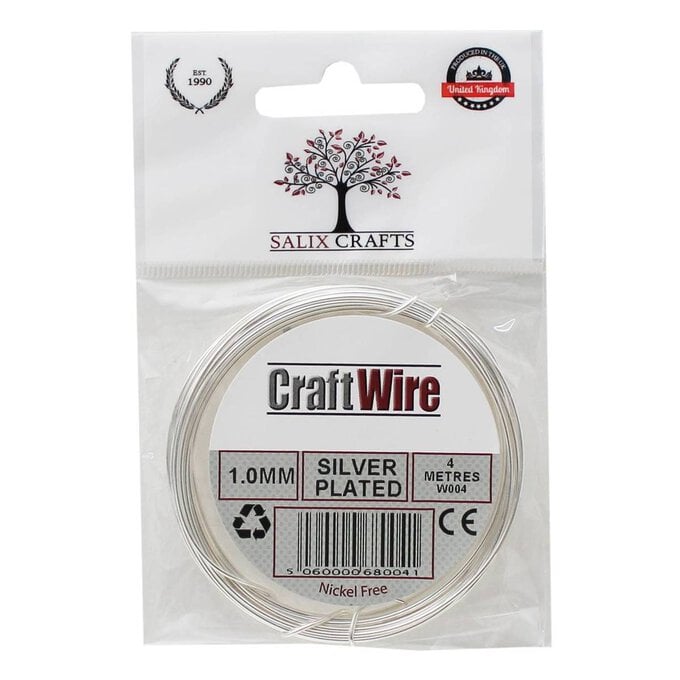
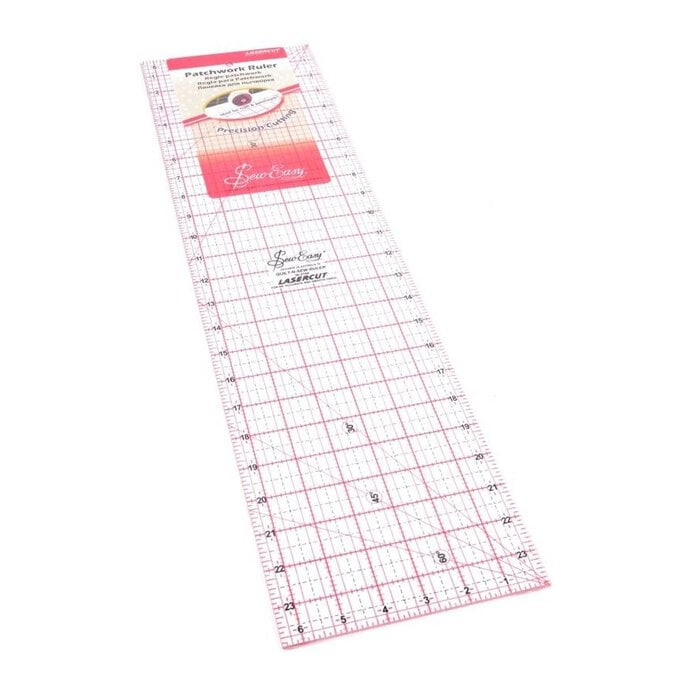
You will need
Subtotal
Is $ 24.00
Subtotal
Is $ 17.00
Subtotal
Is $ 3.49
Subtotal
Is $ 120.00
Subtotal
Is $ 9.49
Subtotal
Is $ 6.49
Subtotal
Is $ 12.00
Subtotal
Is $ 4.49

Subtotal
Is N/A
Subtotal
Is $ 3.49
Subtotal
Is $ 31.00
How to make
Untie your fat quarter bundle, choose one you like and unfold.
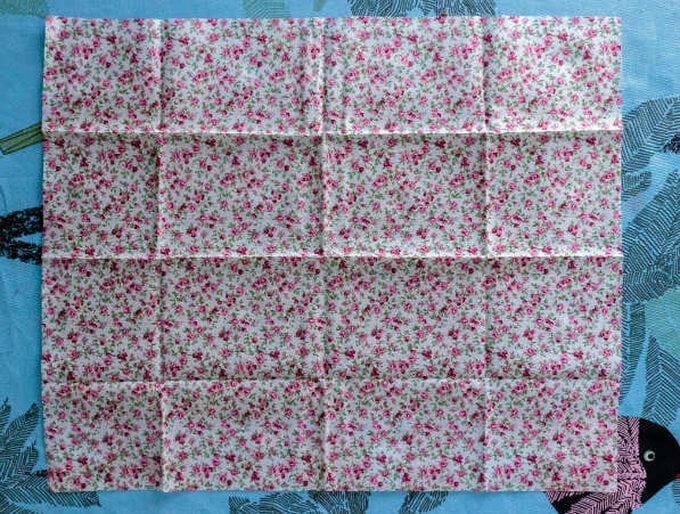
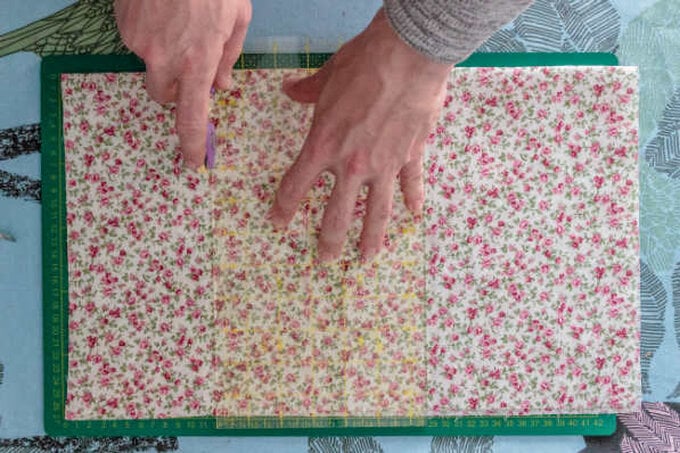
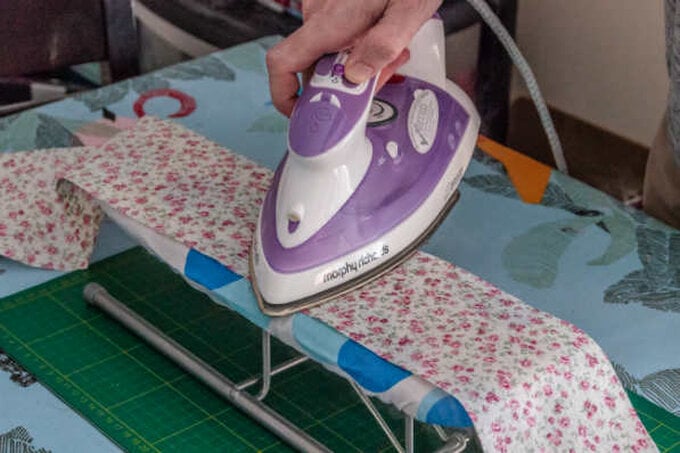
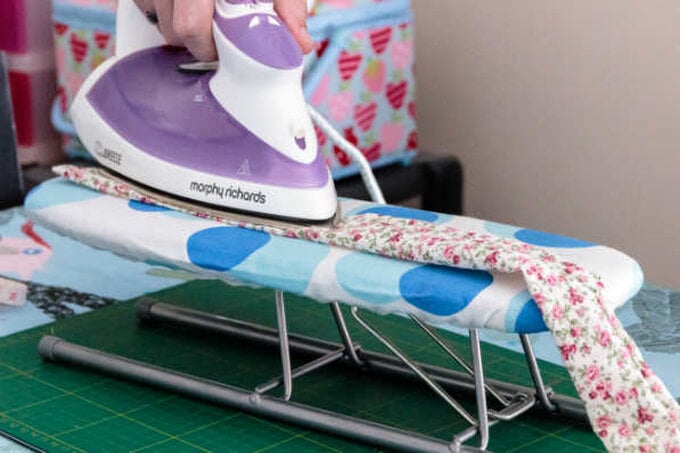
Iron the fat quarter before you do anything else. This will make sure that your measurements and cuts are accurate.

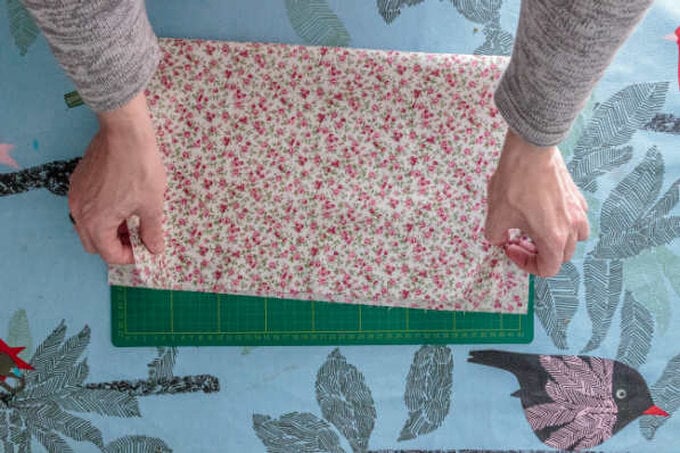
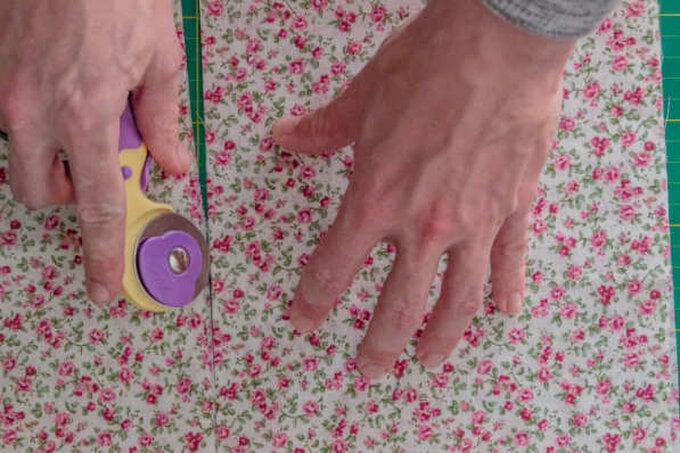
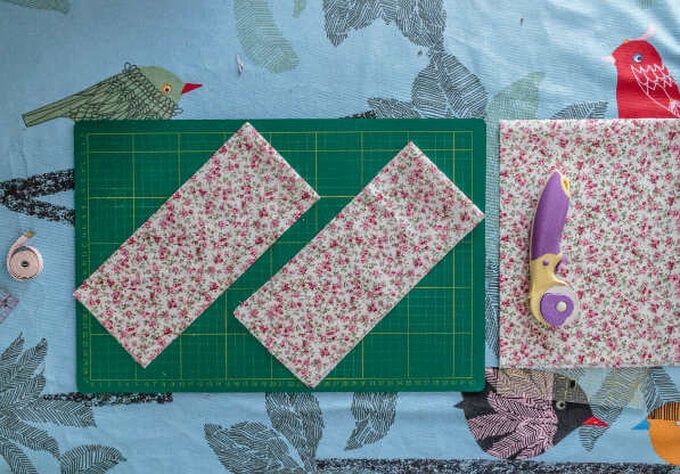
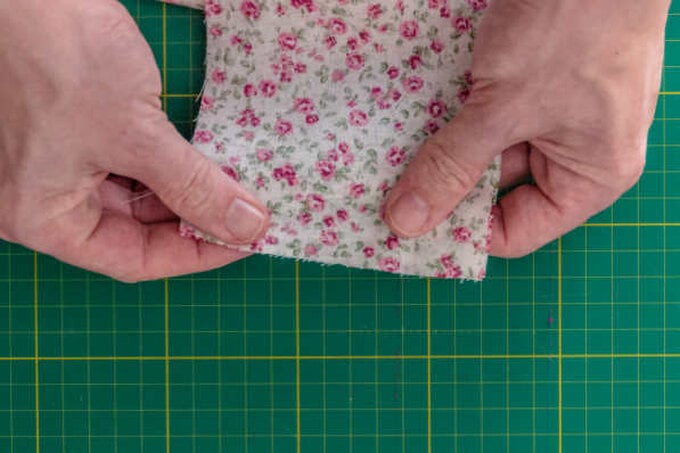
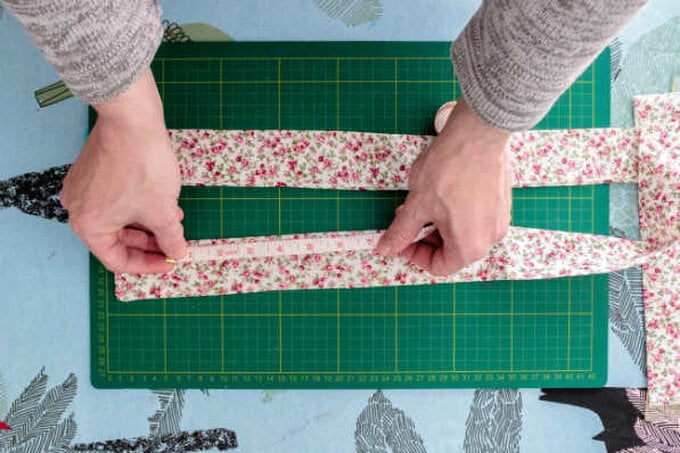
Fold in half, measure four and a half inches in and cut. Do this again to make two strips.
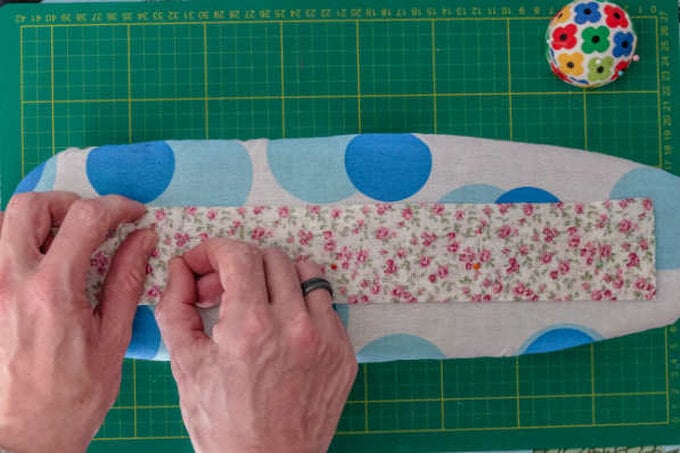
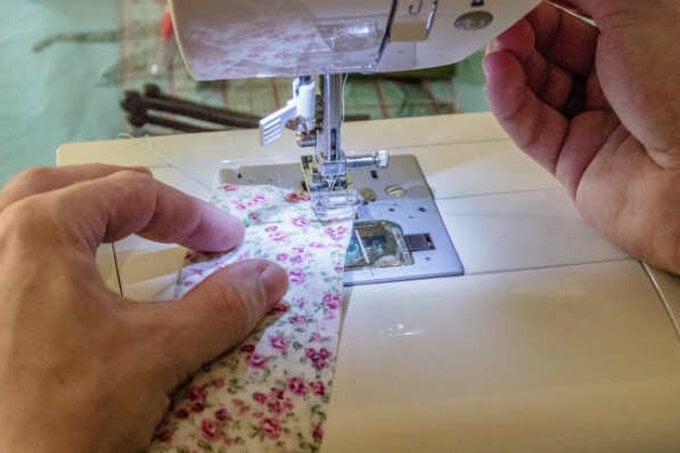
Place the strips right sides together and line up the ends.
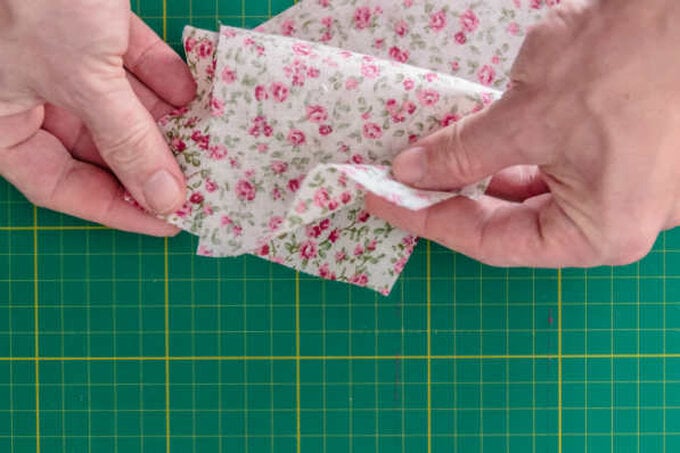
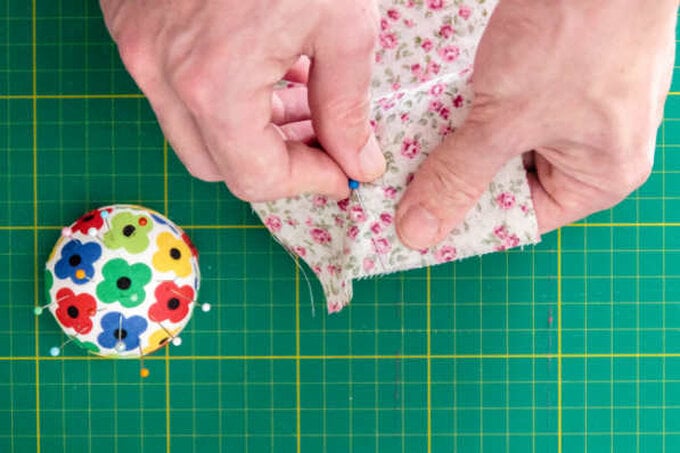
Sew across the ends to make a join. I've used five eighths of an inch allowance so that you can see what I'm doing, but feel free to use less.
Press the seam open.
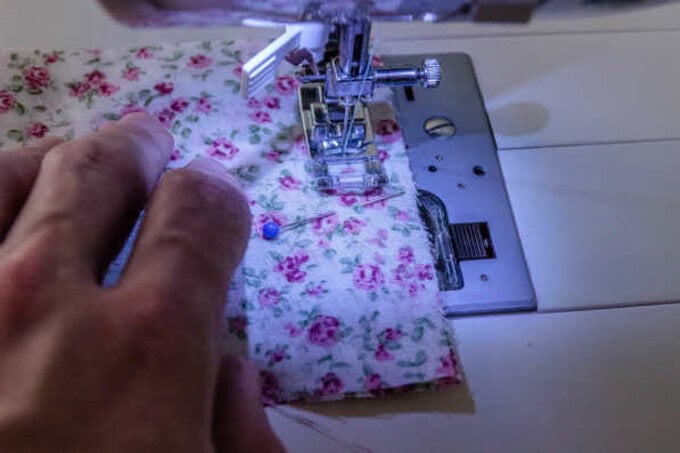
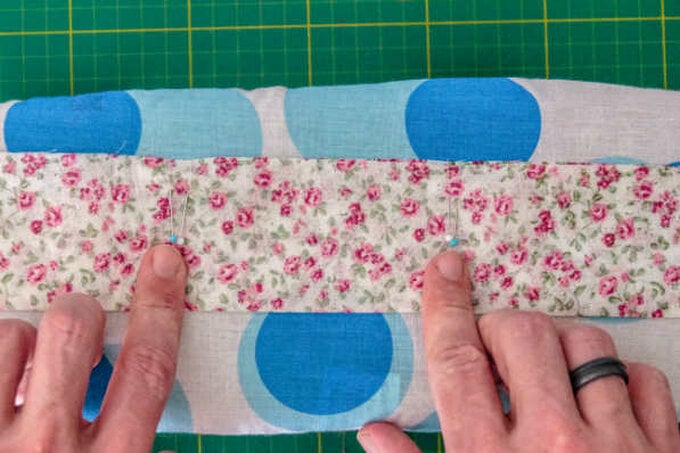
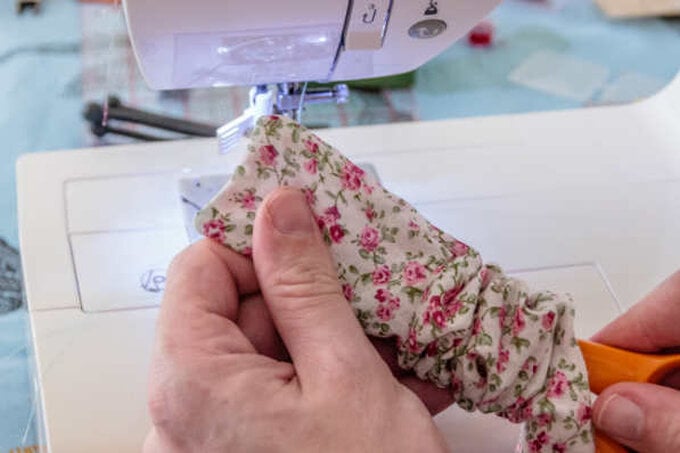
You should now have one long strip. Fold the strip in half along its length, make sure you are folding the right sides of the fabric together.
Pin as you go, make sure to leave a one and a half to two inch gap about halfway. I have marked it with two pins close together so that I remember to stop sewing at that point. Once you have finished folding, press.
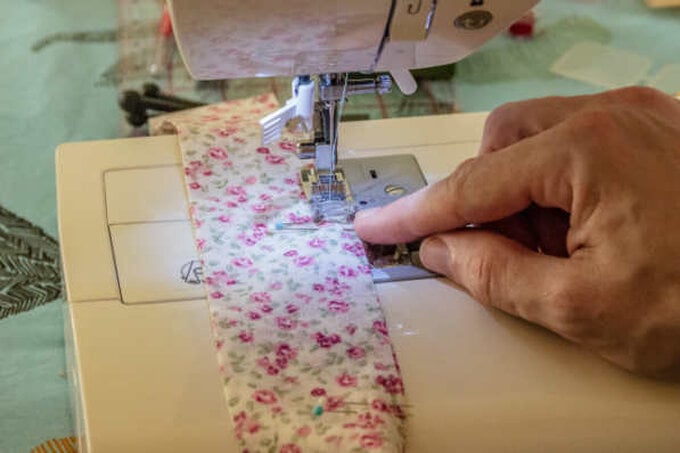
Sew along the three open edges, back stitch at the start to ensure that the sewing won't come undone. When you get to a corner, put the needle in the down position and pivot the fabric.
When you get to the two pins, stop and do a back stitch. Lift the strip away and cut the threads, then move to the second set of two pins and begin sewing (don't forget to do another back stitch).
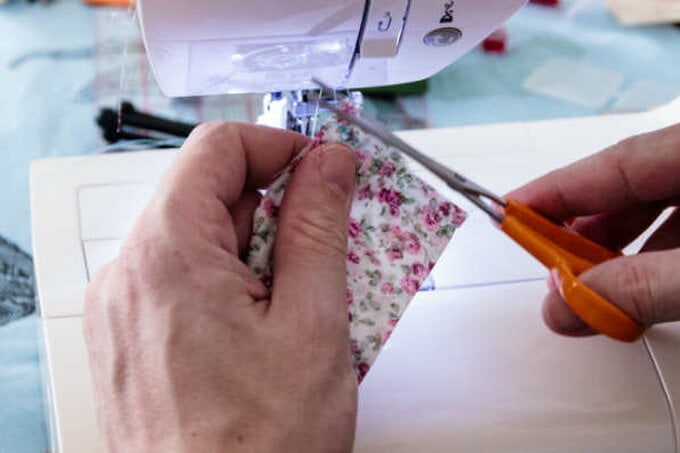
When you reach the end of the last corner, back stitch and remove the strip. Cut the threads and trim across the corners, you'll see why in a moment.
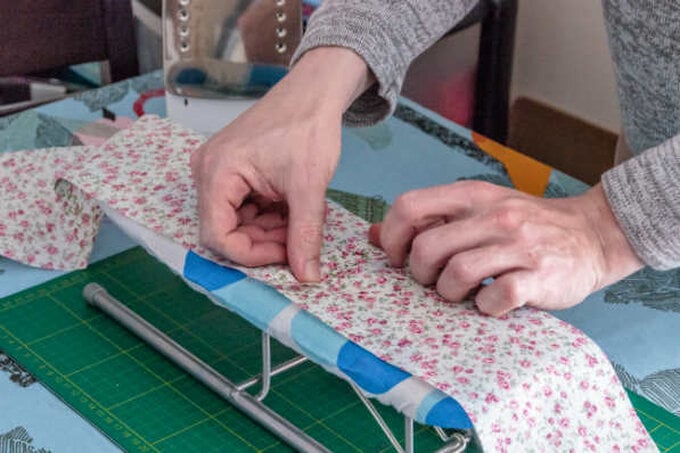
Using the gap I left, turn the sewing inside out. Be patient and go slowly, the trimmed corners will make sure that the points are sharp.
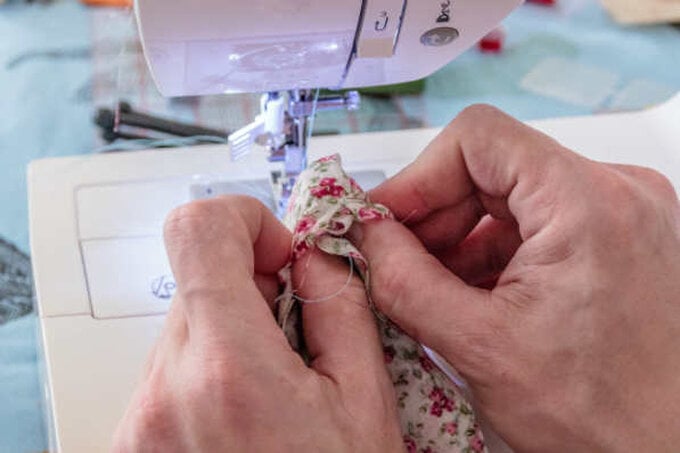
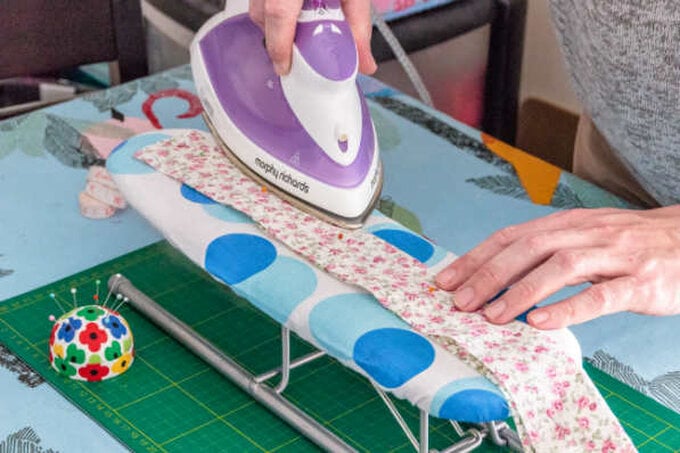
Once you have turned out the hair tie and pushed the corners, carefully iron flat.
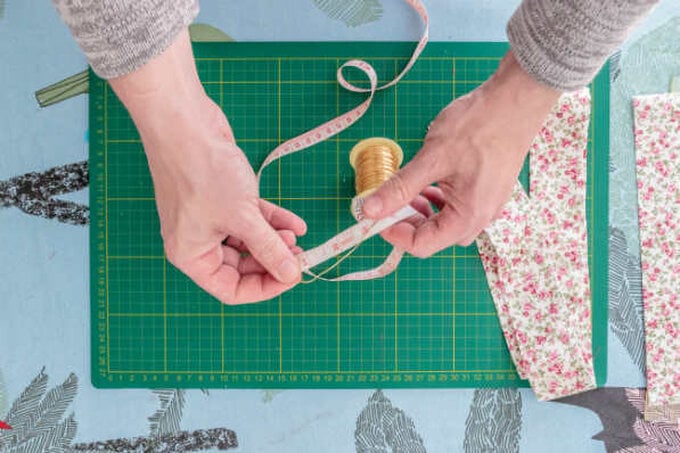
Measure the length of the strip, add another inch and cut a length of wire to match. My hair tie measured thirty inches long, so I have cut thirty one inches of wire.
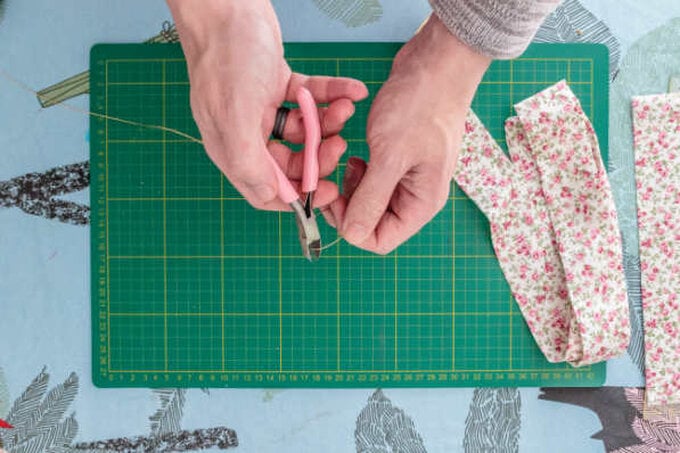
Fold over the ends of the wire to make loops, this will stop it from cutting through the fabric
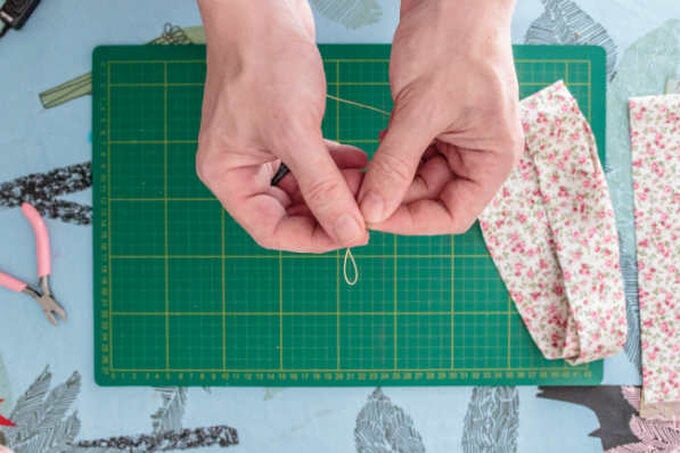
Feed the wire through the gap in the hair tie.
Thread a needle with a colour that matches your fabric, feel for the loops of wire in the ends and sew a few small stitches. This will stop the wire from moving away from the ends.
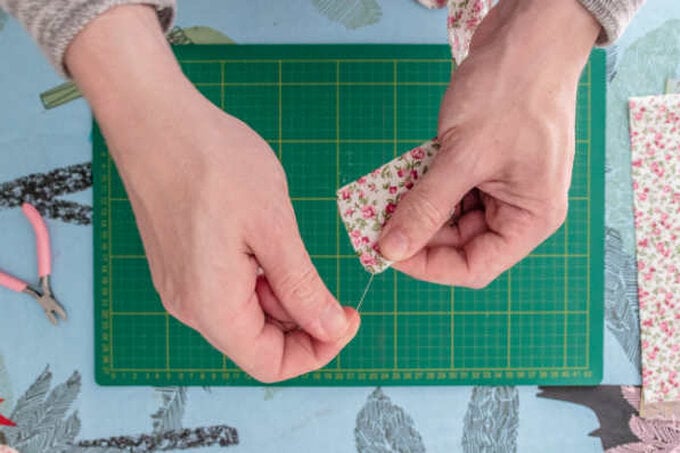
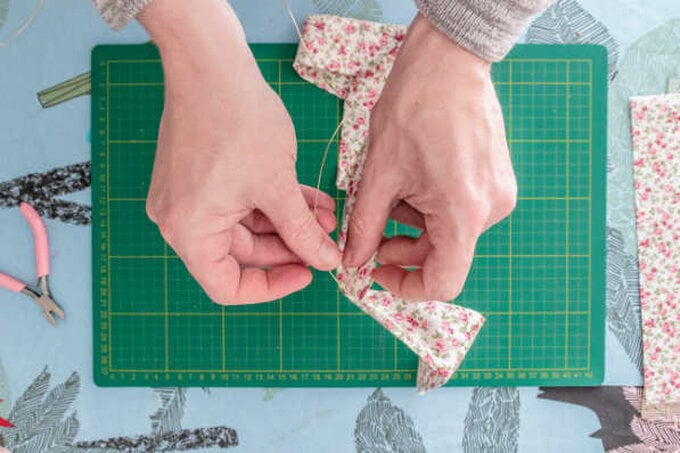
Close the gap in the hair tie, I used a ladder stitch to do this but you can use a hot glue gun if you don't fancy sewing.
Enjoy your new hair tie!

Related Products