How to Crochet an Autumn Dog Coat
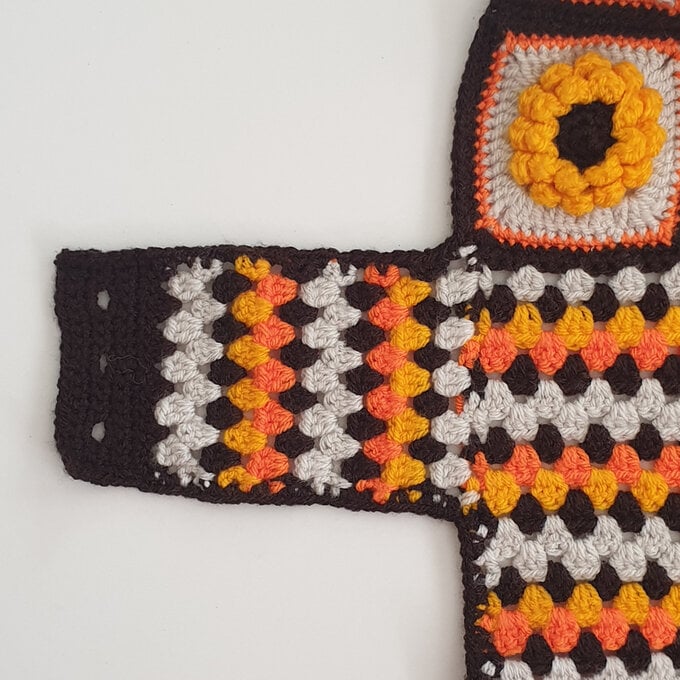
Keep your dog up to date with the latest trends with this autumn inspired crochet dog coat. Perfect for your favourite pooch, this dog coat has a retro colour palette and granny squares inspired by autumn sunflowers.
Want a matching accessory for yourself? Find a co-ordinating scarf here
Pattern by Artisan @Lostinknit
You will need
Subtotal
Is $ 4.49
Subtotal
Is $ 4.49
Subtotal
Is $ 2.49
Subtotal
Is $ 2.49
Subtotal
Is $ 2.49
Subtotal
Is $ 2.49
Out of stock
You Will Need
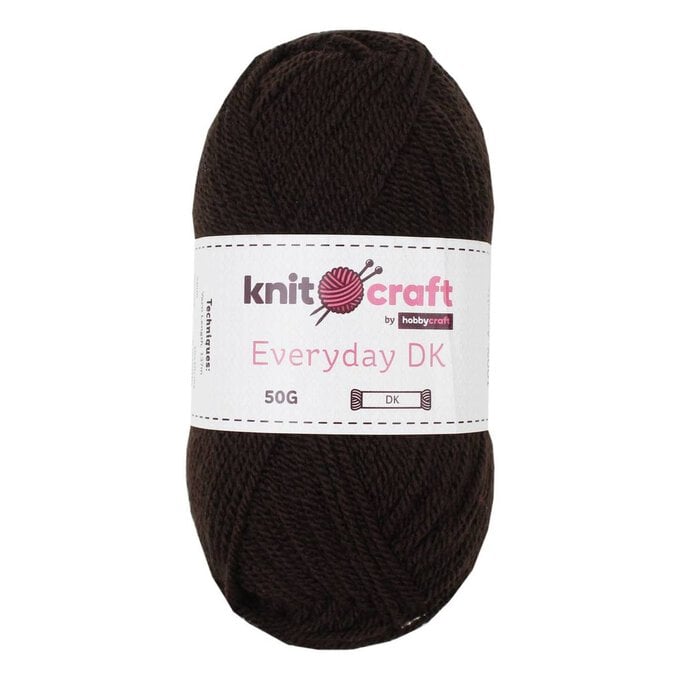
* Knitcraft Everyday DK Yarn 50g (1 ball of each colour for sizes small and medium, 2 balls of each for size large) - Brown (Yarn A), Golden Yellow (Yarn B), Beige (Yarn C), Orange (Yarn D)
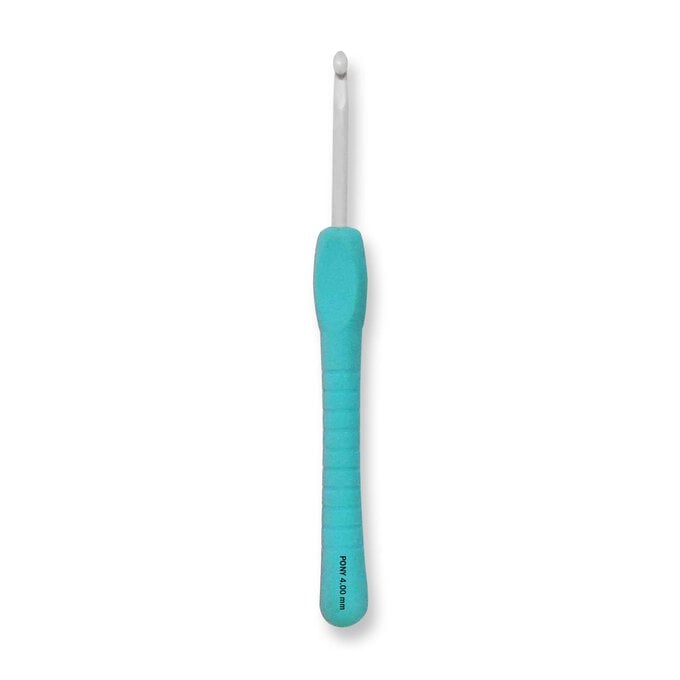
* 4mm Crochet Hook
* 3 x 1.5cm buttons
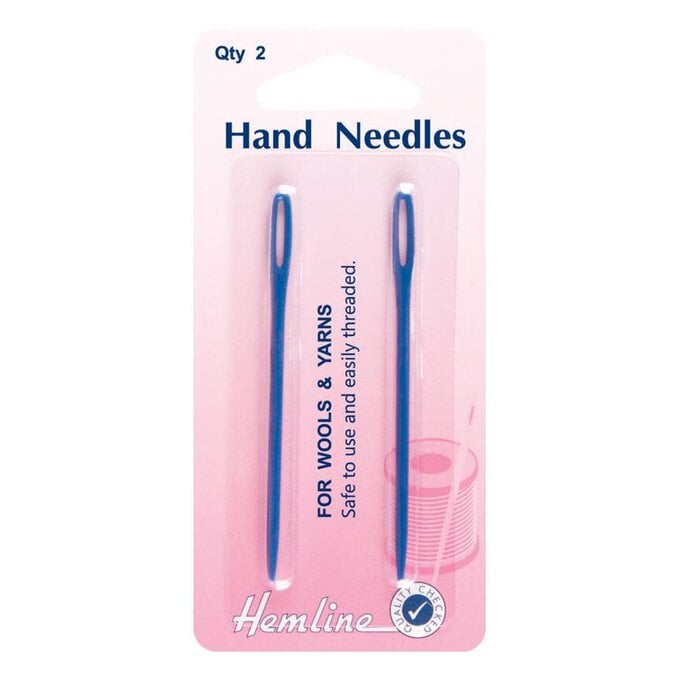
* Yarn Needle
* Scissors
* Tape Measure
Pattern Notes
This pattern is written using UK terms
Gauge - 5.5 clusters and 12 rows to 10cm using 4mm hook
Granny Square measures 9cm (size Small), 10cm (size Medium) and 11cm (size Large)
Finished Coat Measurements
You can easily customise the pattern to fit your dog by changing the length and chest band to fit.
Neck - Small: 27cm, Medium: 30cm, Large: 33cm
Length - Small: 34cm, Medium: 38cm, Large: 40cm
Chest - Small: 38cm, Medium: 46cm, Large: 50cm
Abbreviations (UK terms)
Ch – chain
Ch sp - chain space
Tr – treble
Htr- half treble
Dc- double crochet
Ss -slip stitch
St(s) – stitch(es)
FLO- front loop only
BLO – back loop only
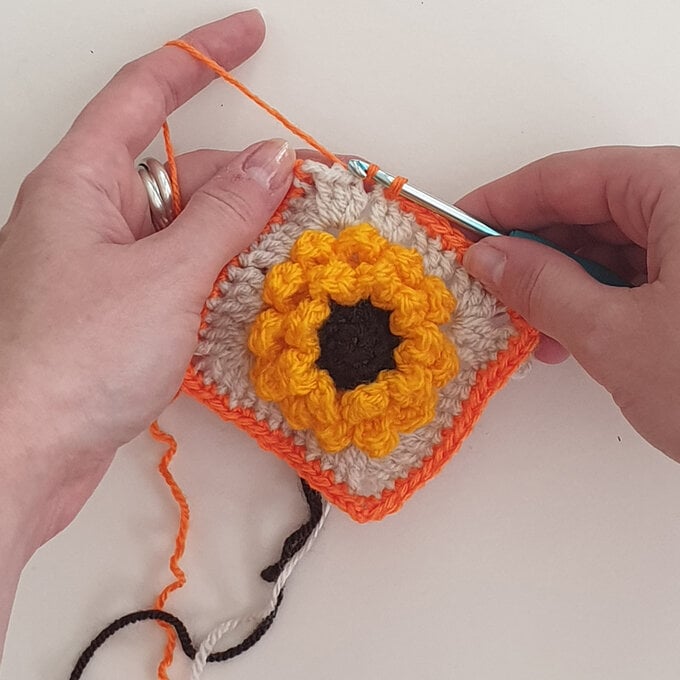
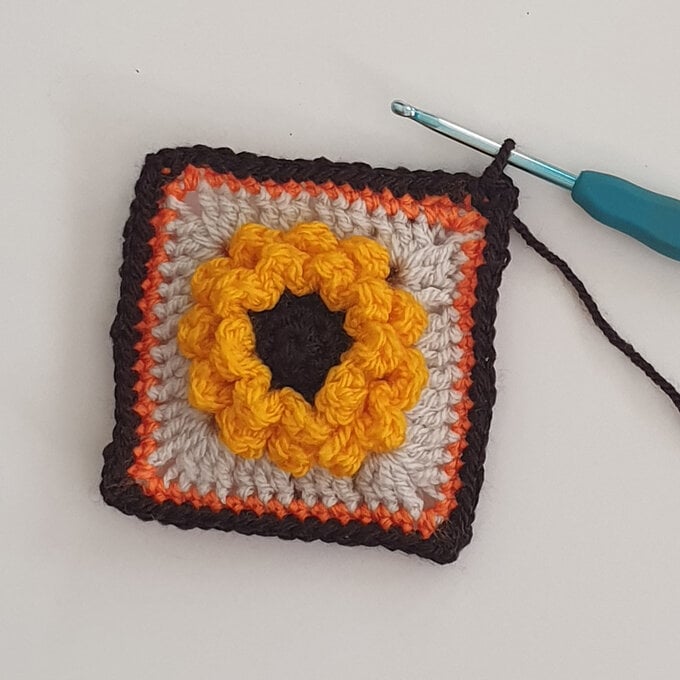
(Make 5)
Rnds 1- 3 are worked in a spiral. Rnds 4 onwards are worked in joined rounds.
Using 'Yarn A' and 4mm hook, make a MC.
Rnd 1: 6dc in MC. (6dc)
Rnd 2: 2dc into each st. (12dc)
Rnd 3: *dc, 2dc in next st* rep around. (18dc)
Fasten off 'Yarn A'.
Join 'Yarn B' to any st.
Rnd 4: In FLO *slst, [dc, htr, tr, htr, dc] in next st* rep around, slst to first slst. (9 petals, 9slst)
Working in BLO of rnd 3, behind the petals.
Rnd 5: Slst into BLO next st (centre of petal) dc, *ch2, skip slst, dc* rep around until the centre of last petal, ch2, slst to first dc. (9dc, 9 ch-sps)
Rnd 6: Work into either dc or ch-sp, *2dc, 2dc into next st* rep around. (24dc)
Rnd 7: In FLO *slst, [dc, htr, tr, htr, dc] in next st* rep around, slst to first slst. (12 petals, 12slst)
Fasten off 'Yarn B', join 'Yarn C to BLO of centre of any petal.
Working in BLO of rnd 6, behind the petals.
Rnd 8: Ch, dc, *ch2, skip slst, dc* rep around until the centre of last petal, ch2, slst to first dc. (12dc, 12 ch-sps)
Rnd 9: Slst into ch-sp, ch3 (counts as st), [2tr, 2ch, 3tr] into ch-sp , 3tr into next 2 ch-sp, *[3tr, ch2, 3tr] in next ch-sp, 3tr into next 2 ch-sps* rep around, slst to top of ch3. (48tr)
Size Small
Rnd 10: Ch1, *[dc, ch2, dc] into corner ch-sp, dc into each st along to next corner* rep around, slst to top of first dc. (56dc)
Fasten off 'Yarn D', change to 'Yarn A', join to any corner sp.
Rnd 11: Ch1, *[dc, ch2, dc] into corner ch-sp, dc into each st along to next corner* rep around, slst to top of first dc. (64dc)
Size Medium
Rnd 10: Ch2, *[htr, ch2, htr] into corner ch-sp, htr into each st along to next corner* rep around, slst to top of first htr. (56htr)
Fasten off 'Yarn D', change to 'Yarn A', join to any corner sp.
Rnd 11: Ch1, *[dc, ch2, dc] into corner ch-sp, dc into each st along to next corner* rep around, slst to top of first dc. (64dc)
Size Large
Rnd 10: Ch2, *[htr, ch2, htr] into corner ch-sp, htr into each st along to next corner* rep around, slst to top of first htr. (56htr)
Fasten off 'Yarn D', change to 'Yarn A', join to any corner sp.
Rnd 11: Ch2, *[htr, ch2, htr] into corner ch-sp, htr into each st along to next corner* rep around, slst to top of first htr. (64htr)
Block all squares.
Join 3 squares together using mattress stitch. Join the remaining two squares on top of the squares on either side, leaving a gap in the middle. Then join together the top edges of these two squares. You should now have a hole in the centre of the five granny squares, this will be the neck hole.
Take the joined granny squares and begin working along the long edge of the three joined squares as follows:
With 'Yarn A' join to top right hand corner.
Row 1(WS): Ch1, work 43(49; 55)dc evenly along edge, turn.
Fasten off 'Yarn A', change to 'Yarn C'.
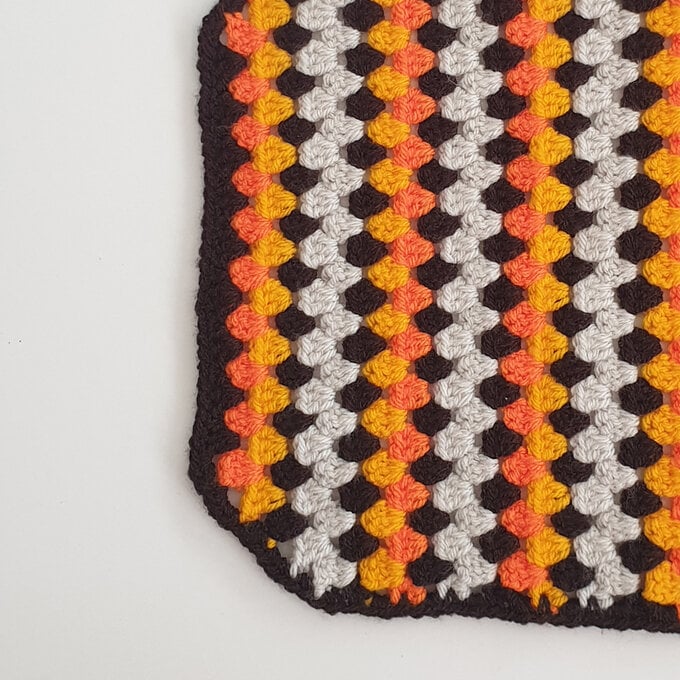
Row 2: Ch3, tr in same st, *skip 2 sts, 3tr in next st, rep from * to 3 sts remain, skip 2 sts, 2tr in last st, turn.
Change to 'Yarn A', leaving 'Yarn C' attached.
Row 3: Ch3, *3tr in sp between clusters* rep across, tr in last st, turn.
Change to 'Yarn B', leaving 'Yarn A' attached.
Row 4: Ch3, tr into same st, *3tr in sp between clusters* rep across, 2tr in last st, turn.
Change to 'Yarn D', leaving 'Yarn B' attached.
Continue working rows 3-4 with the following stripe sequence. Leave the unworked colours attached, ready for the next time they are needed.
'Yarn A'
'Yarn C'
'Yarn C'
'Yarn A'
'Yarn D'
'Yarn B'
'Yarn A'
'Yarn C'
'Yarn C'
'Yarn A'
'Yarn B'
'Yarn D'
Continue until work measures approximately 4cm less than your desired coat length, ending with a WS row.
Continuing with the same colour pattern, work the following decrease rows:
Next row: Ch3, 3tr into next cluster space and next sp until 1 remains, ch3, slst to last sp, turn.
Repeat the last row a further 4 times.
Fasten off.
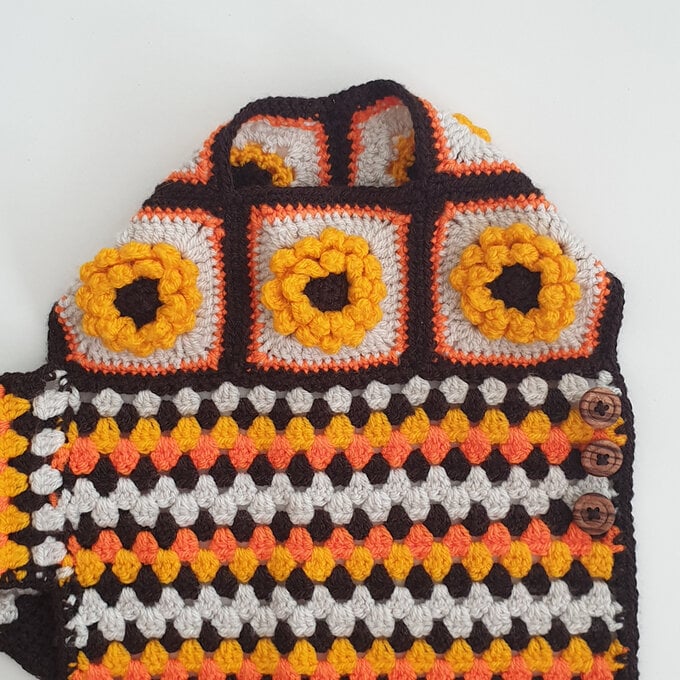
Note - The second image shown here shows the decreasing section after the border has been added in the next step.
With RS facing, join 'Yarn C' to the corner of the granny square.
You will be working into the sides of the granny square rows.
Keep the colour pattern correct throughout.
Row 1: Ch3, 3tr into first row edge, skip one row and work 3tr into the next row.
Continue until you have 5(6;7) clusters, ch3 into next row edge, turn.
Row 2: Ch3, tr in same st, *skip 2 sts, 3tr in next st* rep until 3 sts remain, skip 2 sts, 2tr in last st, turn.
Row 3: Ch3, 3tr in each sp between clusters to end, tr in top of ch3, turn.
Repeat rows 2-3 until work measures 11(16;17)cm
Change to 'Yarn A'.
Next row: Ch1, work 16 (19;22)dc, turn. (16dc; 19dc; 22dc)
Repeat last row once more.
Next row: Ch1, 2(3;4)dc, *skip 2dc, ch2, 3(4;4)dc* rep once more, skip 2dc, ch2, 2(2;4)dc, turn.
Next row: Ch1, 2(2;4)dc, *2dc into ch-sp, 3(4;4)dc* rep once more, 2dc into ch-sp, 2(3;4)dc, turn.
Next row: Ch1, dc into next st, turn.
Repeat last row once more.
Fasten off.
Border
With 'Yarn A', attach to any corner. Work [dc, ch2, dc] into each corner, dc into each st around granny squares, 3dc into every 2 rows of trebles, slst to the first st.
Top Tip – check your coat is laying flat, you may need to adjust your stitches along the edge.
Line up the chest band to the body of the coat. Attach 3 buttons to the body in line with the button holes.
Sew in all ends.