How to Make Polymer Clay Decorations
Learn how to create super-simple, botanical polymer clay decorations in our beginner-friendly how-to guide.
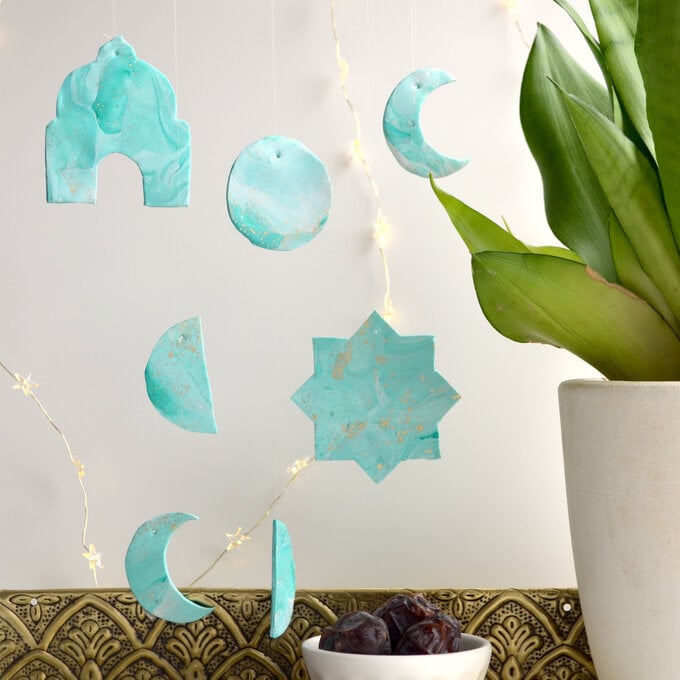
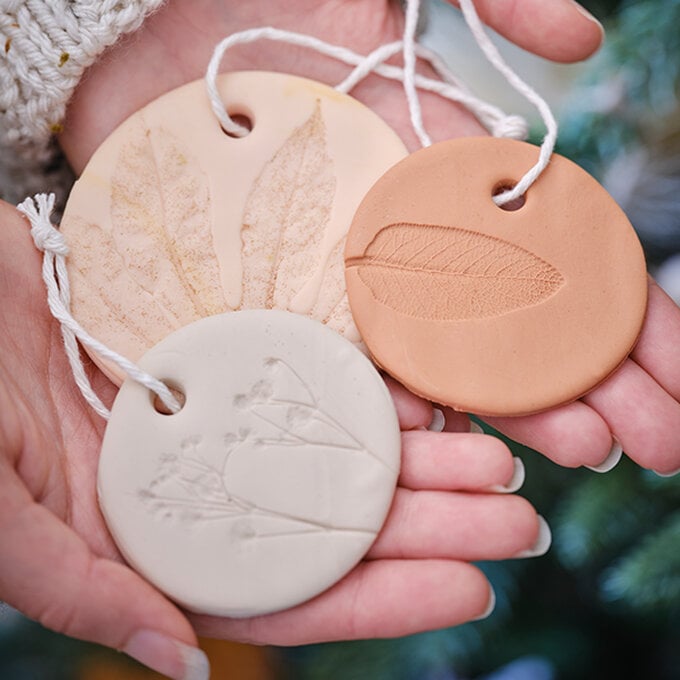
These polymer clay decorations aren't just for Christmas. They'd look great in your home, as a gift tag, or strung up to create a mobile, at any time of year.
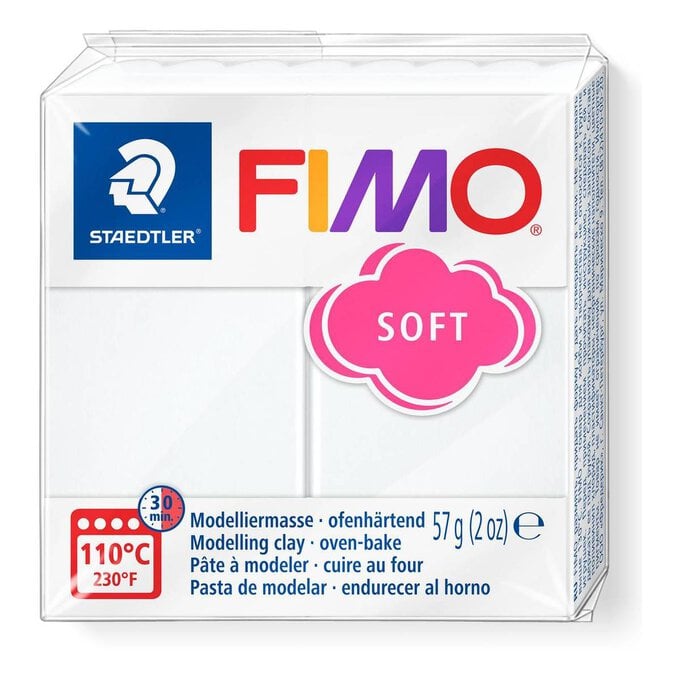
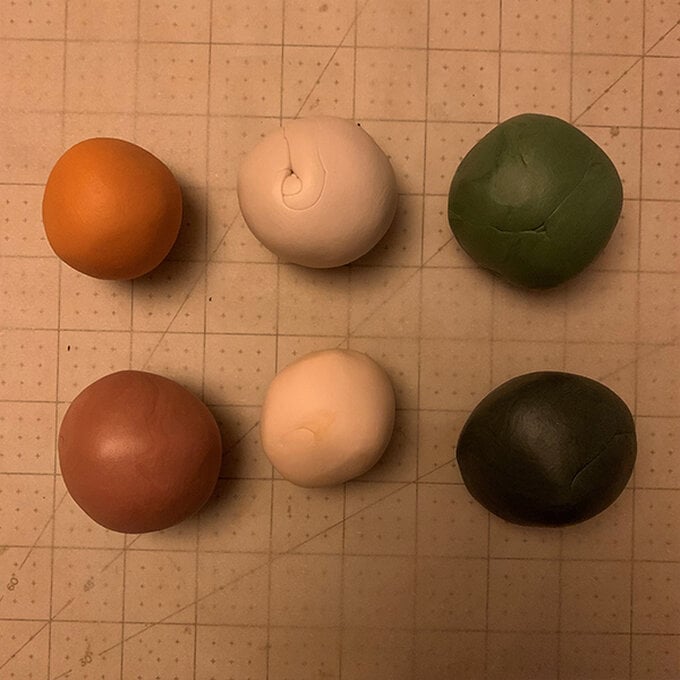
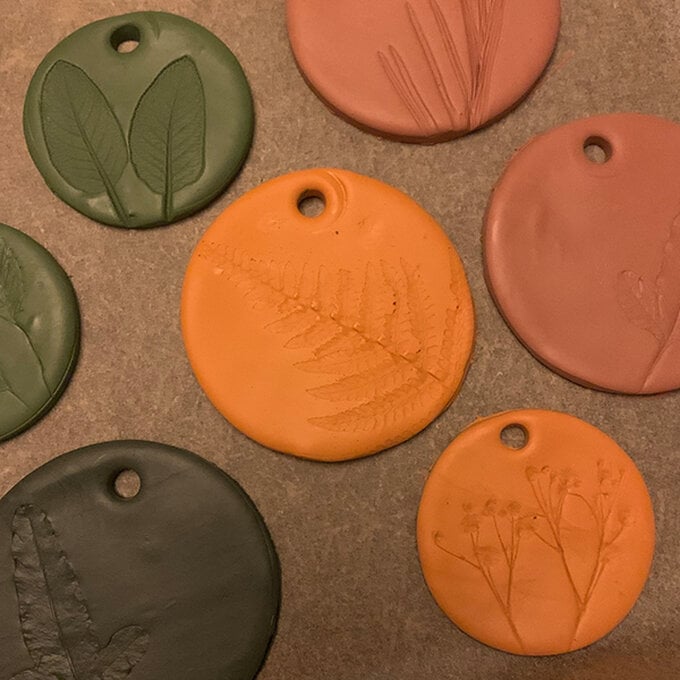
Mix and match different FIMO polymer clays to create your own bespoke colour palette to match your interior colour scheme.
Project and instructions by Aisha Cluitt
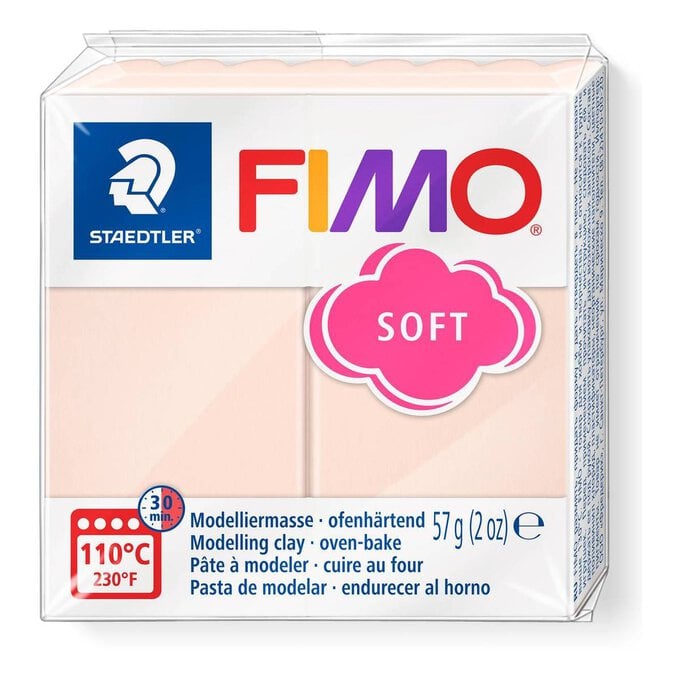
You will need
Subtotal
Is $ 5.49

Subtotal
Is $ 5.49

Subtotal
Is $ 5.49
Subtotal
Is $ 5.49

Subtotal
Is $ 4.49 , was $ 7.49
Subtotal
Is $ 5.49 , was $ 9.49
You will also need:
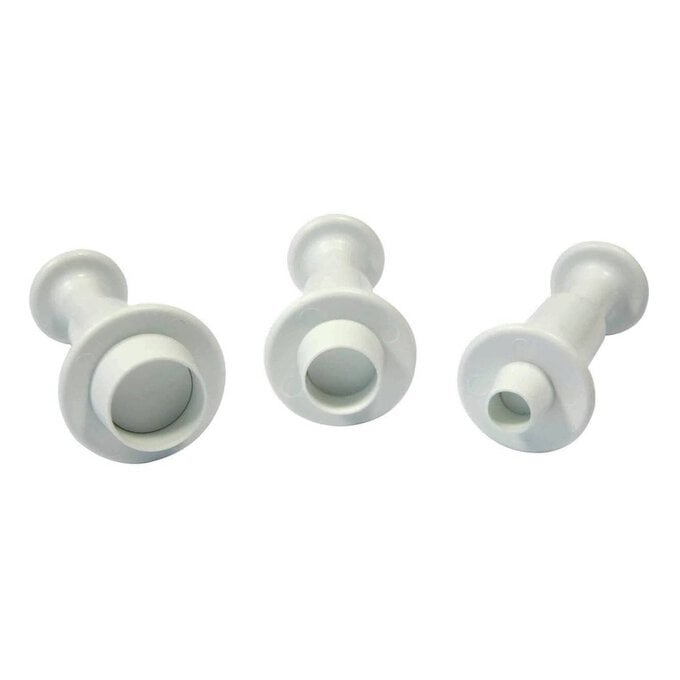
* Non-stick rolling pin
* Palette knife
* Twine/string
* Greasproof paper
* Baking tray
* Oven
How to make
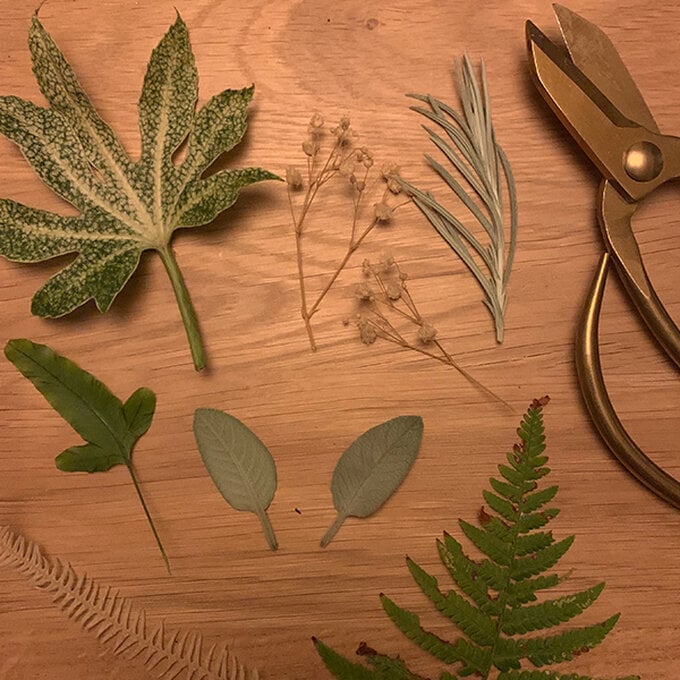
Start by collecting an assortment of flora and fauna to imprint into the polymer clay.
Using a non-stick rolling pin, roll the polymer clay out until it is approximately 0.5cm thick.
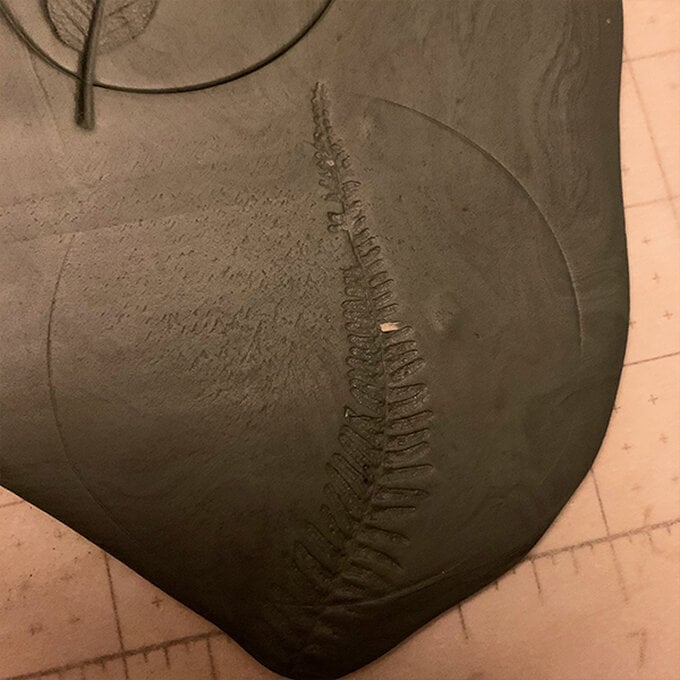
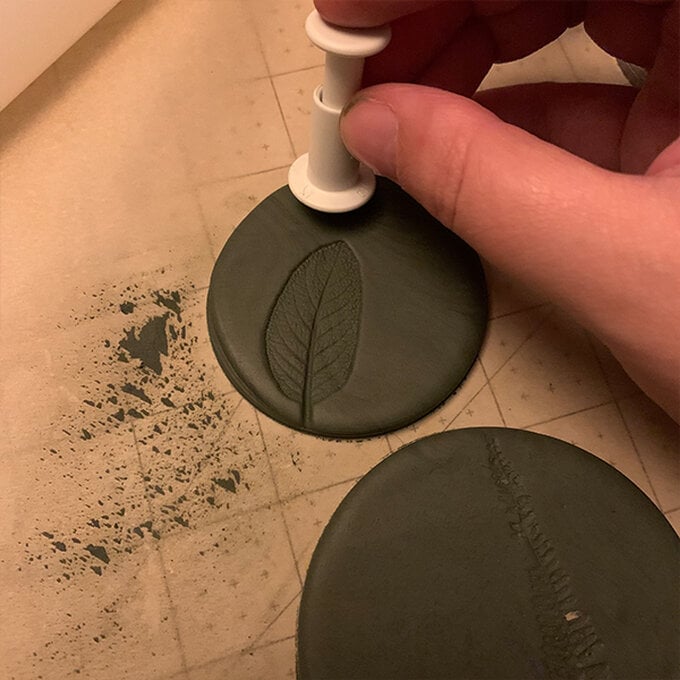
Use a circular cutter and lightly imprint a circle into the clay, then place your leaf or flower onto the clay and use the rolling pin to apply light-medium pressure. Roll the pin over the entire leaf/flower several times, to ensure a good transfer.
Carefully remove the leaf/flower using a pair of tweezers to reveal the imprint.
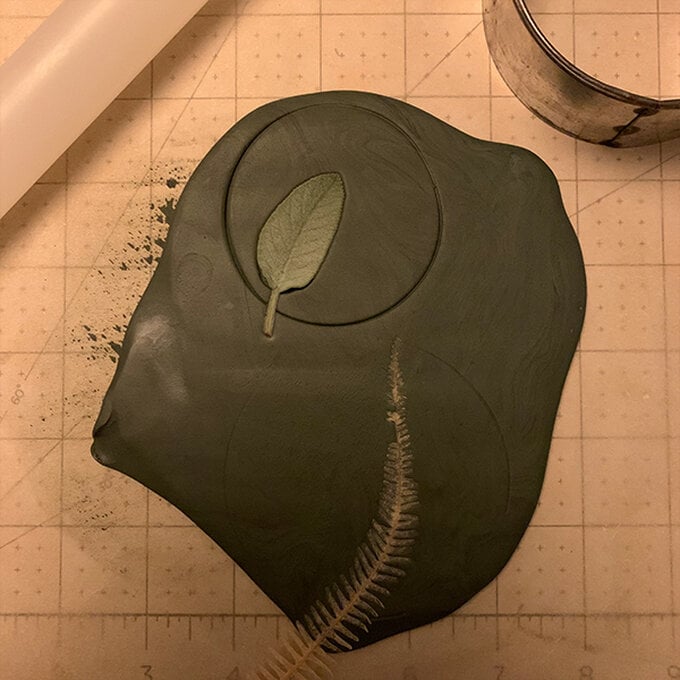
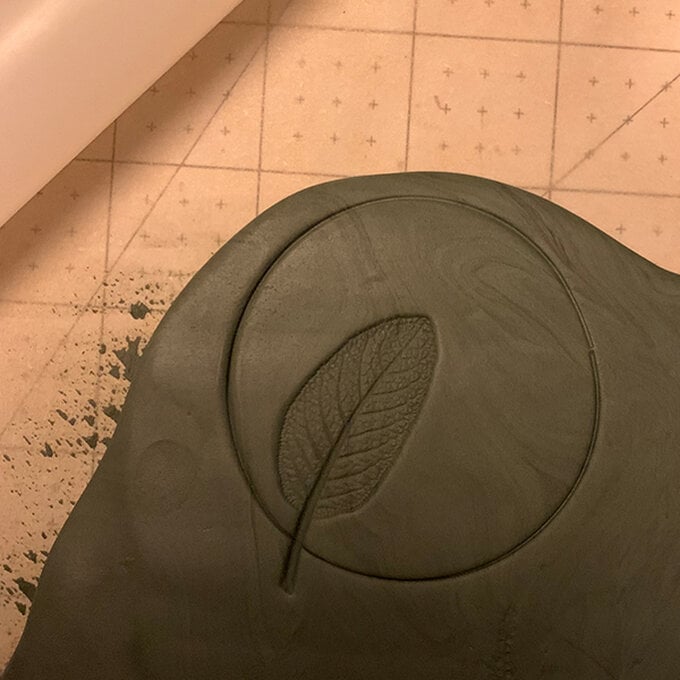
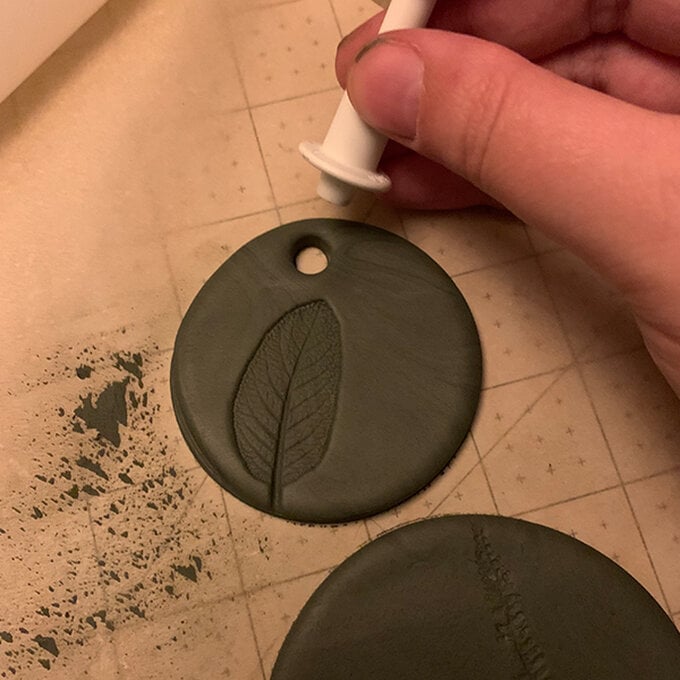
Using the circular imprint as a guide, use the same cutter to cut all the way through the clay, twisting slightly as pressure is applied.
Remove the cutter, followed by any excess clay from around the circular disc.
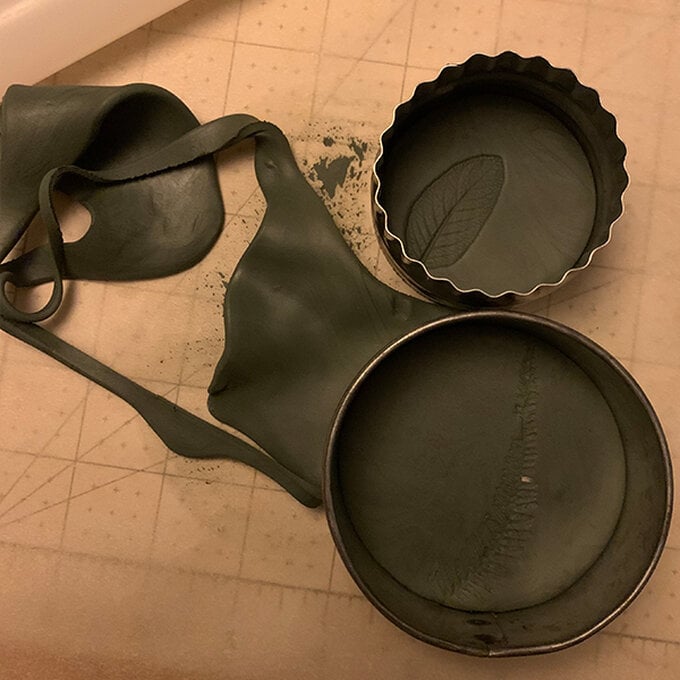
Repeat steps three to six to create as many decorations as you wish.
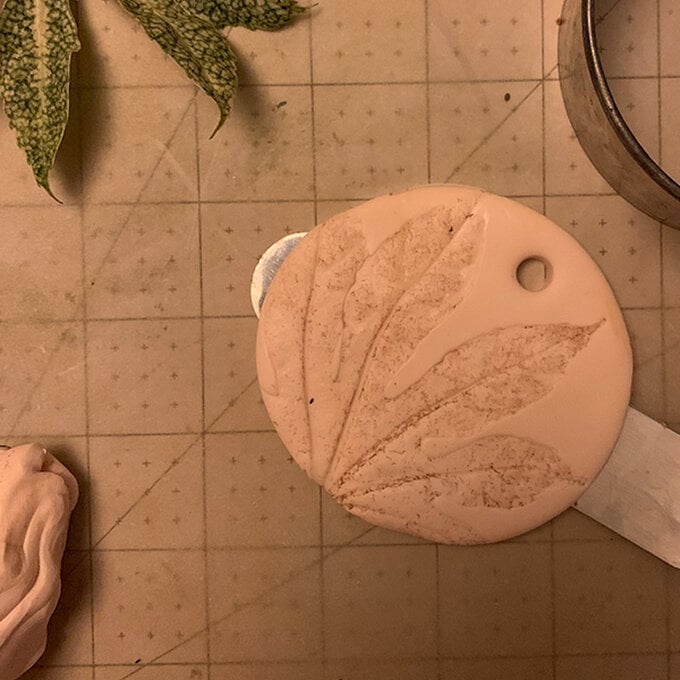
Pre-heat the oven as per the instructions on the FIMO packaging. Once the oven has reached temperature, place the baking tray into the oven and set a timer for the required amount of time.

Once the timer sounds, remove the baking tray from the oven and leave the clay discs until completely cool.
Thread string through the hole in the top of the decoration, and secure the ends with a knot.
The decorations are then ready to hang on your Christmas tree.
Related Products