Cricut: How to Make Personalised Acrylic Baubles
Create your own personalised and unique Christmas acrylic baubles using your Cricut machine. Choose from a range of designs to create stunning adornments, which can either be used as place settings at the dinner table or beautiful decorations for your Christmas tree!
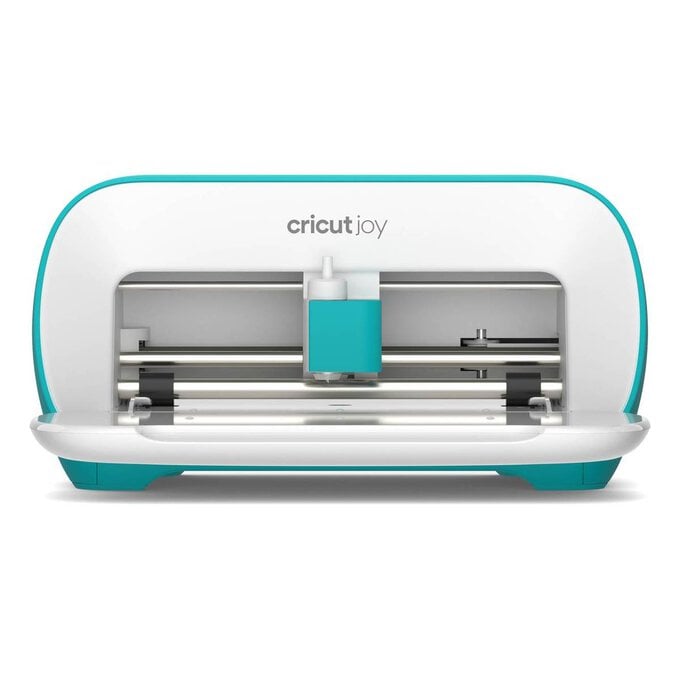
The Cricut Joy machine was used to create this project; however, all Cricut Explore and Maker machines can be used.
Project and instructions by Joey Daley
Discover more Cricut projects here >
Please note: This project contains paid-for content from Cricut’s Design Space app, and screen reference images as shown in our step-by-step guide are taken from the iPad version of Design Space.
You will need
Subtotal
Is $ 13.00
Subtotal
Is $ 213.00

Subtotal
Is $ 25.00
Subtotal
Is $ 12.00
Subtotal
Is $ 12.00
Subtotal
Is $ 12.00
Subtotal
Is $ 12.00
Subtotal
Is $ 4.49
Subtotal
Is $ 5.49

Subtotal
Is $ 1.49
How to make
Step 1: Open Design Space and start a new project. Insert a circle from the shapes menu and resize the shape to 4”. In the operation type drop down select ‘guide’, this will allow you to check if your design will fit onto the acrylic shape, but won’t continue to the ‘make it’ screen.
Step 2: In the image library search for a 'Christmas flower' element, we have used image #M2779ECFE. Resize the image to 3”, and re-colour to white or your desired vinyl colour. Position the image at the top of the bauble.
Step 3: Using the text tool, type the name you would like to add to the bauble, editing the font; we have used ‘BFC Holiday Sparkle’. Resize as desired to fit under the image and edit the colour to match your vinyl.
Step 4: Once in position, select all the elements and using the align tool select ‘center horizontally’ to gauge where your elements will nestle nicely.
Step 5: Click ‘make it’ and ‘continue’, following the on screen instructions to cut out your elements.
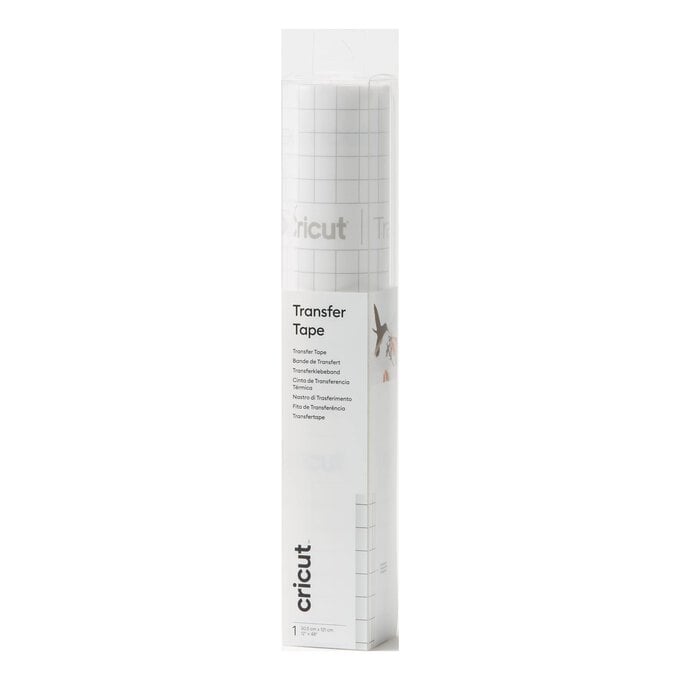
Step 6: Trim and weed your elements, and using transfer tape, apply your elements to the front of the bauble using the canvas screen to assist the positioning of your elements if necessary.
Step 7: Once the vinyl has been applied, paint 1-2 layers of acrylic paint onto the back of the bauble, allowing it to dry completely before displaying.


Step 1: Open Design Space and select start a new project. Insert a circle from the shapes menu and resize the shape to 4”. In the operation type drop down select ‘guide’, this will allow you to check if your design will fit onto the acrylic shape, but won’t continue to the ‘make it’ screen.
Step 2: From the image Library, search for a 'paint stroke' image of your choice, we have used #M3CD68032. Select and insert the image onto the canvas. Resize the paint stroke image to 3.9”, and re-colour if desired to match your vinyl choice.
Step 3: Using the text tool, type the name you would like to feature on your bauble and edit the font as desired, we used ‘Annie-Leu’.
Step 4: Click ‘make it’ and ‘continue’, and follow the onscreen instructions to cut out your elements.
Step 5: Trim and weed the elements, and using transfer tape apply the paint stroke onto the back of your bauble and the name to the front. Alternatively, layer them upon each other.
Tip: To avoid any bubbles forming on the paint stroke piece, apply from one end to the other using the scrapper tool slowly as you apply the vinyl.
Step 6: Gift or hang to create a festive personalised Christmas tree ornament.


Step 1: Open Design Space and start a new project. Insert a circle from the shapes menu and resize the shape to 4”. In the operation type drop down select ‘guide’, this will allow you to check if your design will fit onto the acrylic shape, but won’t continue to the ‘make it’ screen.
Step 2: In the image Library search for a 'family wreath' design, we have used #M3A5ECC76. Select and insert the image to the canvas. Resize the image to 3.5”, re-colour and position centrally in the guide circle.
Step 3: Using the text tool, type the family name you would like to incorporate. Edit the font, we have used ‘BFC Rustic Cherry’. Re-colour and positional centrally in the middle of the wreath.
Step 4: Click ‘make it’ and ‘continue’, following the on screen instructions to cut out your elements.
Step 5: Trim and weed your elements and using transfer tape, apply the elements to the front of your bauble. You can do this one element at a time for ease, or transfer both elements to the same piece of transfer tape.
Step 6: Gift or hang to create a festive personalised family Christmas keepsake.


Step 1: Open Design Space and start a new project. Insert a circle from the shapes menu and resize the shape to 4”. In the operation type drop down select 'guide', this will allow you to check if your design will fit onto the acrylic shape, but won’t continue to the 'make it' screen.
Step 2: In the image library search for the 'Merry Christmas' image #M2FD0305C. Select and insert onto the canvas. Edit the image size to 3.8”, and re-colour to white or the vinyl of your choice.
Step 3: Using the contour tool, hide the bottom leaf element. This is where your name is going to sit on your bauble.
Step 4: Using the text tool, type the name you would like to incorporate on your design. Edit the font, we have used ‘BFC Jolly Santa’.
Step 5: Resize the name to fit the area contoured away and using the curve feature, curve the name to follow the bottom of the bauble.
Step 6: Reposition and rotate if needed. Select both the name and image element and click the slice tool, delete the 2 slice results not needed.
Step 7: Click ‘Make it’ and ‘Continue’, following the onscreen instructions to cut out your elements.
Step 8: Trim and weed the vinyl elements, using the canvas screen to assist you removing the relief pieces
Tip: Make sure to keep the inside of ‘e’s, ‘a’s on the backing sheet etc.
Step 9: Using transfer tape, lift the final cut piece and apply to the bauble, try and position centrally and lay the vinyl from one side to the other, smoothing out any bubbles that form slowly as you apply the vinyl.
Step 10: Gift or display in pride of place for the festive period!


