Cricut: How to Make a Bride to Be Tote Bag
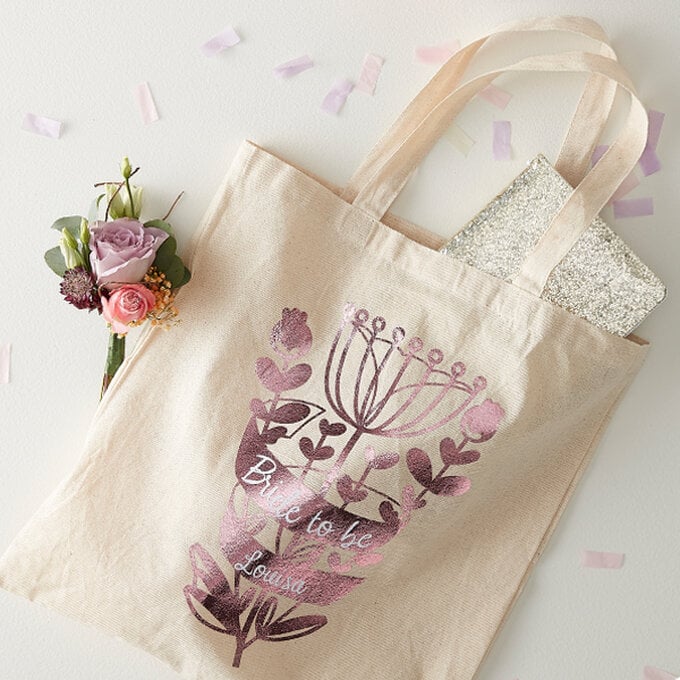
If you're organising a hen do celebration for a bride to be, this personalised tote bag is a must! The floral design is free to download and then upload into Cricut's Design Space, all you need to do is add in the text and pick your favourite colours of Cricut Iron-on Vinyl.
These bags would be great for all the lucky attendees of the the hen do, simply change the text to suit! Follow our step-by-step instructions to find out how to make...
Floral design created by Elizabeth Hardy
You will need
Subtotal
Is $ 40.00
Subtotal
Is $ 3.49
Subtotal
Is $ 16.00
Out of stock
Subtotal
Is $ 11.00
Subtotal
Is $ 19.00
Subtotal
Is $ 427.00
Out of stock
Subtotal
Is $ 70.00
Subtotal
Is $ 40.00
How to make
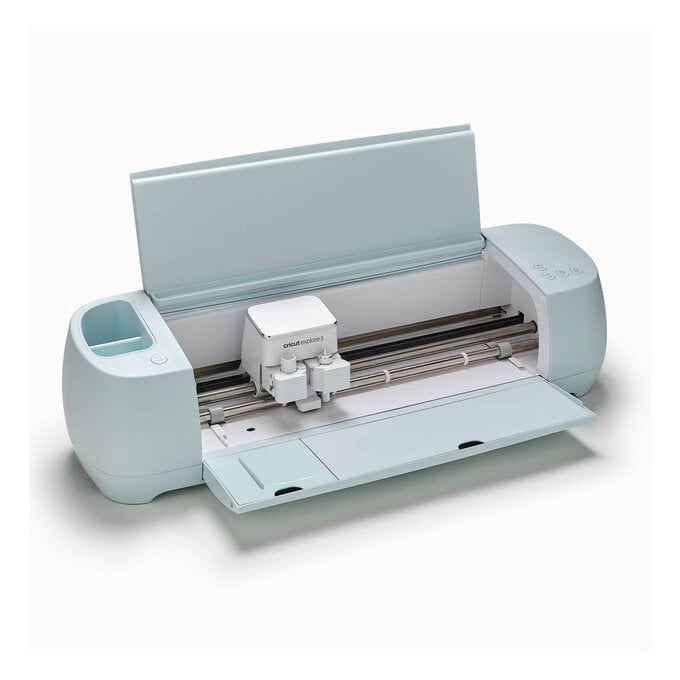
Log on to your Design Space™ account and make sure you are connected to your Cricut machine.
If using a Cricut Explore Air 2 make sure the Smart Dial is set to 'Custom Materials'
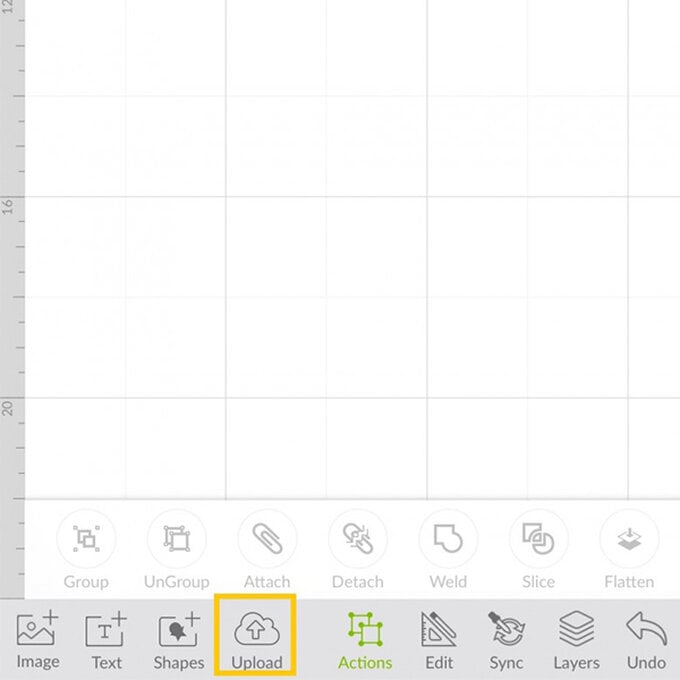
Download the floral image file above and save it to your device. Open up a new project and select the 'Upload' button at the bottom of the screen. Find the file and select it.
You'll then be taken through to a screen that allows you to clean up your image, where you can select areas of the images that you do not want to cut, in this instance all of the white elements will need to be removed. Click on 'Remove' at the bottom of the screen and start tapping on the white areas.
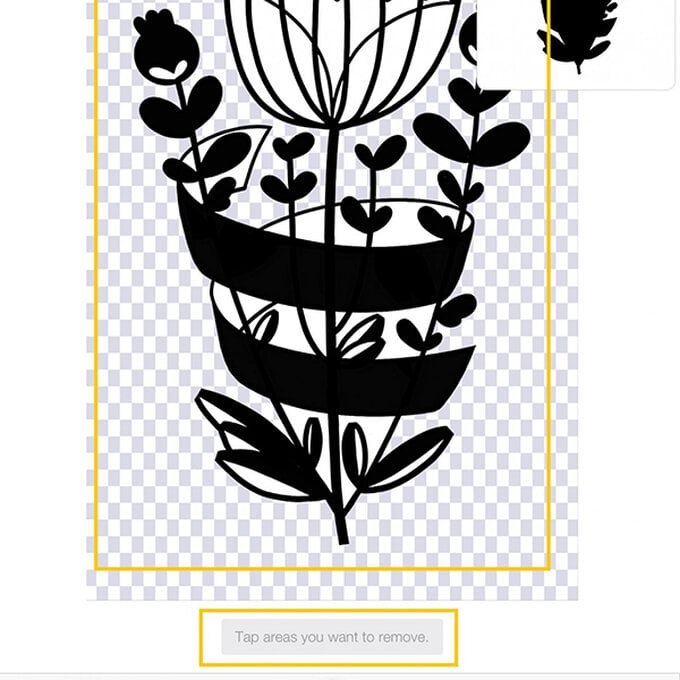
Once complete select 'Next' at the top of the screen.
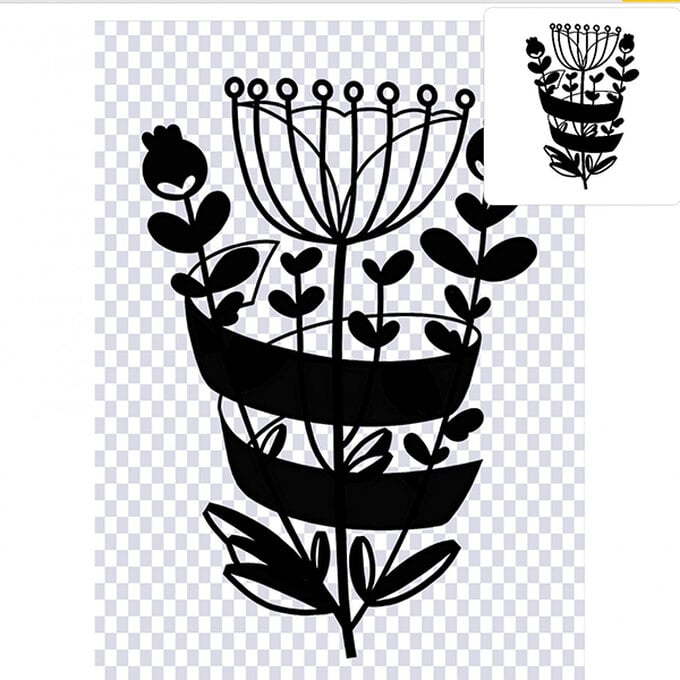
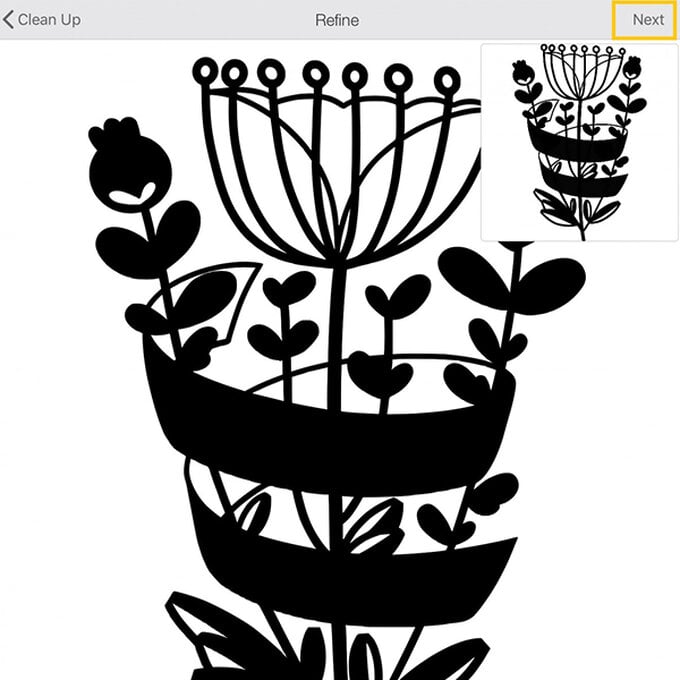
You will be taken through to the 'Refine' screen where the image can be refined further if needed – this image should not need refining any more. Select 'Next' at the top of the screen.
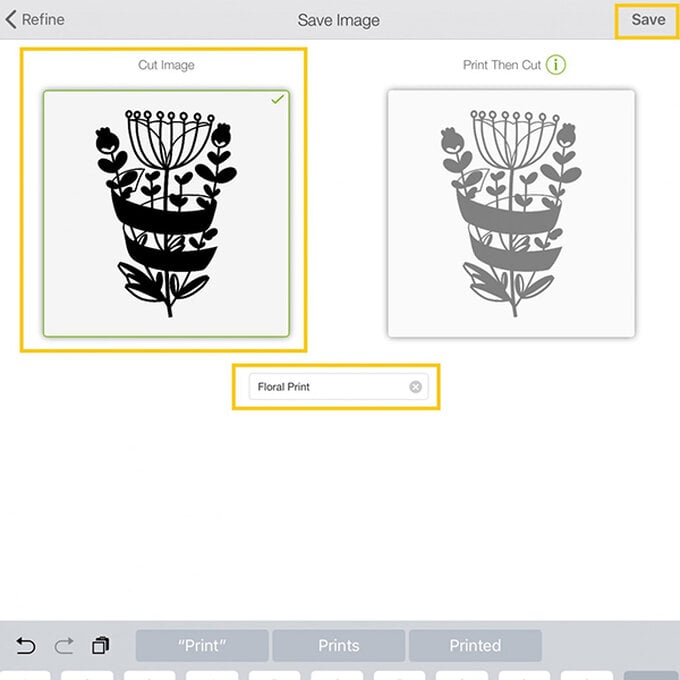
You'll then be asked to save the image, type in your filename of choice and save as a 'Cut Image', then click 'Save' in the top right-hand corner of the screen.
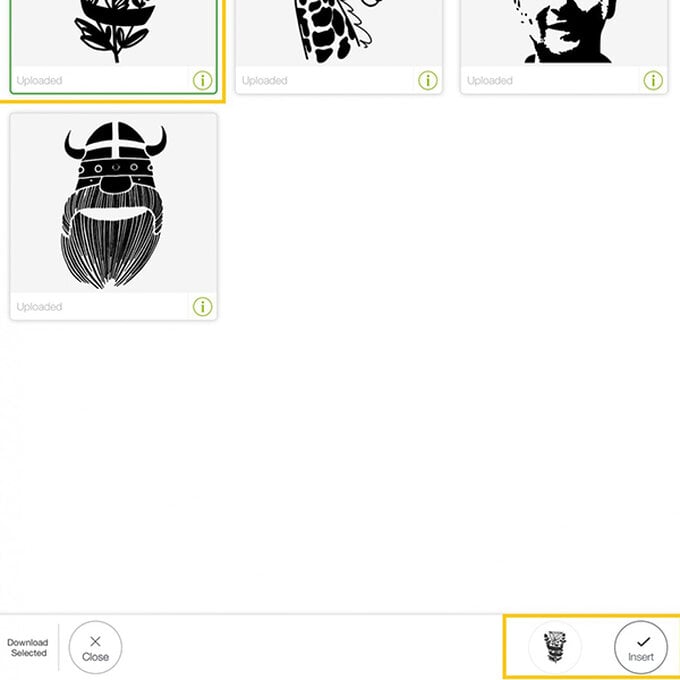
You'll then be taken through to a screen that lists all of your uploaded images, select the floral design and click 'Insert'. If this is your first time uploading an image the floral design will be the only image on screen.
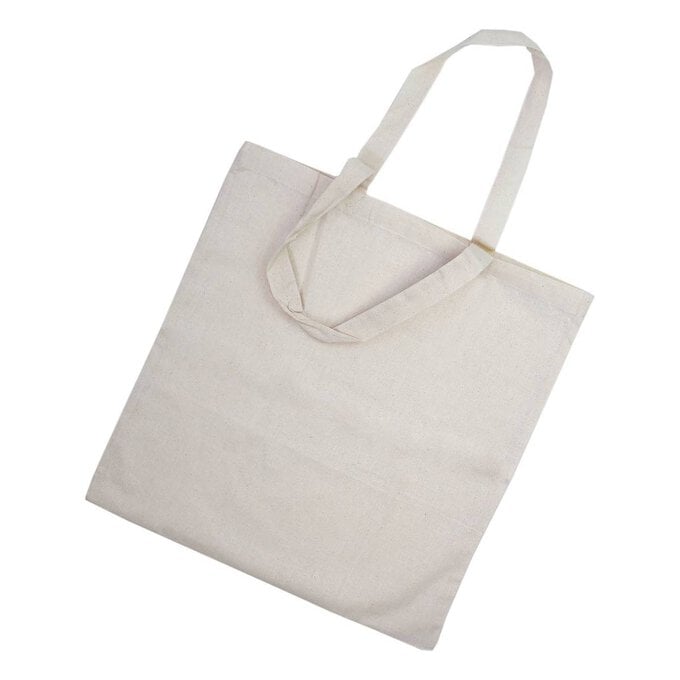
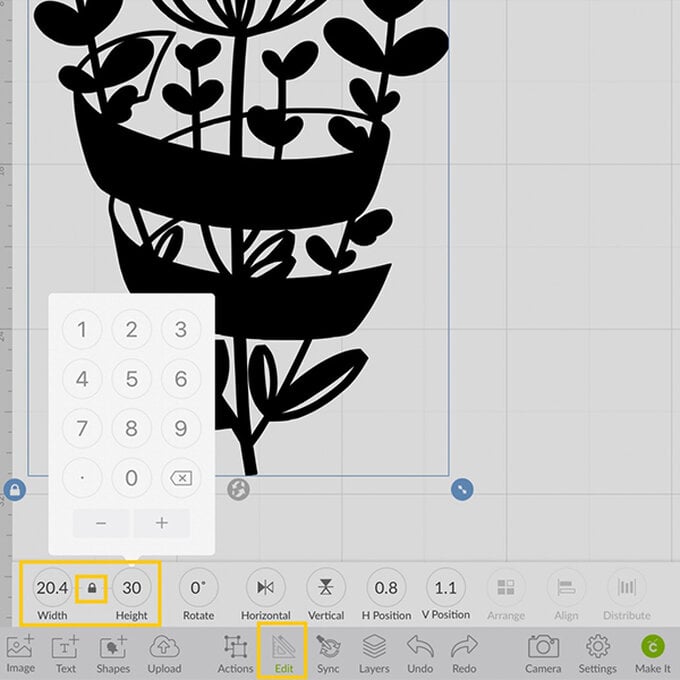
The image will then appear on your canvas. Using a tape measure, measure the space on the bag where you would like the design to be. With the image selected, open the 'Edit' menu and enter the height measurement into the relevant box ensuring the padlock symbol is locked so that the image resizes proportionately (ours measured 32cm in height). Double-check that this measurement is within your pre-measured width dimension. If it is larger simply reduce the height of the image.
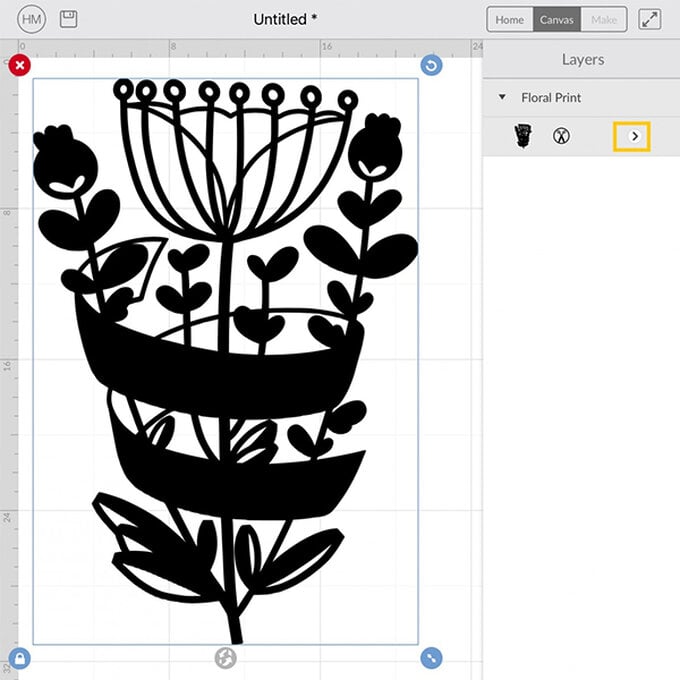
With the floral image selected, open the 'Layers' menu and click on the arrow to the right of the cut symbol.
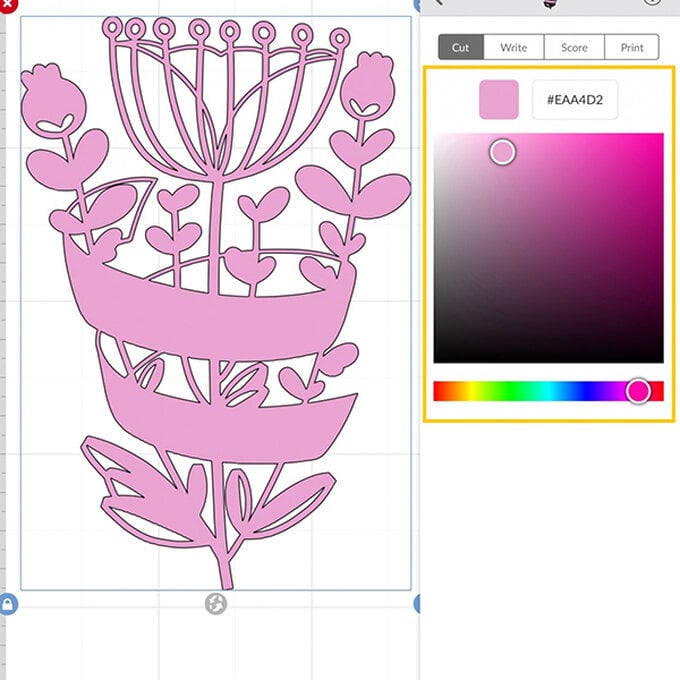
Select a pink colour from the colour palette. Once selected close the 'Layers' menu.
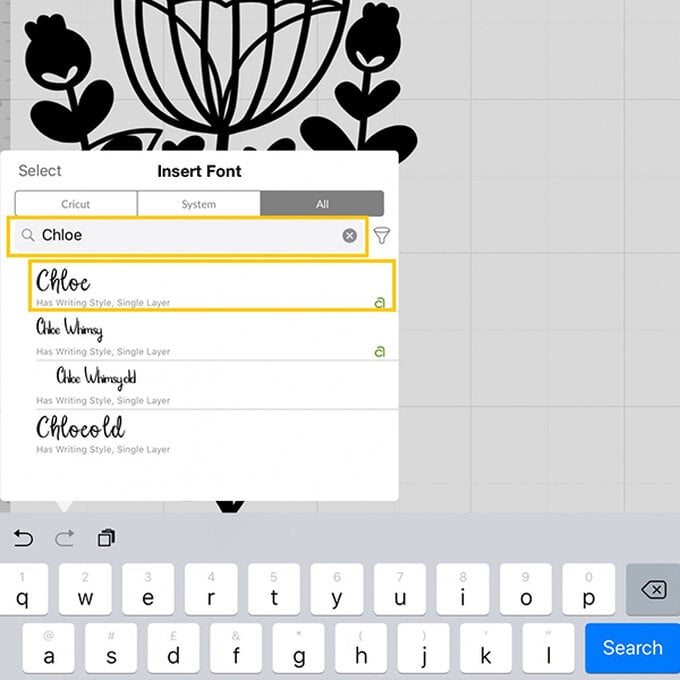
Select the 'Text' button from the toolbar at the bottom of the screen, and select a font from the list – we chose 'Chloe'. Type 'Bride to be' in the text box.
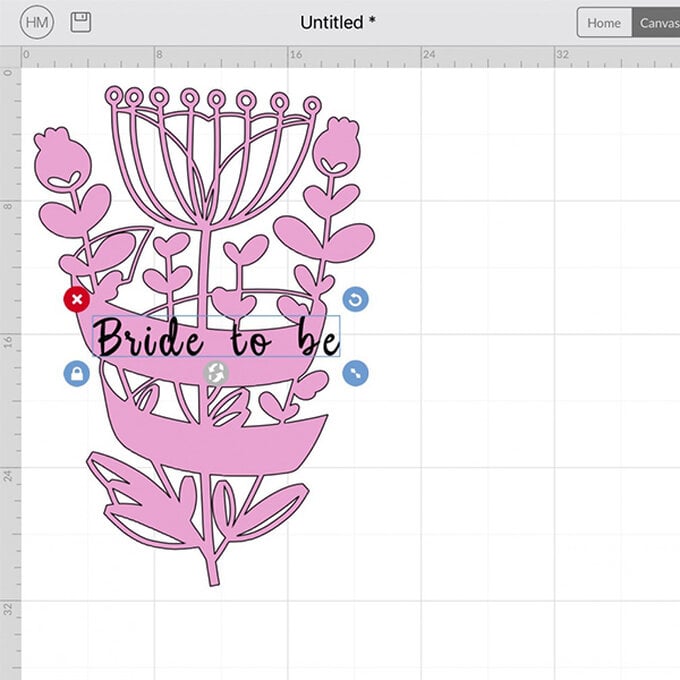
Re-size the greeting as desired, checking that the height of the letters fit within the banner by placing the text over the banner section of the image. Do not worry about the letter spacing at this stage.
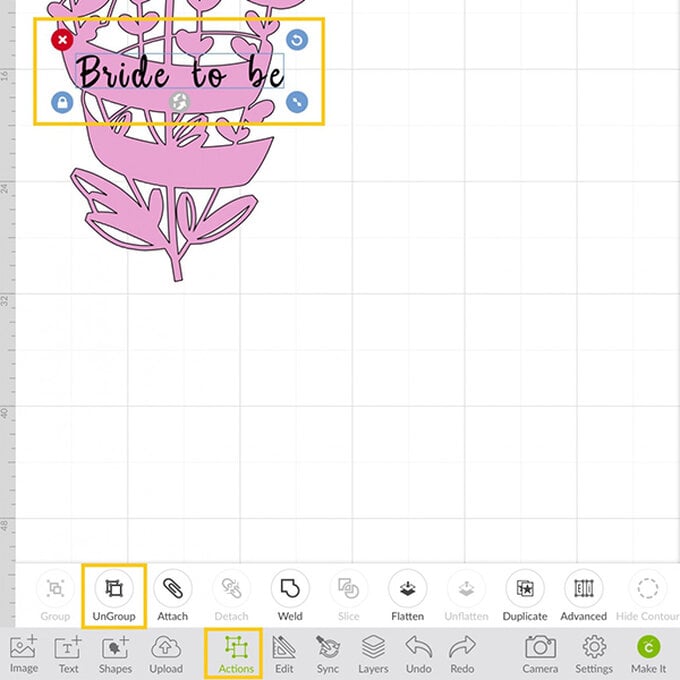
Open the 'Edit' menu from the toolbar at the bottom of the screen, and select 'Ungroup'
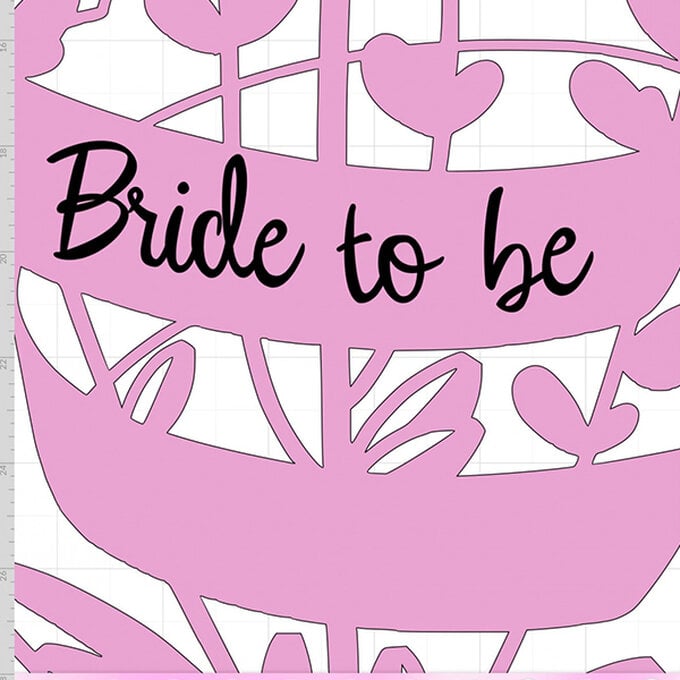
Re-position the letters so that they sit on the top banner comfortably
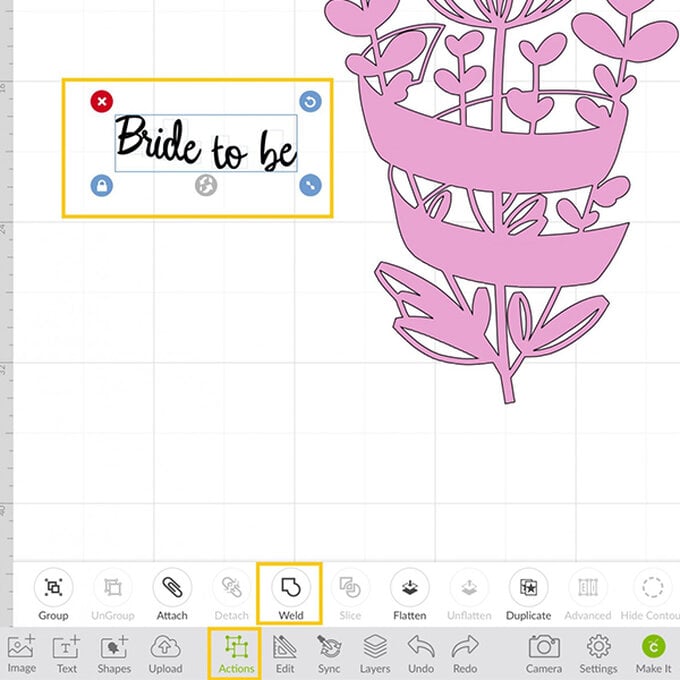
Move the floral image to one side and drag a selection box over the entire text. Select the 'Weld' button from the 'Actions' menu.
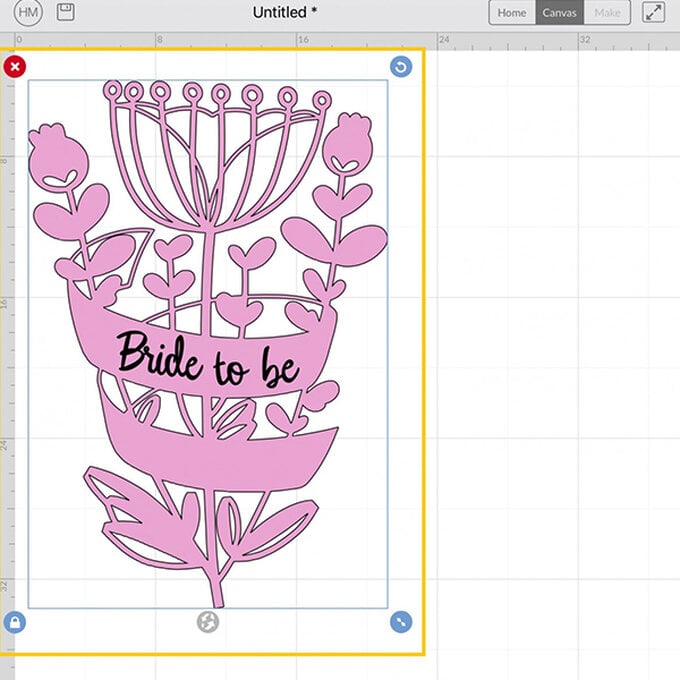
Move the floral image back to sit under the text.
Repeat steps 10 to 15 to add in the bride to be's name.
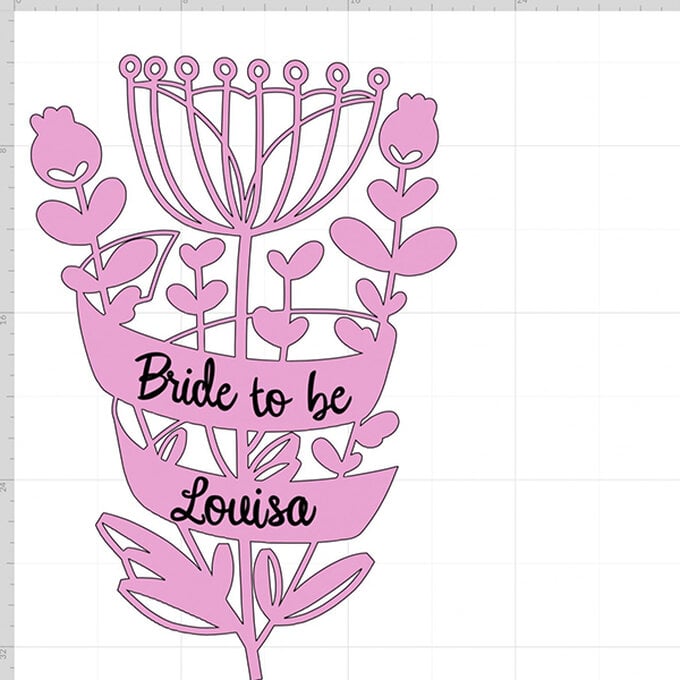
Once happy with the layout, select the 'Make It' button from the bottom right-hand corner of the screen. You will then be taken through to the mat preview screen.
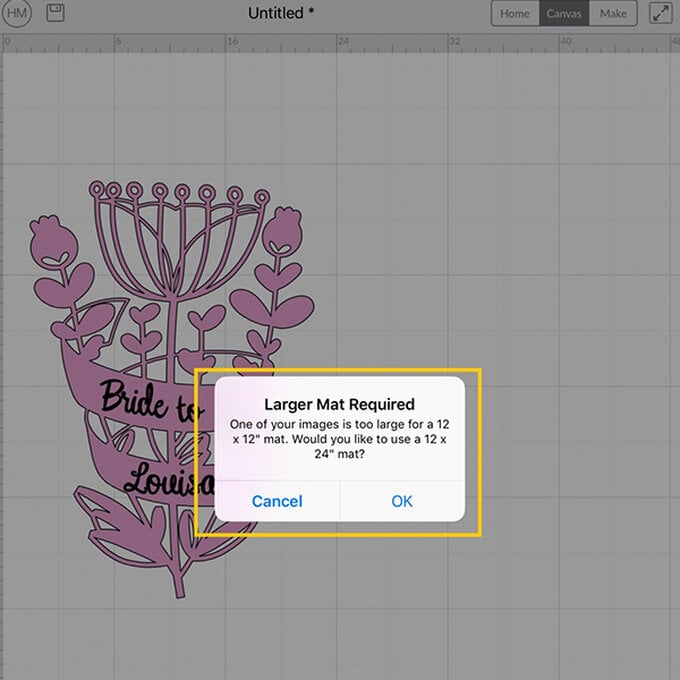
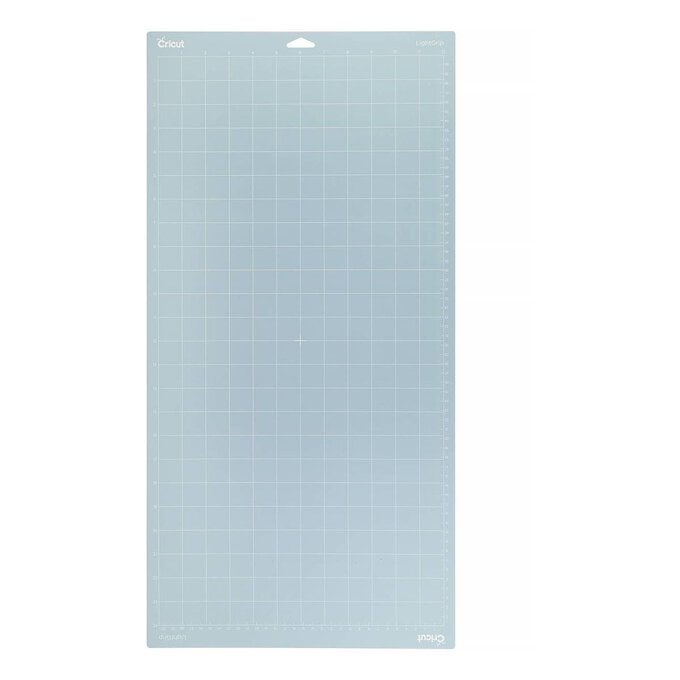
As the elements are to be cut from Iron-on Vinyl both mats will need to be mirrored, so that everything looks correct once it is adhered to the bag. Open the mats menu and switch the 'Mirror' function on (the slider will turn green). Once complete select the 'Continue' button.
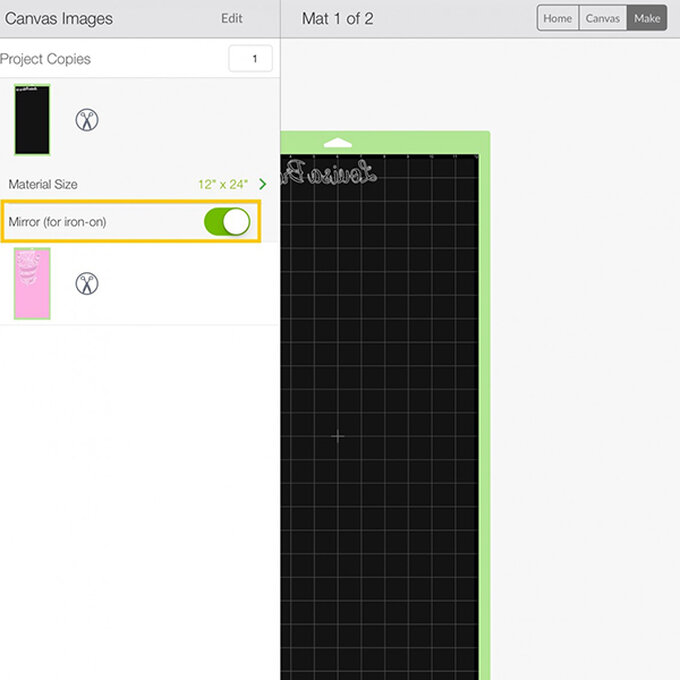
Once through to the cutting screen, click 'Browse Materials' and type 'Everyday Iron-on' into the search bar and select it from the search results. Follow the on-screen instructions to cut out the text. The material cut setting will need to be changed when it comes to cutting the floral design, simply search 'Foil Iron-on' in 'Browse Materials'.
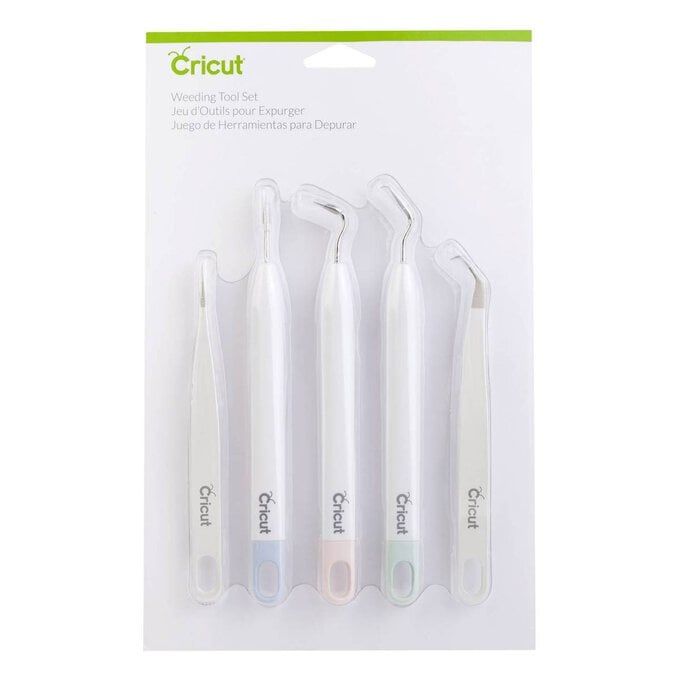
Once cut, carefully weed each of the designs using the BrightPad and your weeding tools.
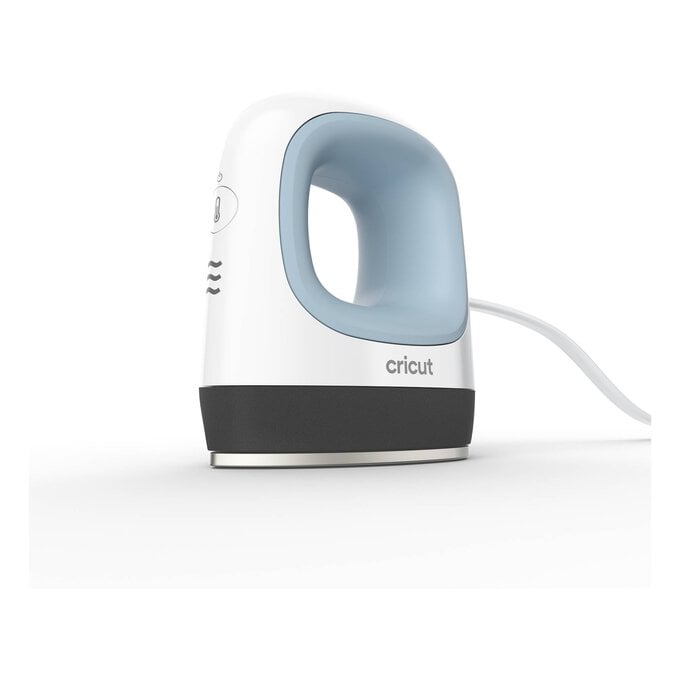
Use Cricut's Interactive Guide to determine the best settings to set your EasyPress to, then adhere the designs one at a time to the bag, starting with the floral design first, followed by the text.
