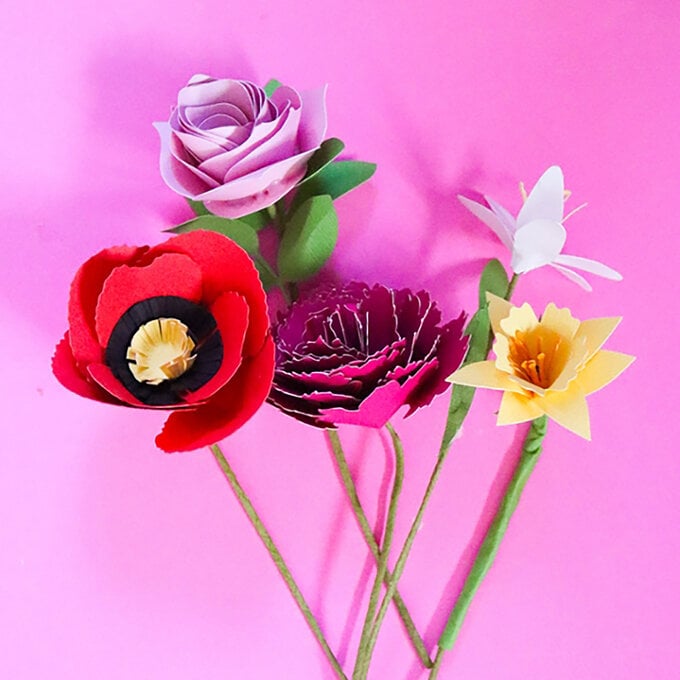
Cricut: How to Make a Paper Rose
Hello! My name is Lottie and I am the owner of Paper Floristry. I am delighted to be invited by Hobbycraft to share with you my paper flowers and to teach you how I create my blooms!
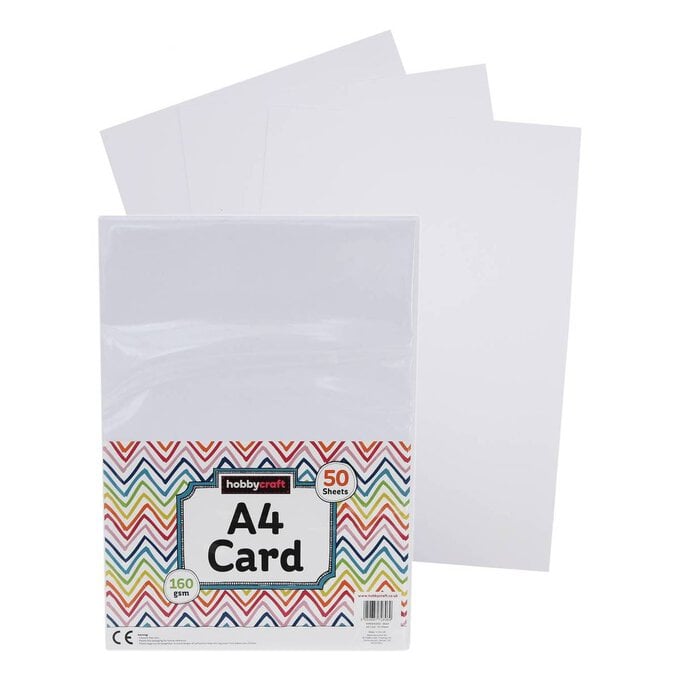
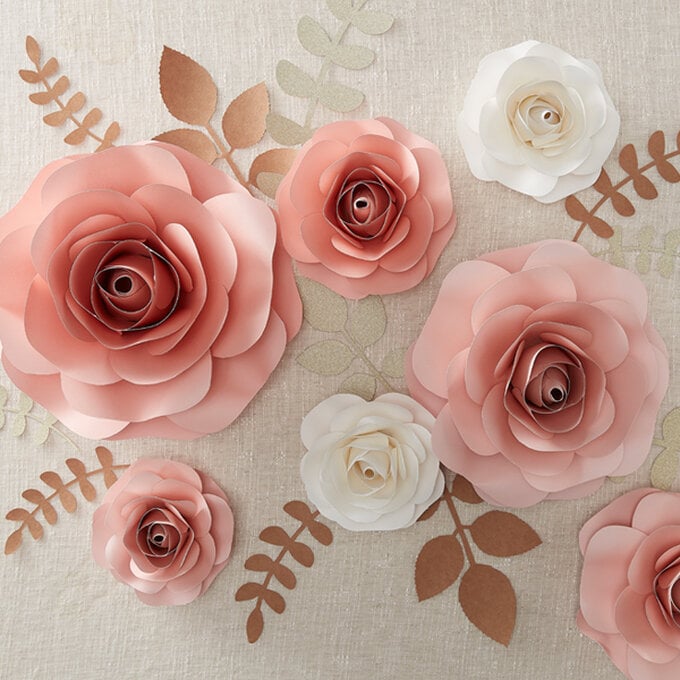
Follow my instructions to help you create as many blooms as you need, regardless of whether you're creating them for a beautiful focal point at home, wedding celebration or party decor! You can use whatever colour combinations of card you like to create your blooms however, I would recommend using a cardstock that is 180gsm as this will ensure your flowers hold their shape, yet also allow you to curl the paper for creating a life-like effect.
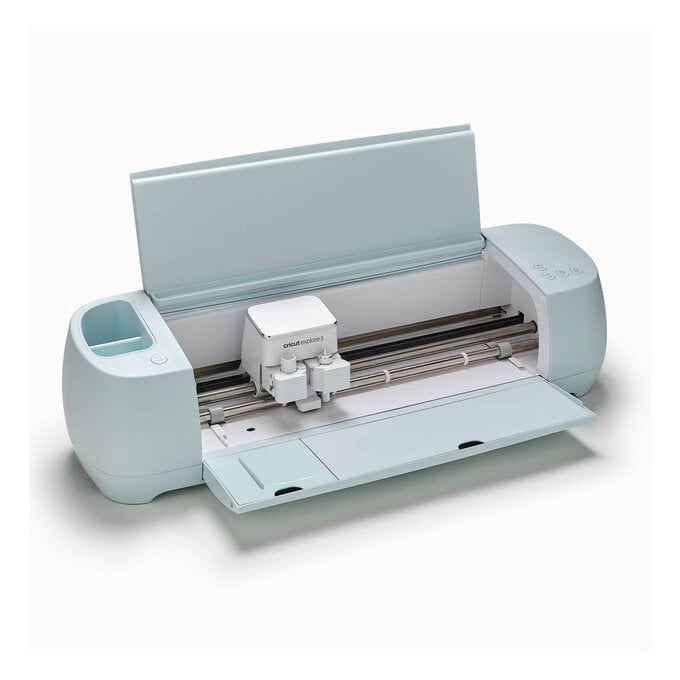
If you're lucky enough to own a Cricut machine you can use the provided templates to cut your petals, however I still like to cut mine by hand, especially if I have a whole bunch to make as I can cut through more than one sheet at a time.
You will need

Subtotal
Is $ 13.00

Subtotal
Is $ 12.00
Subtotal
Is $ 424.00

Subtotal
Is $ 8.49
Out of stock
Subtotal
Is $ 4.49
Subtotal
Is $ 6.49
Subtotal
Is $ 3.49
Subtotal
Is $ 8.49
Out of stock
How to make
Download and resize the templates as desired, we created a variety of different sized blooms and have included a PDF guide below if you would like to recreate these exactly.
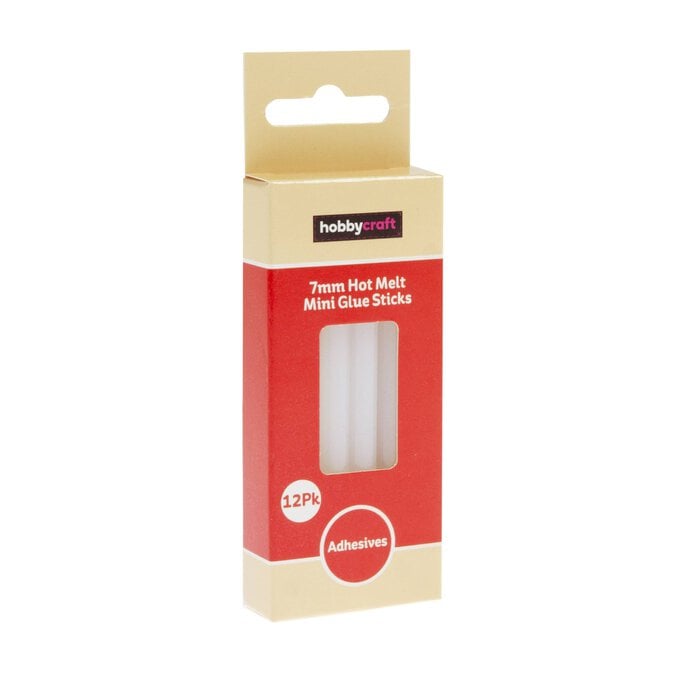
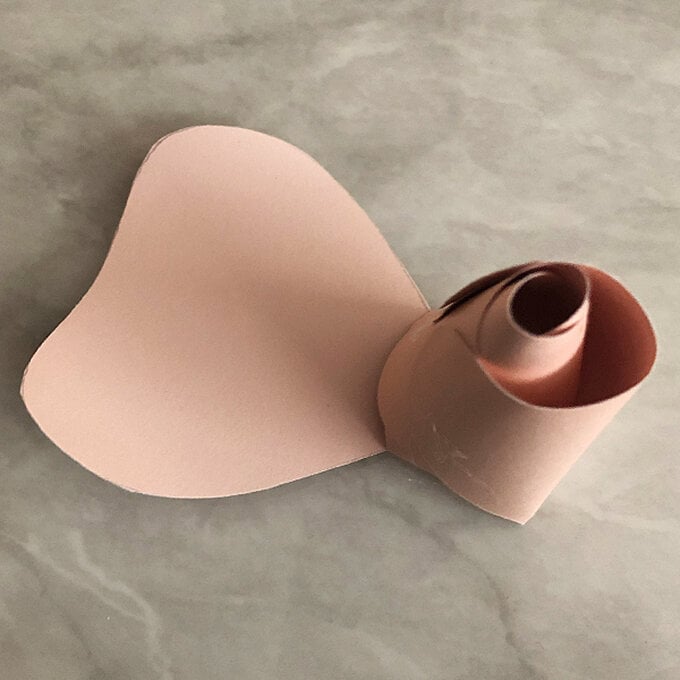
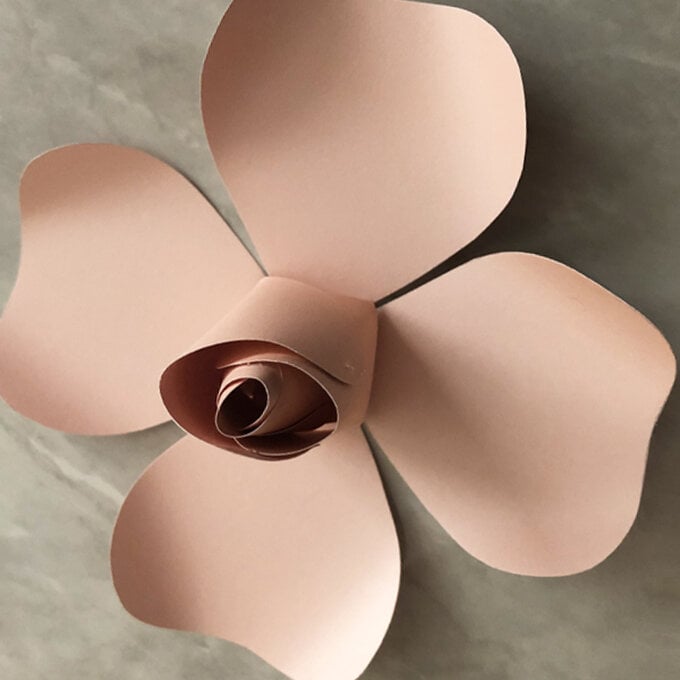
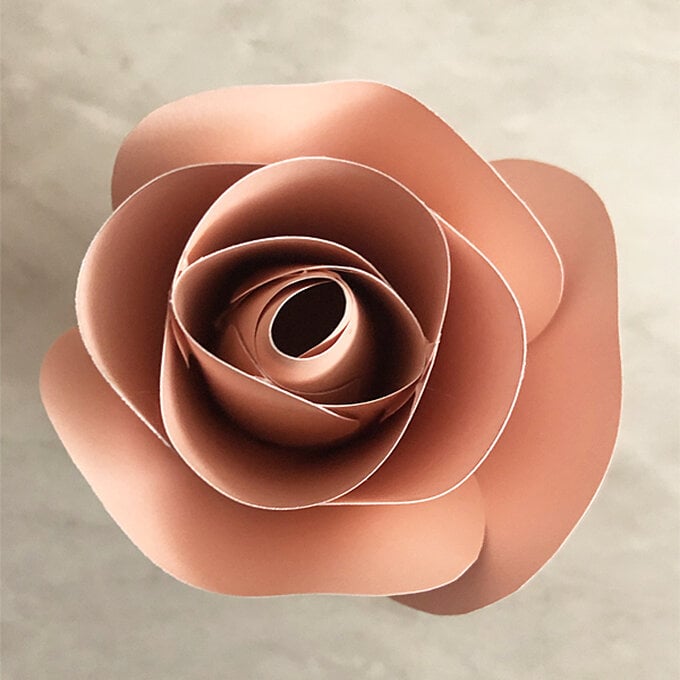
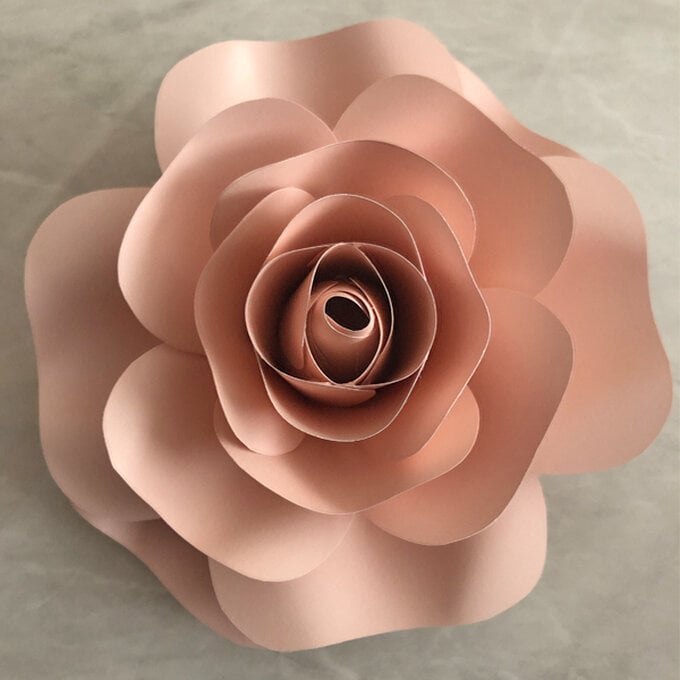
To begin the construction of the rose you will need to have two rose centres (the base with four petals attached). Take each of the petals in turn and carefully curl the edge of each petal around a hot melt glue stick.
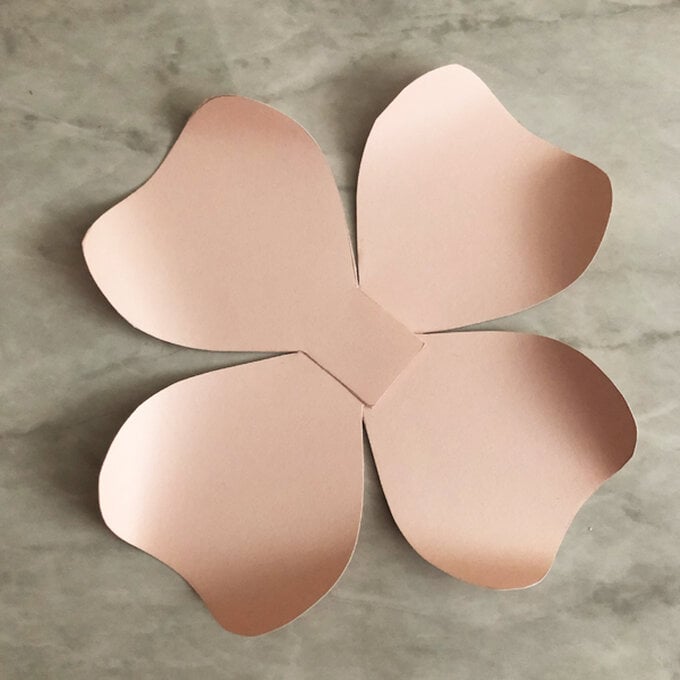
Once the petals are curled, fold up two opposing petals towards one another and overlap to create the centre bud.
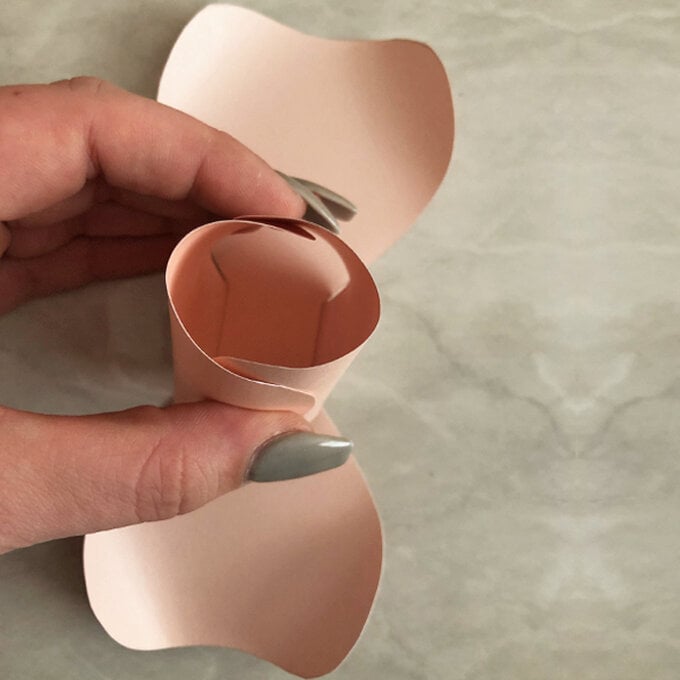
Add glue along the edges of each petal to secure in place to create a pyramid shape.
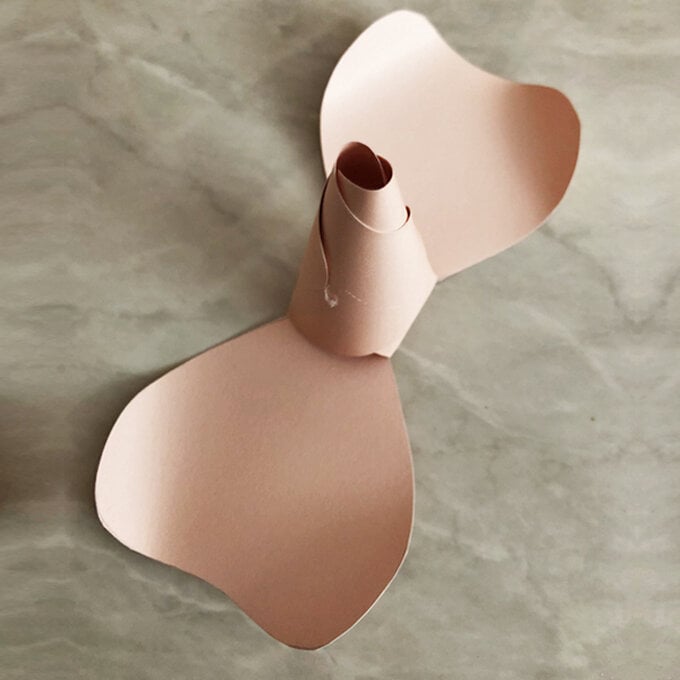
Take the two remaining petals and add glue to the inside edge of the petal before building up around the bud you have just created.
Take your second rose centre and add glue to the bottom of your rose bud place in the middle.
Continue to build petals up around the bud, gluing petal edges to hold them in place.
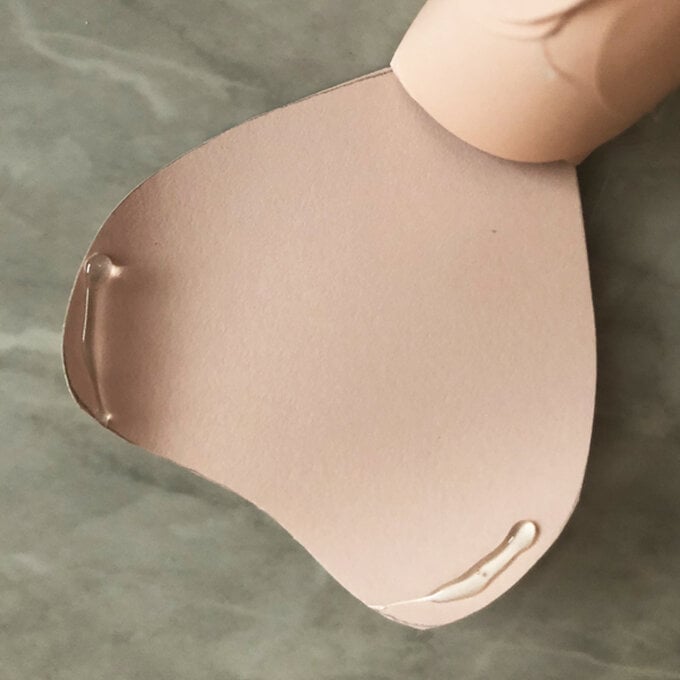

Next, you'll need to curl the edges of your individual petals as previously done with the petals from the rose centres. Add glue to the bottom of four individual petals and attach to the rose bud. This forms the first layer of petals.
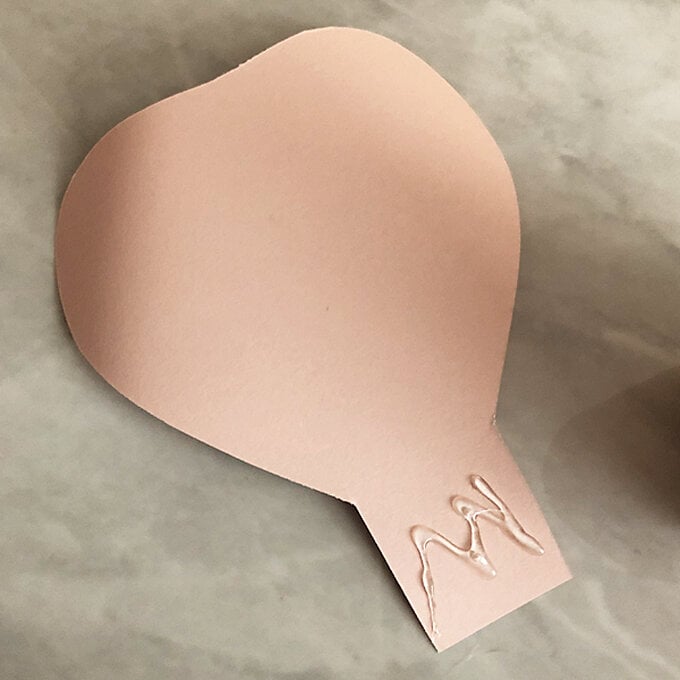
Add glue to the lower third of each petal edge adhered in step seven. Gently bring the rose petal up towards the bud and hold in place while the glue dries. Repeat this process on the petal opposite, and then two remaining petals.
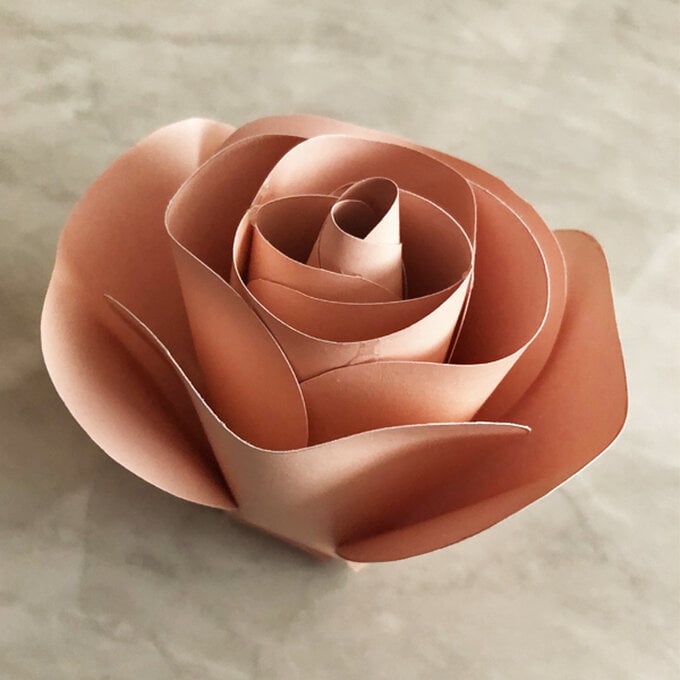

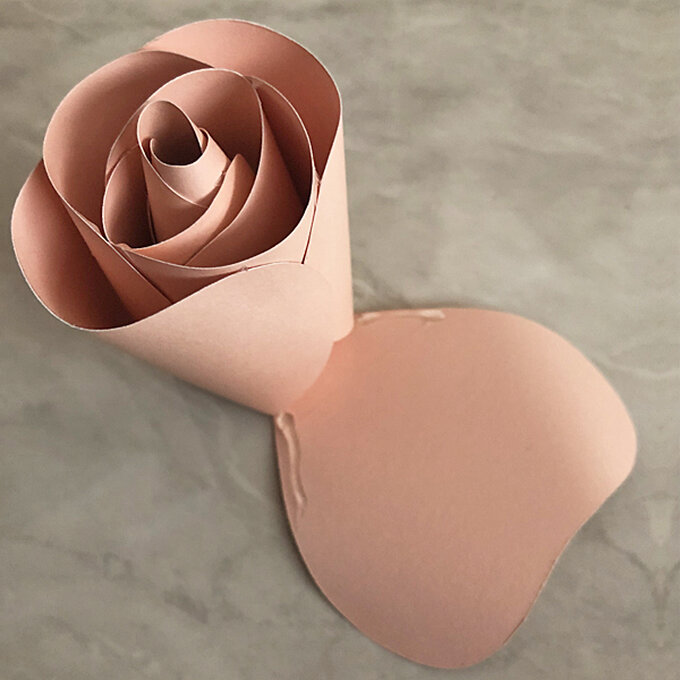
You're then ready to start adding the next set of four petals (layer 2), these need to be placed on the diagonal filling any spaces between pre-existing petals. Again, add glue to the petal edges at the base and bring up towards the centre and hold to glue into place.
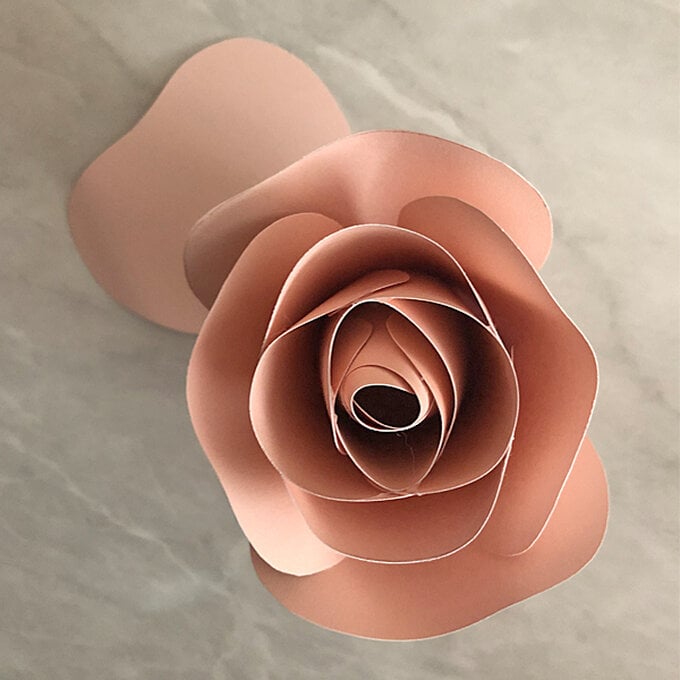
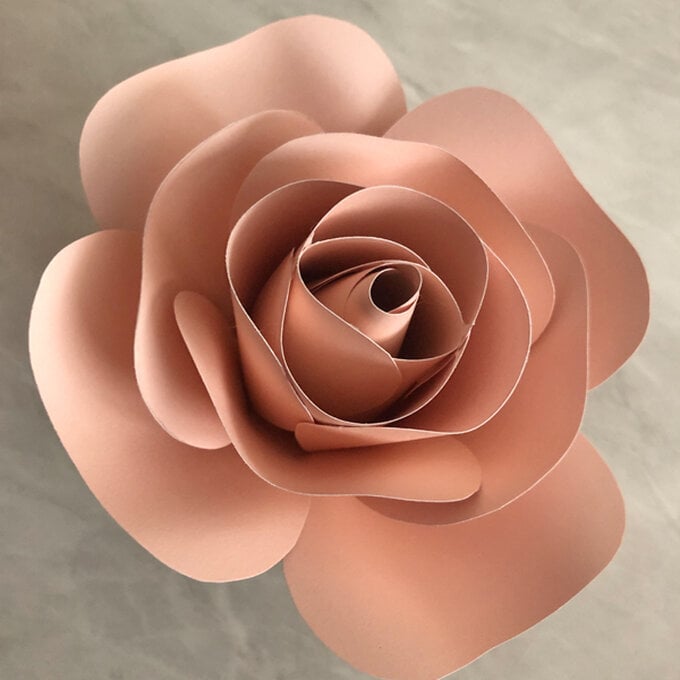
Now it's just a case of continuing to layer up the petals to build up the rose. Repeat the process used in steps seven and eight, alternating between adding one layer of petals positioned straight in line with the bud, and then the next layer on the diagonal. Keep adding the petal layers until you are happy with the fullness of the rose.
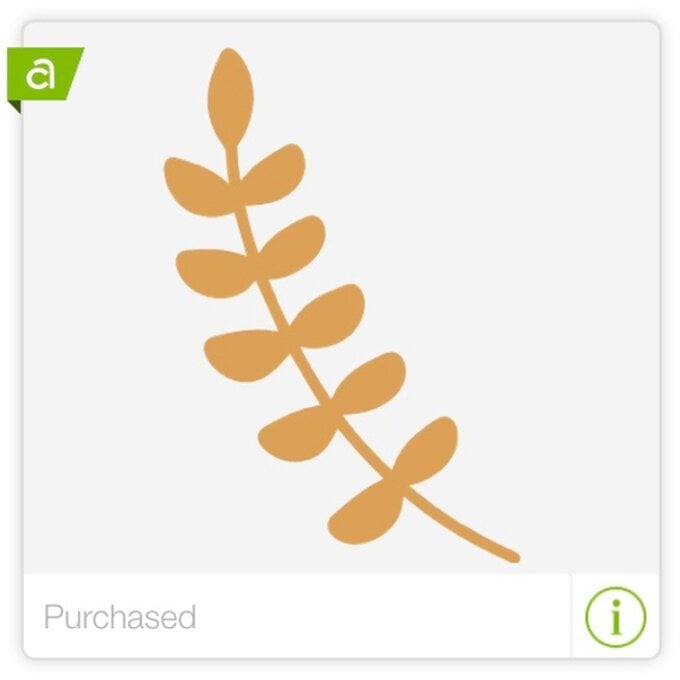
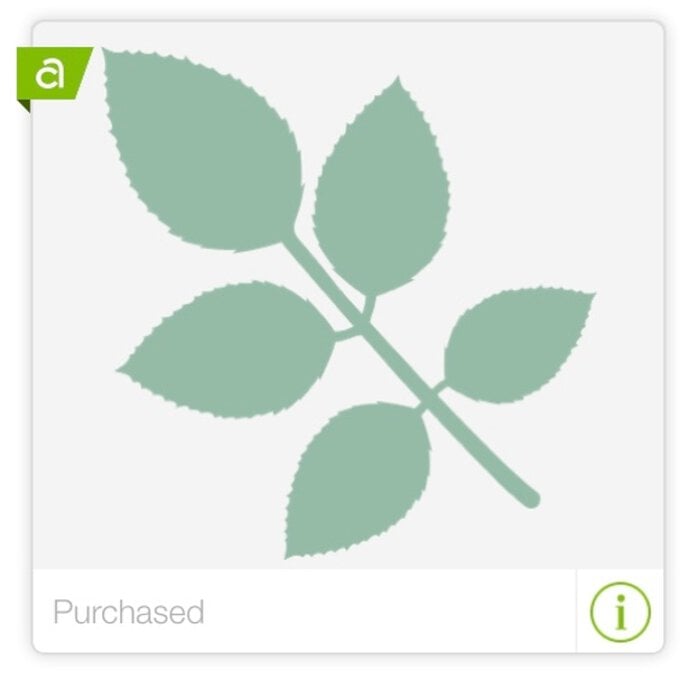
Repeat steps two to ten to create as many flowers as you like! I also cut some foliage from kraft and gold glitter cardstock using my Cricut machine and the below designs from Cricut's Design Space app, there are lots of different design to choose from, so you can include as much or as little as you like.
To hang your flowers, add a ribbon loop to the back of the flower and simply hang with a drawing pin!
Related Products

Is $ 4.49


Is $ 3.49

Is $ 3.49

Is $ 12.00

