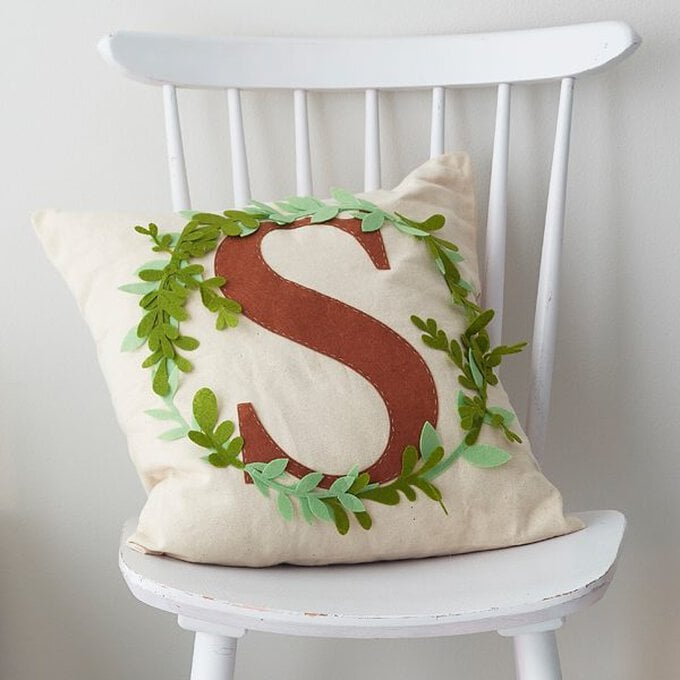
Cricut: How to Make a Personalised Cushion Cover
Creating an extra-special gift for a loved one is super-easy with a helping hand from the Cricut Maker and the Design Space app. We've used the Cricut Maker to create this project, however you can also the Cricut Explore Air 2 you'll just need to make sure the felt is bonded before cutting it with your machine, and that your Air 2 is fitted with the Bonded Fabric Point Blade and Housing
You will need
Subtotal
Is $ 5.49

Subtotal
Is $ 15.00
Subtotal
Is $ 4.49 , was $ 9.49
Subtotal
Is $ 4.49

Subtotal
Is $ 608.00
How to make
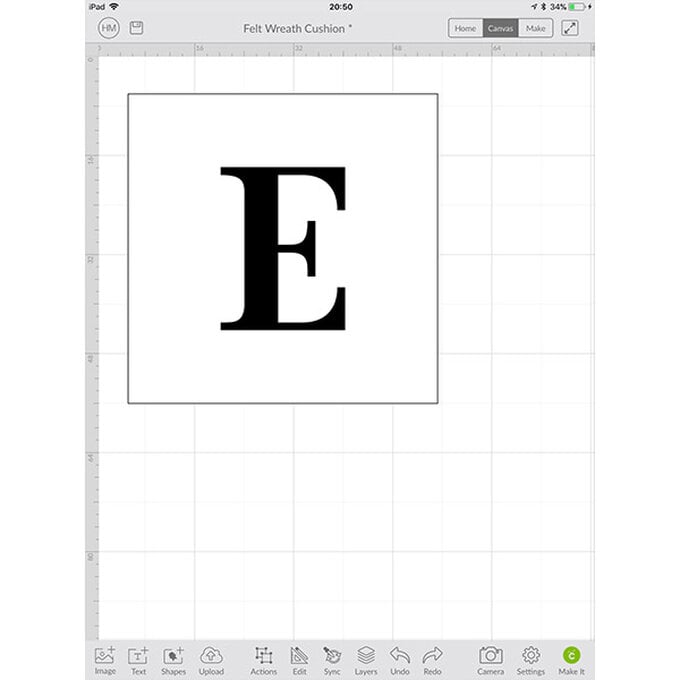
Login to Design Space, you will need Cricut Access for this project. Open a blank canvas and create a 50 x 50cm square to use as a template for your design.

Click on 'Text' button located in the menu at the bottom of the screen. Once the text menu pops up, type 'Big Day' in the search bar and select the font.

Type your initial of choice in the text box that appears on the canvas. Resize and position so that it sits in the centre of your square.
Select 'Image' from the toolbar at the bottom of the screen and type 'Leaf' into the search bar. Select three leaf designs of your choosing, then click 'Insert' located in the bottom right-hand corner of the screen. We found slightly curved designs worked best, as well as longer, thinner leaves.
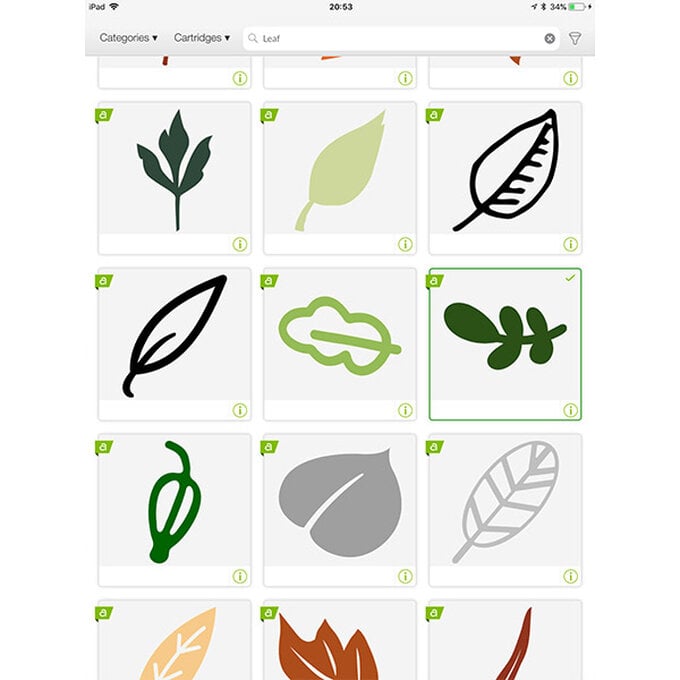
All of your chosen elements will then appear on your canvas screen.
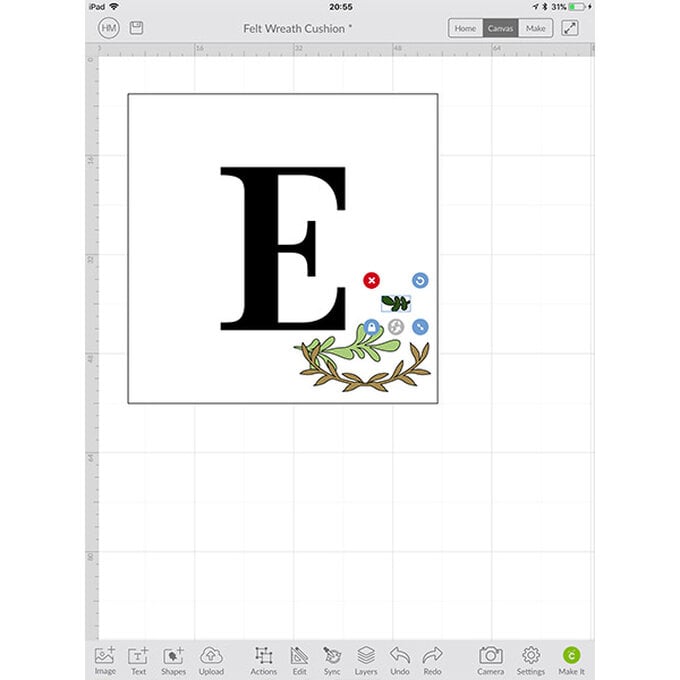
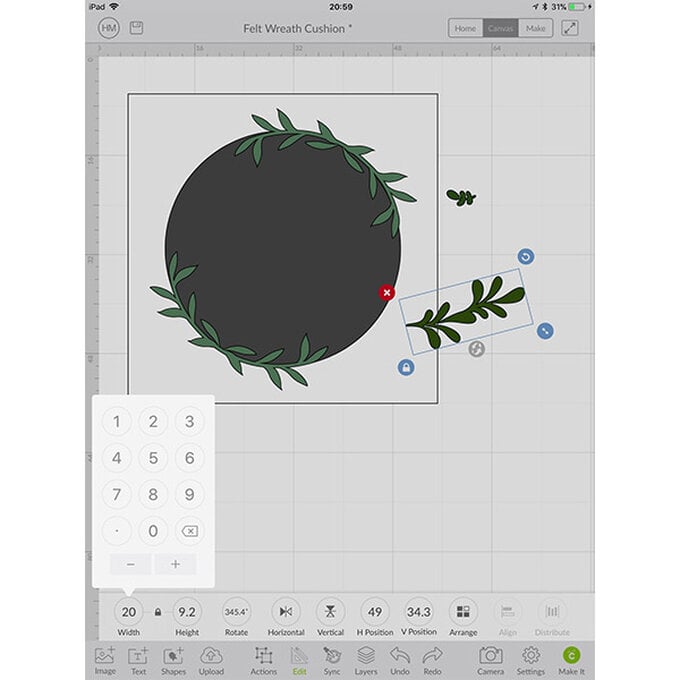
Resize the images using the 'Edit' button from the toolbar. Insert a circle to help guide you when designing the wreath. Move and resize the images to fit around the circle.
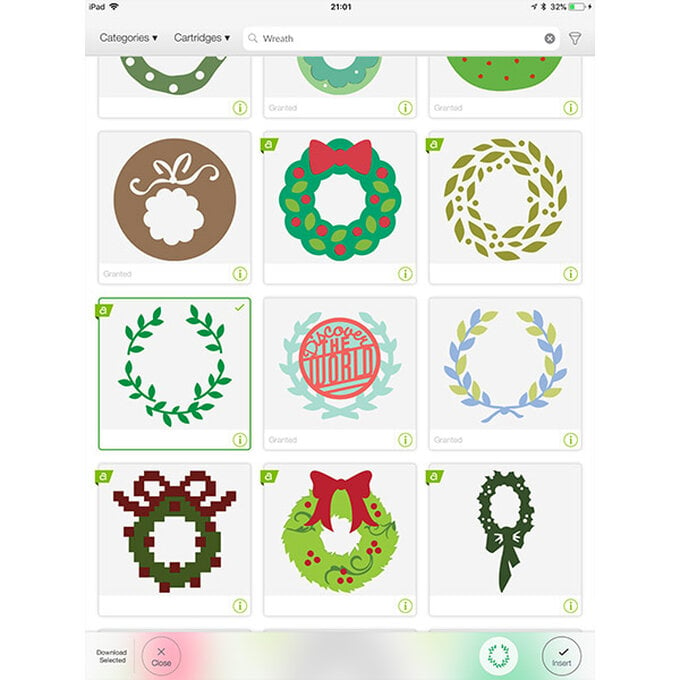
Select 'Image' from the toolbar at the bottom of the screen and type 'Wreath' into the search bar. Select the design below and click 'Insert'.
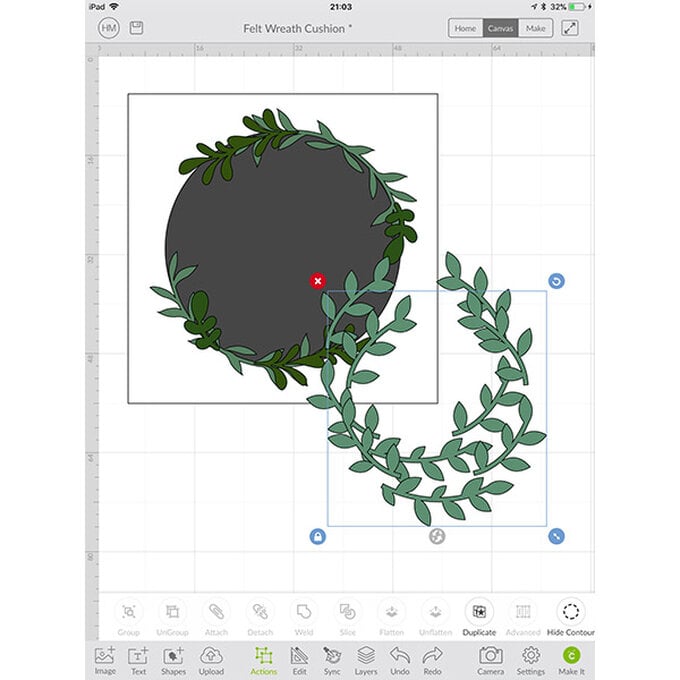
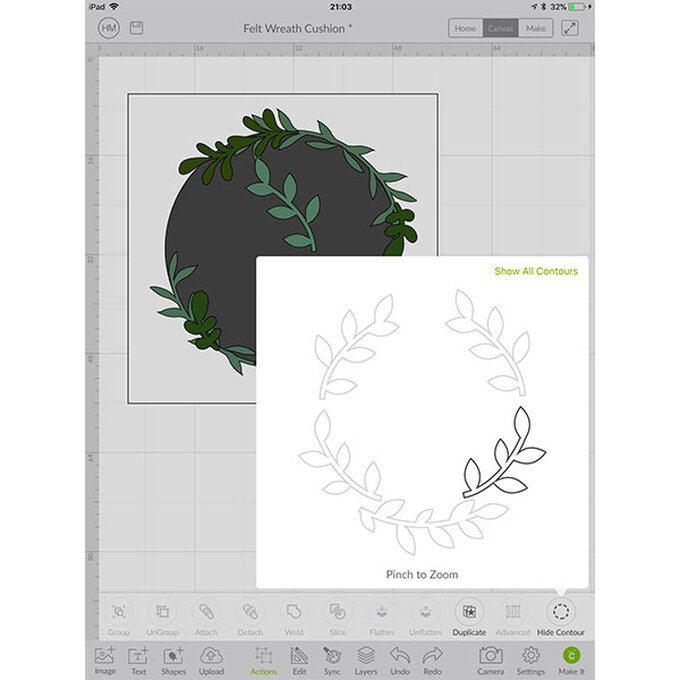
With the 'Actions' menu and the wreath selected, click on 'Duplicate' twice to create two more identical wreaths.
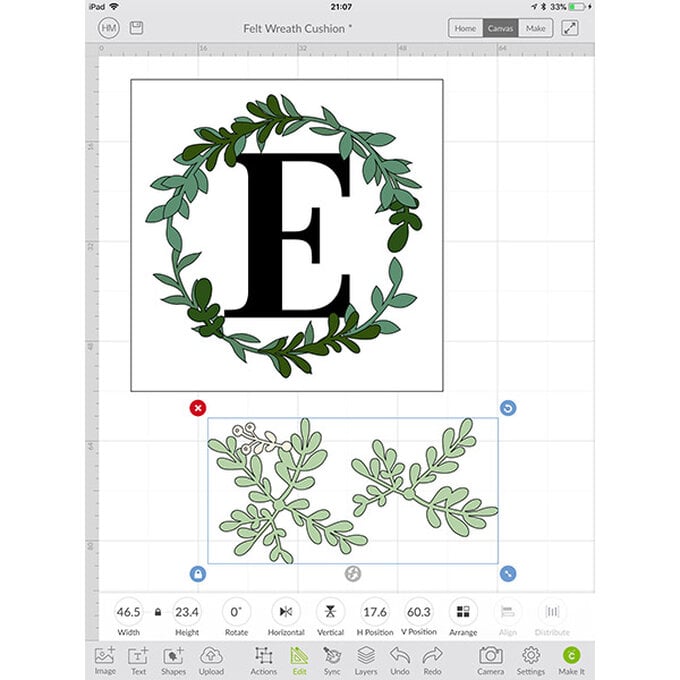
With the 'Actions' menu and one of the wreaths selected, click on 'Hide Contour'. Hide all but one of the leaves. Repeat for the other two so that you have three different leaves from the wreath images.
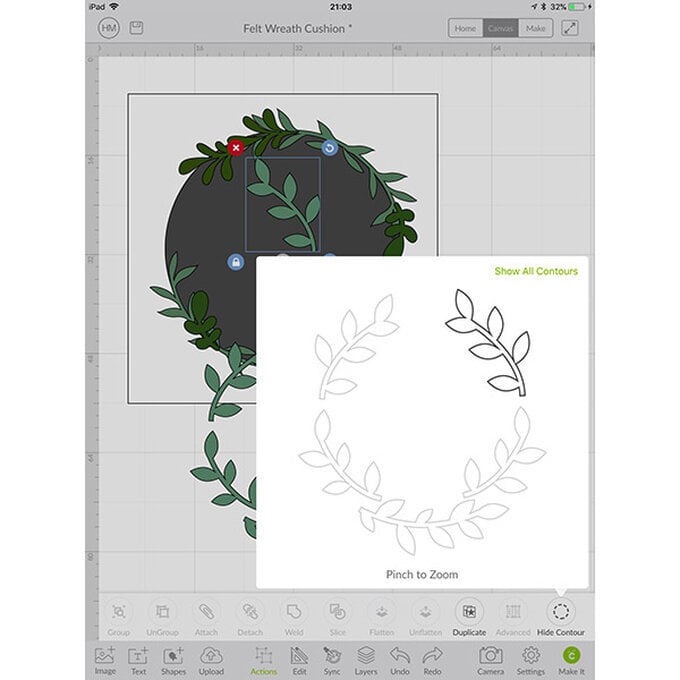
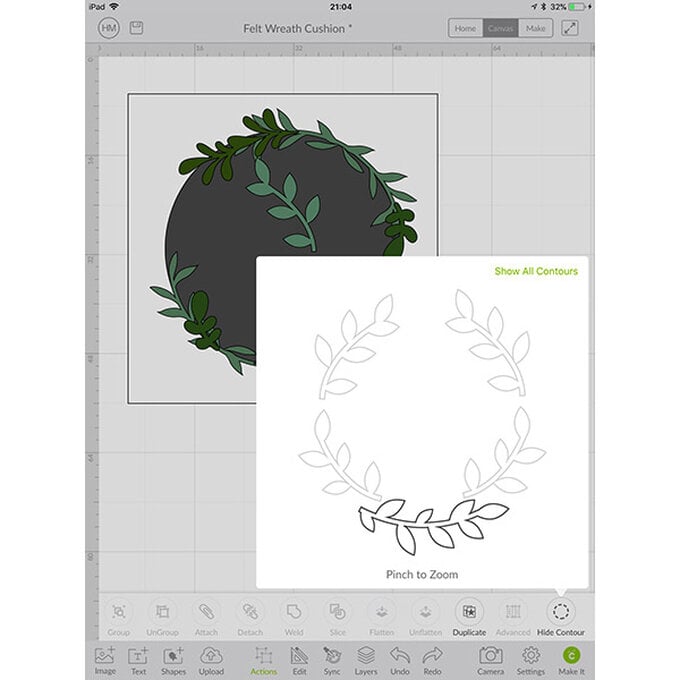
Place the leaves around the circle with the other foliage.
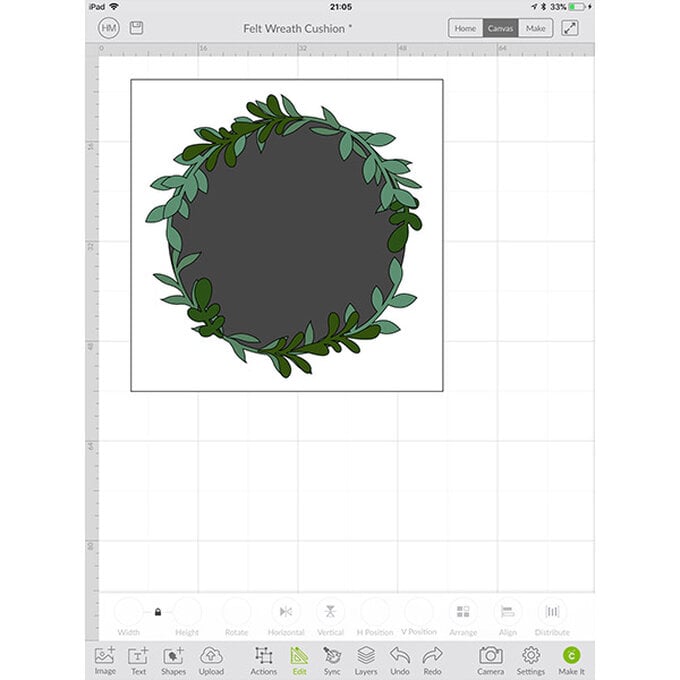
Select 'Image' from the toolbar at the bottom of the screen and type 'Mistletoe' into the search bar. Select your preferred design then click 'Insert'. We opted for the mistletoe spray highlighted below –
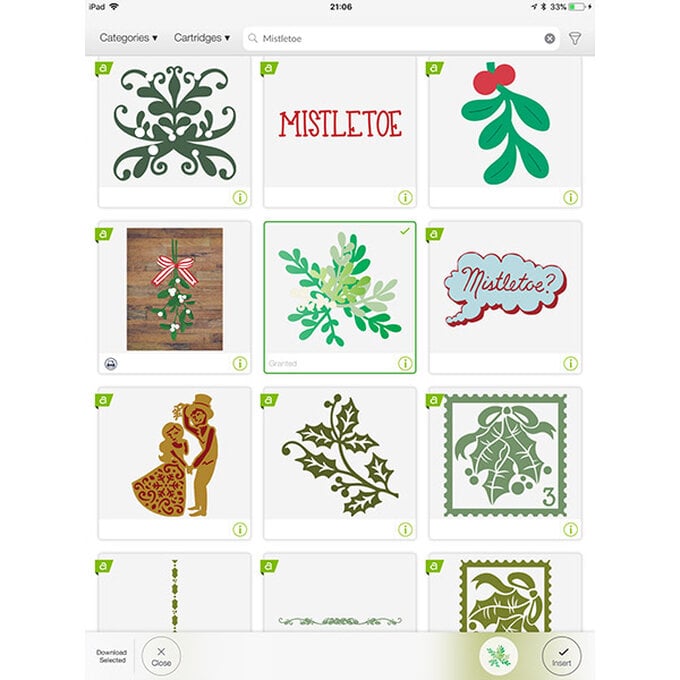
Within the 'Actions' menu and with the mistletoe image selected, click 'UnGroup'. Delete the smallest piece from the design.
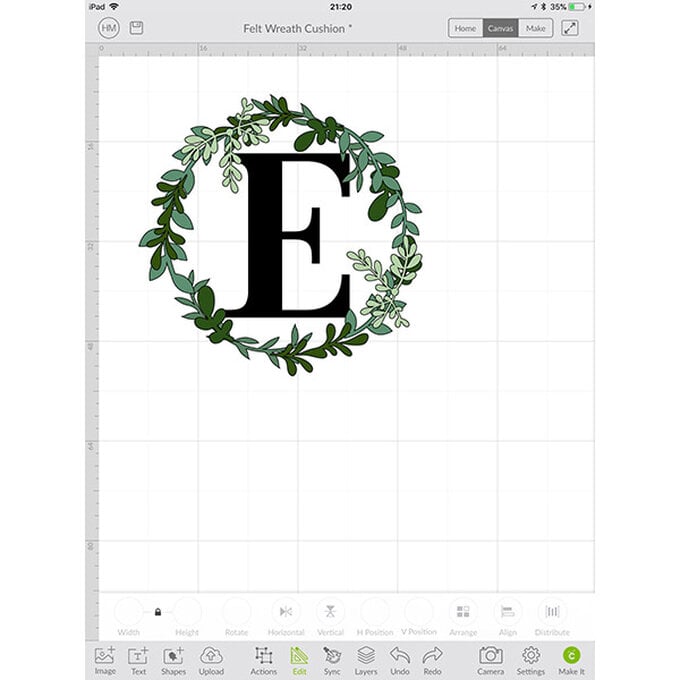
Duplicate, resize and place the leaves around the edge of the wreath until you are happy with your design. Once you're happy with the layout delete the circle that was acting as your wreath guide, then click the 'Make It' button in the bottom right-hand corner of the screen.
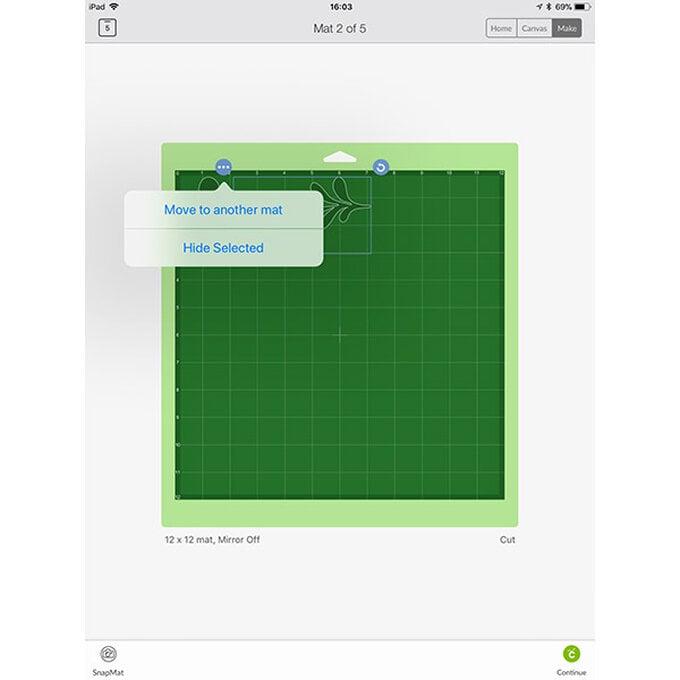
Check that all of your leaves fit onto two mats, if you find they go across more you can click on the three dots and select 'Move to another mat'. You can then move your images around so that they fit and do not overlap. For my design I only used the two green colours, however you can add in other colours to build up your wreath as much as you like!
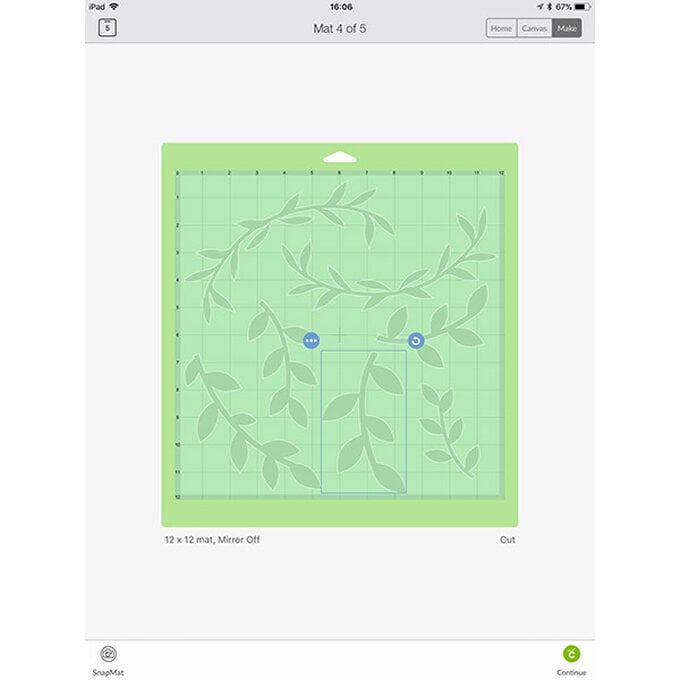
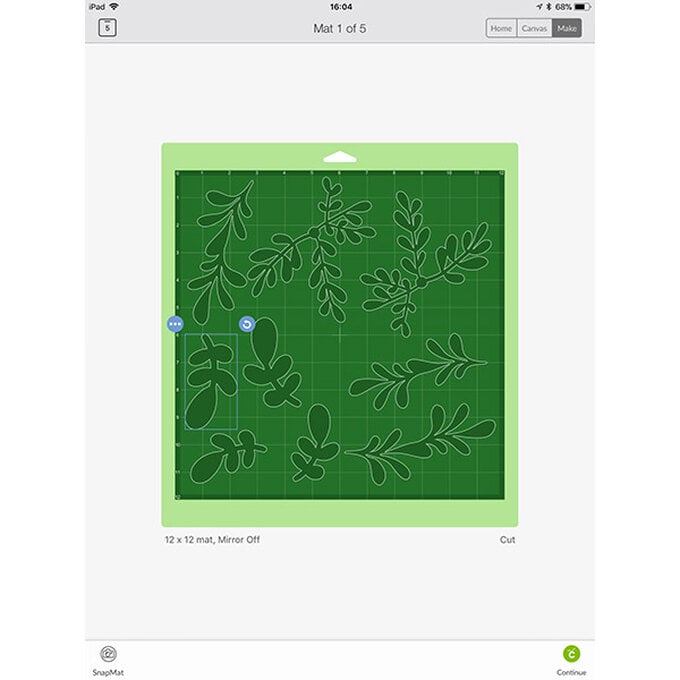
When your mats are ready, click the 'Continue' button in the bottom right-hand corner of the screen. You will then be taken through to the machine setup screen. Click on the 'All Materials' option and type 'Felt' in search bar. Once the material has been selected you'll then be told which tools you need to insert into the machine and in which port (A or B). Follow the on-screen instructions to cut out the required pieces.

Carefully remove your felt pieces from the mats.
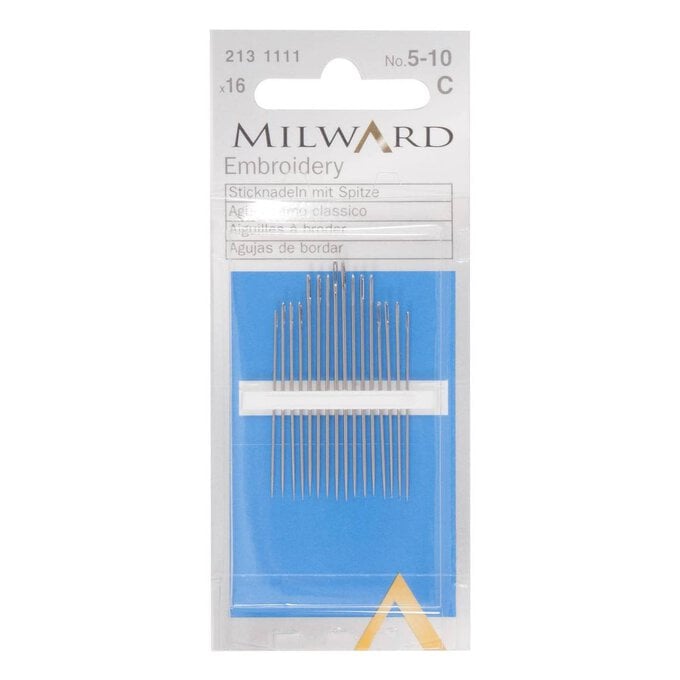
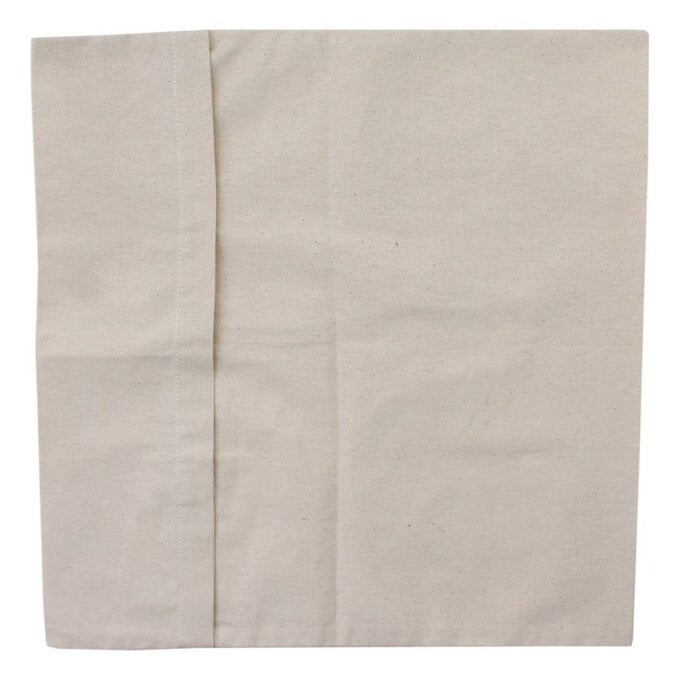
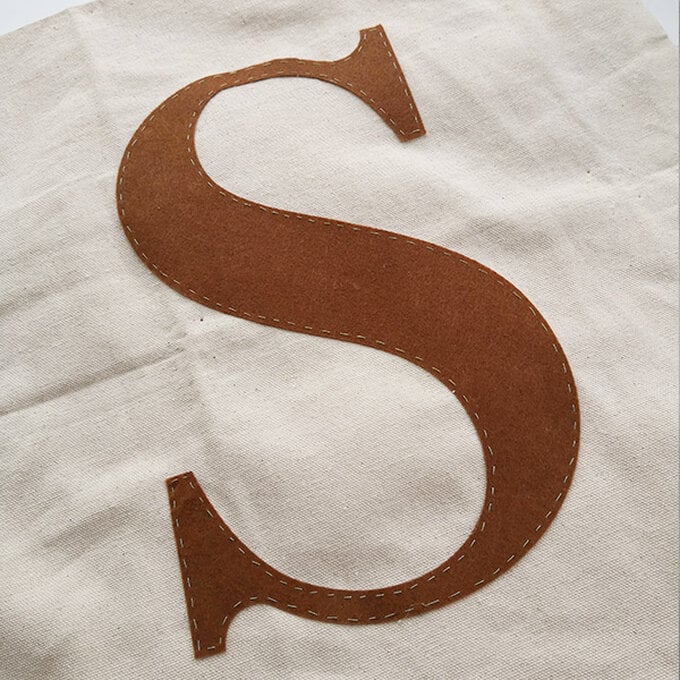
Add some fabric glue to the back of the letter initial and stick centrally to the cushion cover. Once the glue has dried, sew around the initial using a running stitch and green thread and an embroidery needle.
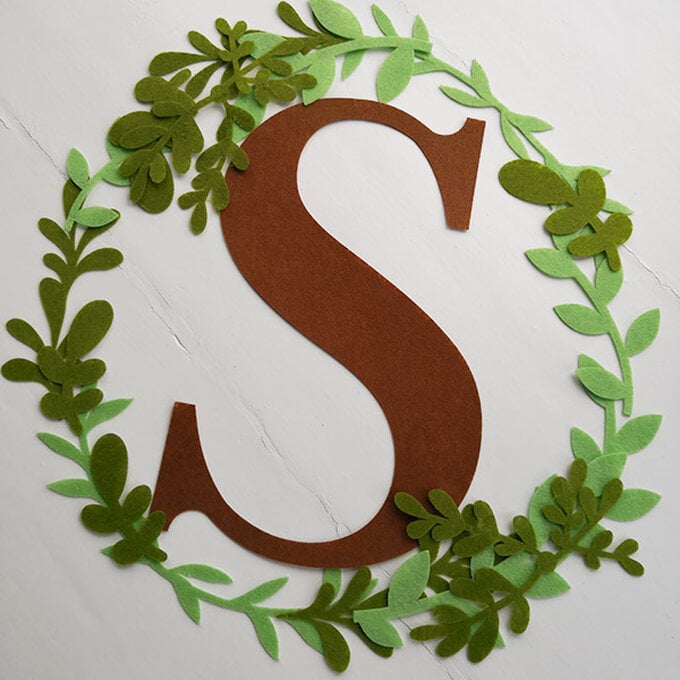
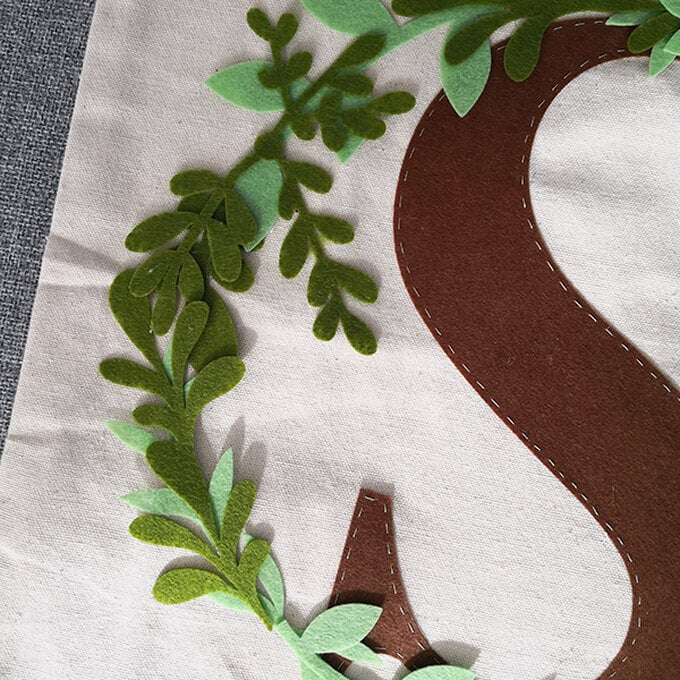
Following your design on Cricut Design Space, glue the felt leaves into place.
Leave the glue to dry, before adding a cushion insert into the cushion cover.
Related Products

Is $ 16.00
Is $ 16.00
Is FREE