Cricut: How to Make Easter Treat Boxes
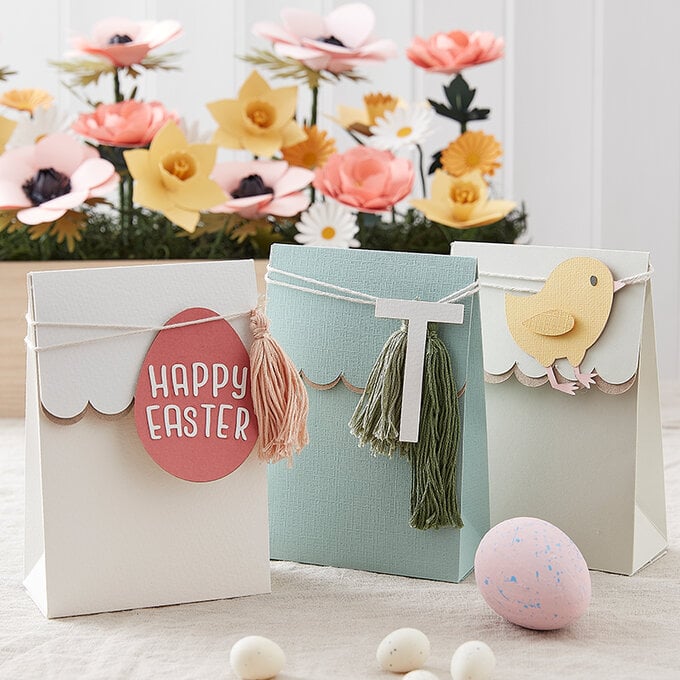
Create a little something extra-special for your guests this Easter with these versatile treat boxes, ideal for stowing a handmade gift or sweet treat.
This project can be created on various Cricut machines that have the ability to score, and either the Scoring Stylus or the Scoring Wheel can be used if you have a Cricut Maker.
Project and instructions by Aisha Cluitt.
Cricut Design Space Project Link: Easter Treat Boxes
Discover more Cricut ideas here
This project contains paid-for content from the Cricut Design Space app. Screen grab reference images are taken from the desktop version of Design Space. This project was created using the Cricut Explore 3; however, it can also be recreated on the Cricut Maker machines and the Explore Air 2.
You will need
Subtotal
Is $ 424.00

Subtotal
Is $ 42.00
Subtotal
Is $ 29.00
Subtotal
Is $ 2.49
How to make
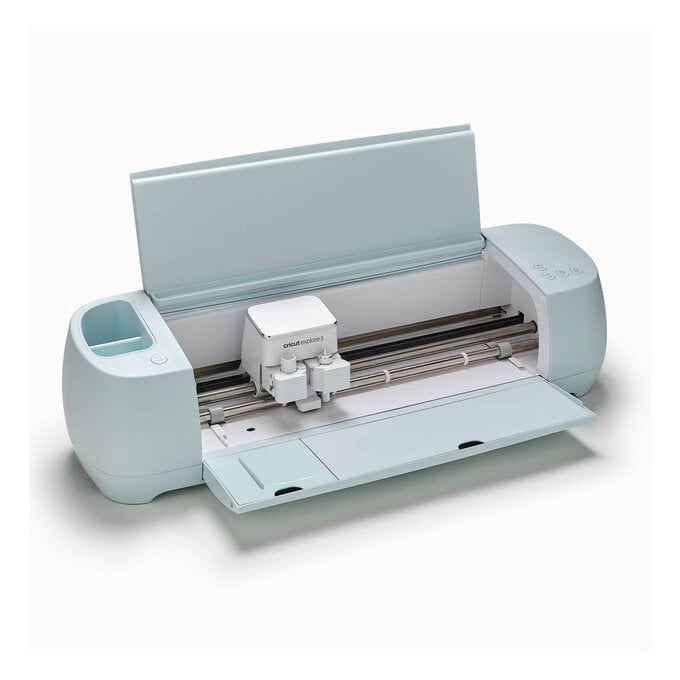
* Cricut Explore 3
* Cricut Variety Cutting Mats 30cm x 60cm 3 Pack
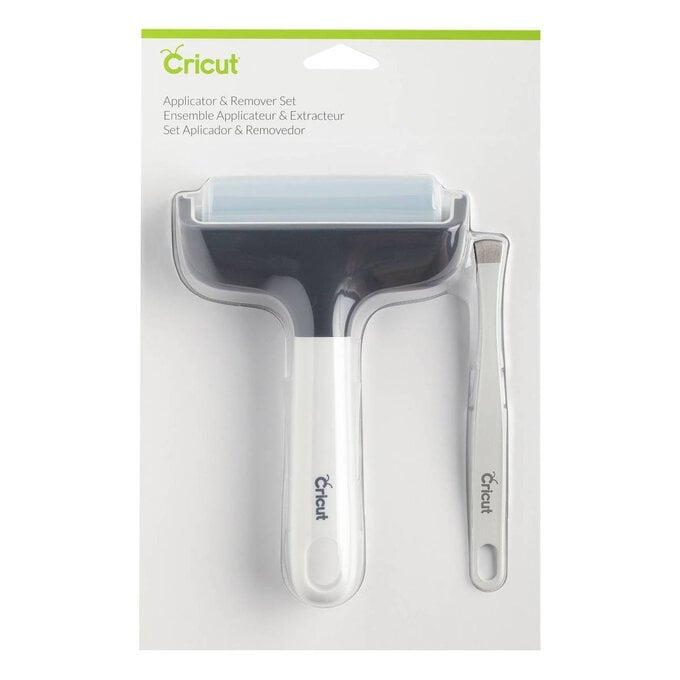
* Cricut Brayer and Remover Set
* Cricut Scoring Stylus
* Tacky Glue 60ml
* A4 Recycled Kraft Card 50 Pack
* Stix 2 in 1 Glue Pen
* Ultratape General Purpose Double Sided Sticky Tape 12mm x 33m
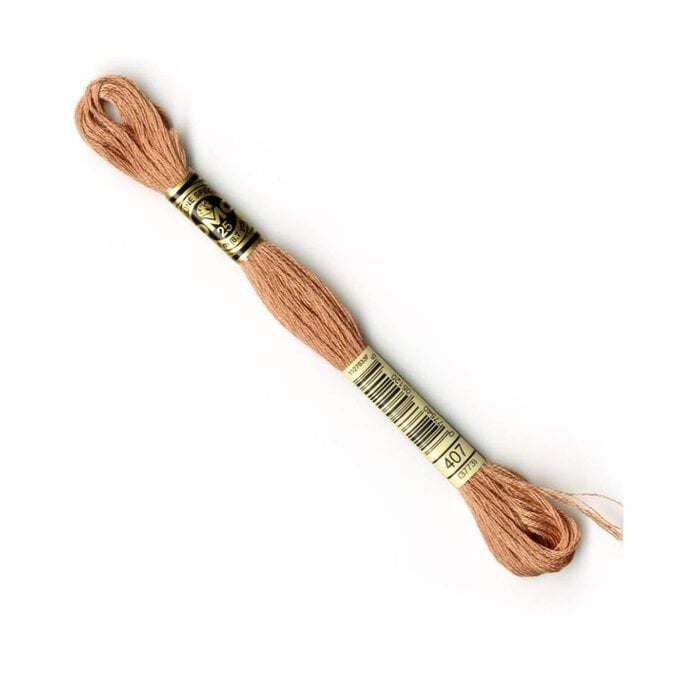
* DMC Pink Mouline Special 25 Cotton Thread 8m (407)
* DMC Green Mouline Special 25 Cotton Thread 8m (320)
* DMC Green Mouline Special 25 Cotton Thread 8m (319)
* Fine Cotton Twine
* A3 My Colour Cardstock Sheets - available in-store only
* A Variety of Cardstock Offcuts
* Cricut Design Space app installed on a PC or laptop

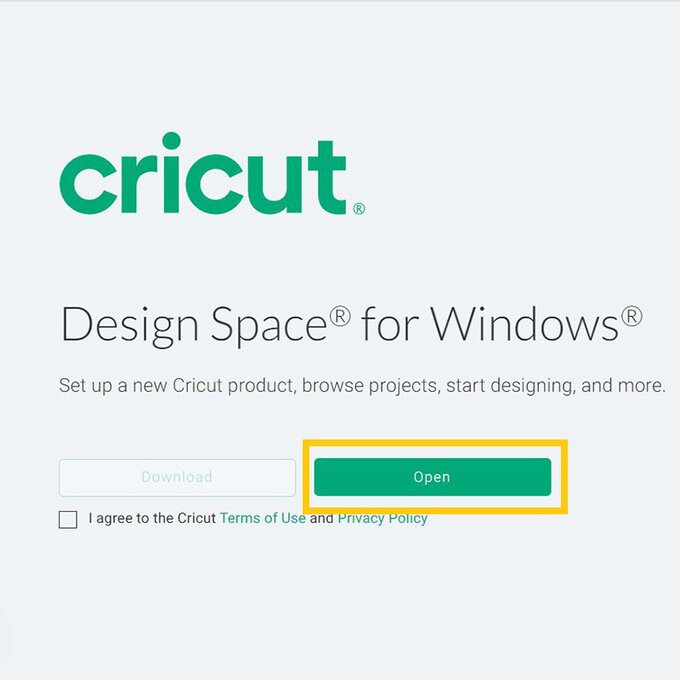
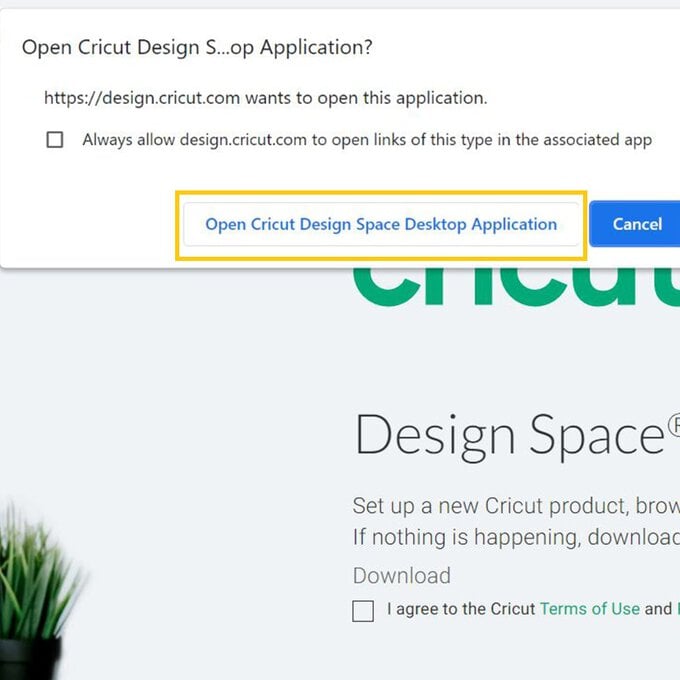
Start by opening the project in the Cricut Design Space app using the project link at the top of this post, or alternatively use the link below - https://design.cricut.com/landing/project-detail/6185c33b871b21a9cbb9eca8
To access the project, copy and paste the link into your browser, you will be directed to a Cricut landing page, select 'Open' followed by 'Open Cricut Design Space Application'.
The app will open (you may be prompted to log in) and the project overview screen will appear.
Select 'Customise'.

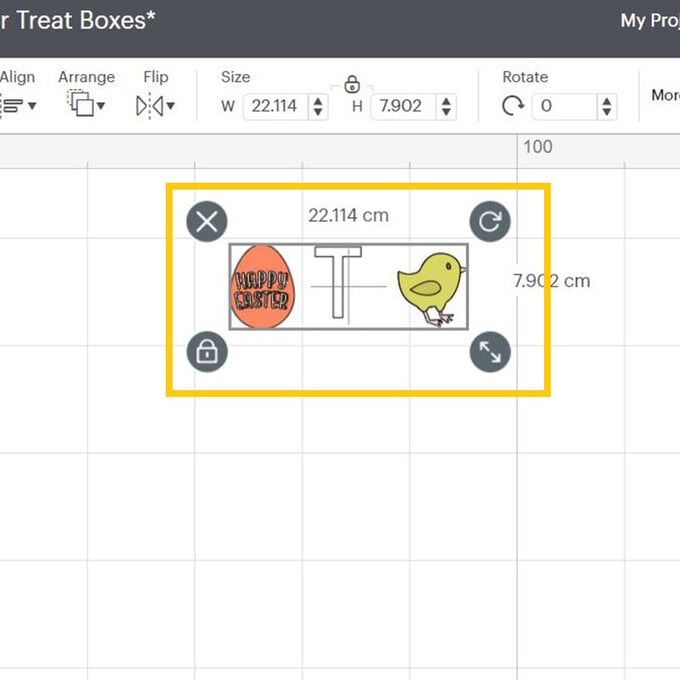
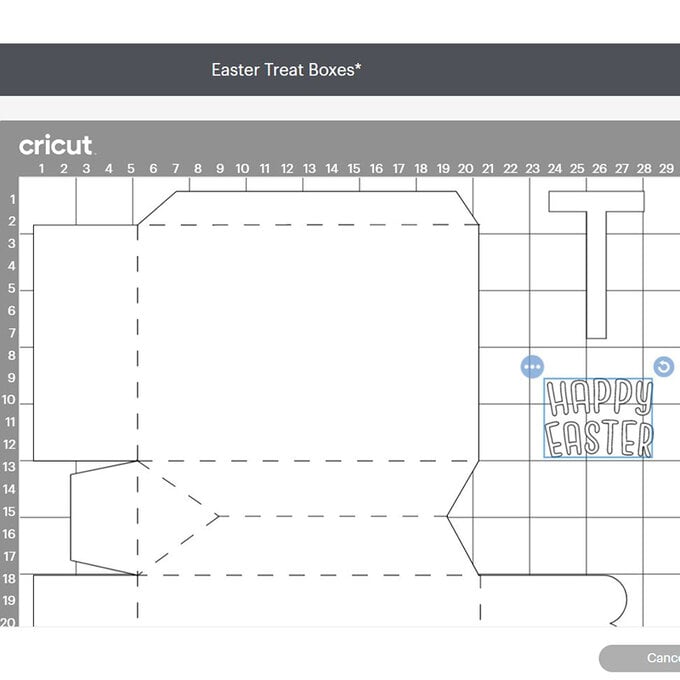
Once through to the Canvas screen, re-size the treat box elements to your desired size, followed by the tags.
Make sure to make note of any warnings that appear on the 'Layers' panel regarding the maximum cutting size of your machine and adjust the design as needed.
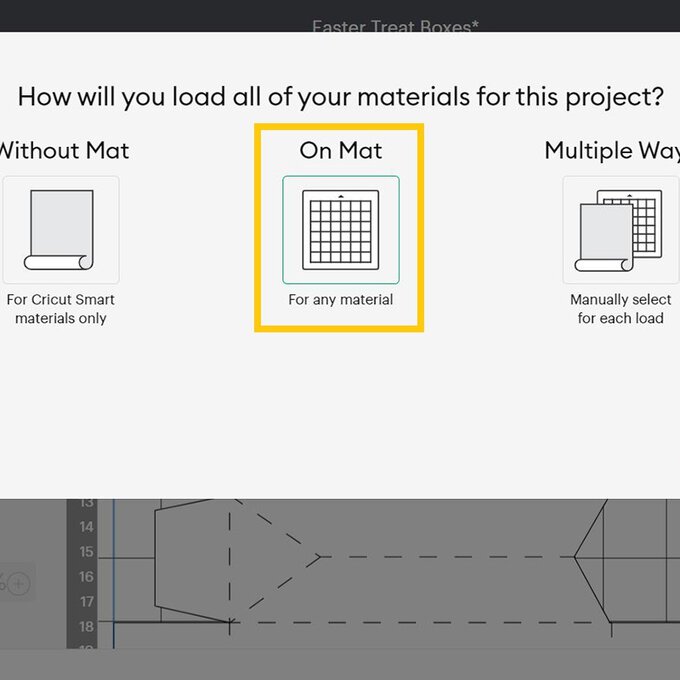
Once happy, select 'Make it'.

You'll then be taken through to the mat preview screen, check everything is present and correct before clicking 'Continue'.
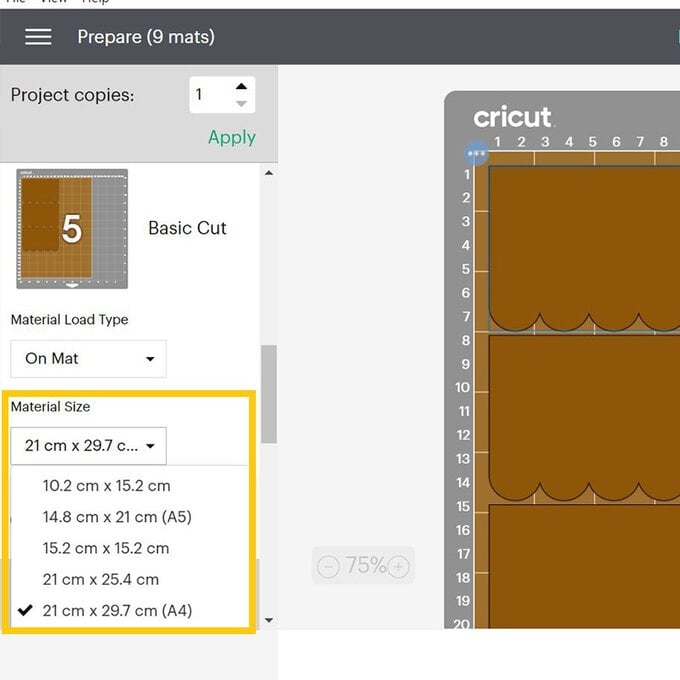
Dependent on what size cardstock you are using, some of the mats may need to be amended to reflect this. To do this, select the relevant mat and then the correct material size from the drop-down menu.
This will need to be completed for each mat colour.
Once through to the machine set up screen, follow the on-screen instructions to cut out each of the design elements making sure to change the cut material as and when needed.
Top Tip: Pay special attention to the blades and tools you'll need to insert in your machine, as this will vary from mat to mat.
Once everything has been cut, carefully remove the elements from the mats.
Start by creating the treat boxes by folding along the score lines.
Top Tip: If you have one, use a scraper tool to help ensure crisp folds, by running the tool along the folded score line.
Secure the scalloped kraft card elements to the inside flap of the treat boxes using strong double-sided tape.
Then, construct the treat box using double-sided tape along the tab.
Finally, construct each of the tags using a glue pen and double-sided tape.
Use tacky glue to secure a length of twine to the back of each tag, then secure to the treat boxes along with handmade tassels made using embroidery thread.
Related Products