Cricut: How to Make Waterproof Storage Jar Labels
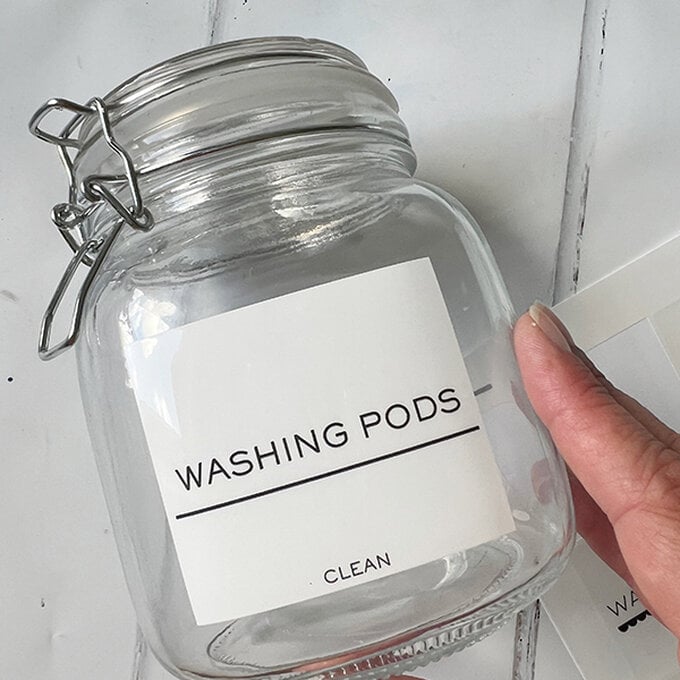
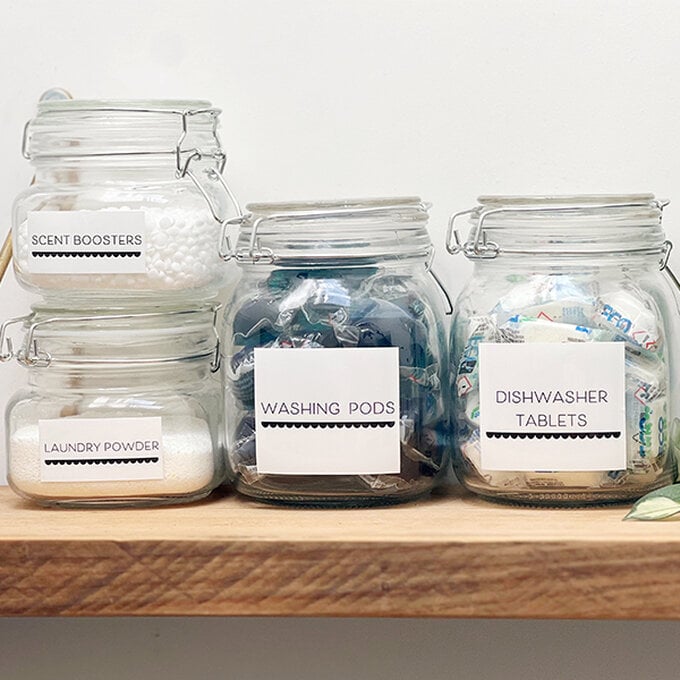
Add some style to your bathroom or cleaning storage with this sleek, monochrome waterproof label design using Cricut waterproof sticker sheets! You will need to use your inkjet printer in conjunction with your Cricut machine as this is a 'Print then Cut' project.
We've used the new Cricut Joy Xtra for this project, follow along with the instructions below to find out how to make. These storage jar labels are perfect for getting organised!
Cricut Design Space Link: https://design-beta.cricut.com/landing/project-detail/64db9a2655761dfcf65d4bea
Project and Instructions by Kate Smith for Cricut
Please note: This project contains images from Cricut Design Space™. Screen reference images are taken from the Desktop version of Design Space. Tablet & Smartphone images may differ.
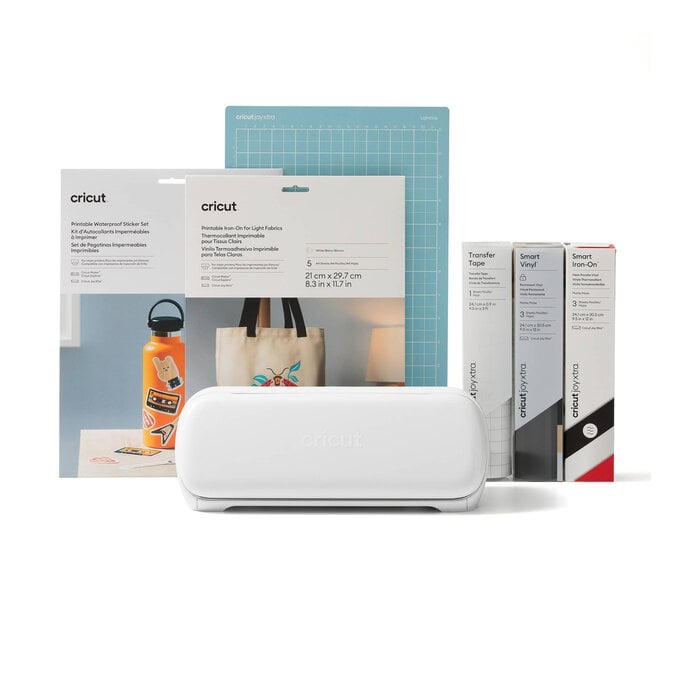
You will need
Subtotal
Is $ 353.00 , was $ 369.00
Subtotal
Is $ 6.49
Subtotal
Is $ 4.49
How to Make
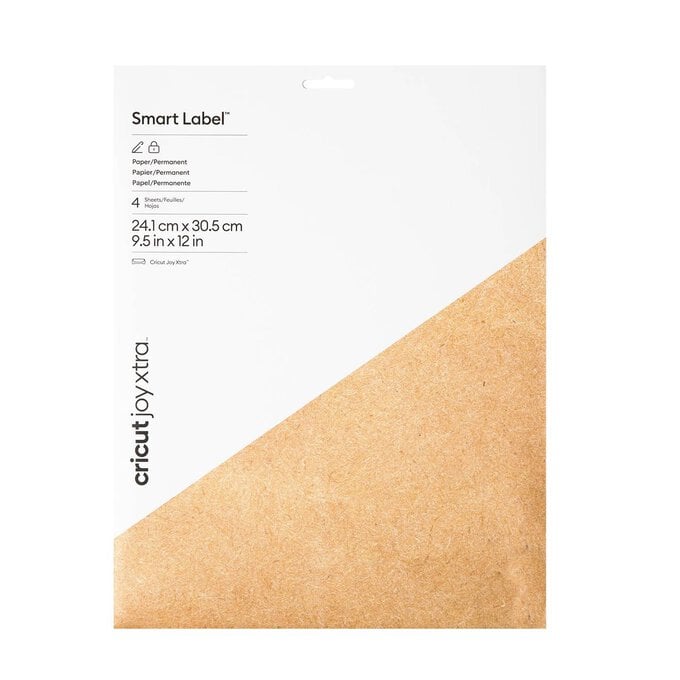
* Cricut Joy Xtra
* Cricut Waterproof Printable Sticker Sheets
* Cricut Joy Xtra Light Grip Machine Mat
* Inkjet Printer
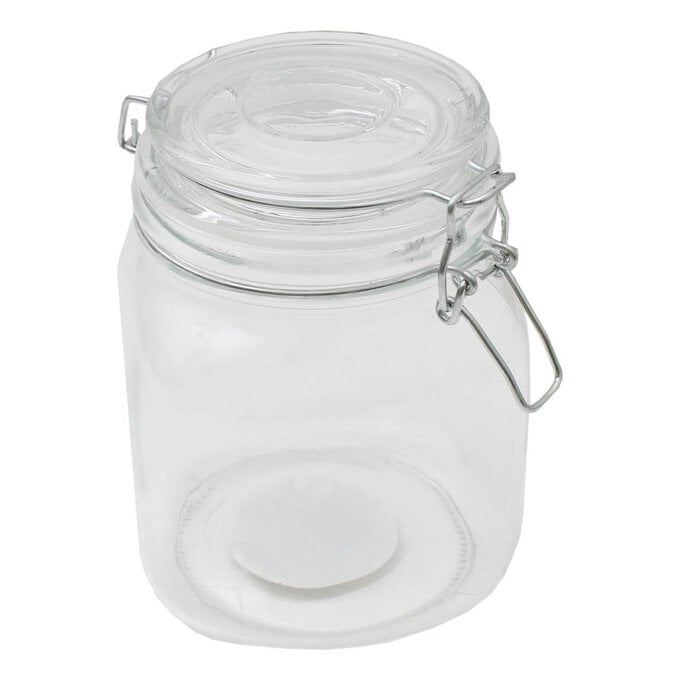
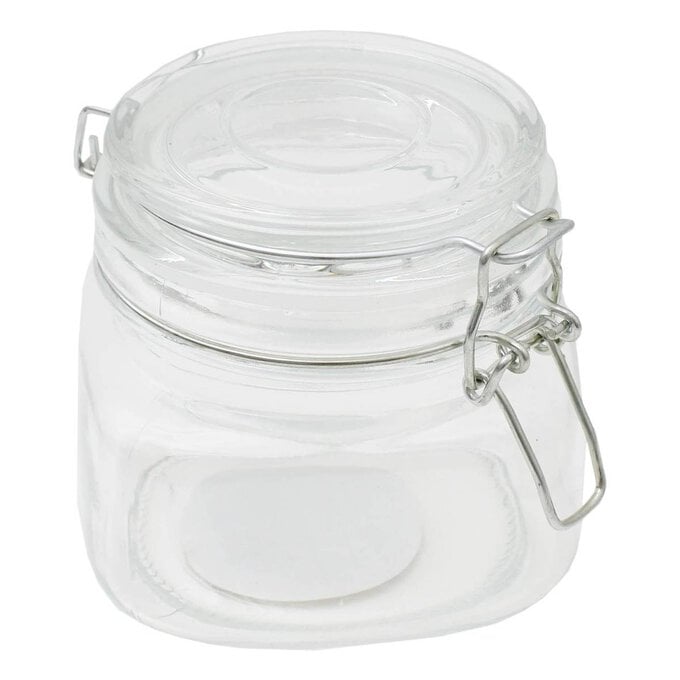
* Storage Jars
* Computer/Tablet/Smartphone with Cricut Design Space App Installed

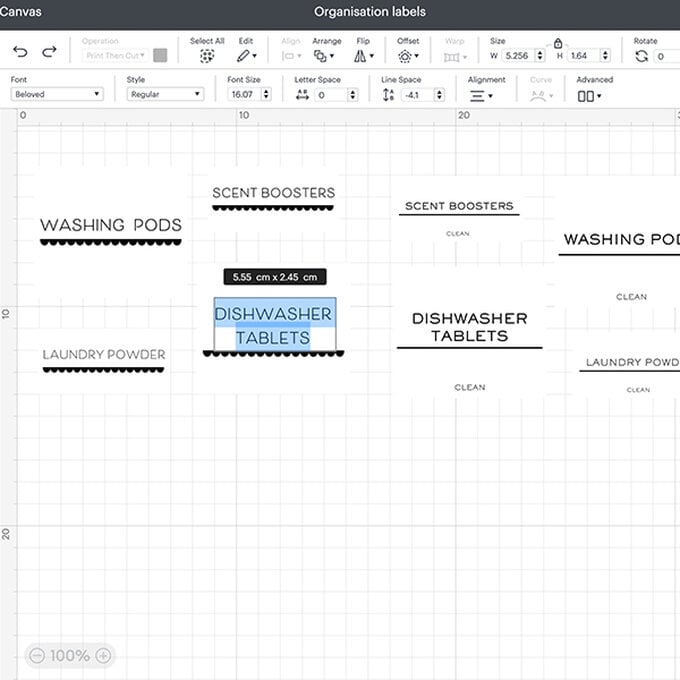
Log into Design Space and open this project: https://design-beta.cricut.com/landing/project-detail/64db9a2655761dfcf65d4bea
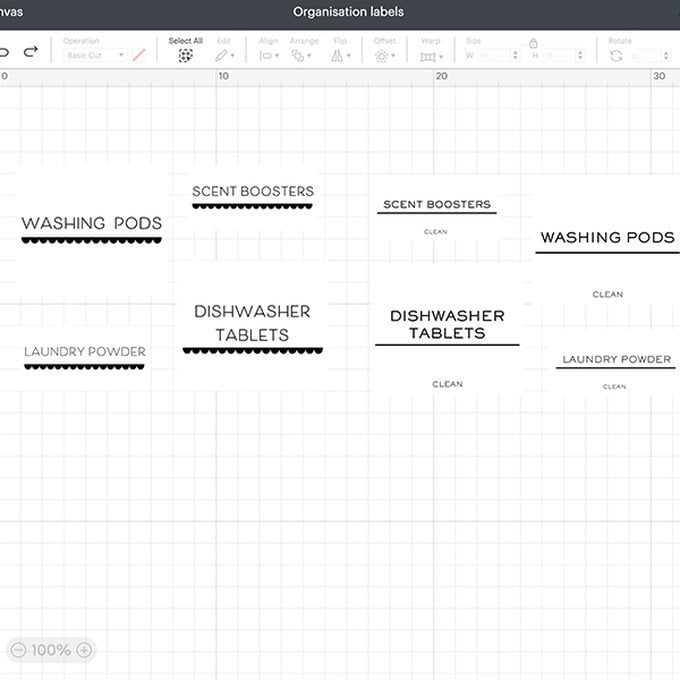
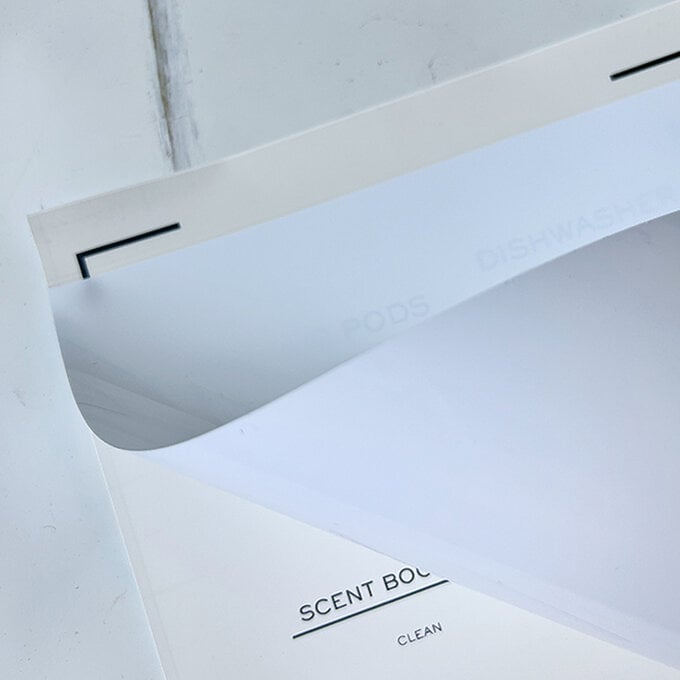
Place the clear waterproof sticker layer on top of the printed sheet. Peel the top strip off first to align, then peel the remainder of the backer off and gently press the waterproof layer down.
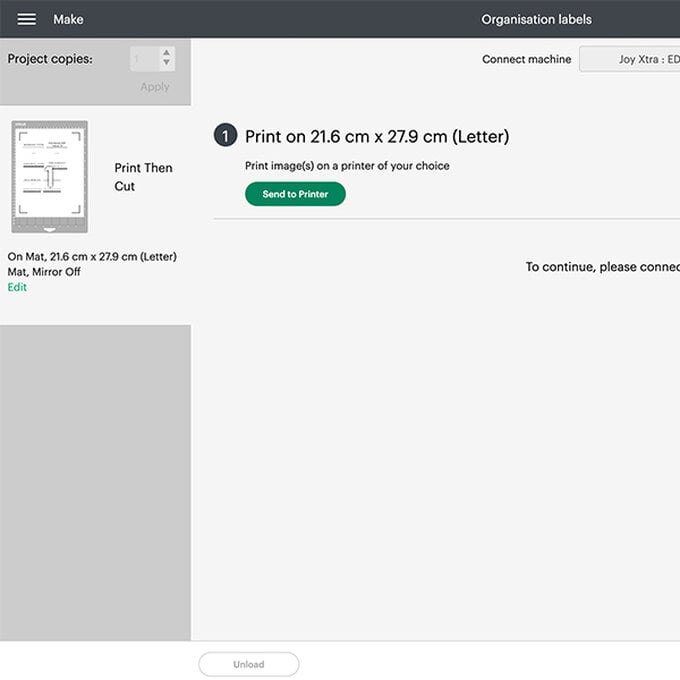
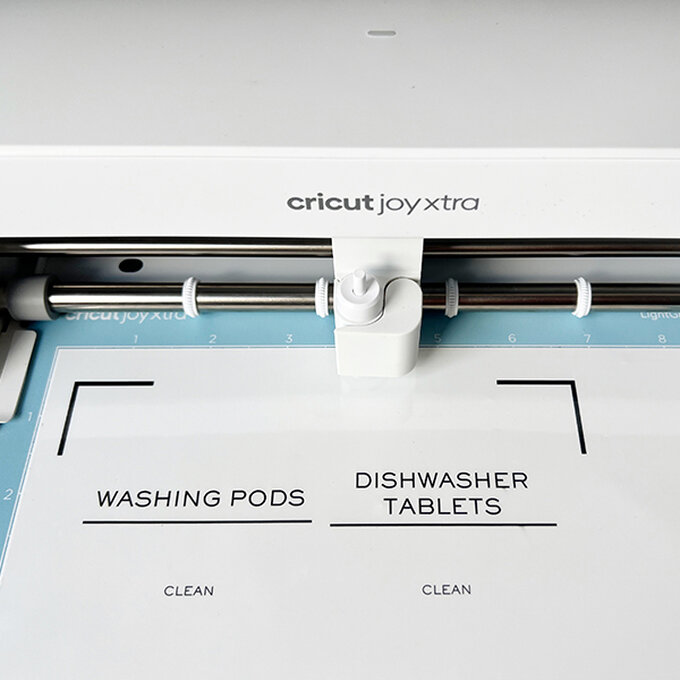
Place the sheet on a Light Grip Cricut Joy Xtra mat. Follow instructions on-screen to send the project to your Cricut Joy Xtra (make sure your Cricut machine is turned on and in range to pair via Bluetooth®).
Peel the labels off the sheet and place onto your clean, dry containers.

Related Products

Is $ 3.49
Is $ 3.49

Is $ 2.49
Is $ 4.49

Is $ 4.49

Is $ 18.00

