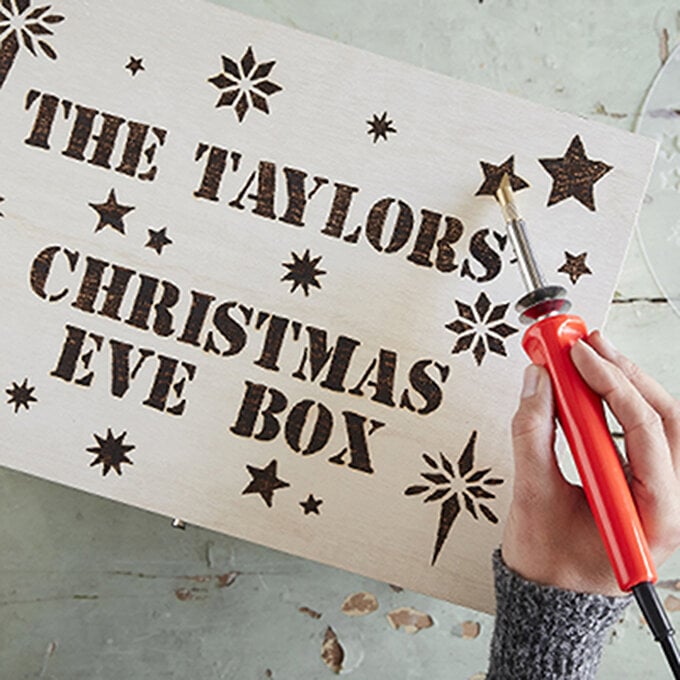
Glowforge: How to Make a Christmas Eve Tray
Make memories to last a lifetime with the little ones as they leave a treat for Santa and Rudolf with this personalised Christmas Eve tray.
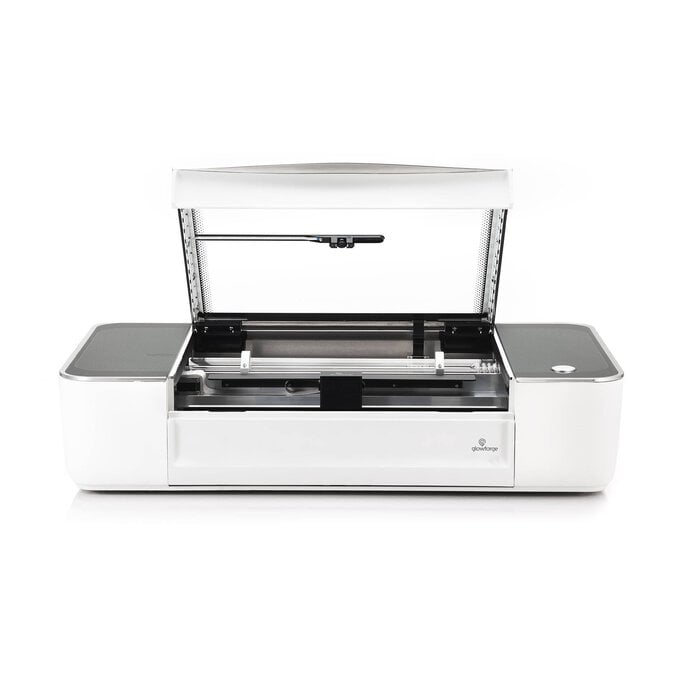
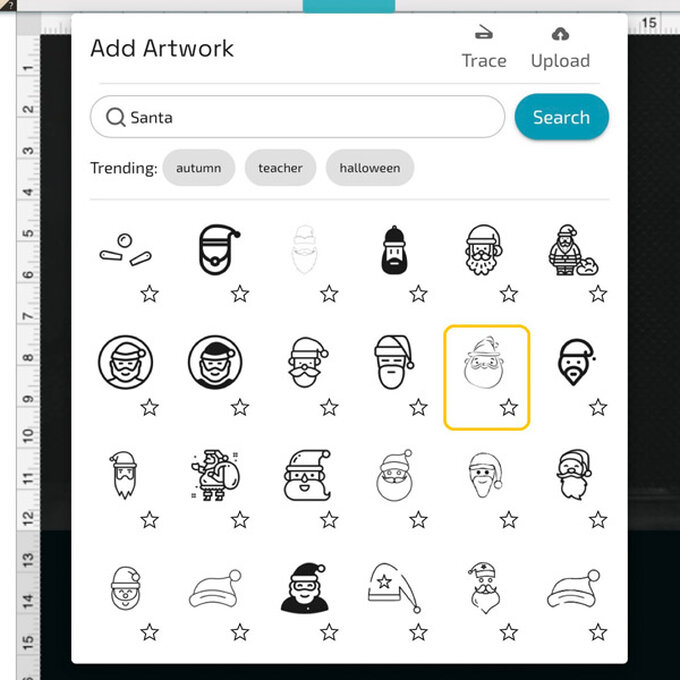
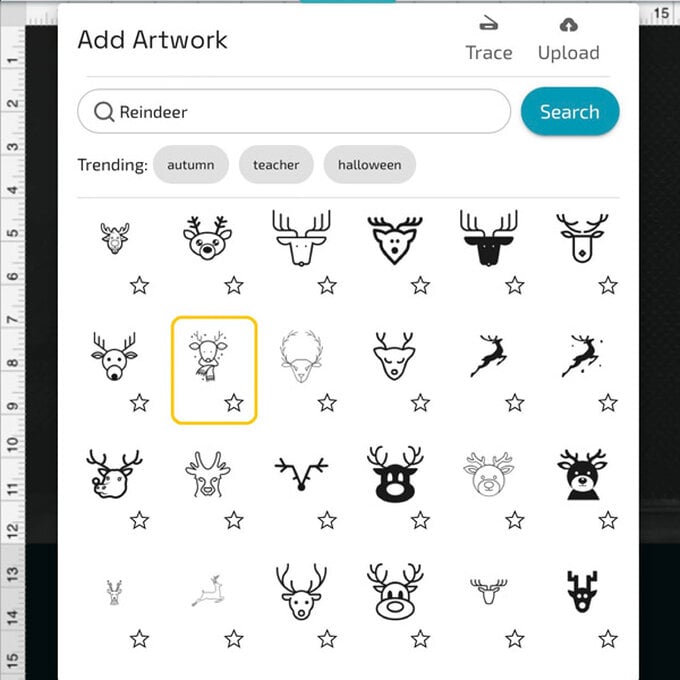
With the Glowforge Laser Printer, this simple design uses both the engrave and score features to create a unique but simple gift. We have chosen our favourite images from the extensive Glowforge image library, but you could also upload your own digital design!
Project and instructions by Chrissie Ellson
Discover more Christmas projects here >
Please note: This project contains paid-for content from the Glowforge image and font library. Screen reference images are taken from the iPad version of the Glowforge design software.
You will need
Subtotal
Is $ 10.00
Out of stock
Subtotal
Is $ 6,790.00 , was $ 7,355.00
Subtotal
Is $ 1,840.00
Subtotal
Is $ 1,980.00 , was $ 2,265.00
How to make
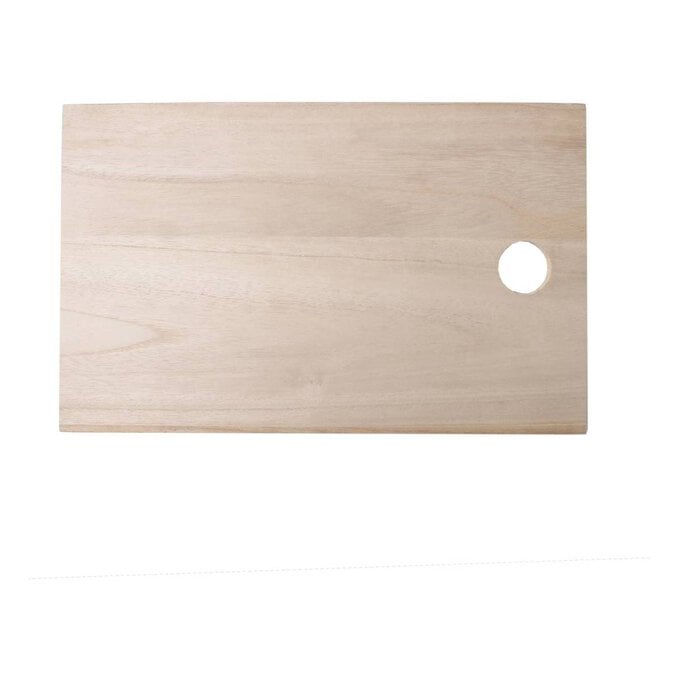
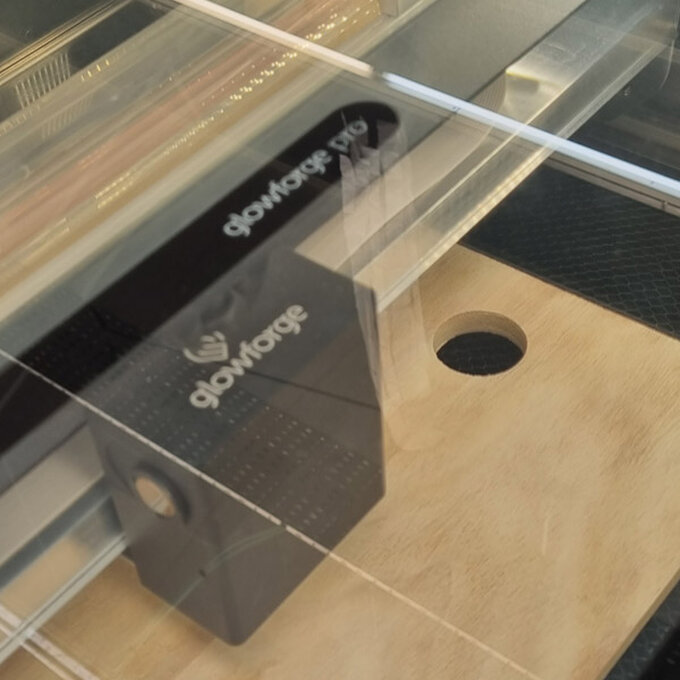
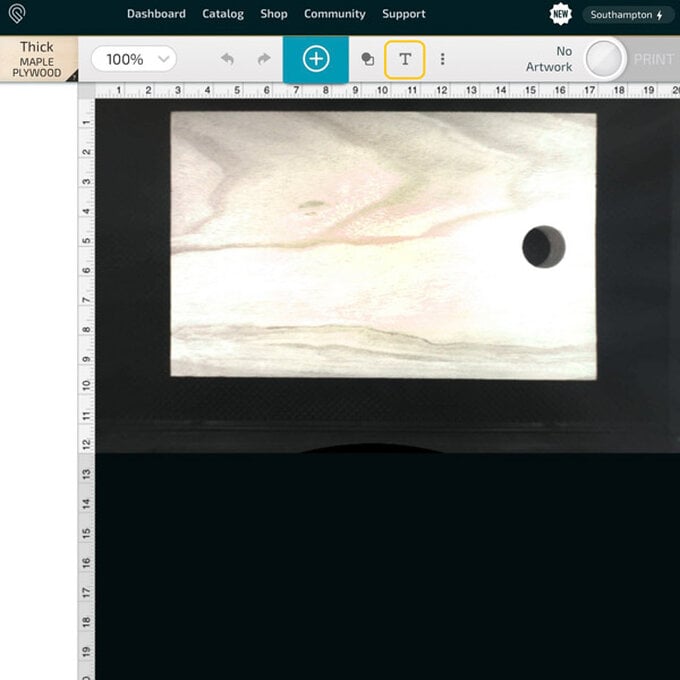
Place the Wooden slab in to the Glowforge and close the lid.
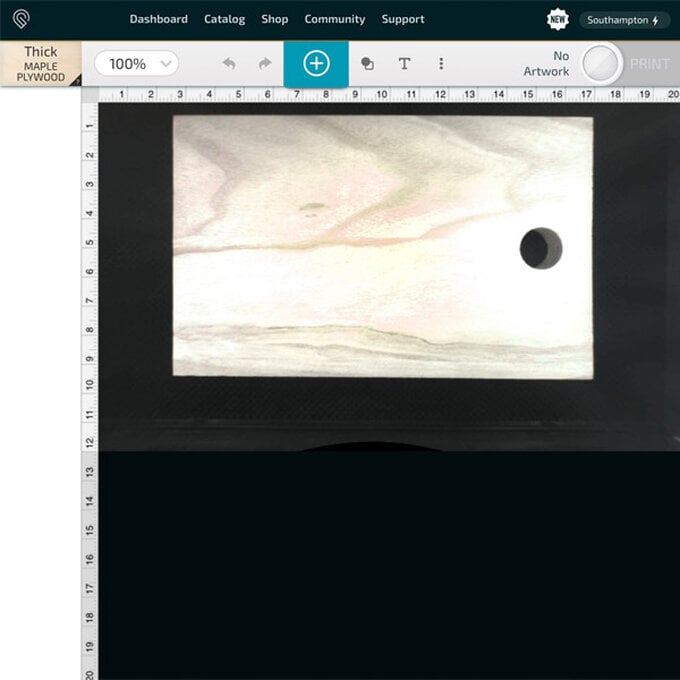
The Glowforge will take a picture of the slab and show it on your screen.
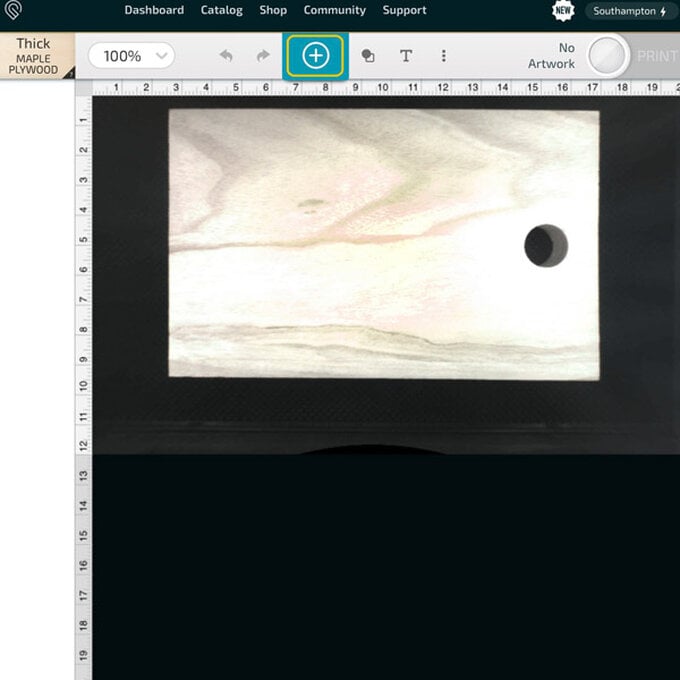
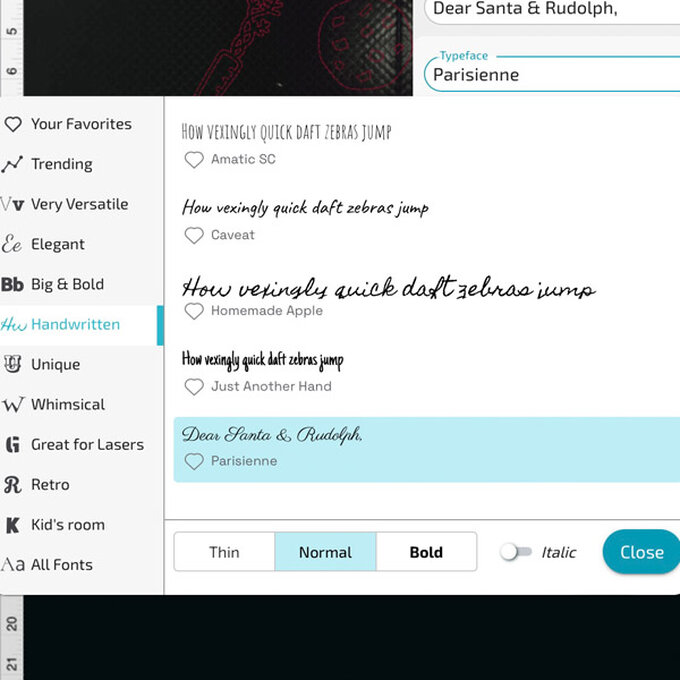
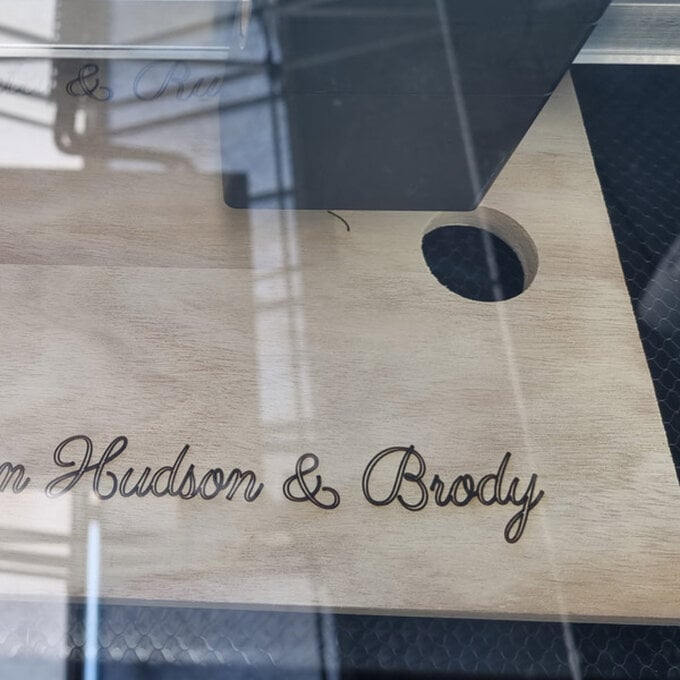
To add your text click on the 'T' button, type your text and then select your font.
It is up to you what style font you desire, we think that 'Parisienne' looks great and can be found under the 'handwritten', 'normal' tabs.
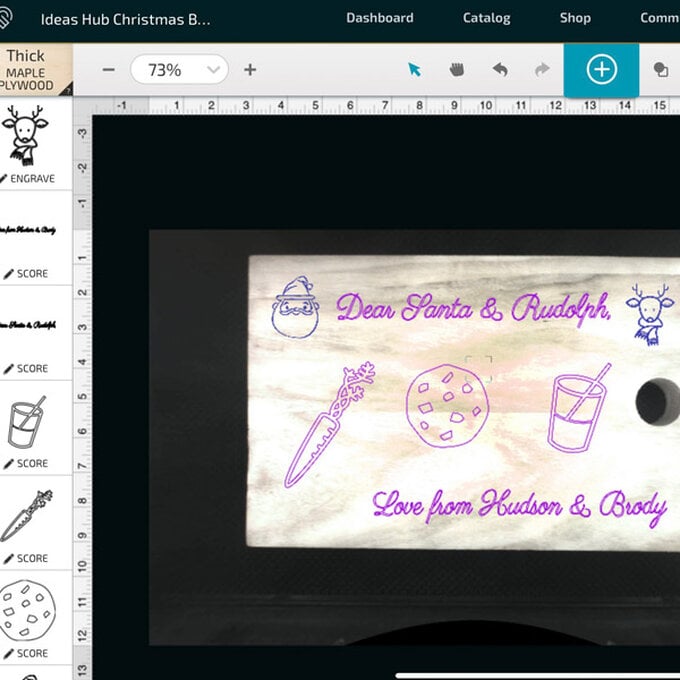
Arrange your design on the board and click on each item on the side bar to set to 'engrave' or 'score'. We have used the engrave feature on the Santa and Reindeer, and the score feature for everything else.
Tip: Scoring takes less time than engraving, so will help reduce the time required to produce your board.
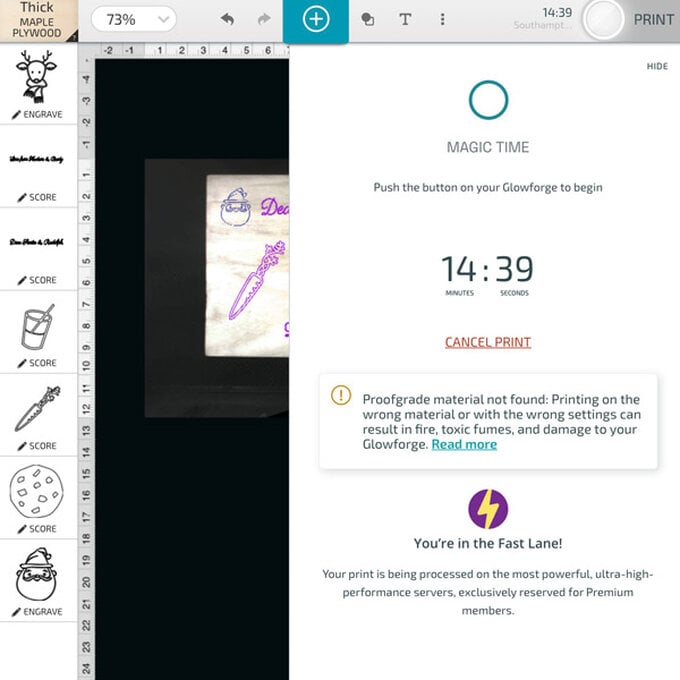
Even though this board is not Glowforge Proof Grade, we have used the “Thick Maple Plywood” setting as we are not cutting and it has worked well.
When you are ready, hit the print button to begin your design.
The amount of time required for your project will vary depending on the complexity of your design, and the features you have chosen to use. Our board took around 15 minutes to engrave.

Related Products