How to Crochet a Daisy Cushion
Discover how to crochet an adorable daisy cushion with this step-by-step pattern. Featuring a bobble stitch design, this cushion is perfect for intermediate crocheters looking to complement their spring décor.
This design is so beautiful that you may just have to cover your entire sofa in crochet daisy cushions!
Pattern by Kate Rowell of Jellybean Junction
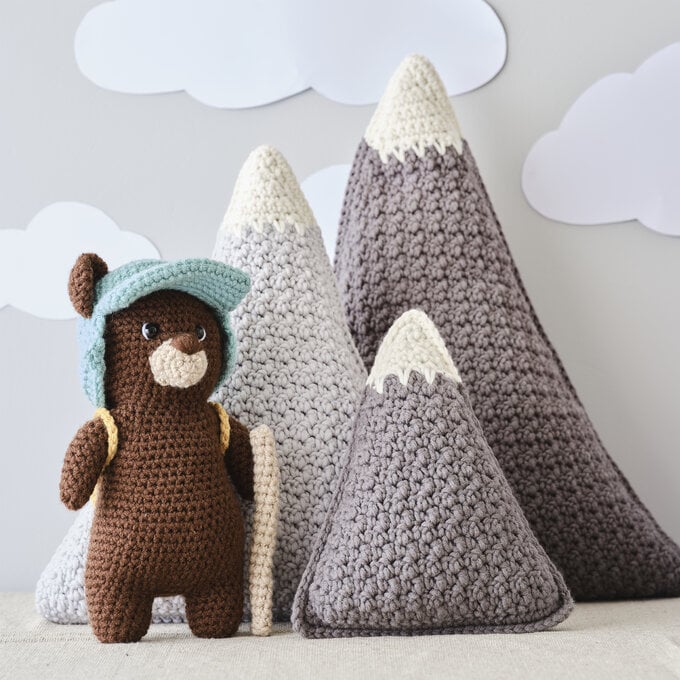
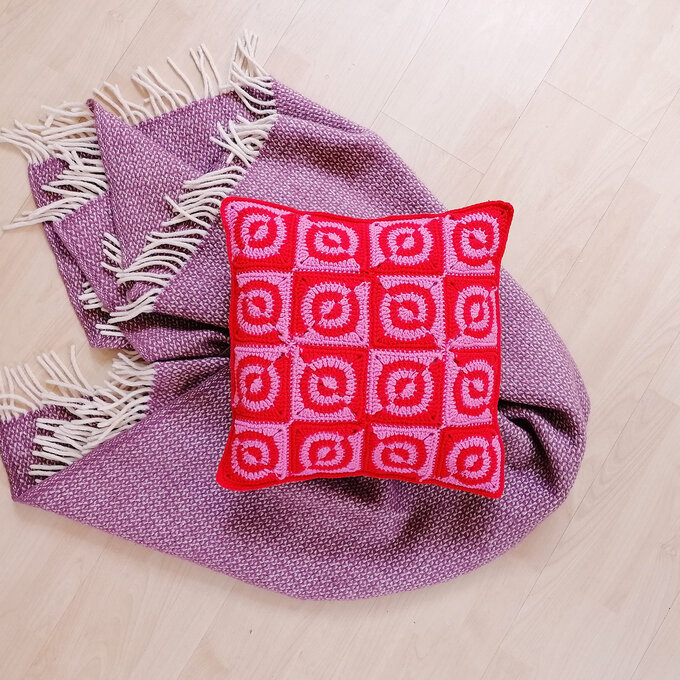
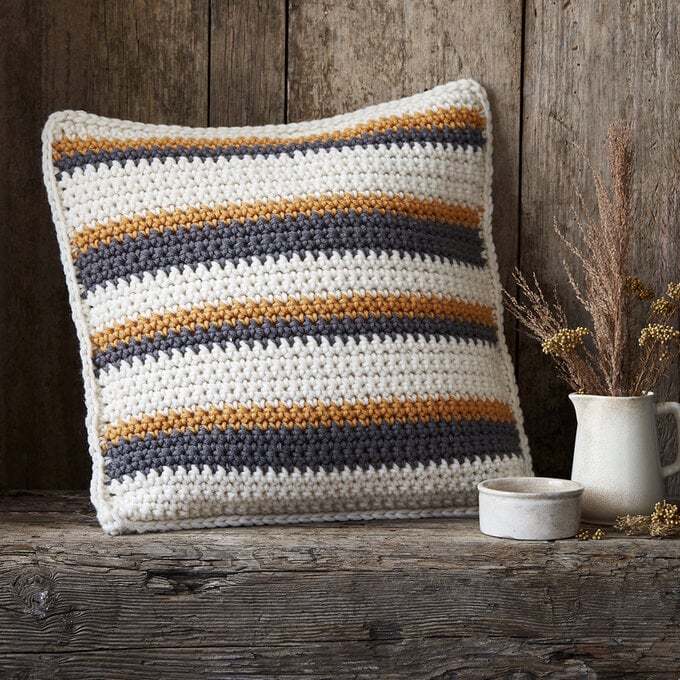
Discover more crochet cushion ideas here >
You will need
Subtotal
Is $26.94
Subtotal
Is $ 4.49
Subtotal
Is $ 7.49
Subtotal
Is $ 5.49
How to make
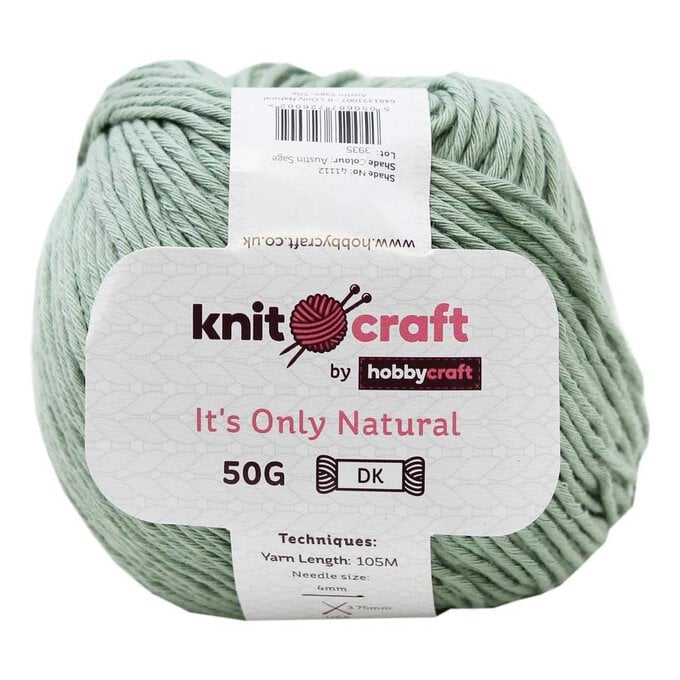
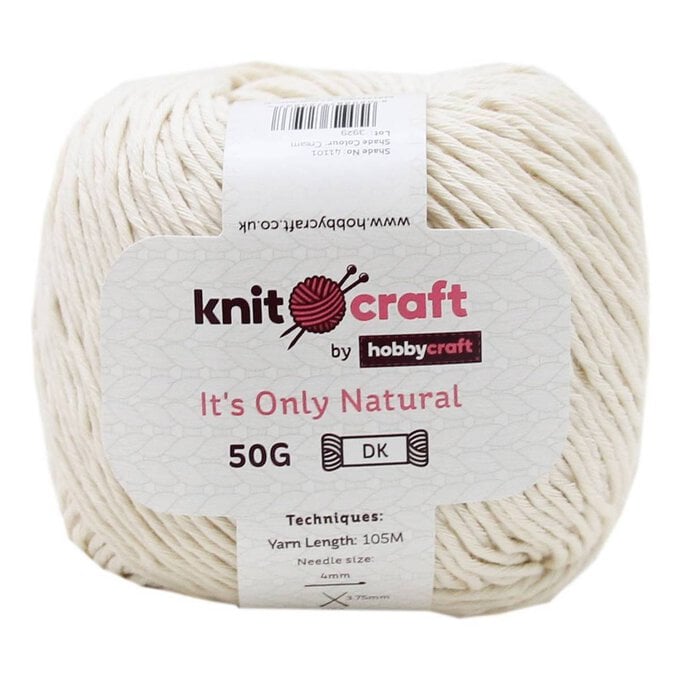
* Knitcraft It's Only Natural Light DK 50g - Yellow, Cream and 6x Sage
* 4mm Crochet Hook
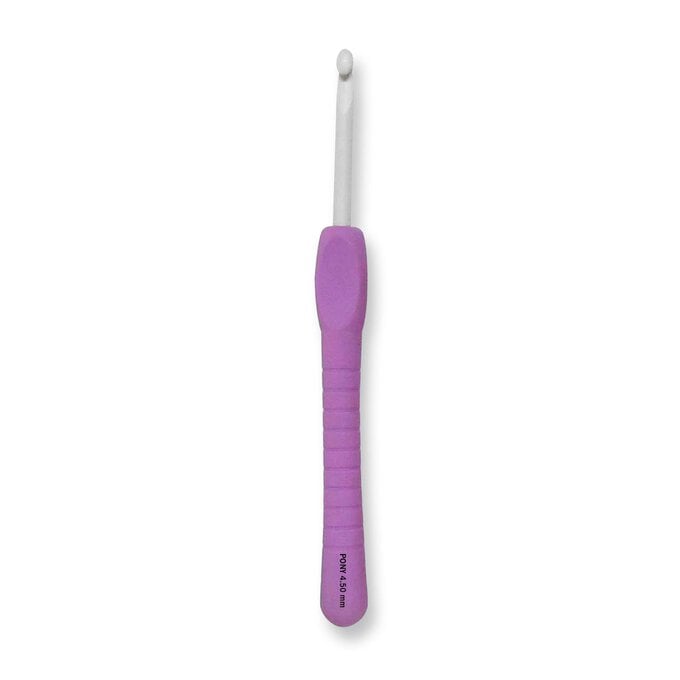
* 4.5mm Crochet Hook
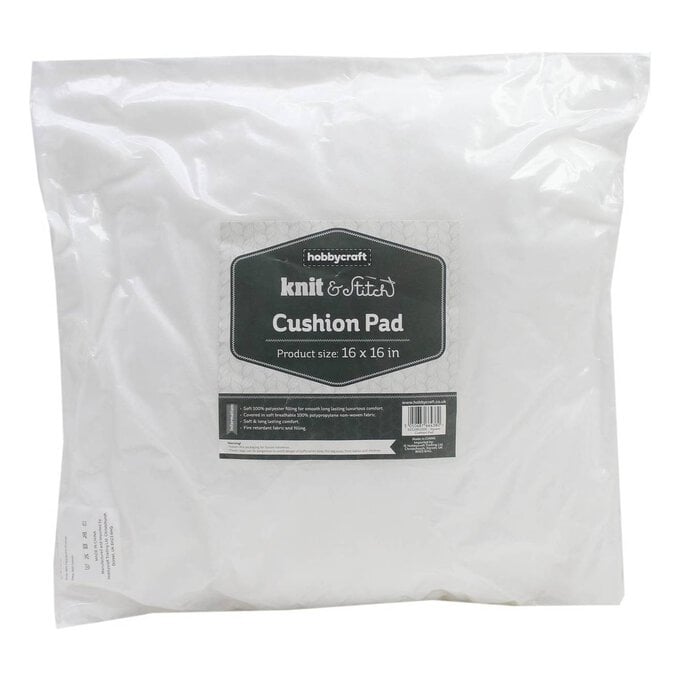
* Square Cushion Pad 40 x 40cm
* Yarn Needle
* Stitch Markers

Abbreviations:
Ch: chain
St: stitch
Dc: double crochet
Tr: treble crochet
Bbl: Bobble stitch (See 'special stitches' for instructions)
Gauge
17 dc x 23 rows (10cm x 10cm)
Yarn Colours
Yarn A - Sage
Yarn B - Yellow
Yarn C - Cream
Notes
* Pattern written using UK terminology.
* Unless otherwise stated turning chains do count as a stitch.
* Cushion cover is an envelope style, you will make 3 panels and then join them together at the end.
Bobble Stitch (bbl) - *yarn over, insert hook into st and pull up a loop, yarn over and pull through 2 loops; repeat from * until you have 6 loops on your hook, yarn over and pull through all 6 loops to finish the bobble.


Panel 1
Using 'Yarn A' and 4.5mm hook ch69.
Row 1: dc into 2nd chain from hook, dc across to end, ch1 turn. (68 st)
Row 2: dc across, ch1 and turn.
Row 2 - 9: dc across, ch1 and turn.
Row 10: 13 dc, change to 'Yarn B', bbl in next st, change to 'Yarn A', dc across to end, ch1 and turn.
Row 11 - 13: dc across, ch1 and turn.
Row 14: 46 dc, change to 'Yarn B', bbl in next st, change to 'Yarn A', dc across to end, ch1 and turn.
Row 15 - 19: dc across, ch1 and turn.
Row 20: 26 dc, change to 'Yarn B', bbl in next st, change to 'Yarn A', dc across to end, ch1 and turn.
Row 21 - 25: dc across, ch1 and turn.
Row 26: 56 dc, change to 'Yarn B', bbl in next st, change to 'Yarn A', dc across to end, ch1 and turn.
Row 27: dc across, ch1 and turn.
Row 28: 10 dc, change to 'Yarn B', bbl in next st, change to 'Yarn A', dc across to end, ch1 and turn.
Row 29: dc across, ch1 and turn.
Row 30: 37 dc, change to 'Yarn B', bbl in next st, change to 'Yarn A', dc across to end, ch1 and turn.
Row 31 - 35: dc across, ch1 and turn.
Row 36: 20 dc, change to 'Yarn B', bbl in next st, change to 'Yarn A', dc across to end, ch1 and turn.
Row 37 - 43: dc across, ch1 turn.
Row 44: 45 dc, change to 'Yarn B', bbl in next st, change to 'Yarn A', dc across to end, ch1 and turn.
Row 45 - 47: dc across, ch1 turn.
Row 48: 7 dc, change to 'Yarn B', bbl in next st, change to 'Yarn A', dc across to end, ch1 and turn.
Row 49: dc across, ch1 turn.
Row 50: 29 dc, change to 'Yarn B', bbl in next st, change to 'Yarn A', dc across to end, ch1 and turn.
Row 51 - 55: dc across, ch1 turn.
Row 56: 55 dc, change to 'Yarn B', bbl in next st, change to 'Yarn A', dc across to end, ch1 and turn.
Row 57 - 59: dc across, ch1 turn.
Row 60: 16 dc, change to 'Yarn B', bbl in next st, change to 'Yarn A', dc across to end, ch1 and turn.
Row 61 - 63: dc across, ch1 turn.
Row 64: 40 dc, change to 'Yarn B', bbl in next st, change to 'Yarn A', dc across to end, ch1 and turn.
Row 65 - 69: dc across, ch1 turn.
Row 70: 24 dc, change to 'Yarn B', bbl in next st, change to 'Yarn A', dc across to end, ch1 and turn.
Row 71 - 73: dc across, ch1 turn.
Row 74: 10 dc, change to 'Yarn B', bbl in next st, change to 'Yarn A', dc across to end, ch1 and turn.
Row 75: dc across, ch1 turn.
Row 76: 49 dc, change to 'Yarn B', bbl in next st, change to 'Yarn A', dc across to end, ch1 and turn.
Row 77 - 81: dc across, ch1 turn.
Row 82: 33 dc, change to 'Yarn B', bbl in next st, change to 'Yarn A', dc across to end, ch1 and turn.
Row 83 - 88: dc across, do not fasten off.
Panel 2
Using 'Yarn A' and 4.5mm hook, ch69.
Row 1: 1dc into 2nd chain from hook, dc across to end, ch1 and turn. (68 st)
Row 2 - 49: dc across, ch1 and turn. At the end of row 49, do not fasten off.
Panel 3
Using 'Yarn A' and 4.5mm hook, ch69.
Row 1: 1dc into 2nd chain from hook, dc across to end, ch1 and turn. (68 st)
Row 2 - 59: dc across, ch1 and turn. At the end of row 59, do not fasten off.
Border For All Panels
1ch, work 1dc in the end of each row down the left side of the panel, [1dc, 1ch, 1dc] in last st, turn panel and work 1 dc in each stitch across, [1dc, 1ch, 1dc] in last st, turn and work 1dc in the end of each row up the right side of panel, [1dc, 1ch] in last st, ss to 1st dc, fasten off.

The daisies are made in 2 different ways, you can mix them up as you want, just make more or less petals as needed.
The first type of petal is embroidered to the cushion panel. Using a length of 'Yarn C' and a yarn needle. Add 5 petals around a bobble stitch using a running stitch (as shown in picture 1).
The second type of petal is crocheted using a 4mm hook and then sewn on.
Using 'Yarn C' ch8, tr into 3rd ch from hook, tr in next 2ch, dc to end, fasten off and leave a tail approx. 10cm long which can be used to sew the petal on to the cushion panel (as shown in picture 2). You will need to crochet 5 petals for each daisy you wish to look like this.
The cushion pictured has 7 x type 2 daisies on rows 20, 26, 28, 44, 60, 64 and 74 (35 petals in total).


Lay the front panel face down, place panel 2 on top of the front panel, being careful to line up the bottom corners (as shown in picture).
Place panel 3 on top of the front panel, being careful to line up the top corners and overlap panel 2 (this creates the envelope opening).
Using pins or stitch markers, join the 3 panels together, paying special attention to the corners and the overlapping section (as shown in picture), this will help you sew it together neatly.
Using a long length of 'Yarn A', and a yarn needle, carefully stitch the panels together using a whip stitch around each edge. Be sure to catch all 3 panels when you are stitching along the overlapping section.
Fasten off all ends and insert cushion pad.


Your beautiful crochet daisy cushion is now complete!

Related Products