How to Crochet a Flower Gal
You will need
Subtotal
Is $ 9.49
Subtotal
Is $ 5.49
Subtotal
Is $ 2.49
Subtotal
Is $ 6.49
Subtotal
Is $ 6.49

Subtotal
Is $ 3.49
Subtotal
Is $ 5.49
Out of stock
How to make
Rnd 2 – Inc 6x (12 sts)
Rnd 3 – [dc 1, inc] 6x (18 sts)
Rnd 4 – [dc 2, inc] 6x (24 sts)
Rnd 5 – Dc around (24 sts)
Rnd 6 – [dc 3, inc] 6x (30 sts)
Rnd 7 – [dc 4, inc] 6x (36 sts)
Rnds 8-16 – Dc around (36 sts for 9 rnds)
Rnd 17 – [dc 4, inv dec] 6x (30 sts)
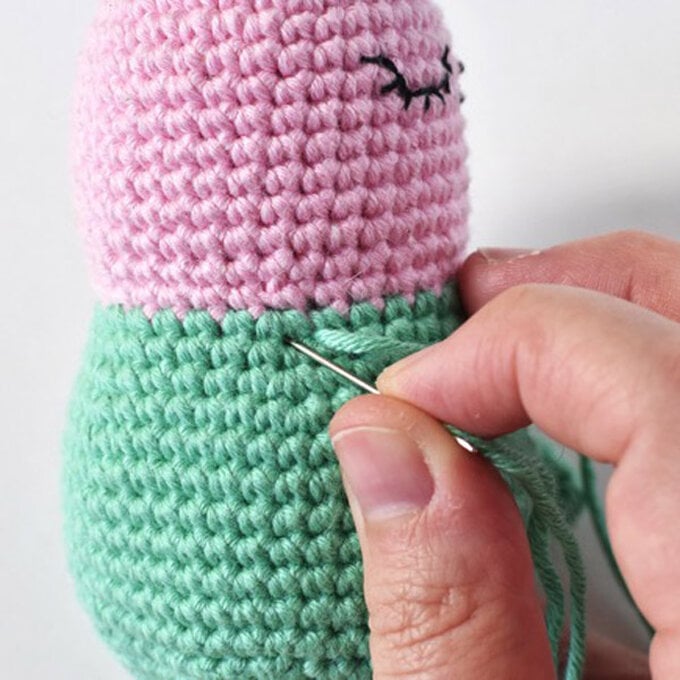
Rnd 18 – Dc 1, change to body color, dc 3, inc, [dc 4, inc] 5x (36 sts)
Rnd 19 – Dc around (36 sts)
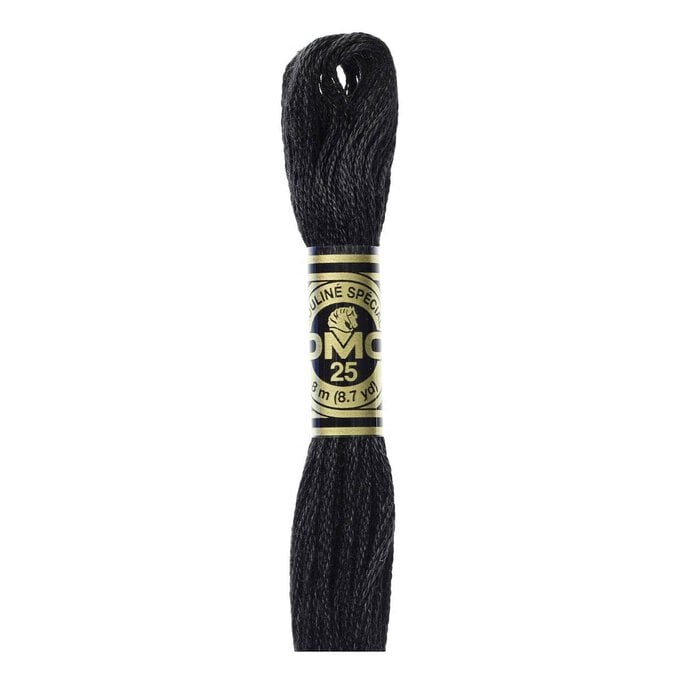
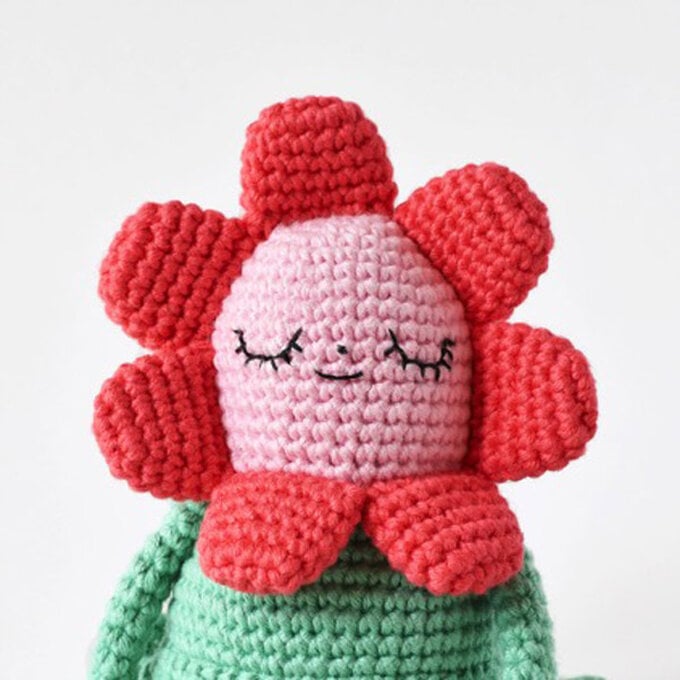
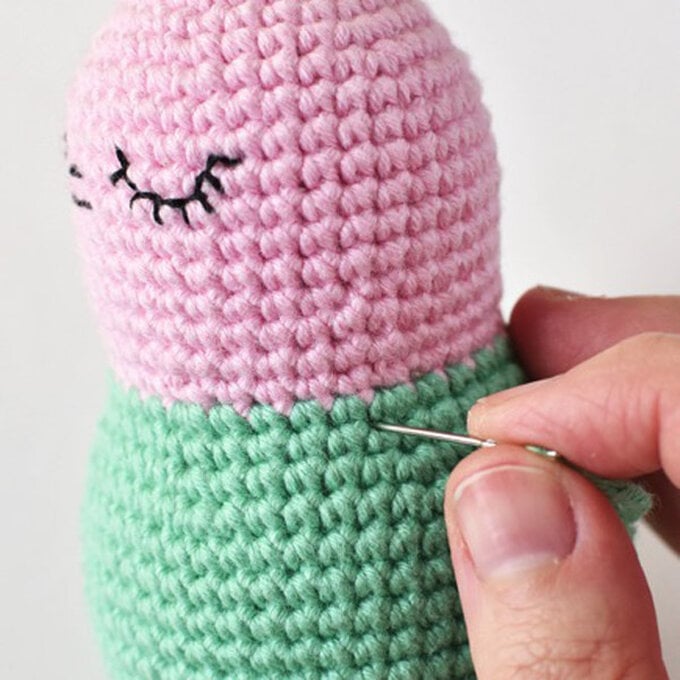
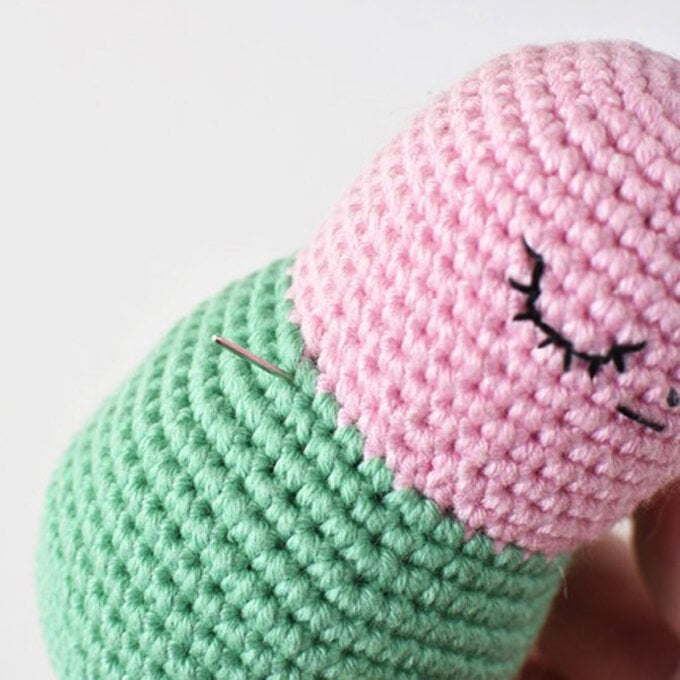
Using the photo as a guide, embroider the face using 4 strands of embroidery floss and an embroidery needle. Embroider the face on the side opposite the color changes. Make a French knot for the nose and backstitch for the eyes and mouth. The nose is at the center of rnd 10, the mouth is at rnd 11, and the eyes are 4 sts wide and are placed on rnds 9-11. After you finish the face, take your needle and pull gentle on the mouth to create some slack for the smile.

Rnd 21 – [dc 6, inc] 6x (48 sts)
Rnds 22-28 – Dc around (48 sts for 7 rnds)
Rnd 29 – [dc 6, inv dec] 6x (42 sts)
Rnd 30 – [dc 5, inv dec] 6x (36 sts)
Rnd 31 – Dc around (36 sts)
Rnd 32 – [dc 4, inv dec] 6x (30 sts)
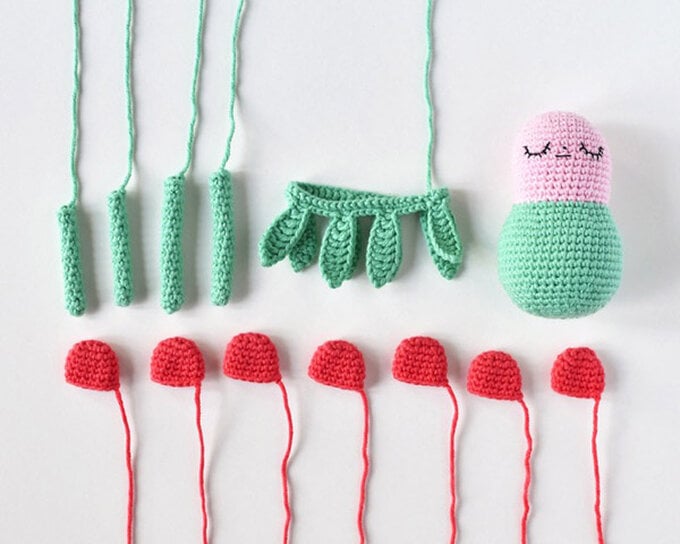
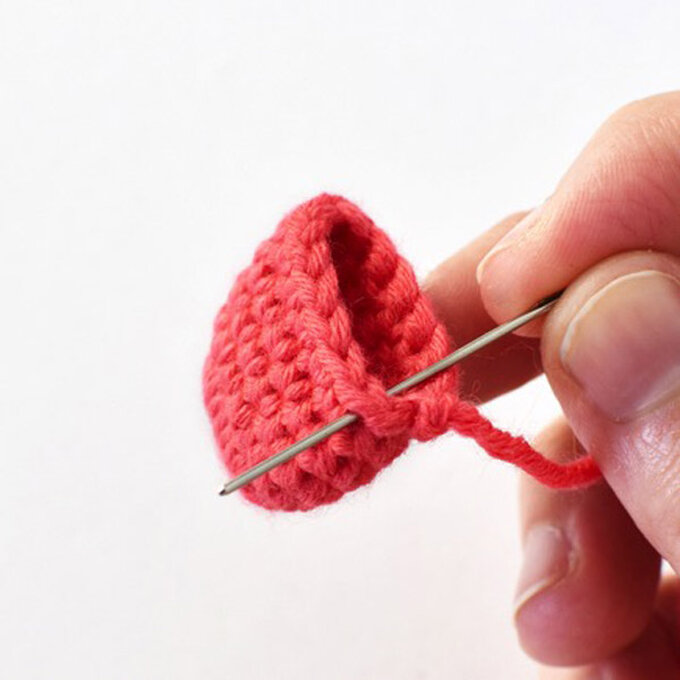
Rnd 1 – With body color, make a mr, dc 6 (6 sts)
Rnds 2-13 – Dc around (6 sts for 12 rnds)
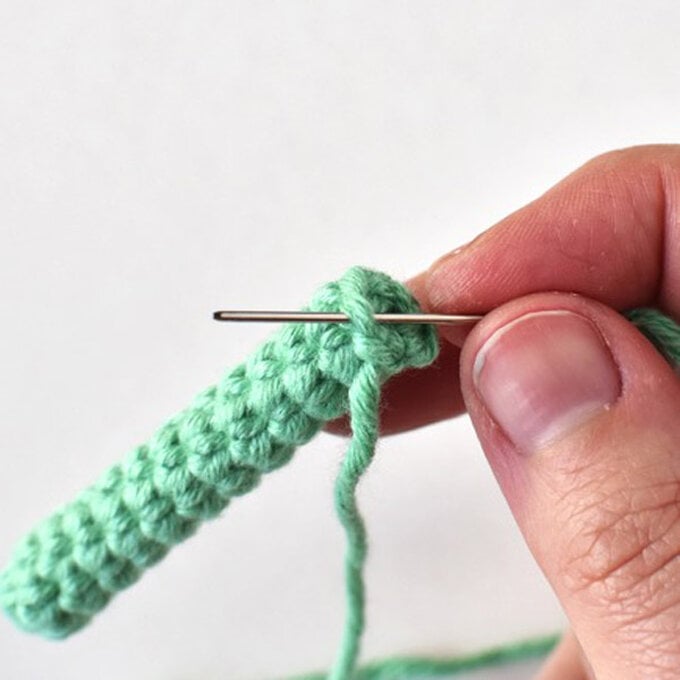
Fasten off, leaving a 16-inch tail for attaching. Don't stuff. Set aside.
Rnd 1 – With body color, make a mr, dc 7 (7 sts)
Rnds 2-16 – Dc around (7 sts for 15 rnds)
Fasten off, leaving a 16-inch tail for attaching. Don't stuff. Set aside.
Rnd 1 – Ch 48, sl st into 1st ch to make a loop (48 sts)
Rnd 2 – Ch 1, dc 47, sl st into 1st ch (48 sts)
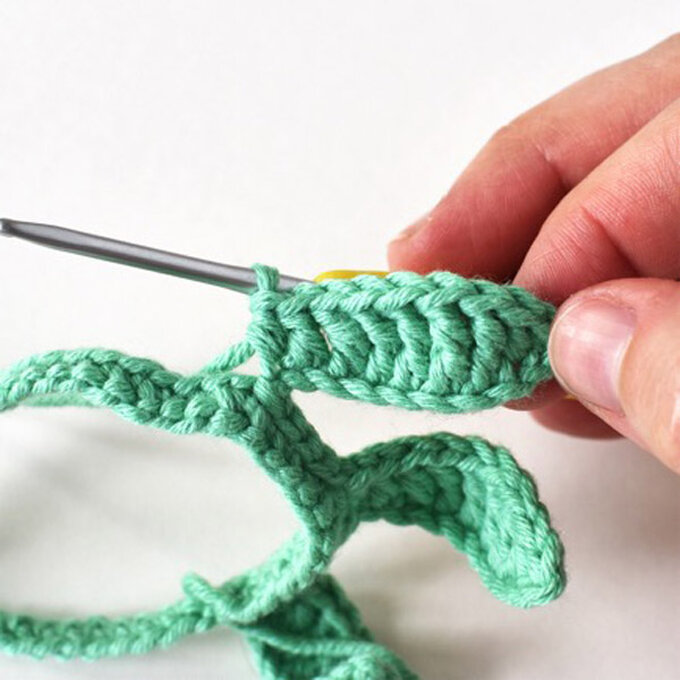
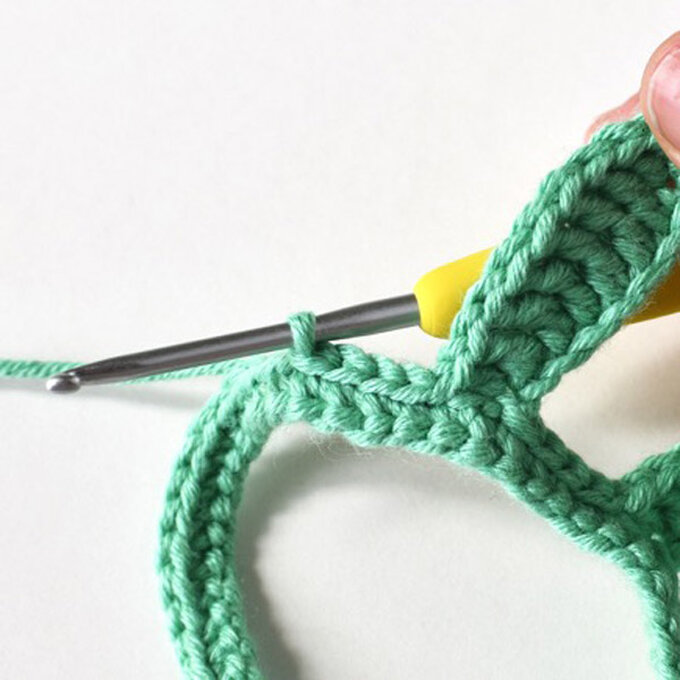
Rnd 3 – [ch 10, dc 1 in the next ch from hook, tr 1, dtr 5, tr 1, htr 1, skip 1 st, sl st into next st, sl st 4] 8x (see below images as guide for leaves)
Ch 10
Ch 4, dc 1 in 2nd ch from hook, dc 1, dc 3 in next st, turn to work down other side of ch, dc 1, inc (8 sts)
Dc around (14 sts for 4 rnds)
Sl st in 1st st of last rnd, leave a 15-inch tail for closing and attaching. Don't stuff.
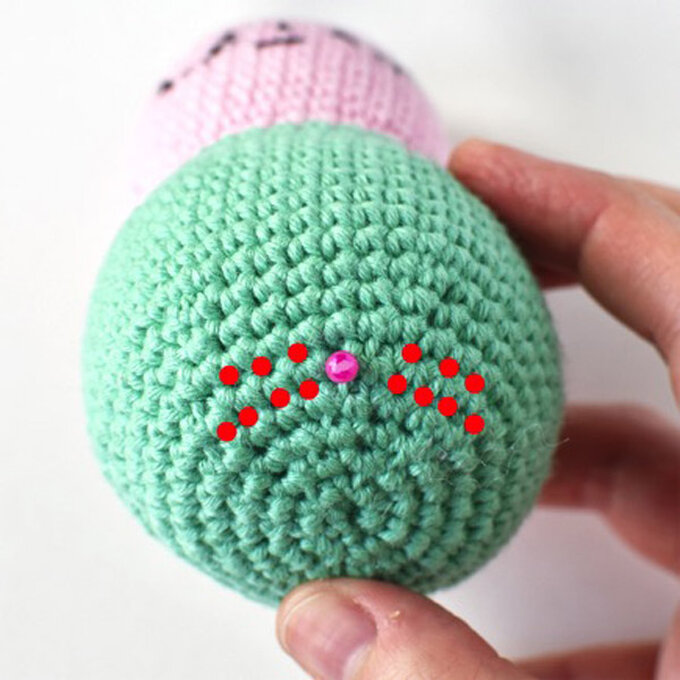
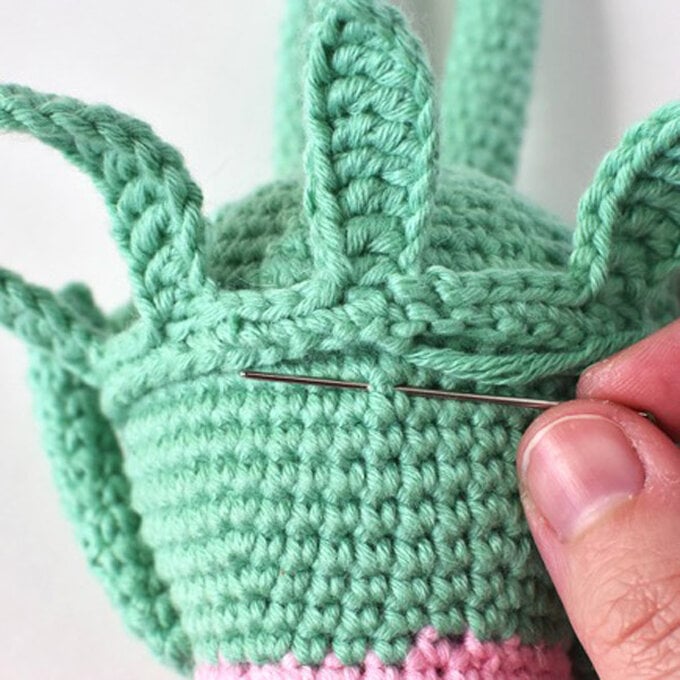
Place a pin at rnd 32, centered with the face. You'll be attaching the legs to both sides of the pin on rnds 32 and 31. See the dots on the image above for placement
I've attached my arms so that they have a full range of motion. Feel free to attach the arms any way you'd like!
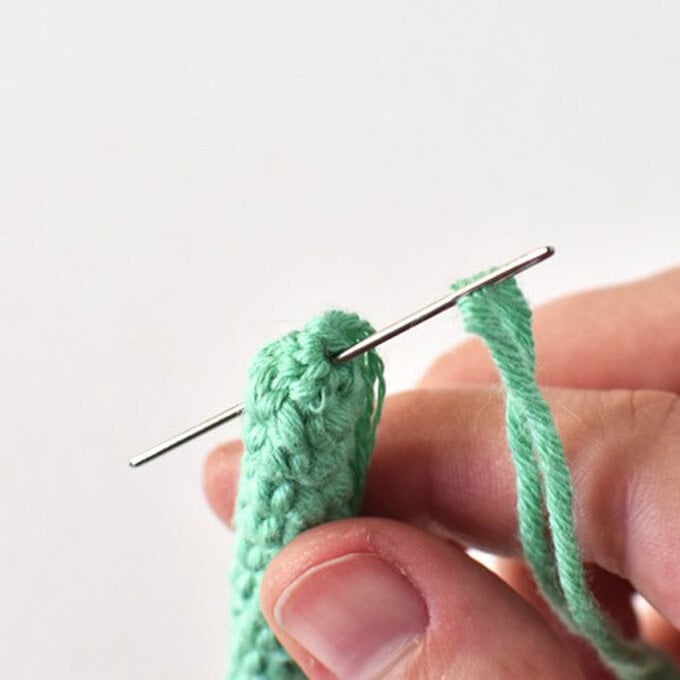
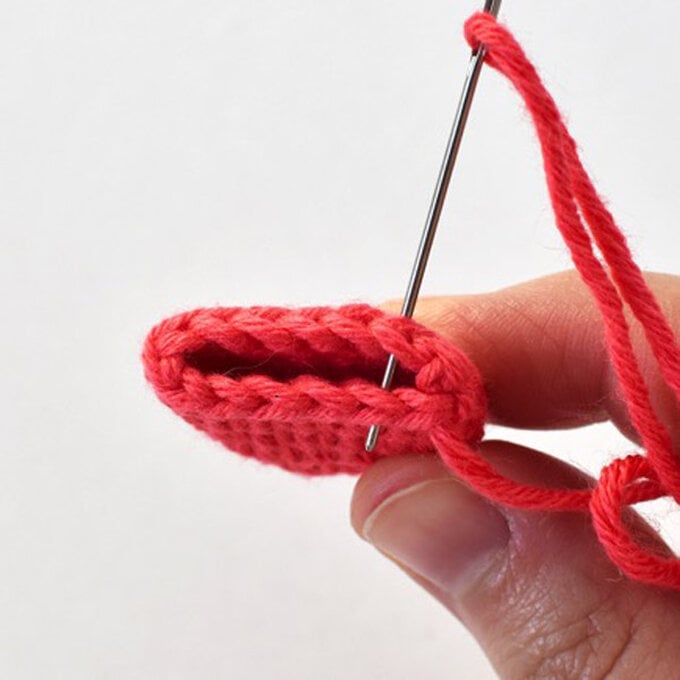
Using your tapestry needle, close arm by weaving through front loops of each st.
Insert needle under st between rnds 25 and 26.
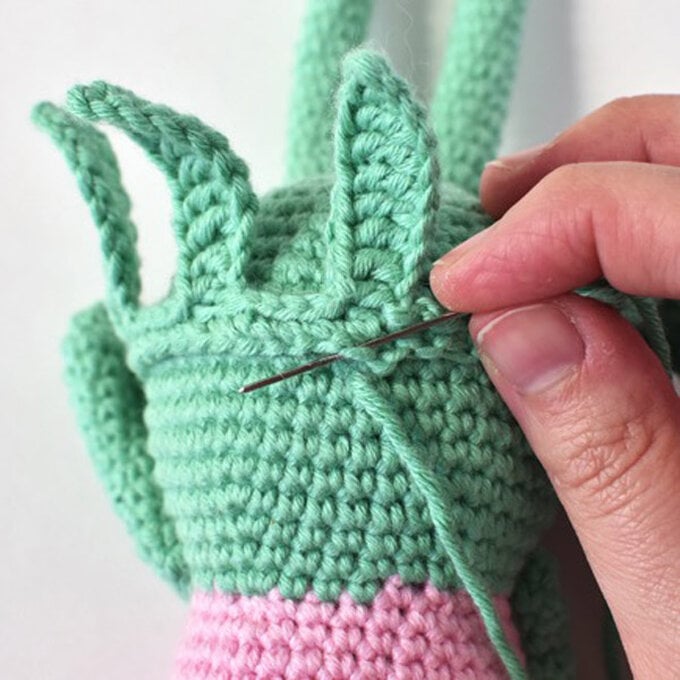
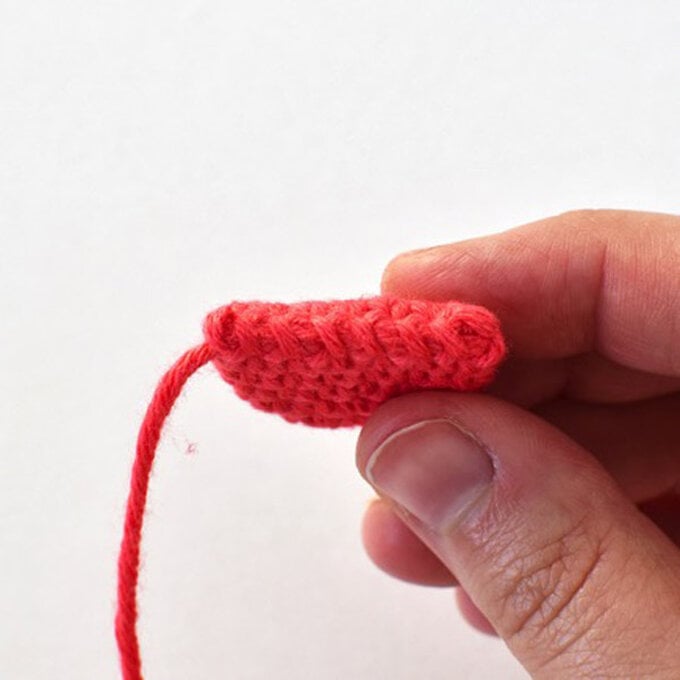
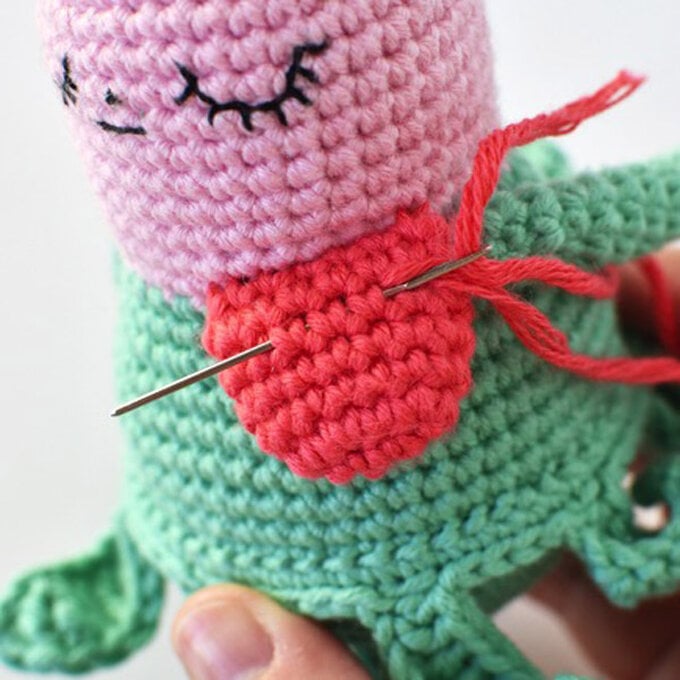
Pinch petal flat

Thread tapestry needle with yarn tail and bring through next st.
Insert needle through top and bottom stitches
Repeat step 3 six more times to close petal.
Position petal at bottom of face.
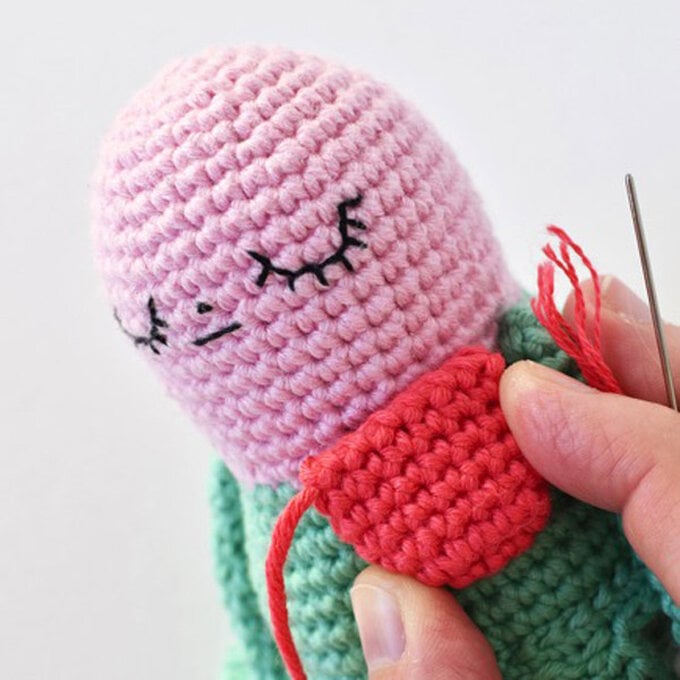
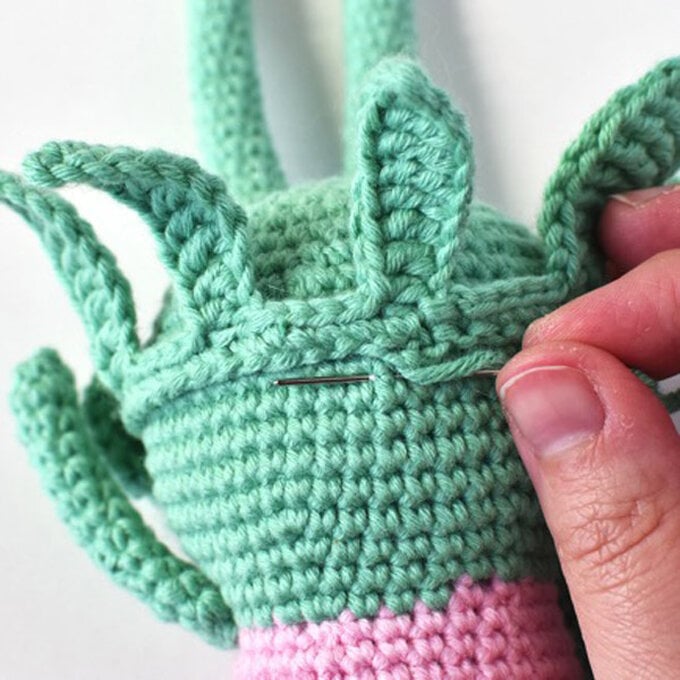
Insert needle under st between rnds 16 and 17.
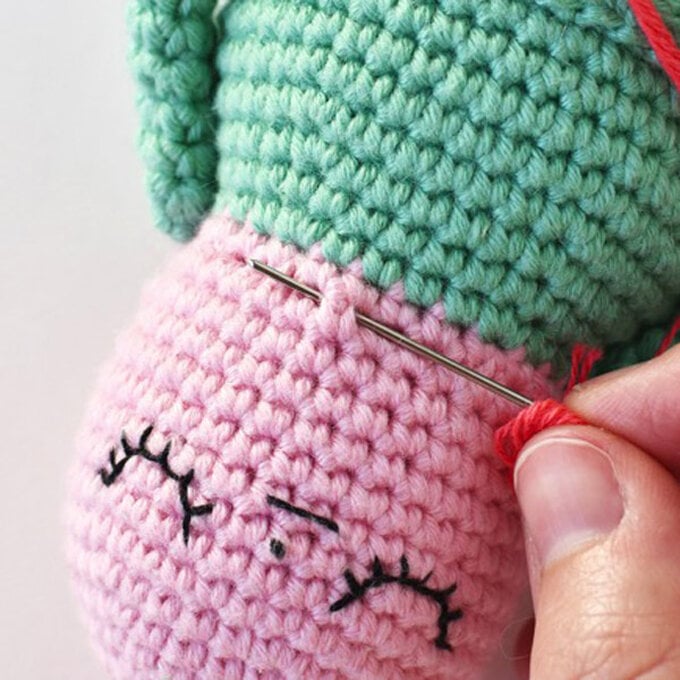
Insert needle through next st of petal from front to back.
Insert needle through same hole you came out of in step 6 and up through next hole. Repeat steps 7 and 8 five more times.
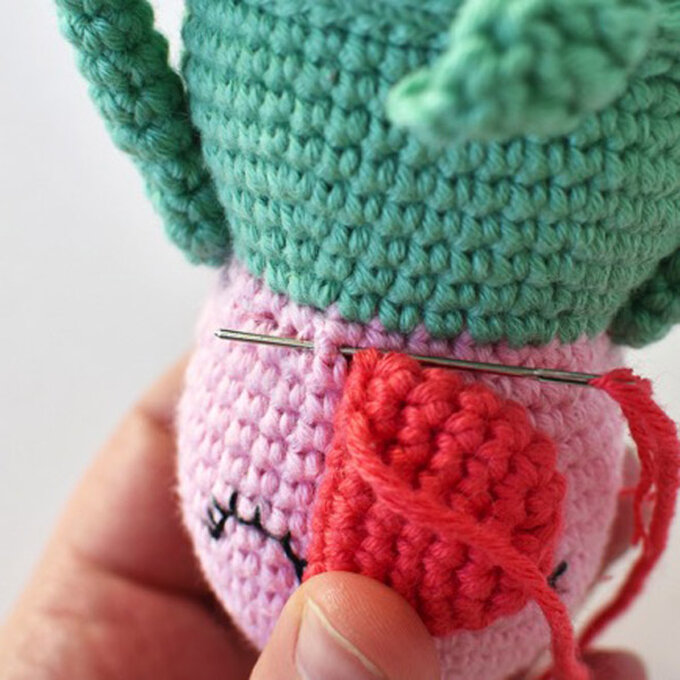
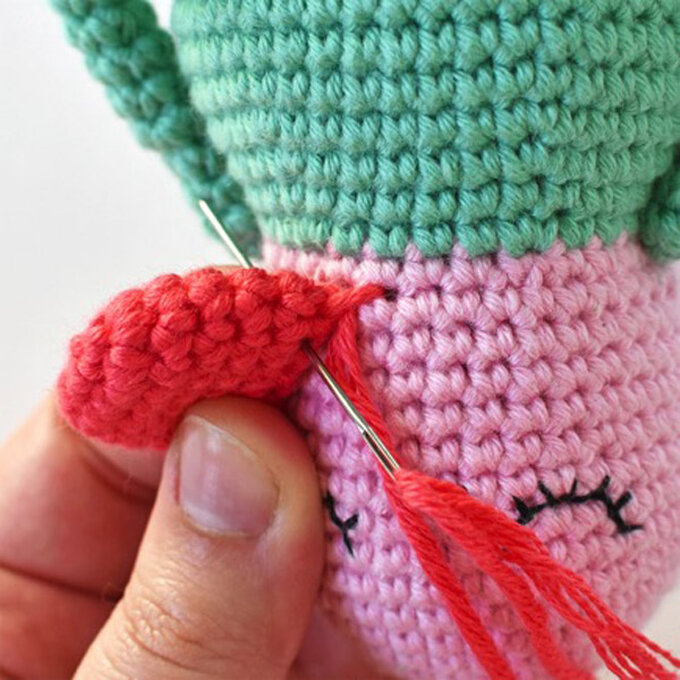
Bring needle up through petal, weaving through several stitches to secure. Cut yarn.
Insert needle through top and bottom stitches
Repeat step 3 six more times to close petal.
Position petal at bottom of face.
Insert needle under st between rnds 16 and 17.
Insert needle through next st of petal from front to back.
Insert needle through same hole you came out of in step 6 and up through next hole. Repeat steps 7 and 8 five more times.
Bring needle up through petal, weaving through several stitches to secure. Cut yarn.
Related Products