How to Decorate a Mache Stag Head
Create a beautiful Scandi stag head decoration to transform your festive décor and brighten up any space. Use our mache stag heads as your base and transform it with on-trend Christmas decoration, with a simple colour palette and Nordic patterns. It's sure to make a seasonal statement!
If preferred, you can use the template provided to create Nordic patterns with a focus on natural elements like birds, hearts, flowers and greenery, as well as classic colours such as blue, red, green and white.
Project and instructions by Hobbycraft Artisan Emma Hunt.
You will need

Subtotal
Is $ 4.49
Subtotal
Is $ 4.49
Subtotal
Is $ 8.49

Subtotal
Is $ 26.00
You will also need:
* White Pencil
* Craft Sealer Spray
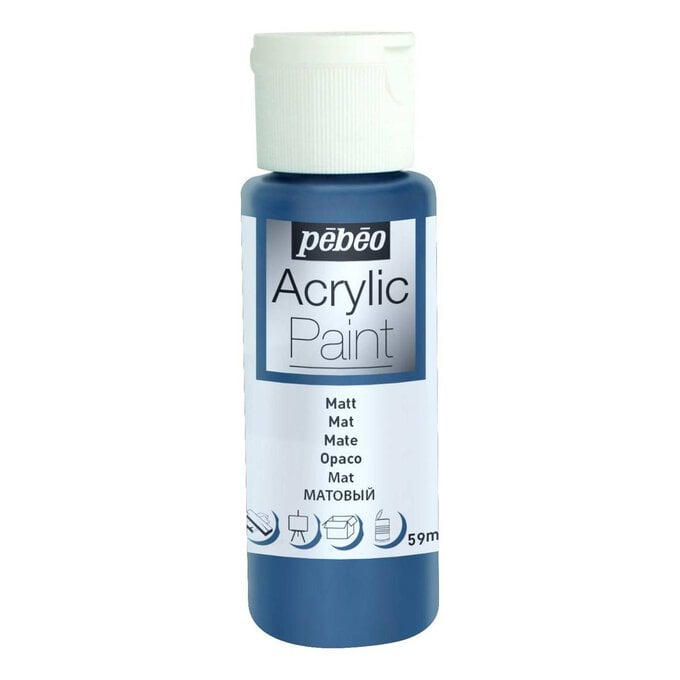
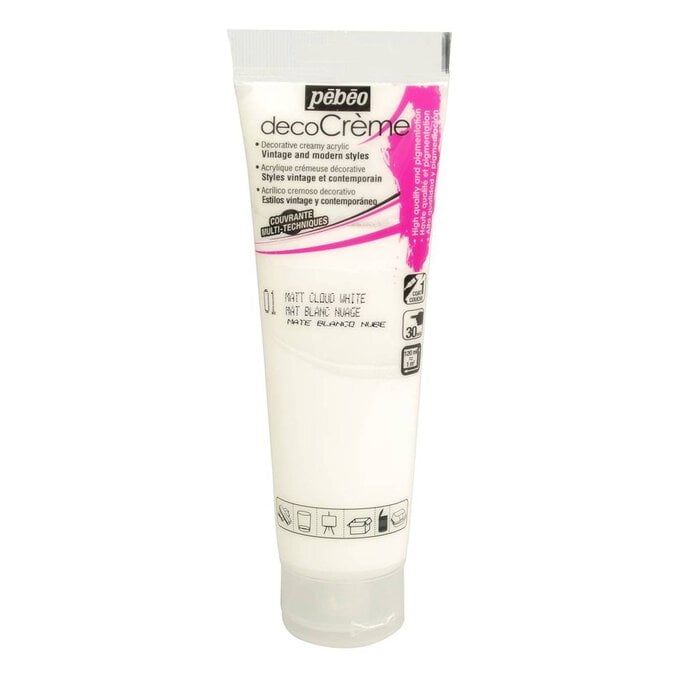
Begin by painting your entire stag head in white acrylic paint. This will allow your chosen base colour to really pop!

Once your white coat is dry, you can then apply your chosen base colour. You may want to apply two coats of this depending on your desired finish.
Once your base colour is dry, paint white highlights in the centre of your antlers. You can then paint the inside of the ears in white, following the shape and curve of the outer ears.

Sketch out the pattern you would like in the centre of the stag head before filling it in with a white posca pen. You can use the template provided as inspiration for your pattern, keep it as simple or as detailed as you'd like. Try to keep the pattern central down the head, this will create the focal point of your piece. You can then add some simple dot work in your base colour, over the white highlights on the antlers and the ears.
Top Tip: Use the other end of your brush to apply the paint in dots, this will give your painted dots a more even application and shape.

Add white dot work over the top of each ear, following the curve of the piece. It's easy to get carried away with adding extra detail. By keeping the dot work simple and to certain parts of the piece, the design will appear cleaner and more symmetrical.

Add one line of white dot work over the eyes on each side. Then another along the side of the head, starting just below the ears and following all the way around.
Once the paint is completely dry, if desired you can seal the stag head with a clear sealer spray to protect the paintwork and colour of your piece.


Your Scandi Stag Head is now finished, you can hang it with pride ready to celebrate the festive season ahead!


