How to Decorate a Rocket Cake
Create a space rocket cake that is out of this world using a selection of Hobbycraft's new incredible Fondant Icing colours.
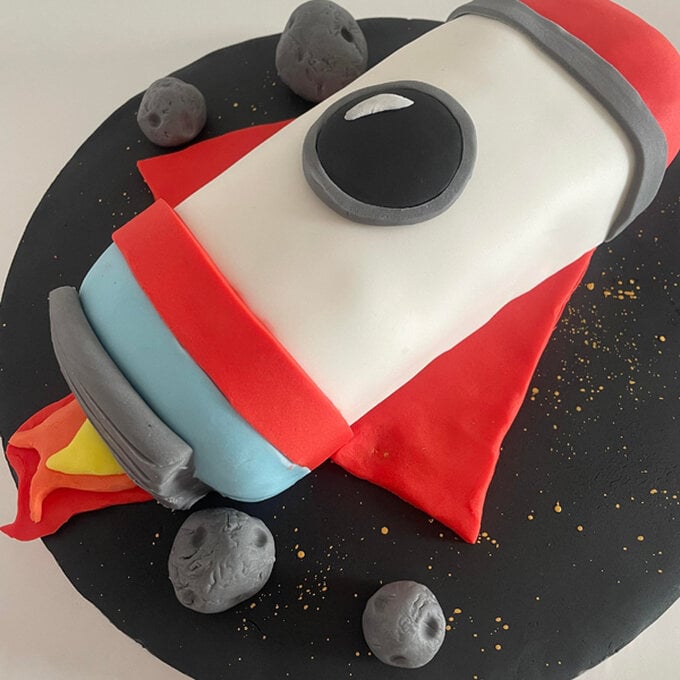
This Rocket Cake features textured moon rocks, a metallic space themed cake board, and a detailed rocket creation topped with two friendly aliens.
You will need
Subtotal
Is $ 4.49
Subtotal
Is $ 4.49
Subtotal
Is $ 3.49
Subtotal
Is $ 3.49
How to make
* Hobbycraft Fondant Black Icing 650g
* Hobbycraft Fondant White Icing 650g
* Hobbycraft Fondant Red Icing 650g
* Hobbycraft Fondant Baby Blue Icing 650g
* Hobbycraft Fondant Green Icing 650g
* Hobbycraft Fondant Pink Icing 650g
* Rainbow Dust Yellow ProGel Food Colouring 25g
* Rainbow Dust Metallic Dark Gold Food Paint 25ml
* Betty Crocker Classic Vanilla Cake Mix
* Betty Crocker Velvety Vanilla Buttercream Icing 400g
* PME Round Cake Pan 7x3 Inches
* Edible Glue
* Wilton Decorating Brush Set 5 Pieces
* Modelling Tools
* Non-Stick Rolling Pin
* Small Palette Knives
* Wilton Fondant Smoother Backer
* Silver Round Double Thick Card Cake Board 10 Inches
* Wilton Nesting Circles Cookie Cutter Set 4 Pieces
* A Ruler
* A Sharp Knife
* A Plate
* Tin Foil
* Cornflour

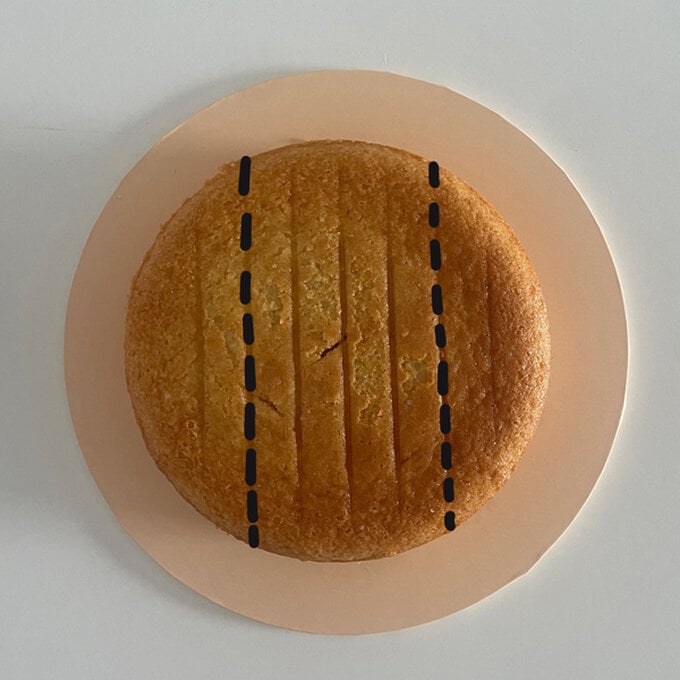
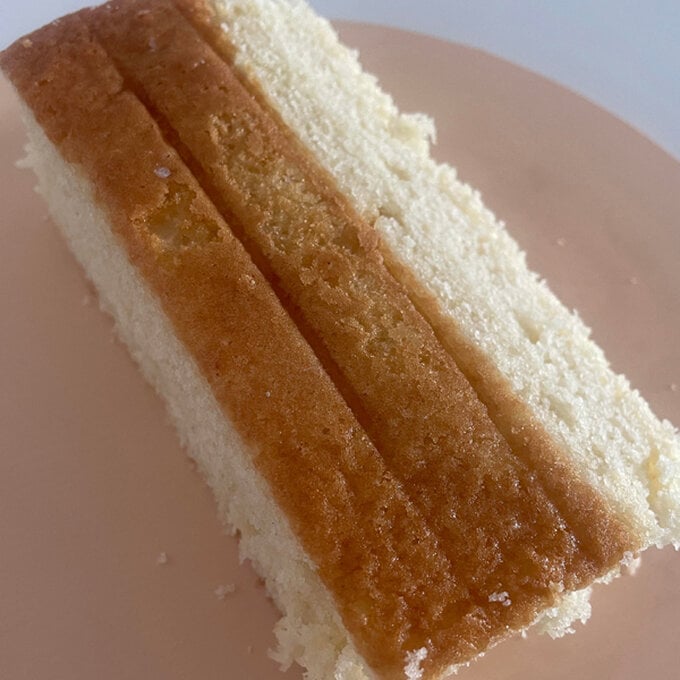
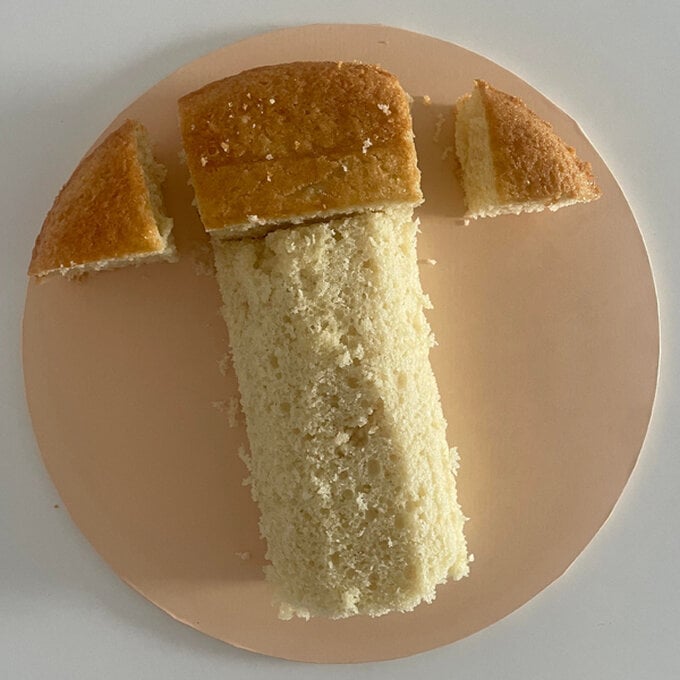
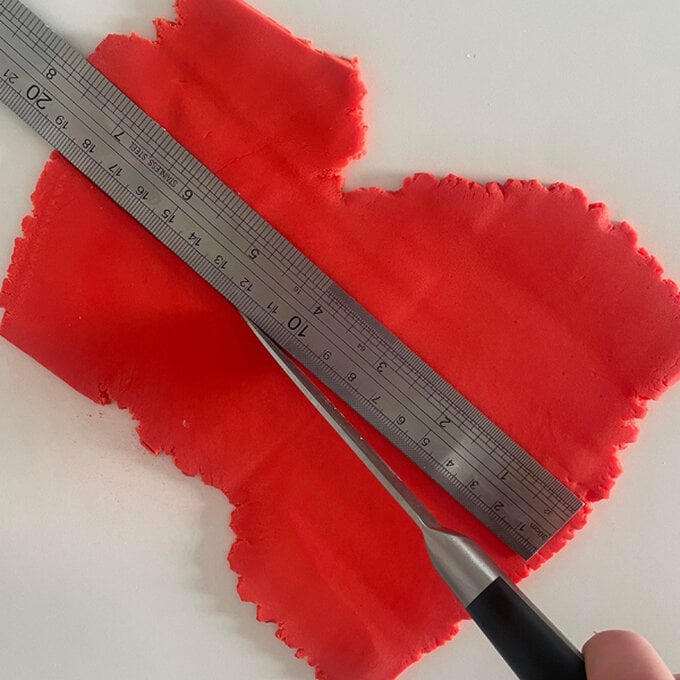
To create the rocket shape, you will need to have prepared a round sponge cake using the recipe of your choice. A 7” Round sponge is used in the image.
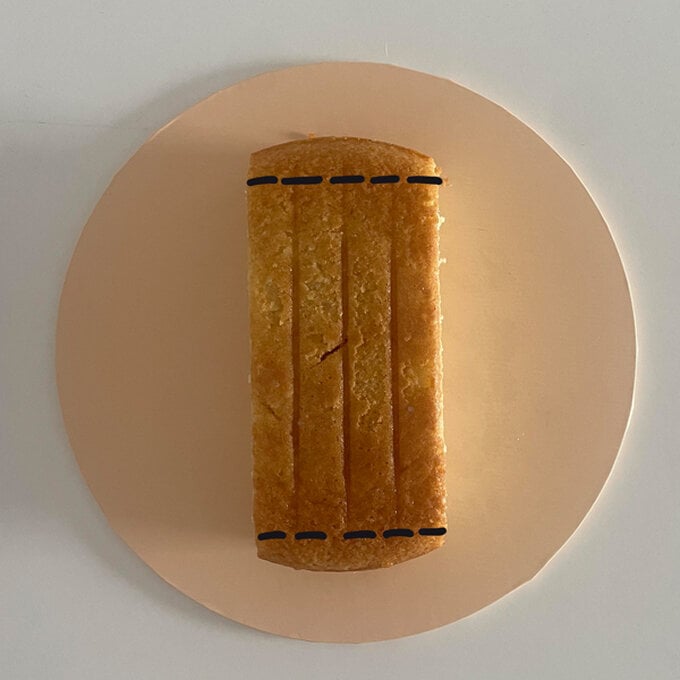
Once cooled, cut along the lines shown in the image.
Ensure you keep the side pieces as they will be used later.
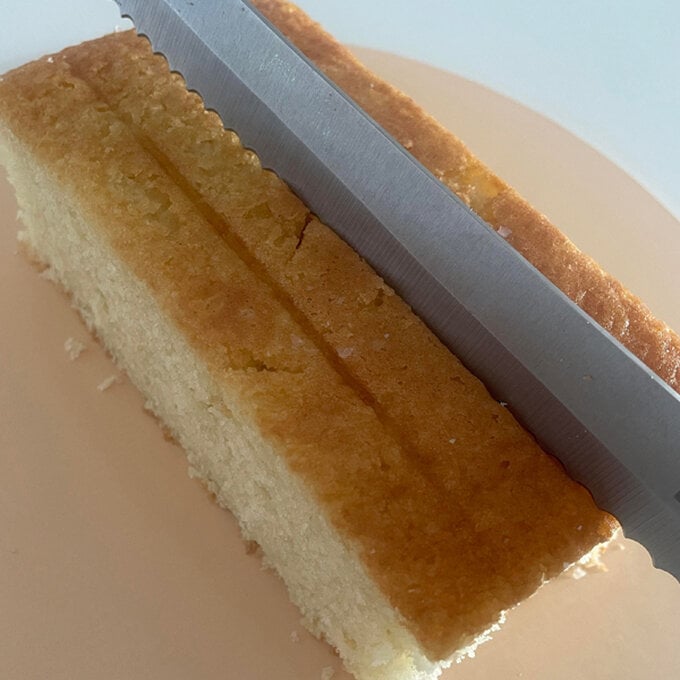
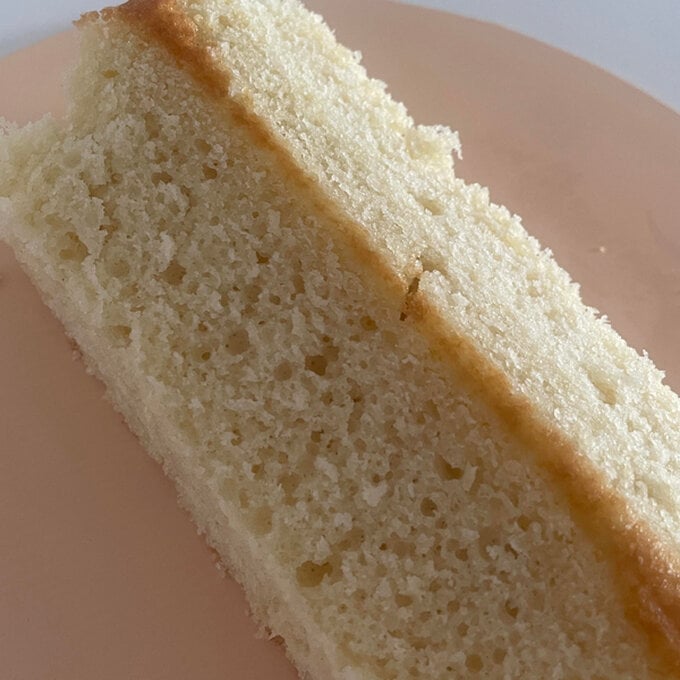
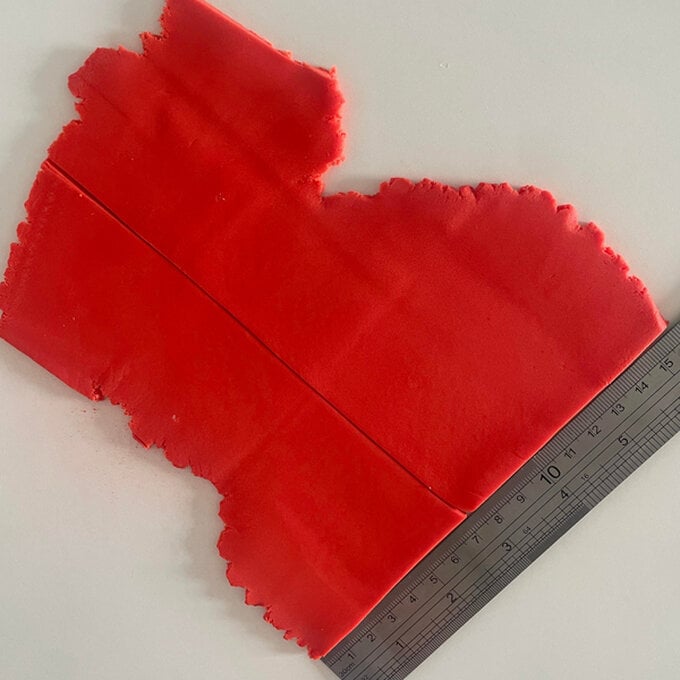
Next, you need to create a curved surface on the top of the rectangle shape. To do this, hold the sharp knife at an angle from the middle section and cut downwards to wards the edge at a diagonal.
Turn the cake to repeat on the other side.
This will create an arch shape. Round the arch shape off by removing smaller pieces from the middle section to create a curved dome.
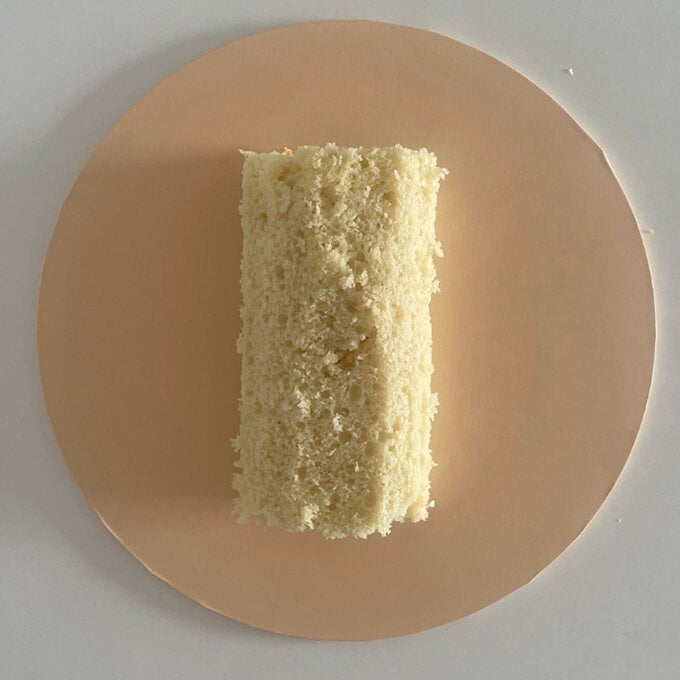
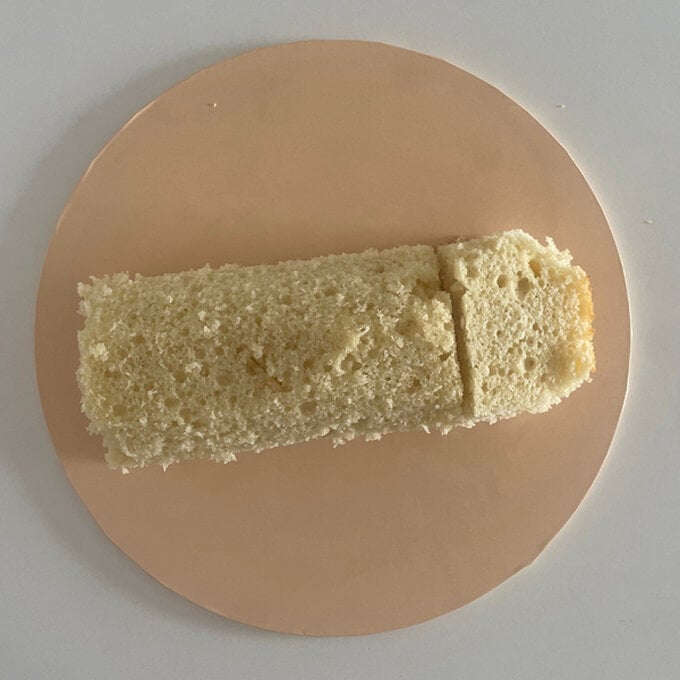
Bring back one of the side pieces you kept from the first step, and place it on one of the smaller edges of the rectangle - this will be the top of the rocket.
Cut the sides of the semi-circle to make it the same width as the longer rectangle.
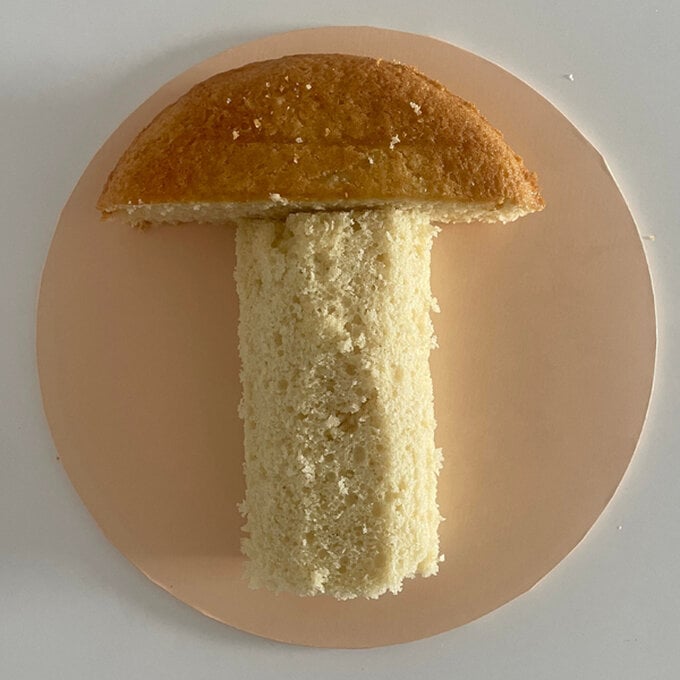
Use the sharp knife to round off the top and edges of the cake sponge. Once you are happy with its shape, stick the two cake pieces together with a small layer of buttercream.
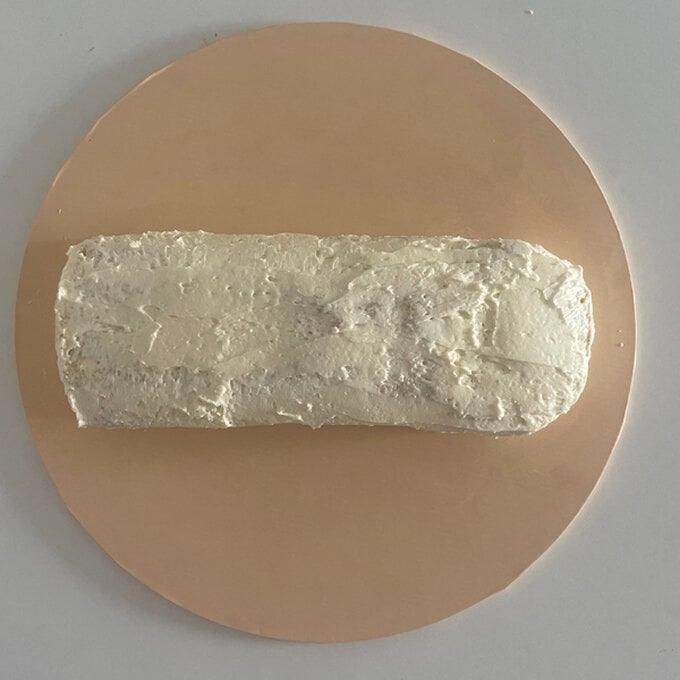
Next, crumb coat the outside layer of your cake. Do this by spreading a thin layer all over the exposed sponge to seal in the crumbs.
Finally, place it in the fridge to chill for around 15 minutes until firm.
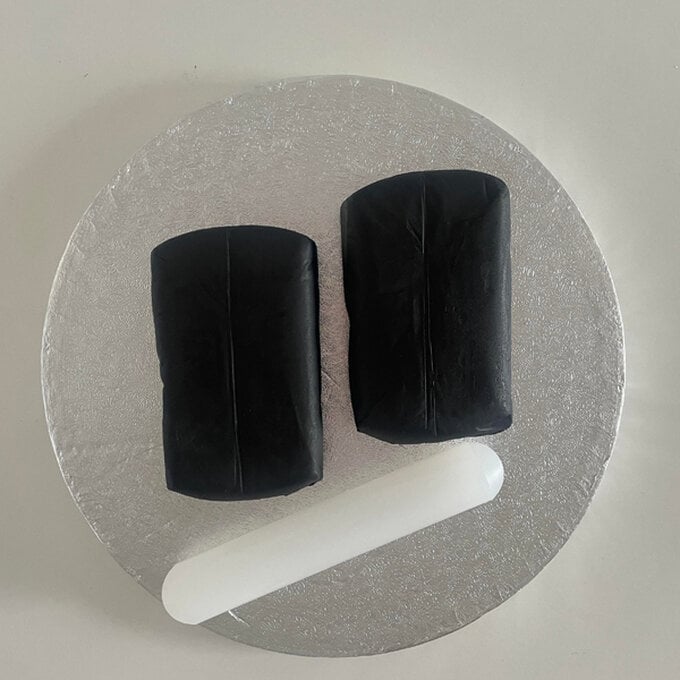
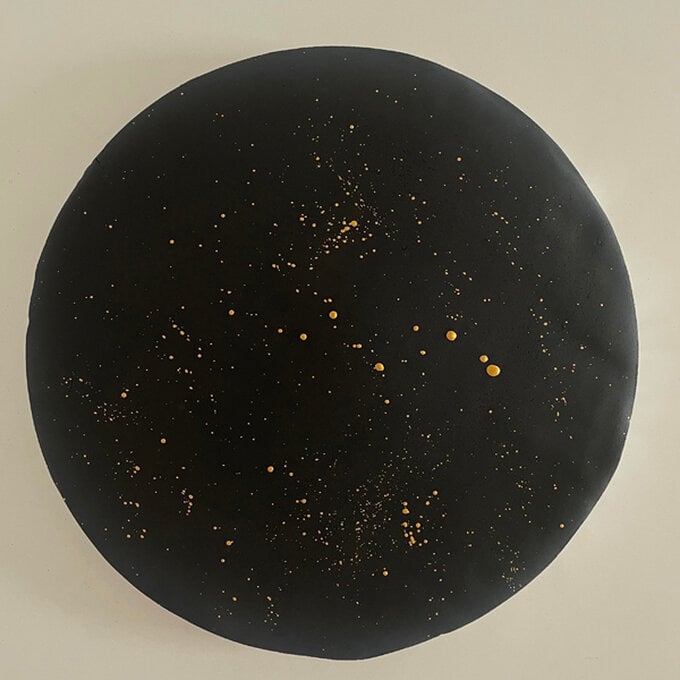
Whilst the cake is chilling in the fridge, it is time to cover the cake board.
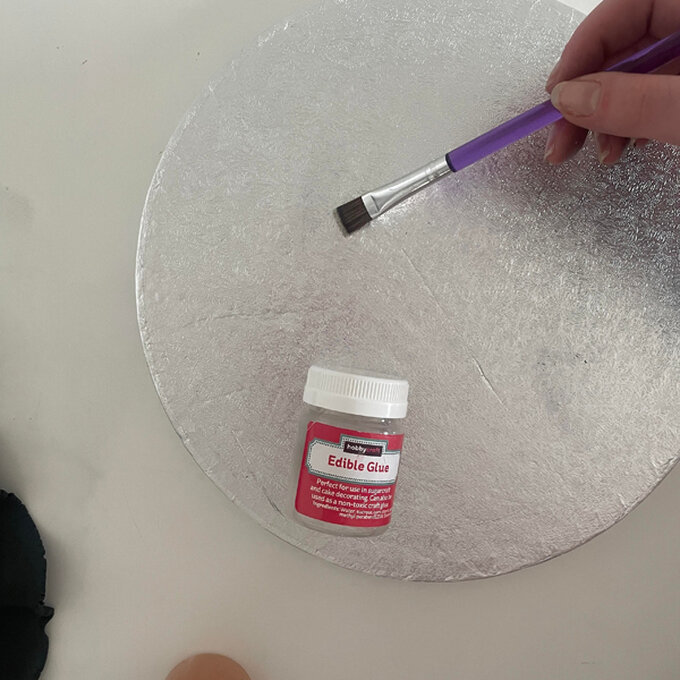
To cover a 10” board, roll out 500g of Black Hobbycraft Fondant Icing until it is around a £1 coin in thickness. If the fondant is sticking to the table, sprinkle a small layer of icing sugar or corn flour onto the rolling pin and surface.
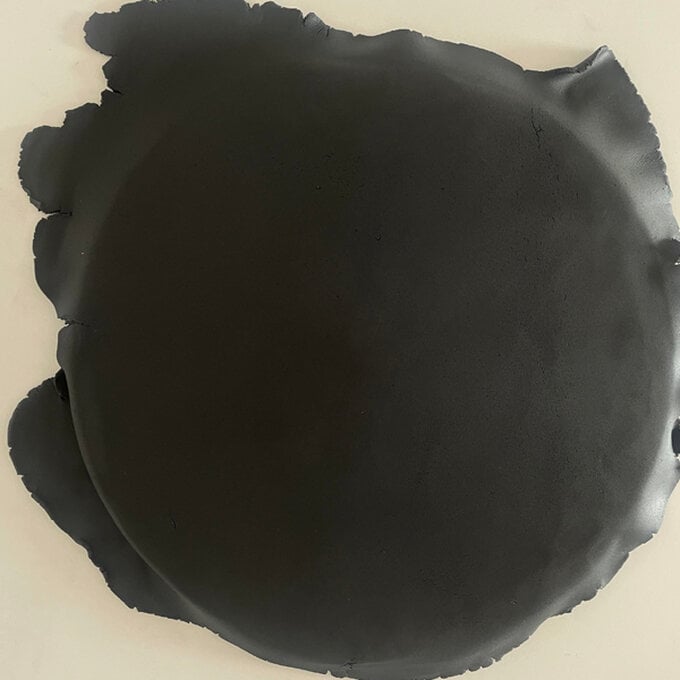
Next, spread a small layer of edible glue using a food safe paint brush all over the cake board. Place the rolled out black icing onto the board and smooth out the top with either your hand or an icing smoother to remove any air bubbles.
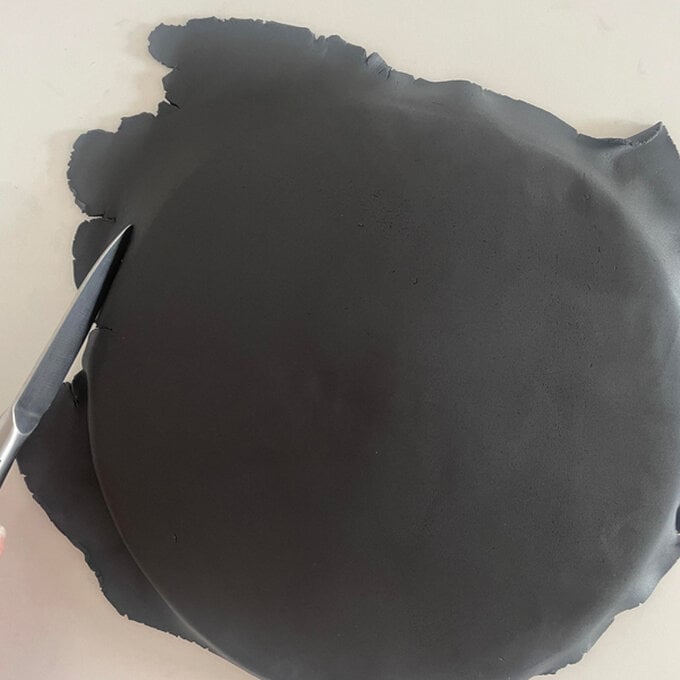
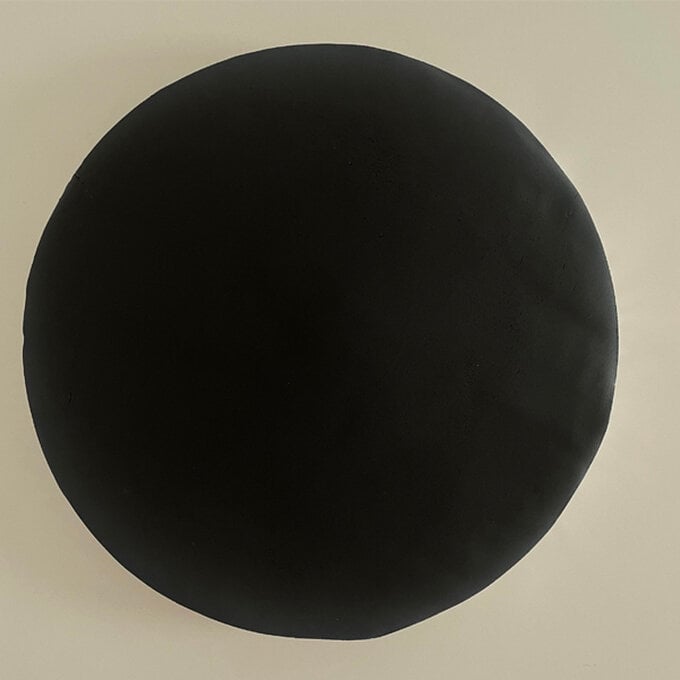
Once smooth, trim the edges of the cake board to remove the excess icing.
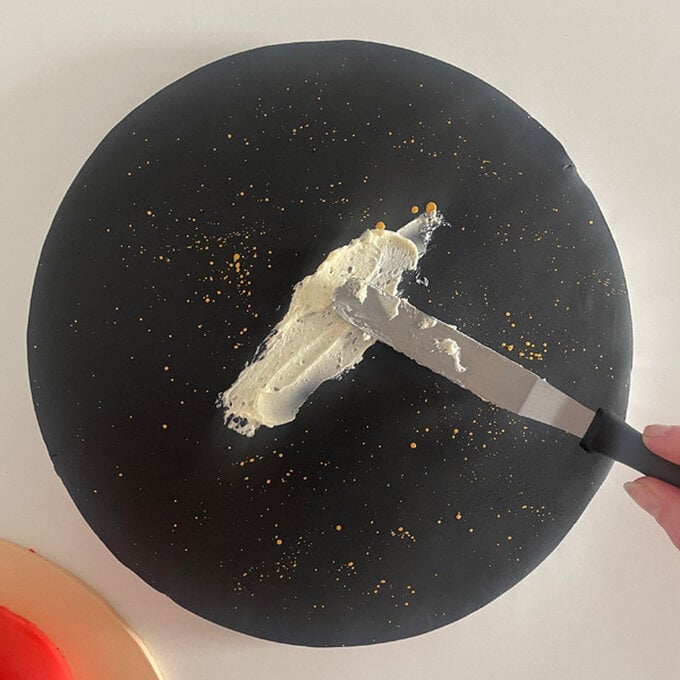
You can either leave it plain or add some golden painted stars on the background of the rocket. To do this, you will need to dip a food safe paint brush into a small amount of edible gold metallic paint. Tap the top of the brush handle to create the splat effect on the board.
Top Tip: The closer you are to the board, the bigger the dots will be.
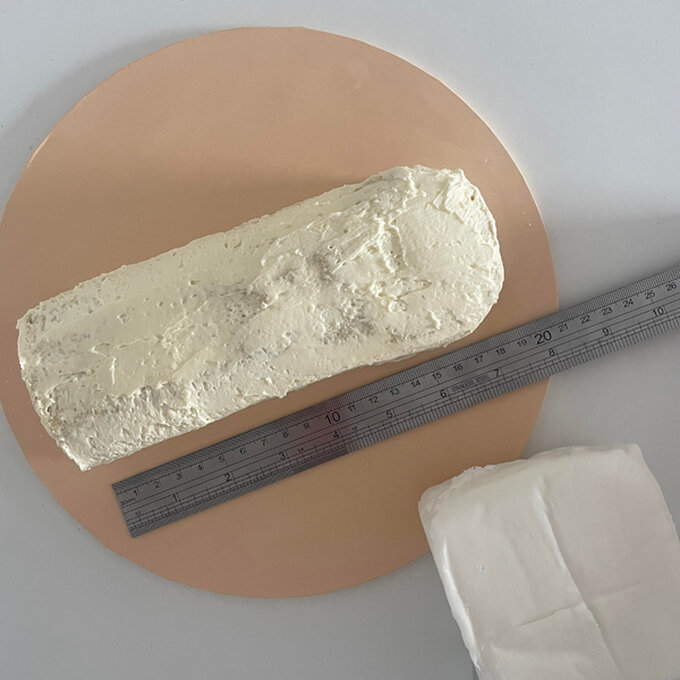
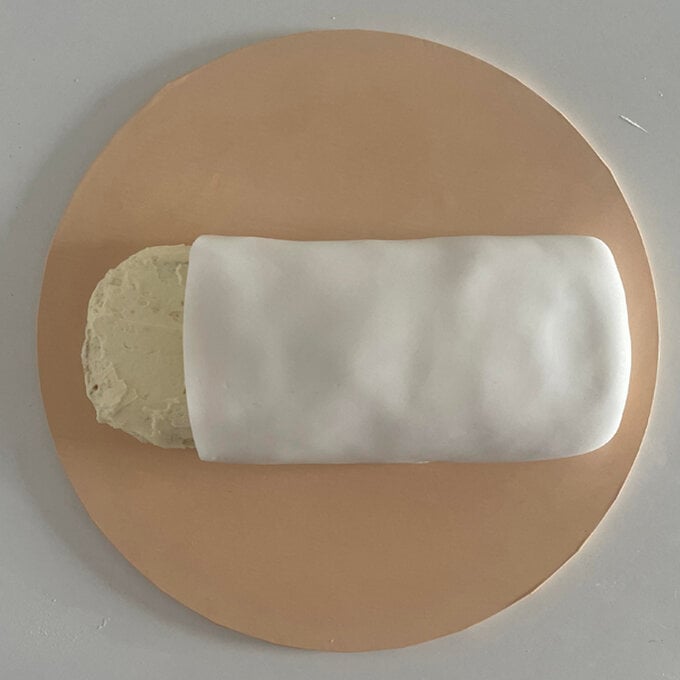
Now its time to cover your chilled sponge.
Roll out 250g of White Hobbycraft Fondant Icing until it is around a £1 coin in thickness.
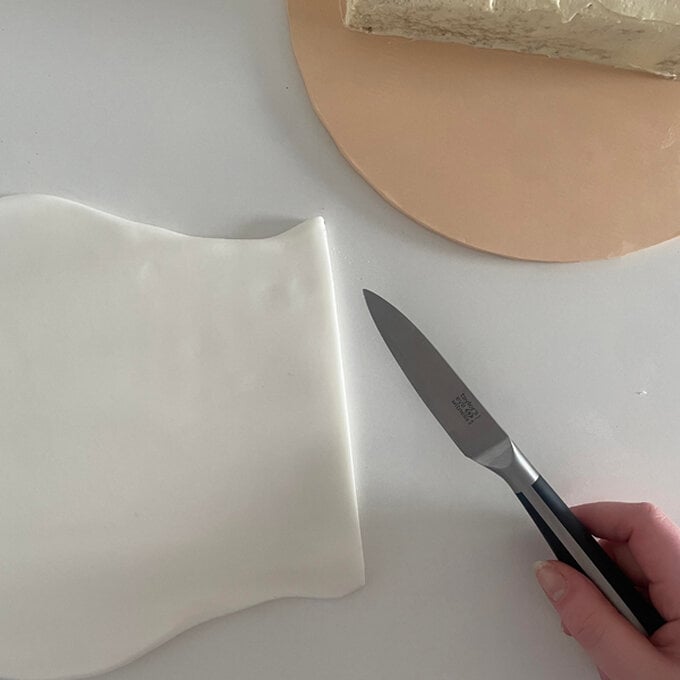
Using a ruler, measure the length and width of the rectangle section of the sponge cake. Before placing the icing onto the cake, trim a straight line for the top end of the main body of the rocket.
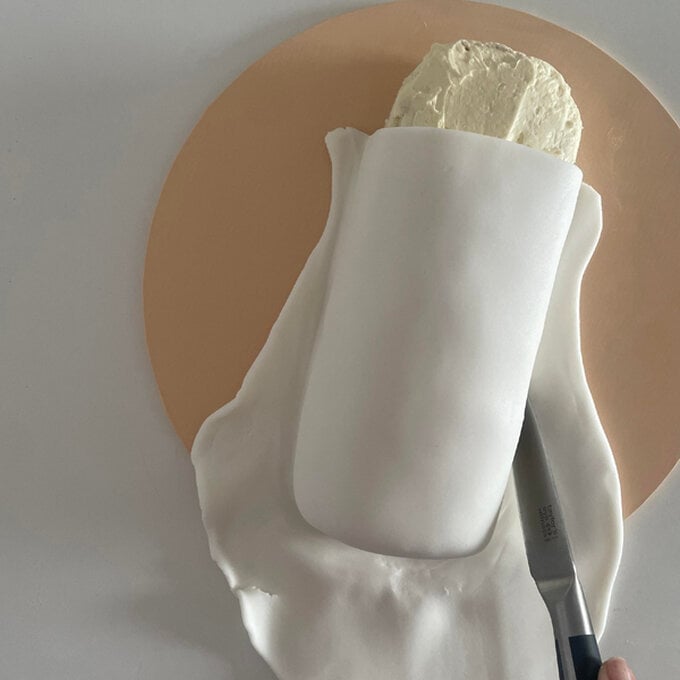
Drape the icing over the top of the sponge and smooth out any air bubbles and bumps. Trim the edges with a sharp knife to remove the excess icing.
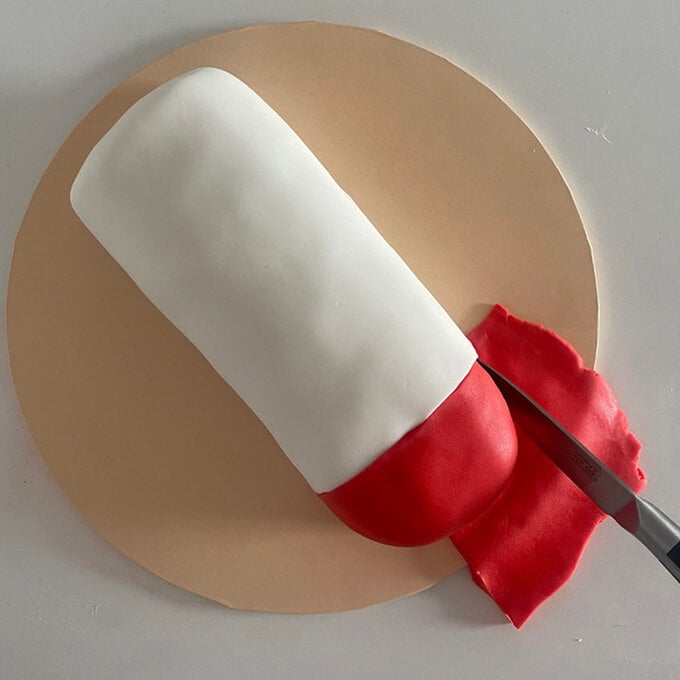
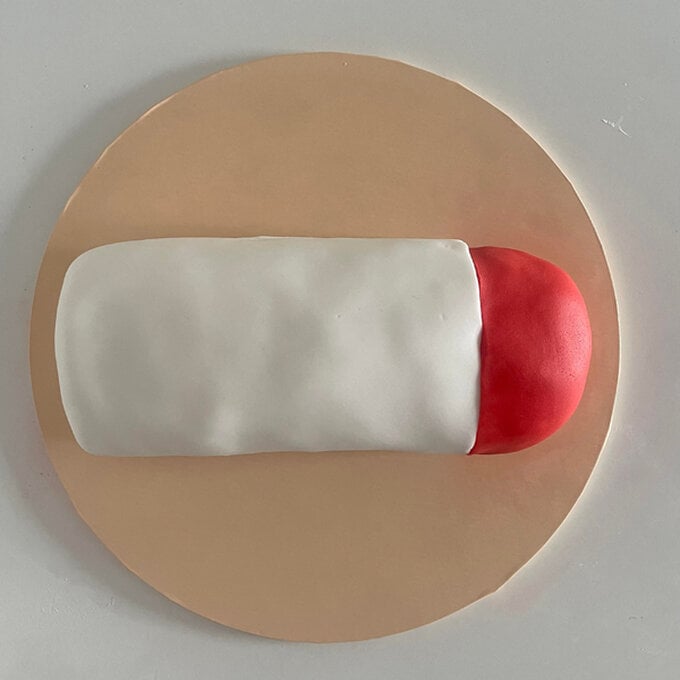
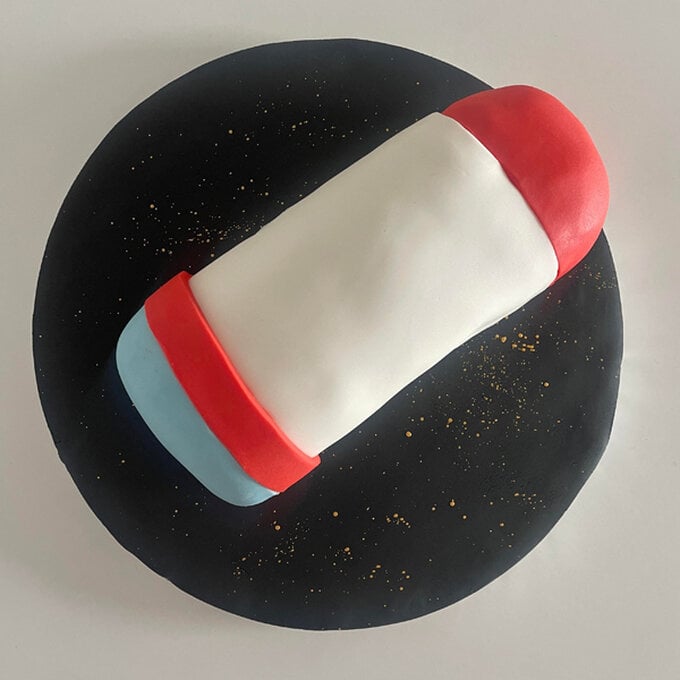
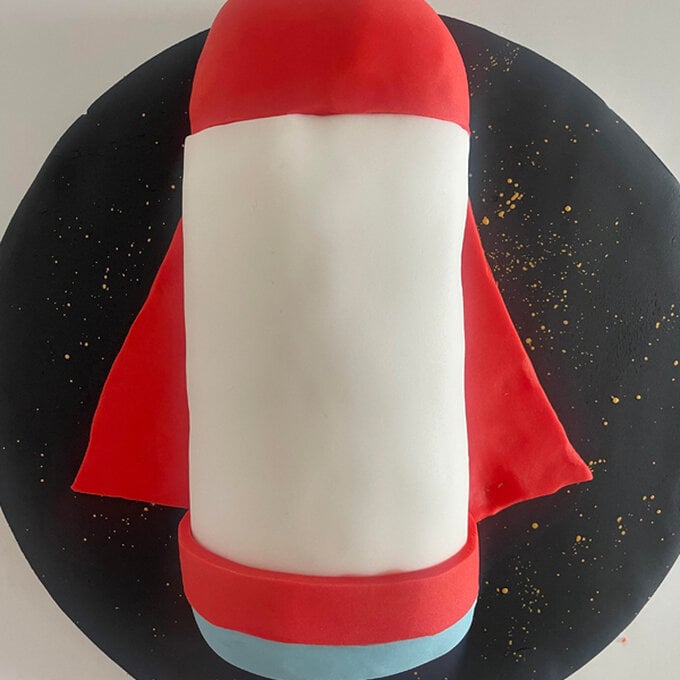
For the top of your Rocket, roll out 100g of Red Hobbycraft Fondant Icing until it is around a £1 coin in thickness.
In a similar way to the previous step, cut a straight line along one side of the red fondant which will line up along the white section. Attach this onto the top of the sponge cake and smooth out the fondant with your hands then trim the edges with a sharp knife to remove the excess icing.
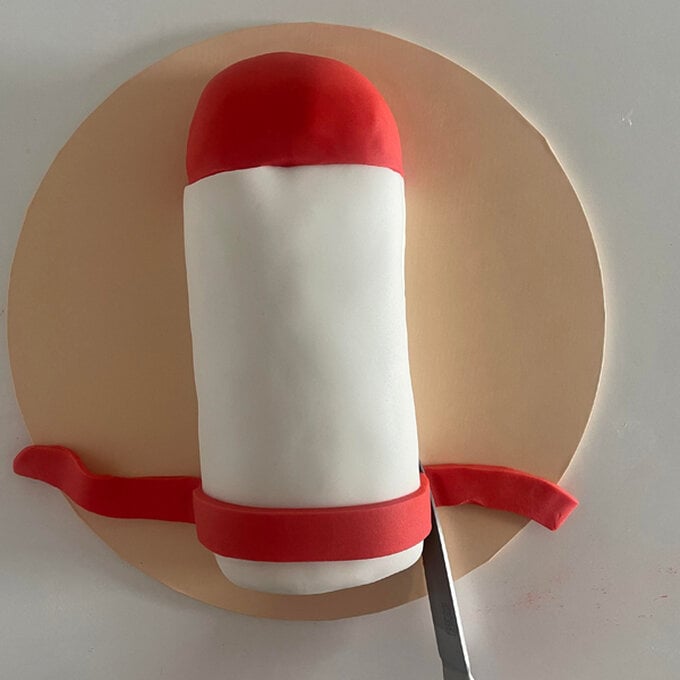
Optional - Add extra detail to your rocket using left over Red Hobbycraft Fondant Icing. Roll out and cut a thin strip of fondant and attach it to the cake with a thin layer of edible glue.
Leave about 2cm of space from the bottom of the cake.

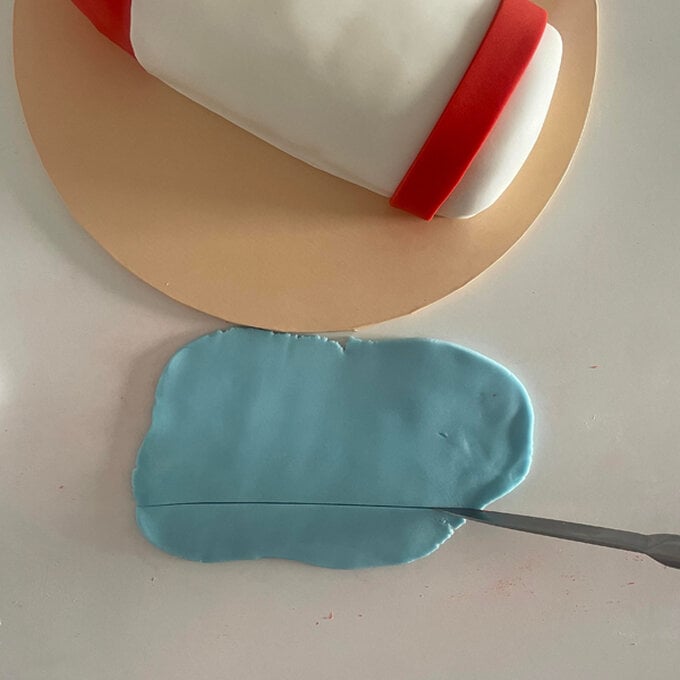
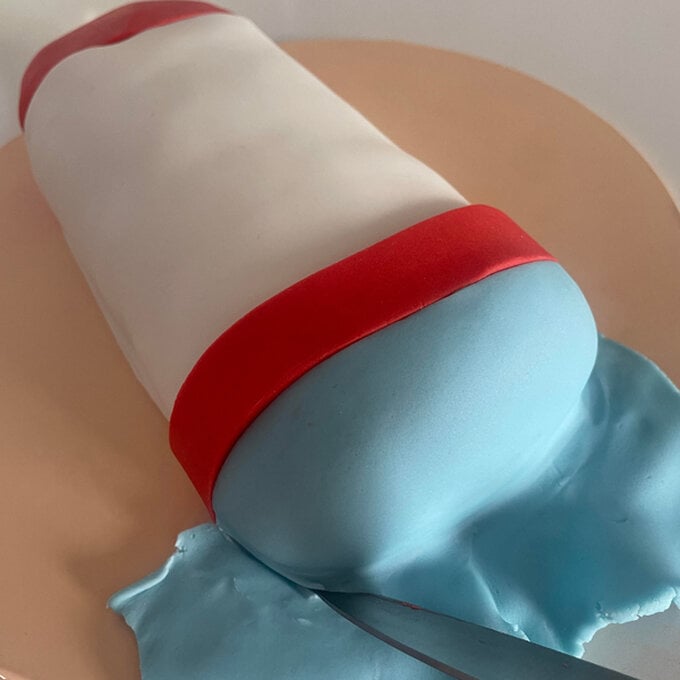
To cover up the bottom end of the Rocket cake, roll out 150g of Blue Hobbycraft Fondant Icing.
Cut out a straight line on one side so that it lines up along the red strip previously placed onto the cake.
Attach the blue section with a thin layer of edible glue.
Trim the edges with a sharp knife to remove the excess icing.

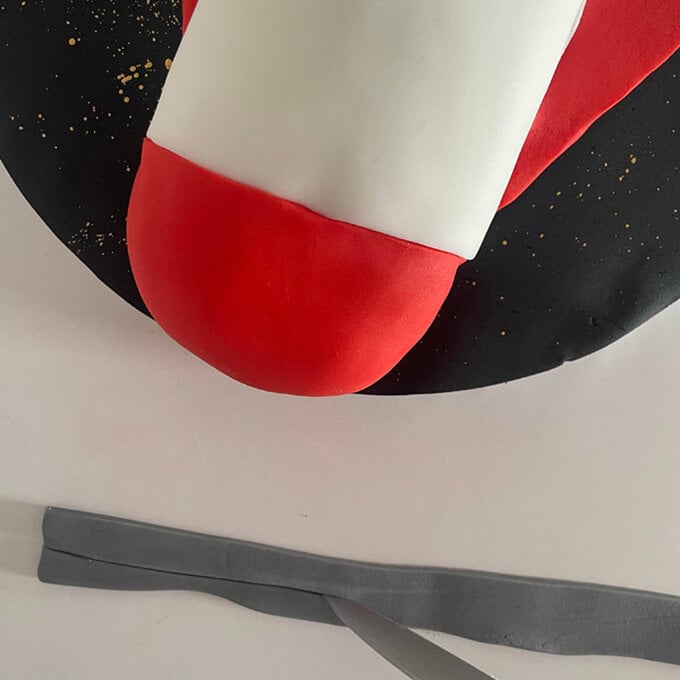
Now it's time to create the wings for your Rocket.
Roll out 150g of Red Hobbycraft Fondant Icing and use a ruler to measure out the height and width of the wings. Make marks on the rolled-out icing so you know where to cut along. It should look like a triangle with a line down the centre.
Once happy with the measurements, cut them out using a sharp knife and attach onto either side of the rocket using a thin layer of edible glue.
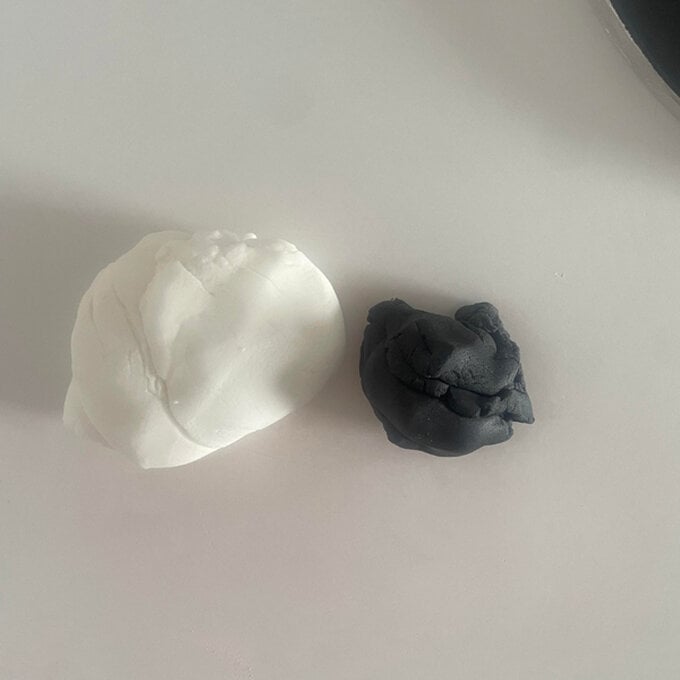
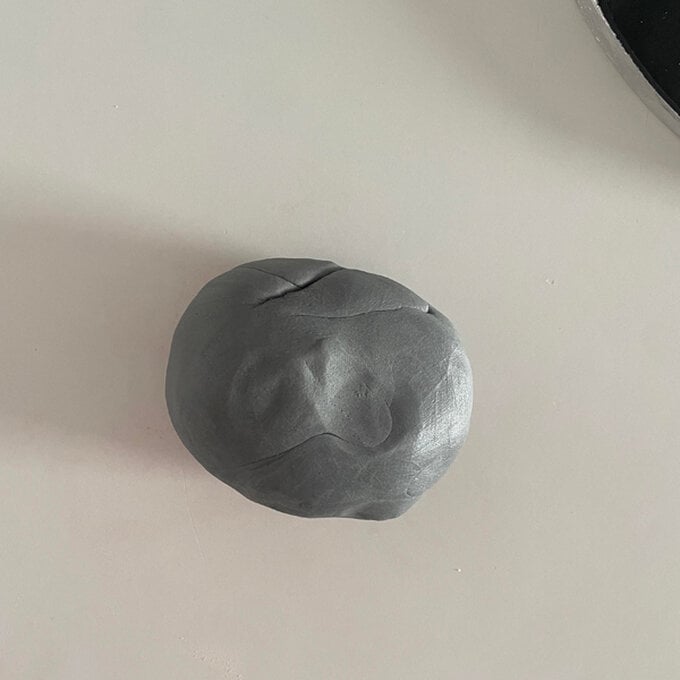
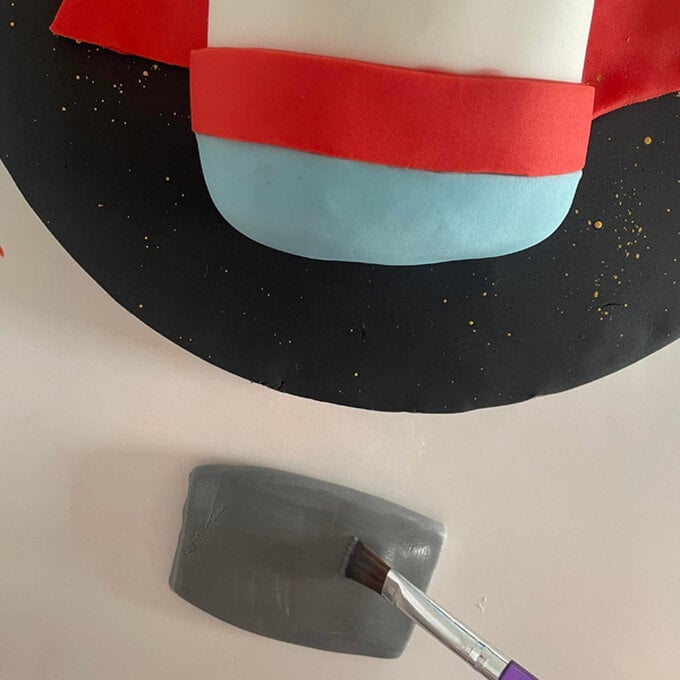
Next using a ratio of 2:1 consisting of 250g White and 125g Black Hobbycraft Fondant icing, blend the two colours together to create a grey colour.
Once happy with the colour, roll out a strip of Grey Hobbycraft Fondant Icing to hide the join between the red section on the top of the rocket and the middle white section.
Attach with edible glue and trim away any excess icing with a sharp knife.
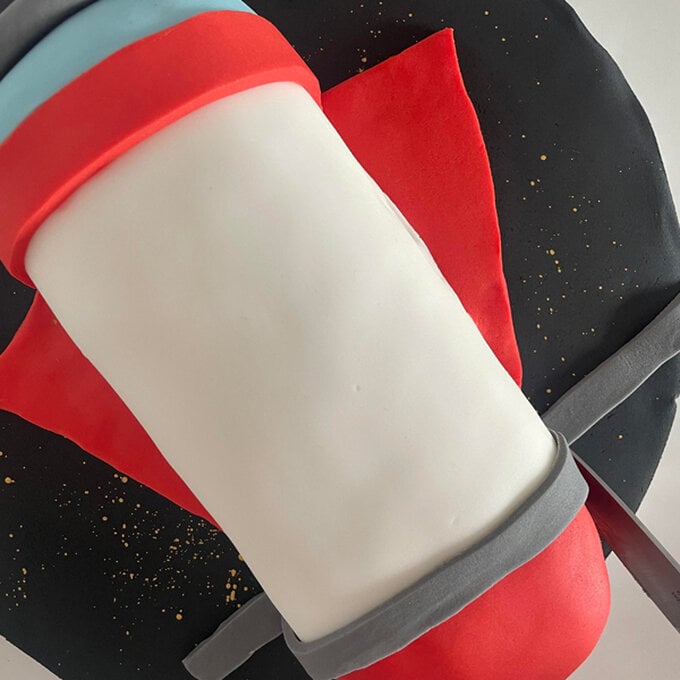
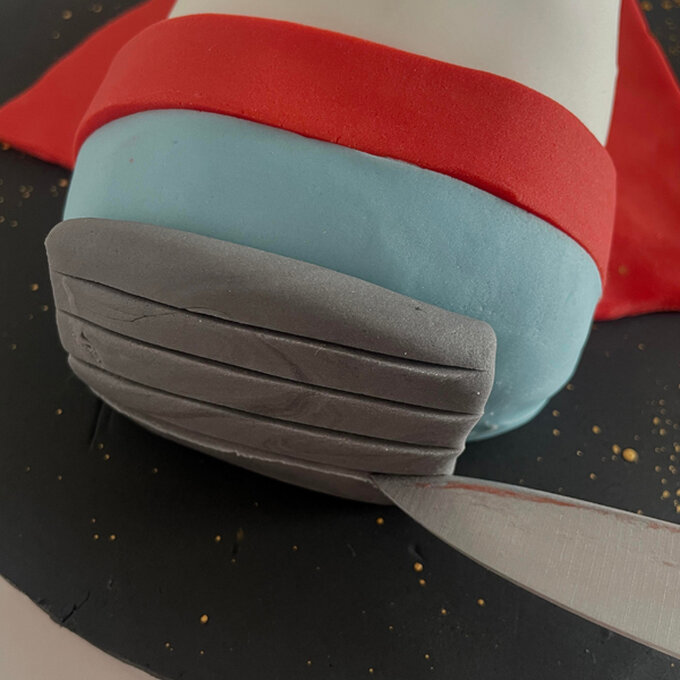
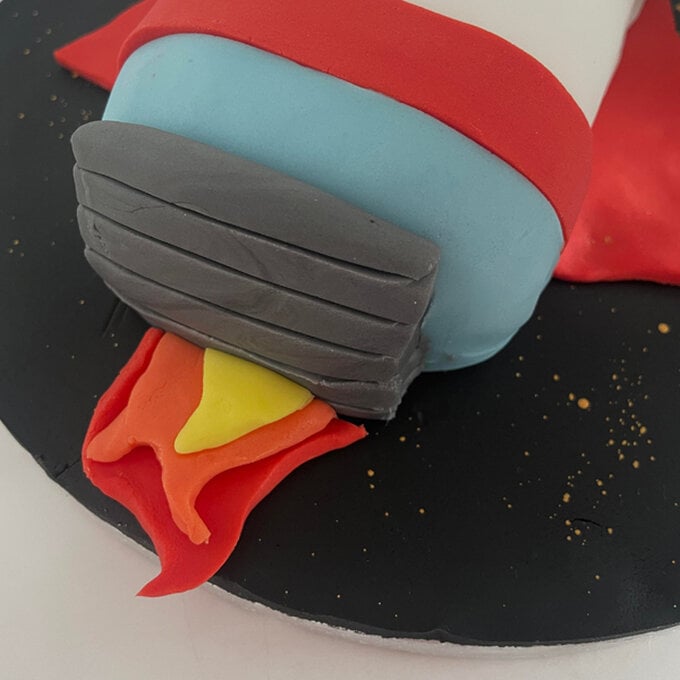
Using a section of the grey Fondant Icing colour you made in the previous step, roll out a rectangle shape that is slightly smaller in width than the rocket but is around 1cm in thickness. This will be the engine.
Attach it onto the bottom of the Rocket with edible glue.
For extra detail, mark out straight horizontal lines across the Rocket's engine using either a modelling tool or a sharp knife.

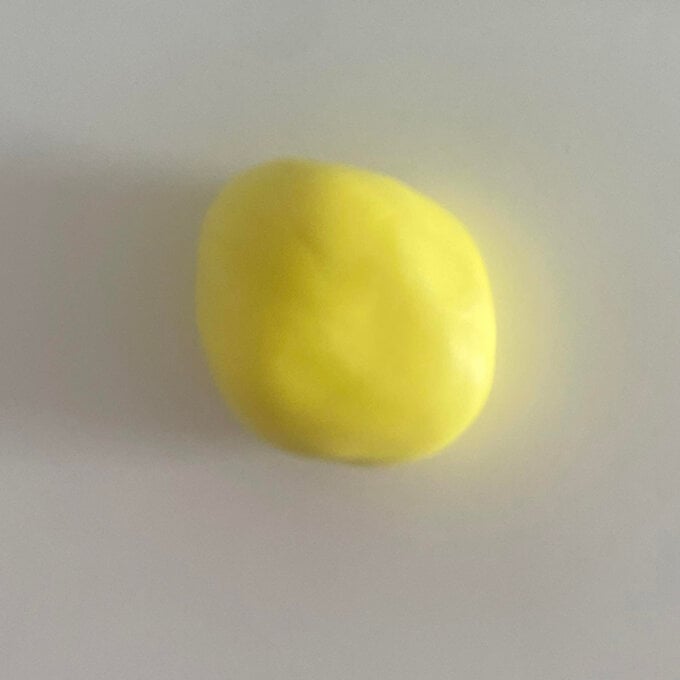
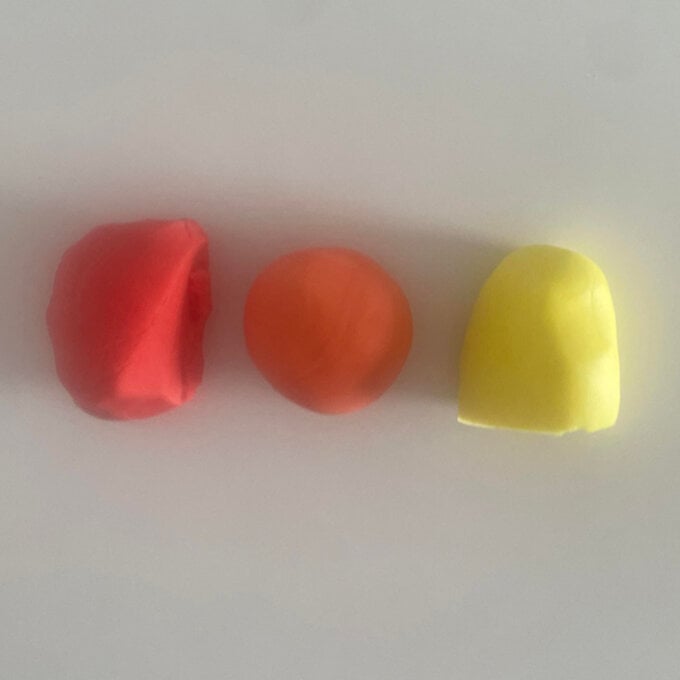
To make the flames for your engine, you will need to create yellow and orange detailing. You can create yellow by adding a pea sized amount of yellow food colouring gel to a small piece of White Hobbycraft Fondant Icing. Blend it together until it is fully mixed.
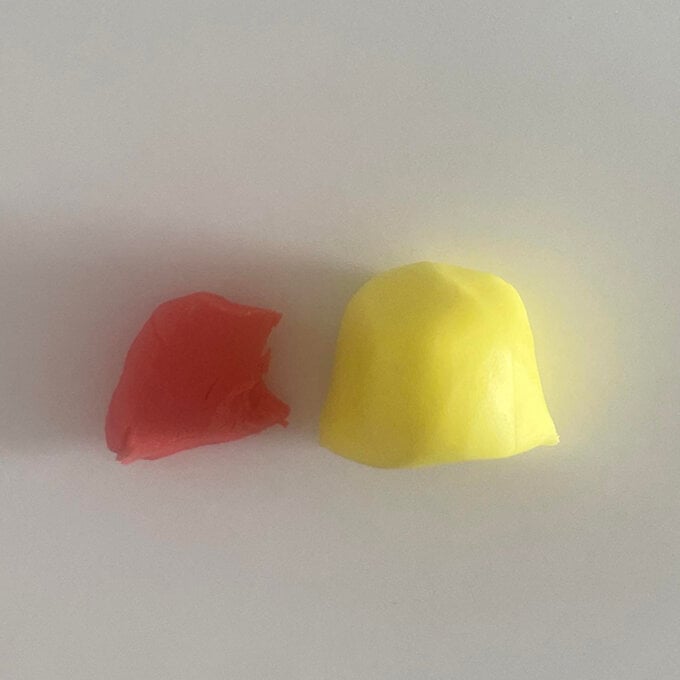
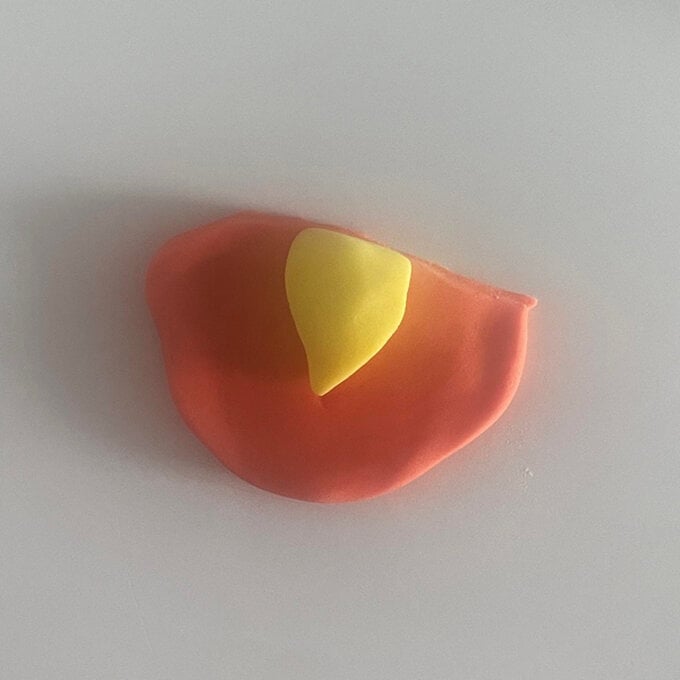
In order to make the orange colour, use a ratio of 3:1 (Yellow: Red) and blend them together. For the flames, begin by cutting out a small yellow teardrop shape. Ensure each layer of the flame has been flattened down using your rolling pin.
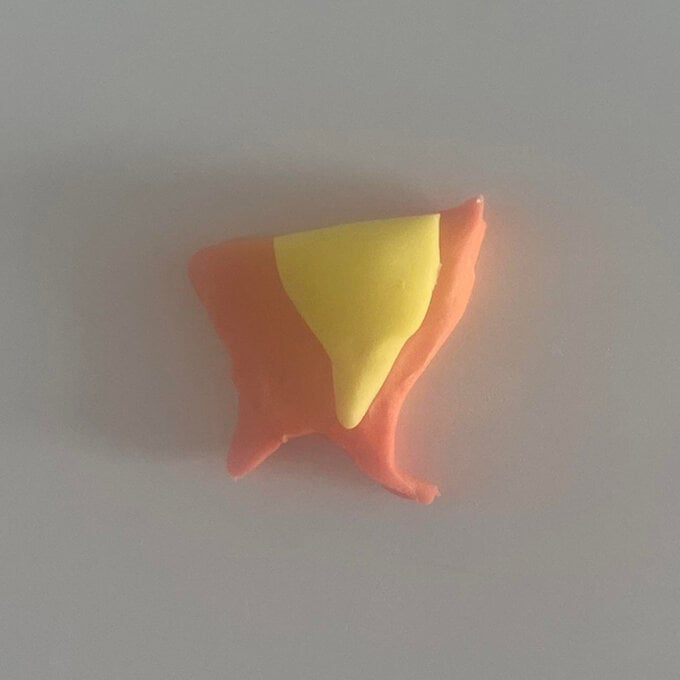
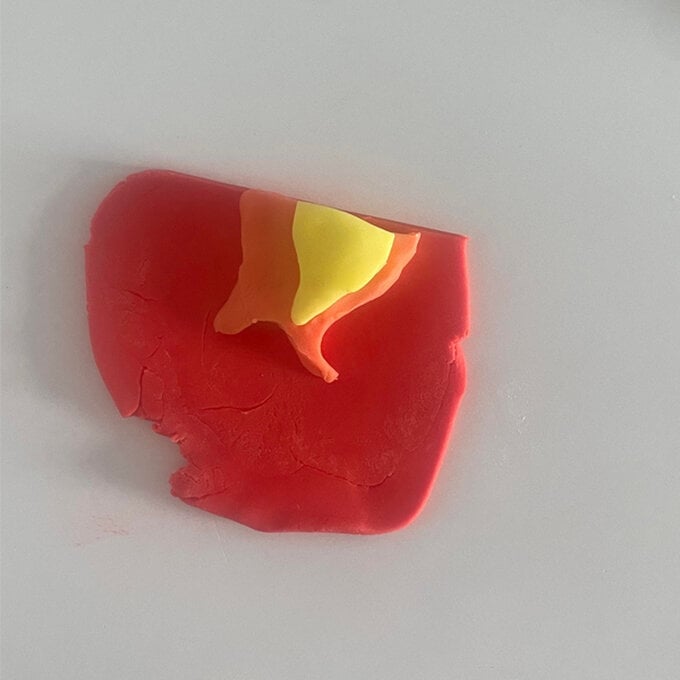
Continue rolling out different teardrop shapes with the orange and red colour, ensuring each layer is also slightly larger than the previous. Stick each layer on top of each other with edible glue.
Cut the top edge of the flame into a straight line using a sharp knife (where it will touch onto the engine) and then stick it onto the cake board.

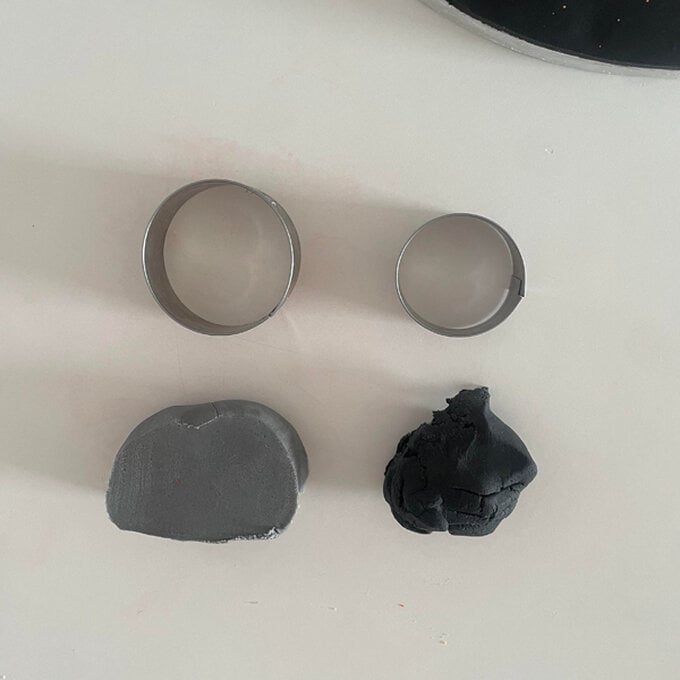
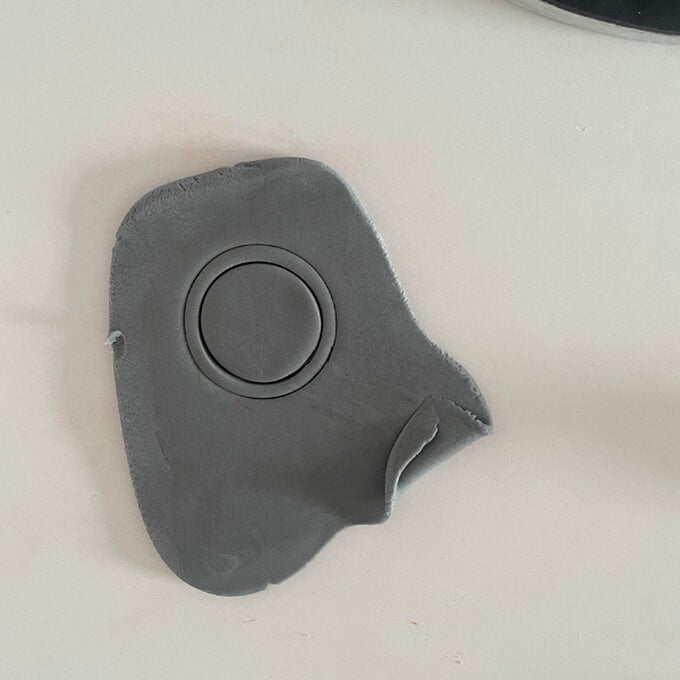
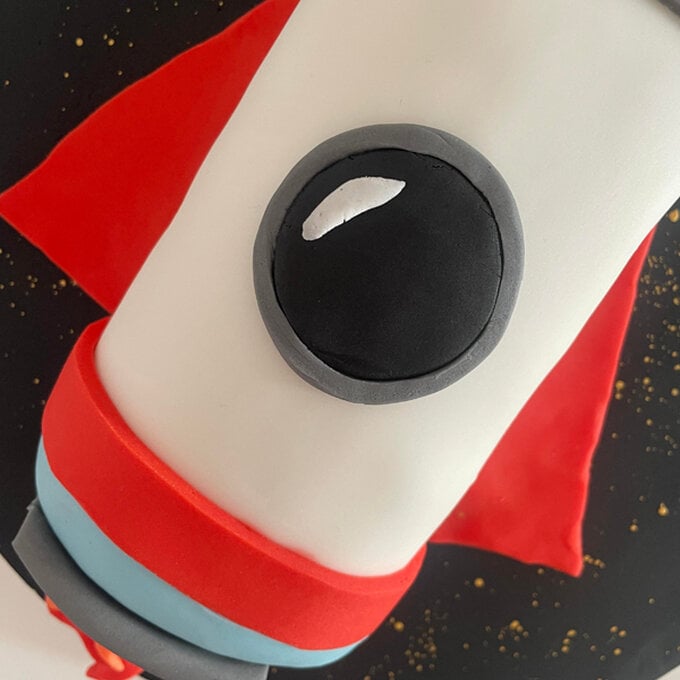
To create the windows, you will need two circle cutters with one being slightly smaller than the other.
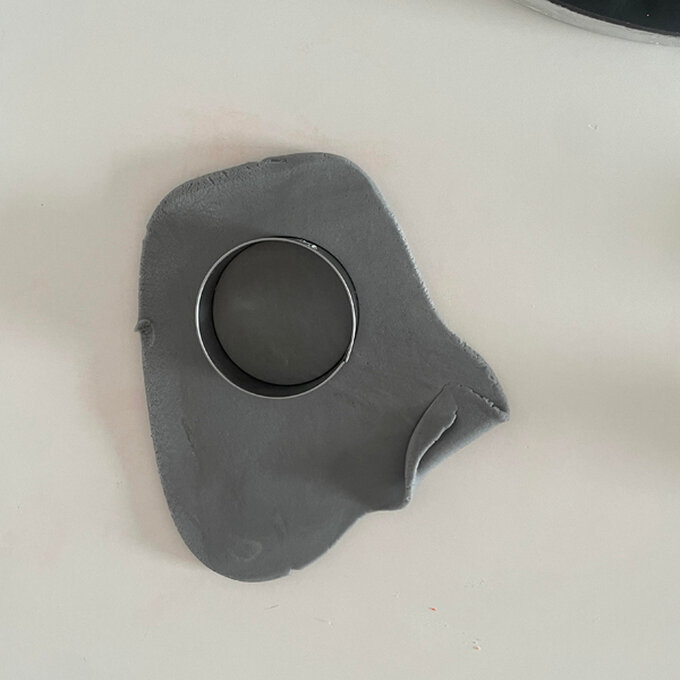
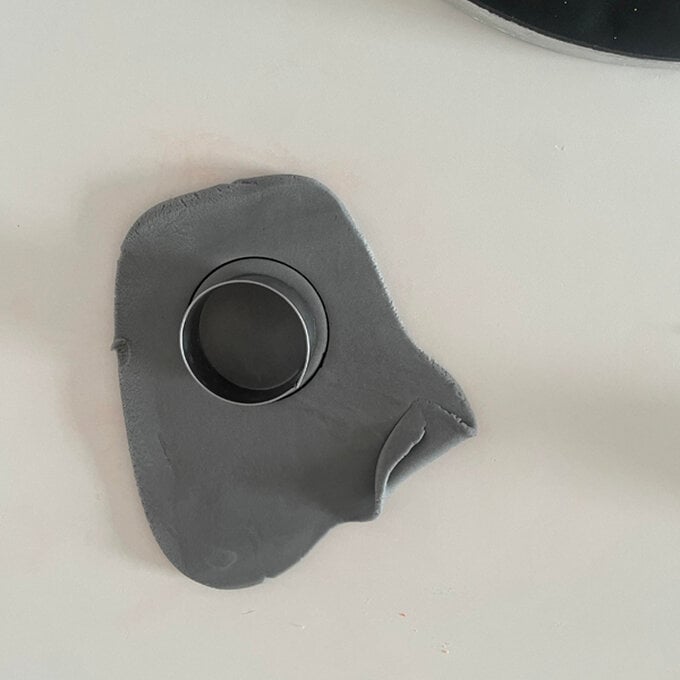
Begin by rolling out a layer of Grey Fondant Icing and cut out one circle using the larger cutter. Within that circle, cut out another one using the smaller cutter. Remove the excess icing on the outside and the smaller inner circle piece.
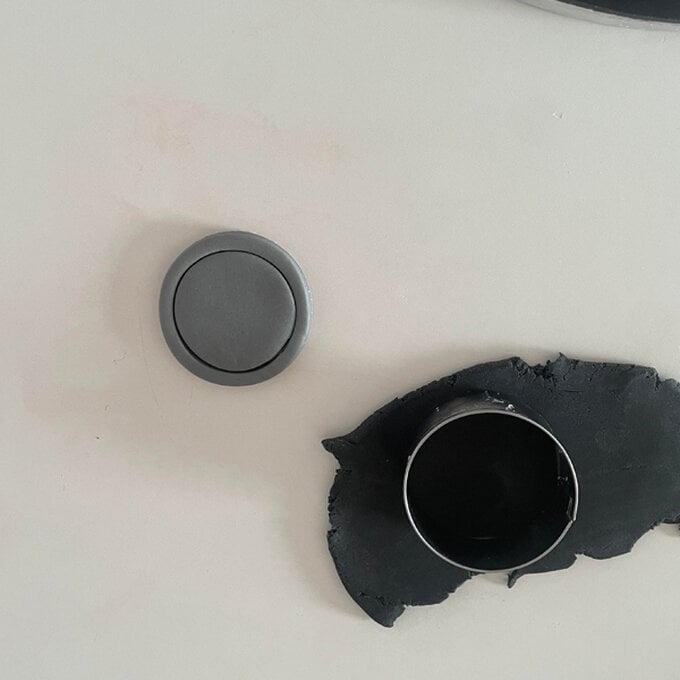
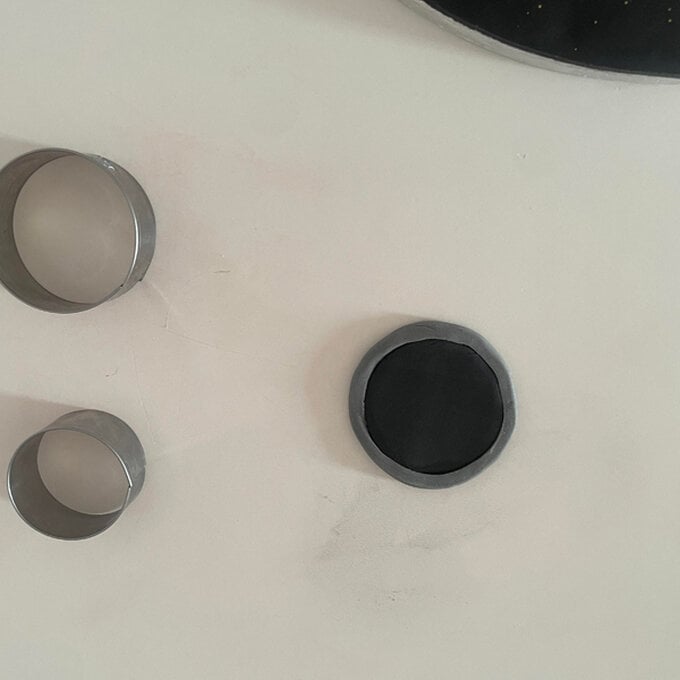
Roll out another slab of Black Hobbycraft Fondant Icing and cut out a circle using the smallest cutter. Next, place the black circle inside the grey piece cut out previously. It should fit tightly inside.
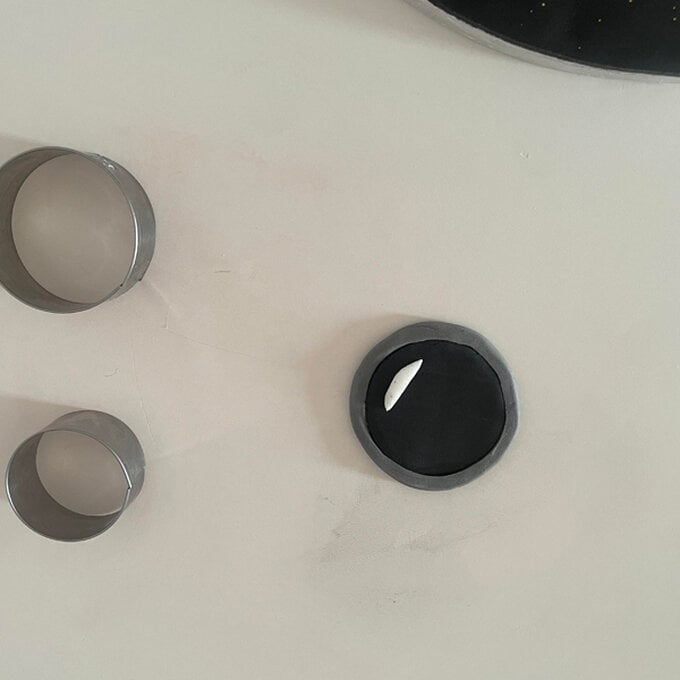
Optional - Before attaching the window onto the middle of the Rocket Cake, roll out a small white sausage shape using the White Hobbycraft Fondant Icing and attach it at an angle to the top creating a reflection on the window.
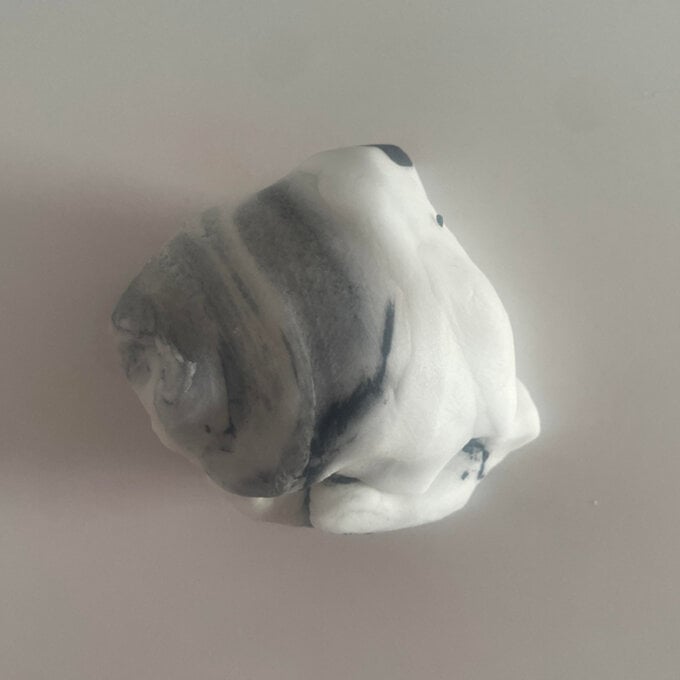
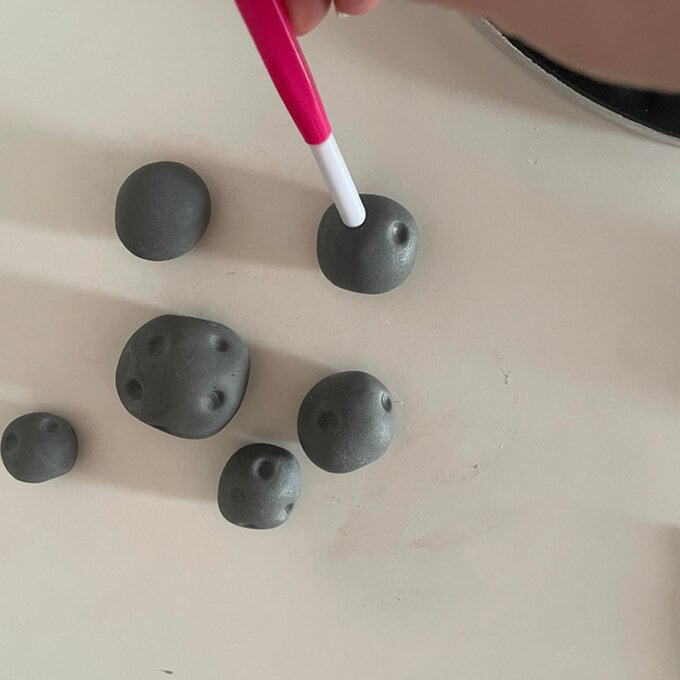
To make the moon rocks, roll out various sized balls using the Grey Fondant Icing. Create small holes scattered around each ball using the rounded section of the modelling tools.
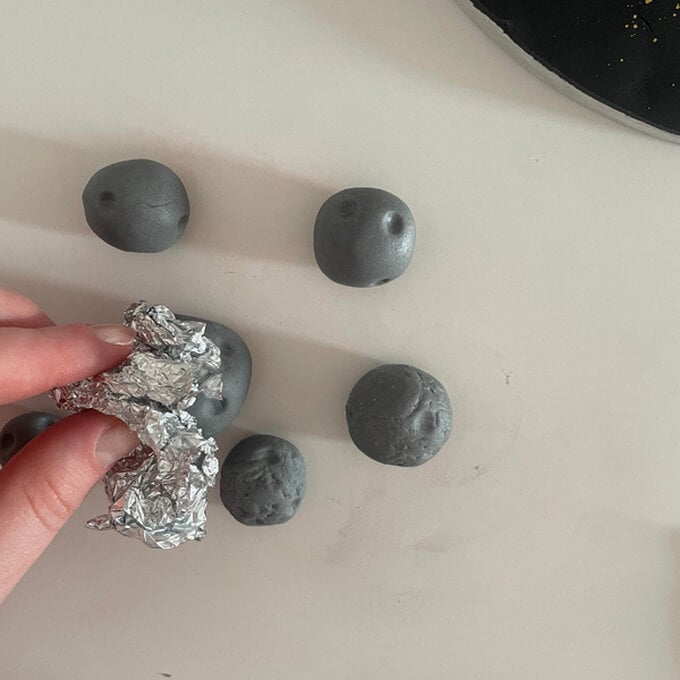
To add texture, scrunch up a piece of tinfoil and press lightly onto the outside of each ball.
Once happy with how they look, stick them around the cake board with a small layer of edible glue.

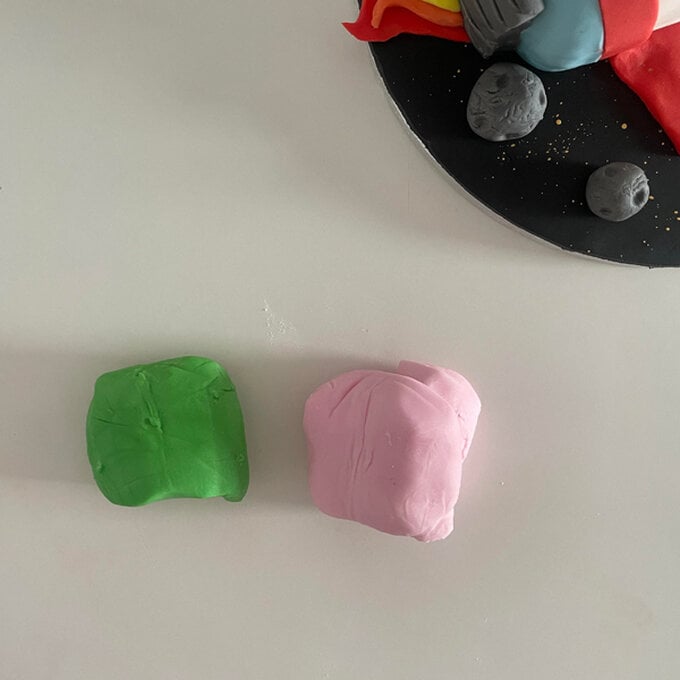
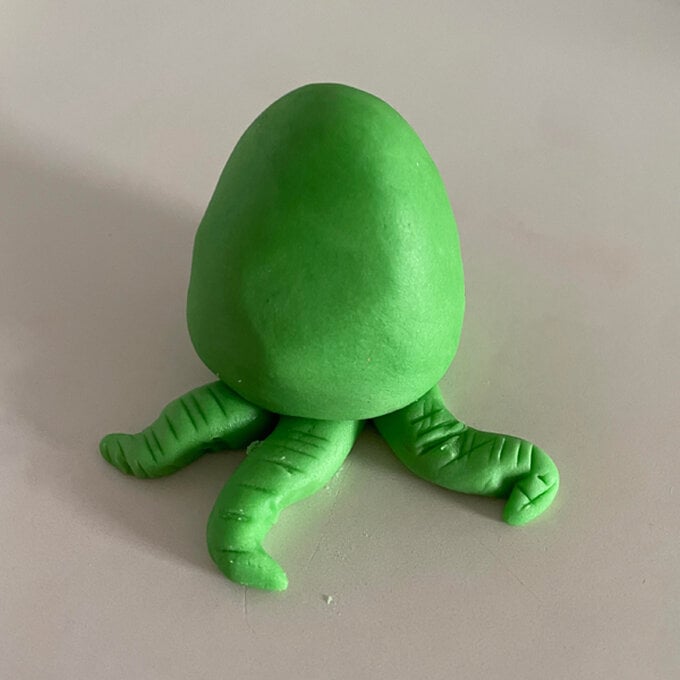
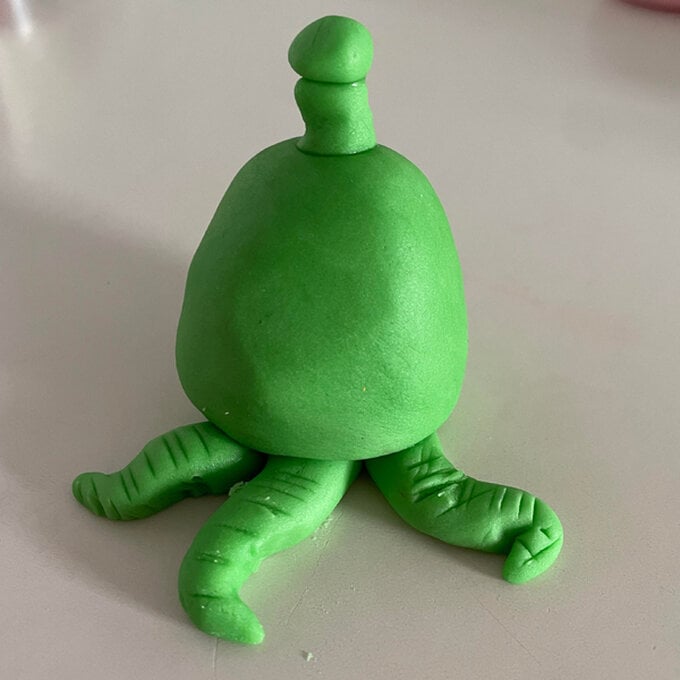
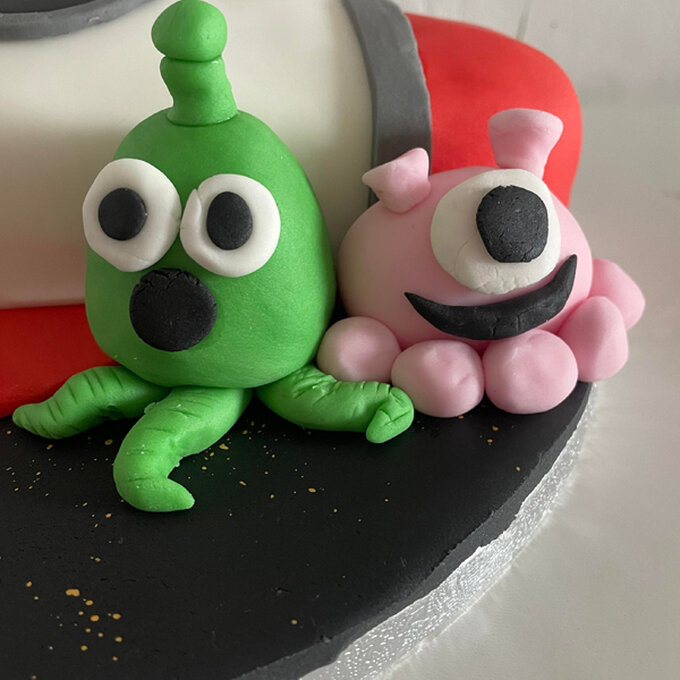
To create the Aliens, roll out 100g of two different colours. We used Green and Pink Hobbycraft Fondant Icing in this project.
Split each 100g into two different pieces, the largest is for the body, the second largest is for the legs/arms and the smallest piece is for the antenna.
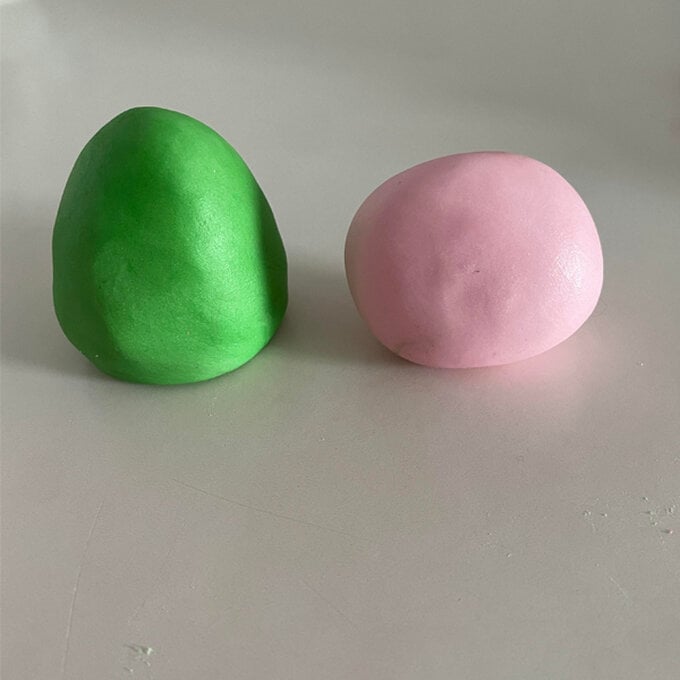
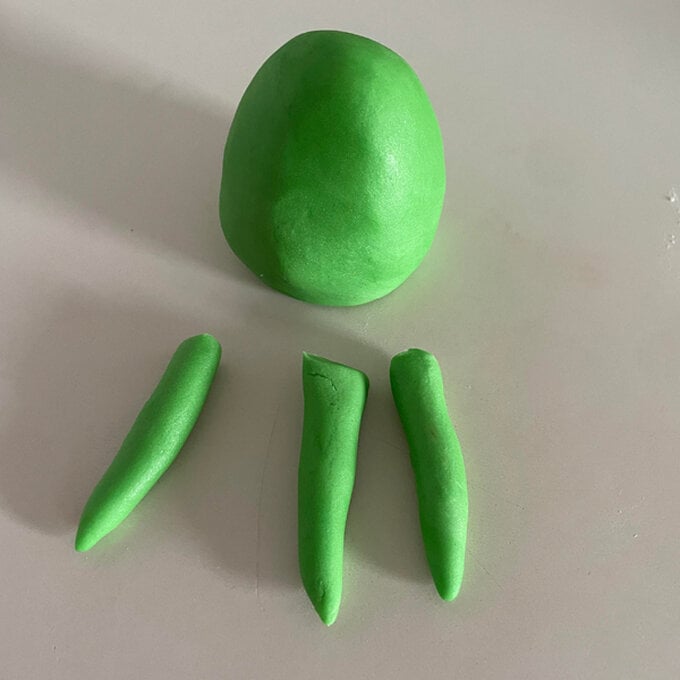
To make the body, roll out the largest pieces into either round balls or small sausage shapes.
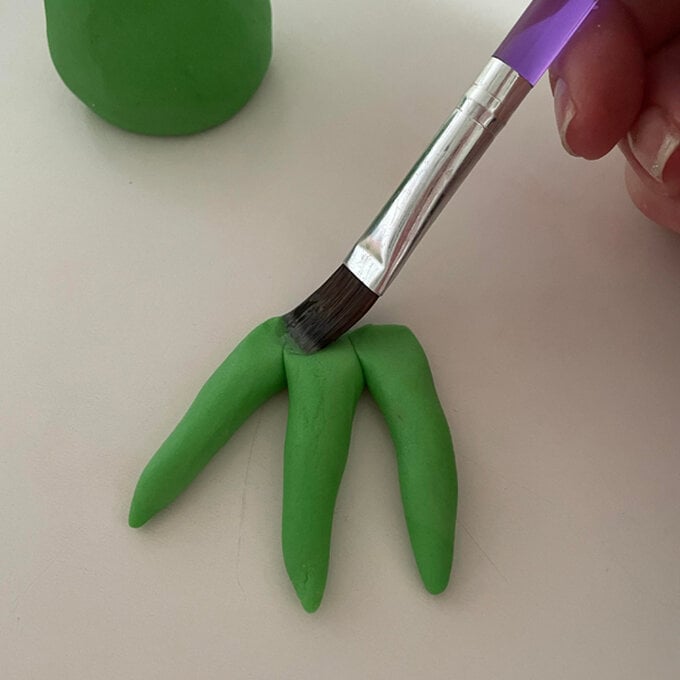
To make the tentacles, split the second largest piece of the icing into three sausage shapes. Attach the ends of each one all together and brush on a layer of edible glue onto the ends.
Sit the body on top of the glue area and bend the tentacles into different shapes to bring it to life! For extra detail, add marks on top of the tentacles for texture.
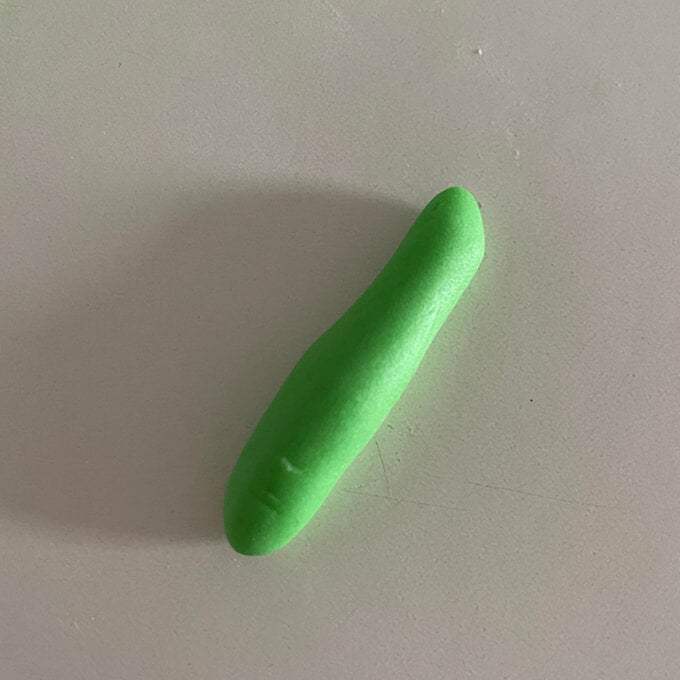
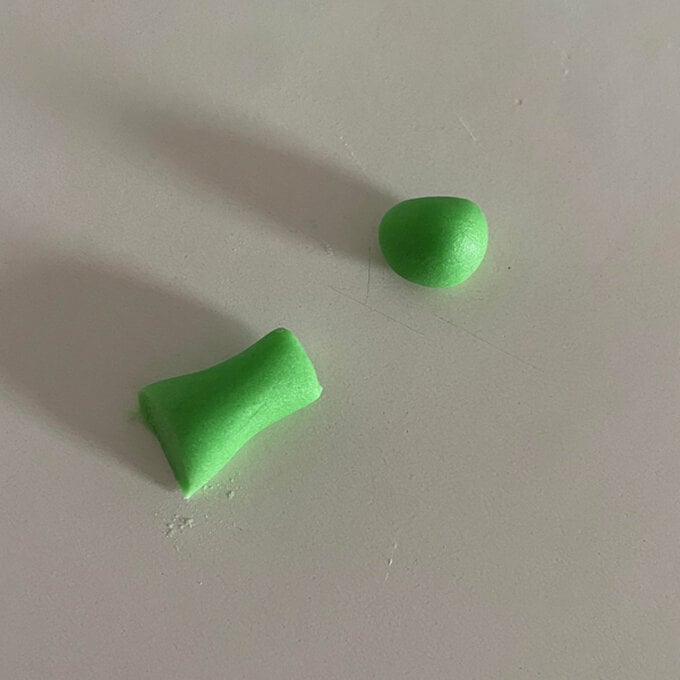
To create the antenna, roll out the smallest piece into one long sausage shape. Cut a piece of the end and roll into a ball to add on top.
With the rest of the sausage shape, decide on the length of the antenna and cut it down accordingly.
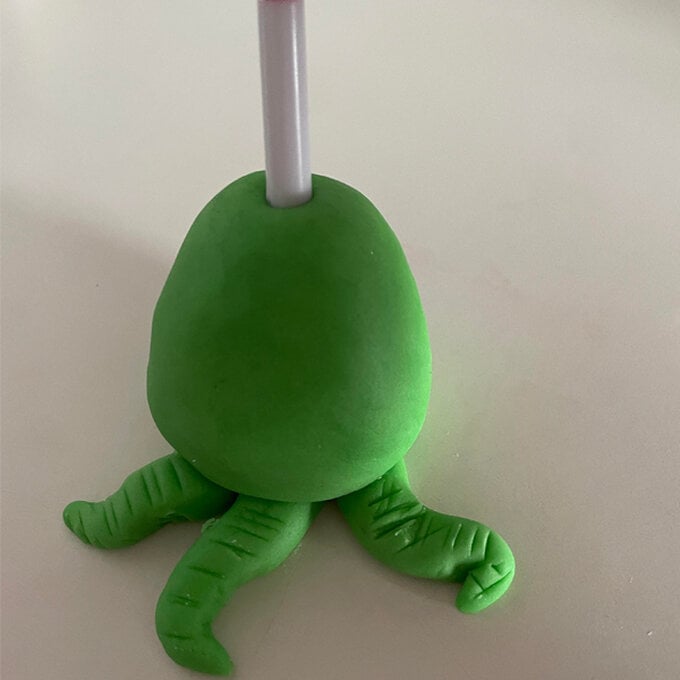
Before gluing it on top, create a hole where you want it to sit. This will allow for the sausage shape to rest inside the hole to stop it from falling over.
Once stuck, glue on the small ball on top.
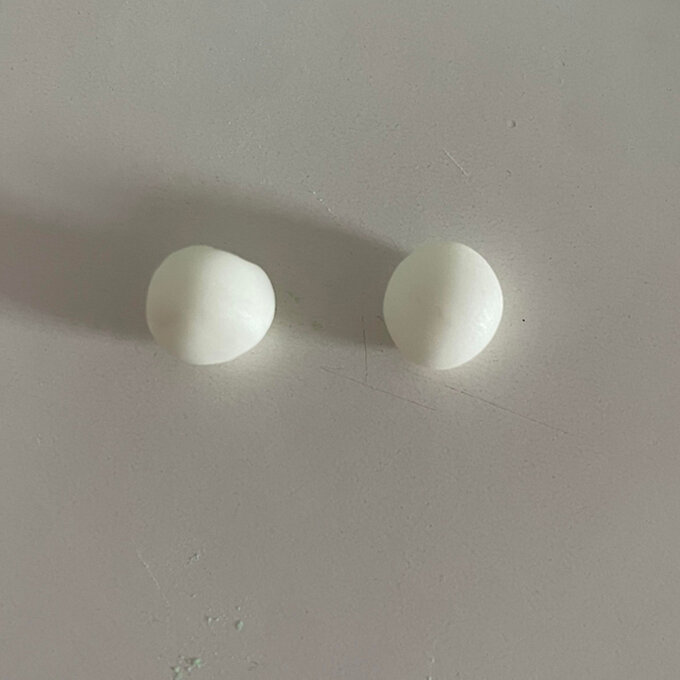
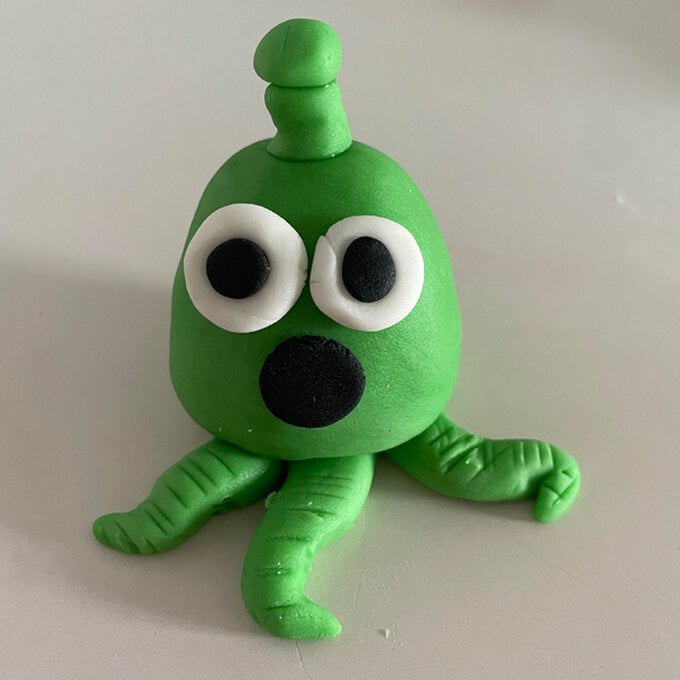
To make the eyes, roll out 2 small balls of White Hobbycraft Fondant Icing and flatten them down with your finger.
Roll out 2 smaller balls of Black Fondant Icing and flatten them down too with your finger. Attach the black balls onto the middle of the white with a small layer of edible glue and stick them onto the Alien body.
For the mouth, you can roll out one small ball of Black Hobbycraft Icing and flatten it down before attaching with edible glue.

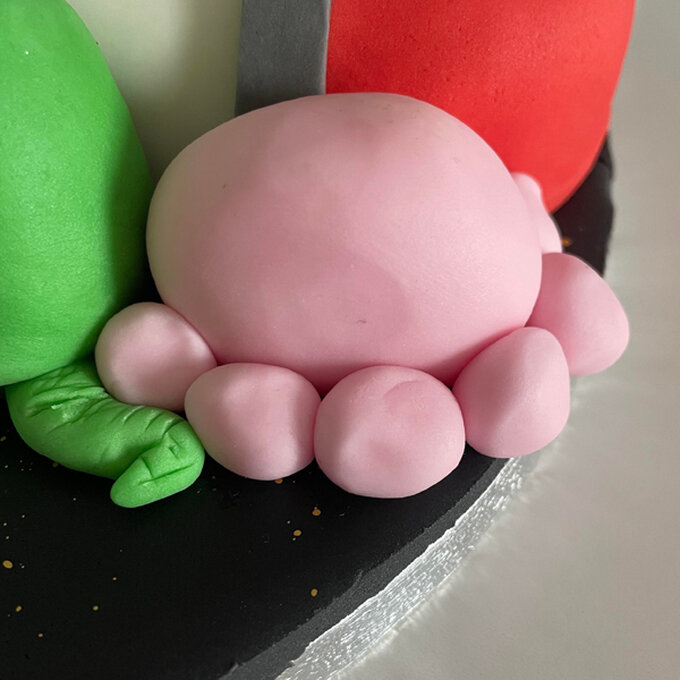
To create another alien, you will need to be creative with the different parts of its body and create something unique. To do this, you could add extra legs or change the shape.
To create the mouth for this alien, roll out a small sausage shape with Black Hobbycraft Fondant icing and thin out the ends.
Attach it onto the body underneath the eye with a small layer of edible glue. To make it appear to be smiling, turn the ends upwards slightly.
To finish the cake, you can either leave the board as it is or you can attach a ribbon to cover up the cake board from showing through.
Using a measuring tape, measure out the circumference of the board. Cut the ribbon of your choice accordingly to the size, leaving an extra 2cm to wrap over.
To attach it onto the edge of the board, you can either using double side tape or a hot glue gun to keep it in place.
And there you have it, your rocket cake is looking great!

Related Products