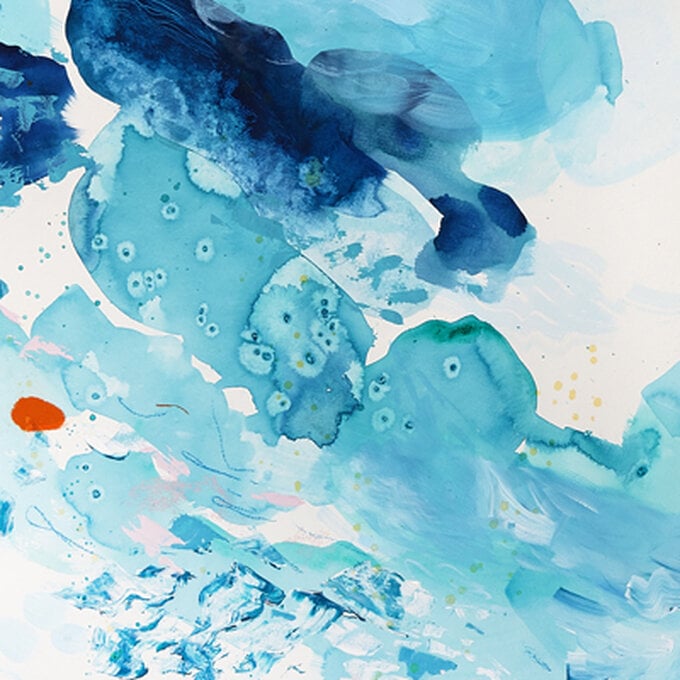
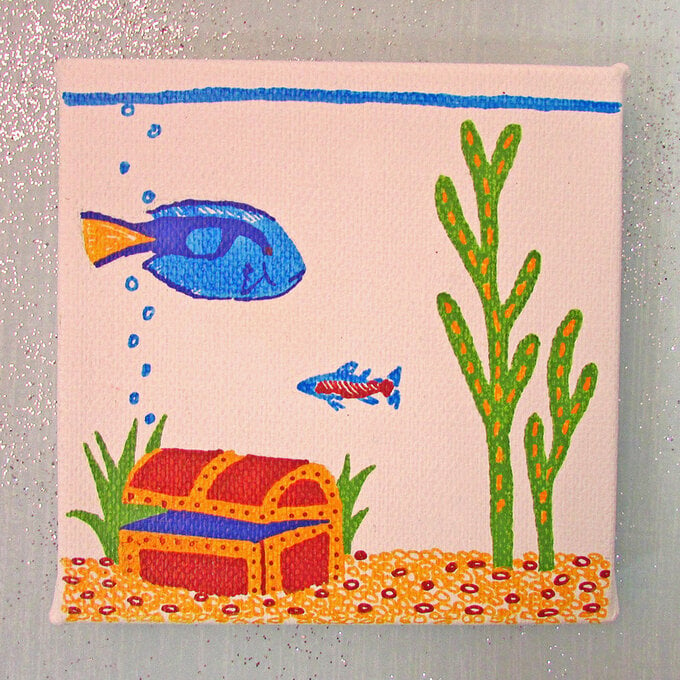
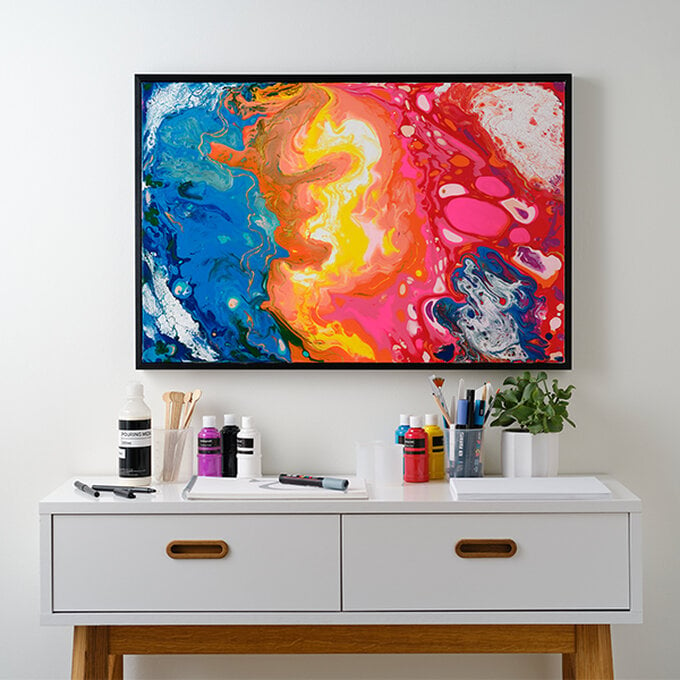
How to Create Fluid Art on Canvas
Create this showstopping piece of abstract art using the technique of fluid art. Using our set of pouring paints and the easy-to-follow tutorial, you'll soon be able to create a colourful canvas of your own!
Why not get creative and use colours that match your décor or make as a gift for a friend in their favourite shades?
Project and instructions by Aimee Gray
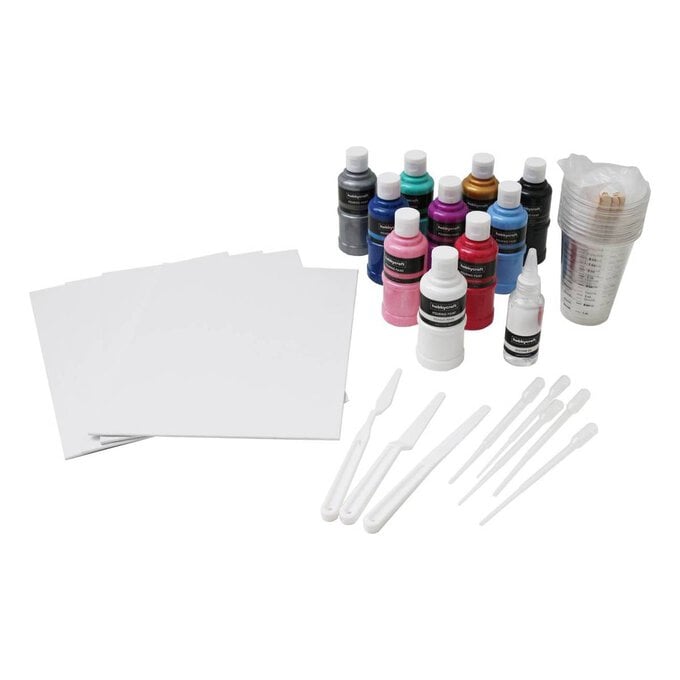
You will need
Subtotal
Is $ 42.00
Subtotal
Is $ 13.00
Subtotal
Is $ 4.49
Subtotal
Is $ 8.49
How to Make
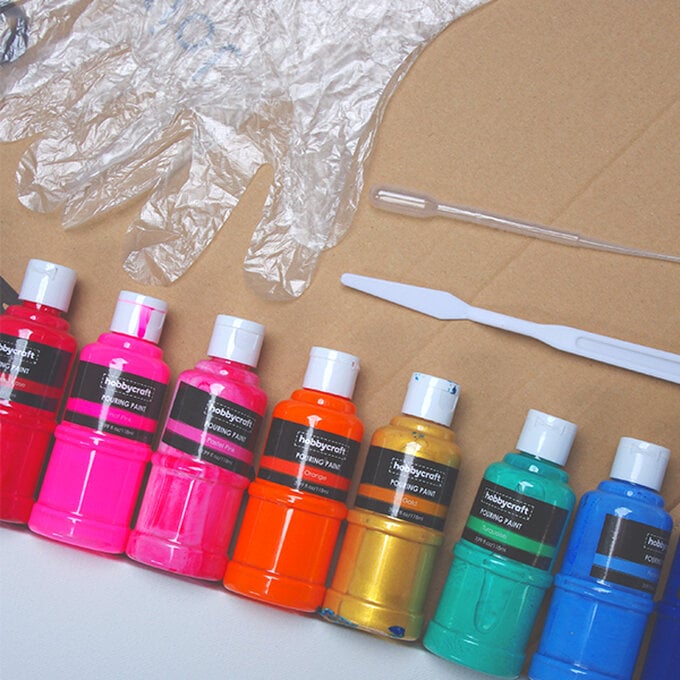
* Pouring Paints
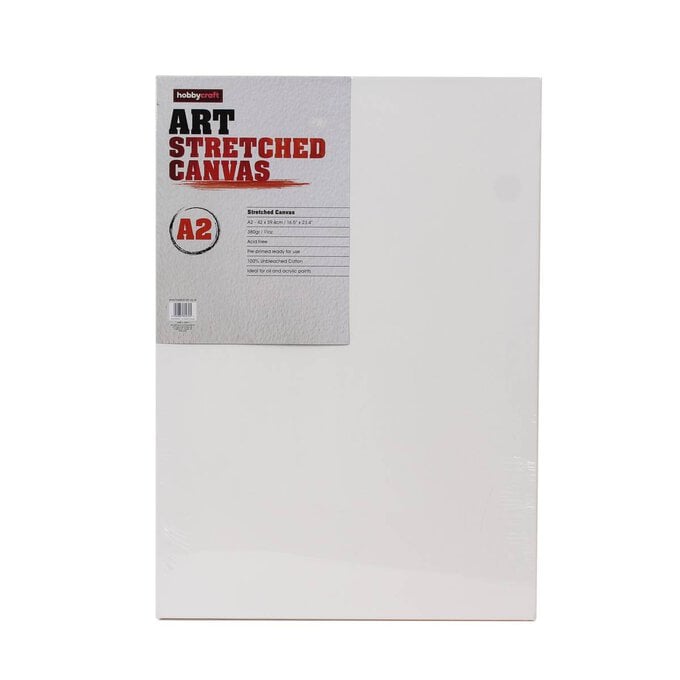
* Stretched Canvas
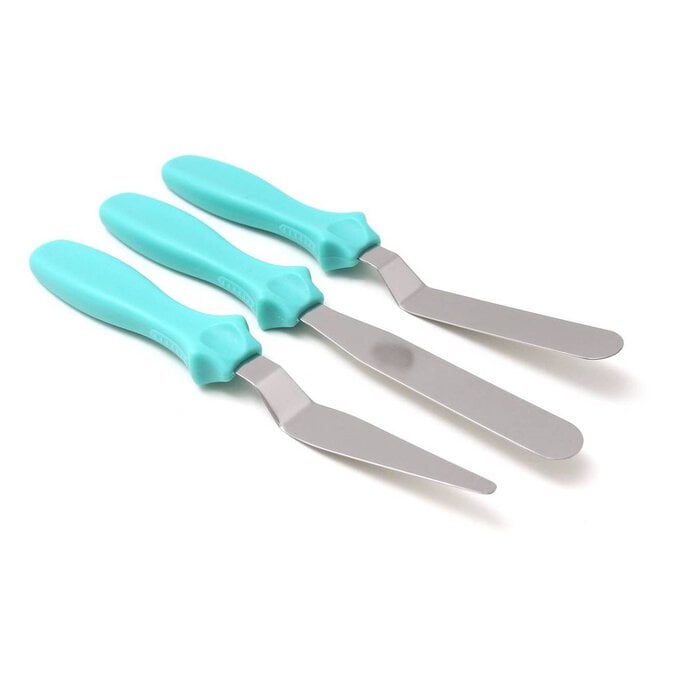
* Palette Knifes
* Silicone Oil
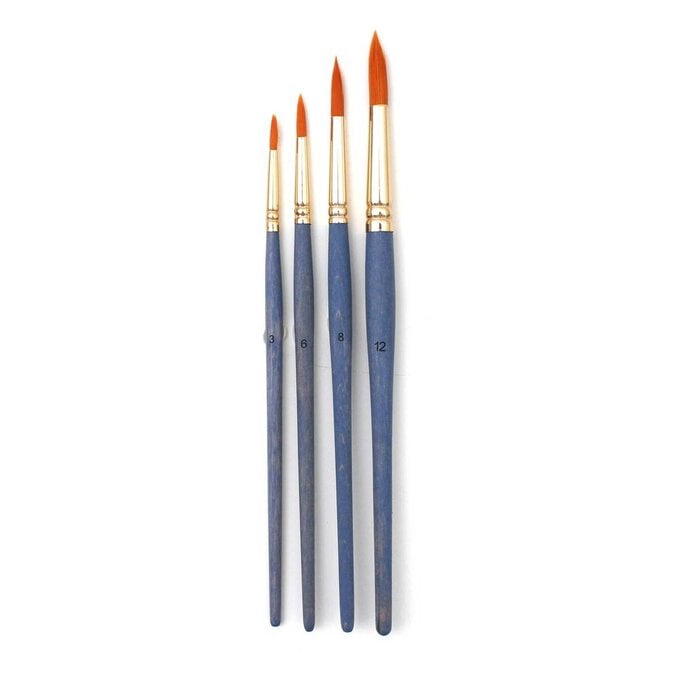
* Paintbrushes
* A Sponge/Cloth
* Protective Covering for Work Surface

Firstly, prepare your space properly. It's important to protect all surfaces and clothing when doing pouring art.
Remember that all fluid art needs to be left on a level surface for 24 - 72 hours while it dries (depending on the thickness of the paint). If your surface is not level the paint may slide to one side during the drying process and change the outcome.
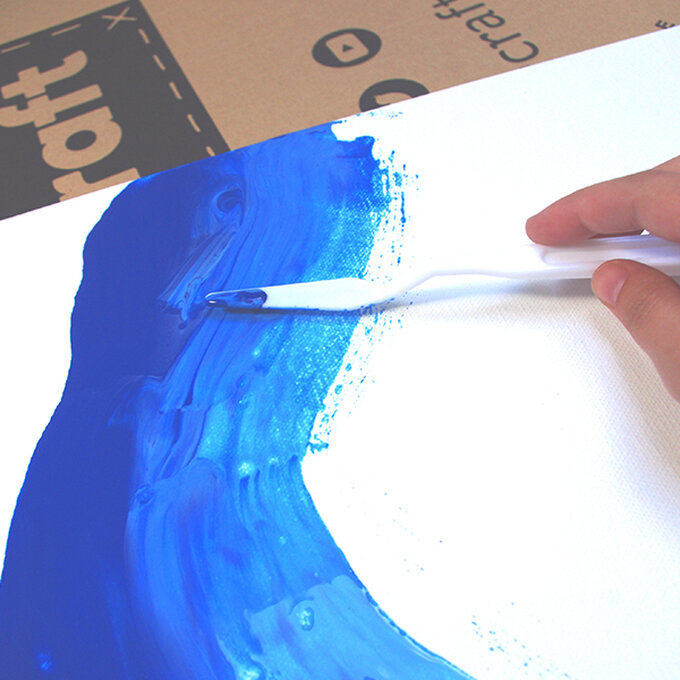
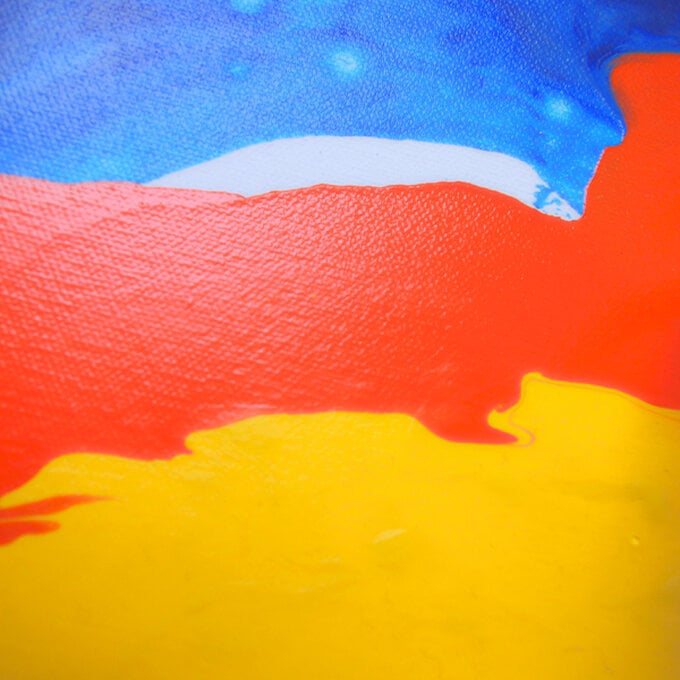
Once your surface is ready, take ‘Cerulean Blue’ and add it to the left third of your canvas. Then add some ‘Pastel Blue’ and ‘Turquoise’ in the same way.
This will create a gradient from dark on the outside to light on the inside. Spread the colours out with a palette knife to create an even layer of paint.
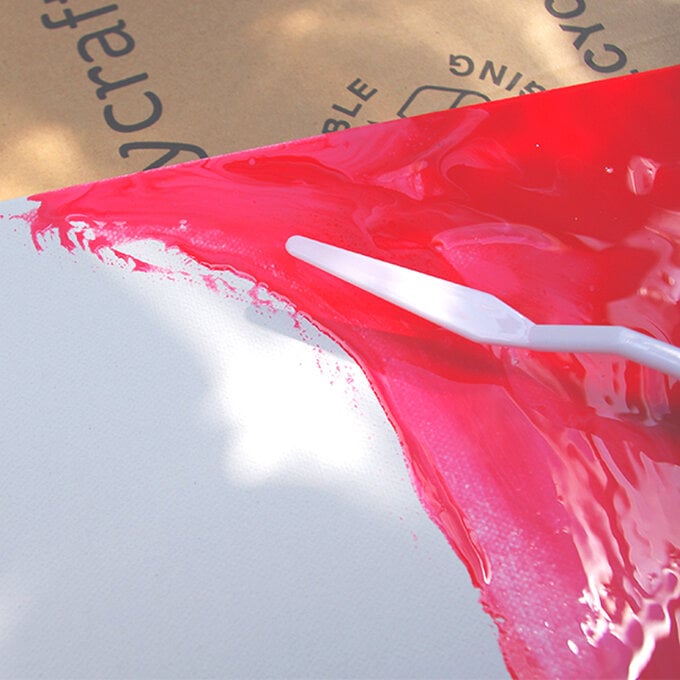
Repeat with ‘Red’, ‘Permanent Rose’ and ‘Hot Pink’ on the right third of your canvas.
The gradient should be lighter inside and darker on the outside. Spread it out with a clean palette knife to create an even layer of paint.
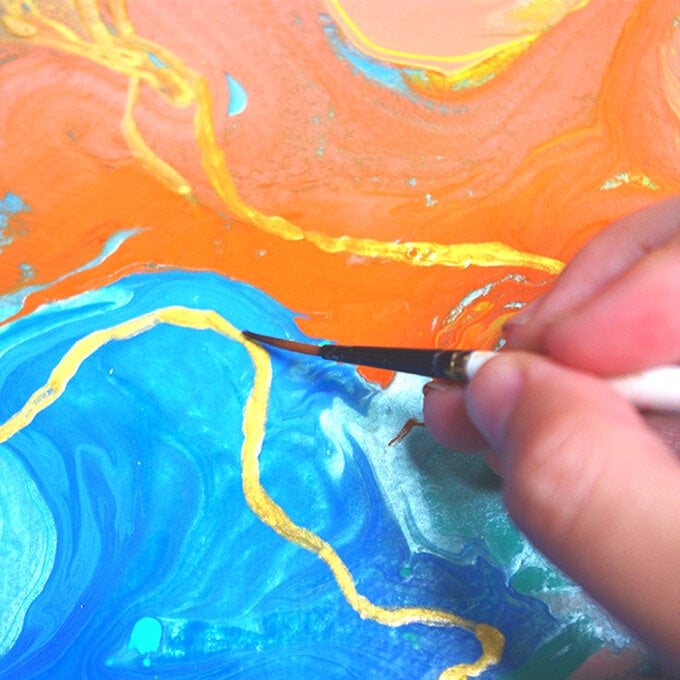
Next, outline the edges of both sides with orange and add yellow to the middle of the shape. Take your white paint and add a few highlights to the yellow.
Then carefully lift up your canvas and gently tilt it backwards and forwards until the whole canvas is covered.
Then, gather all your blue and green colours. Start by pouring a few spots of each colour around the blue side of the canvas.
The aim is to create lots of different shapes throughout the space. You can really use your creativity here. Try layering different colours on top of each other.
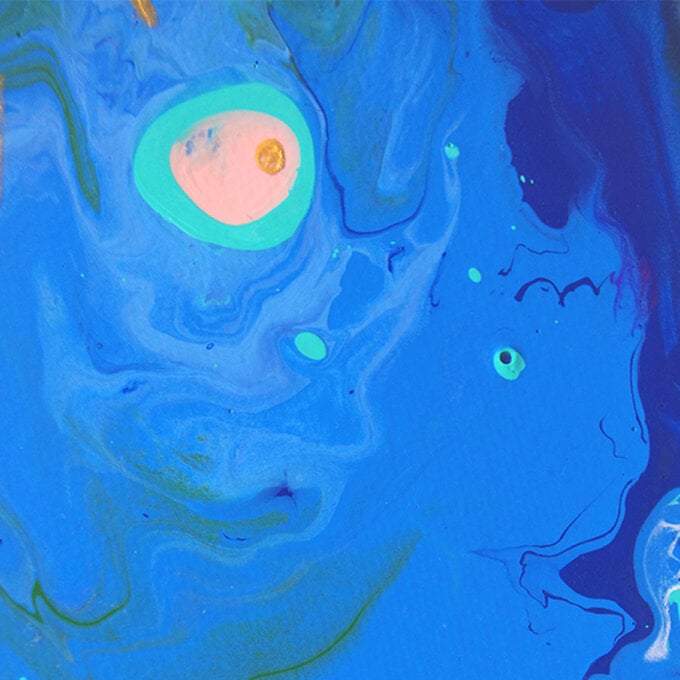

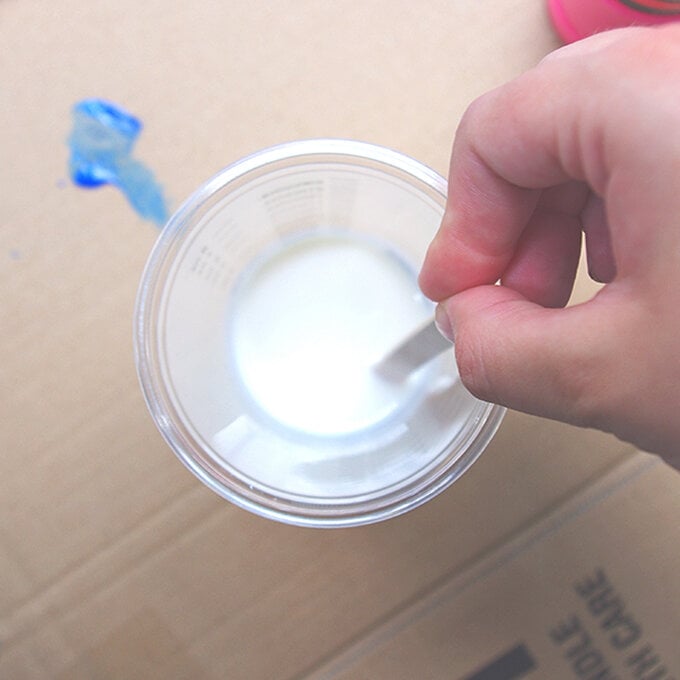
Slowly mix together some white paint and a few drops of silicone oil. The silicone oil will help the paint to separate and will cause it to create some cell shapes.
To do this add it onto the canvas in your desired places and use a piece of paper or card to gently swipe the paint across the canvas.
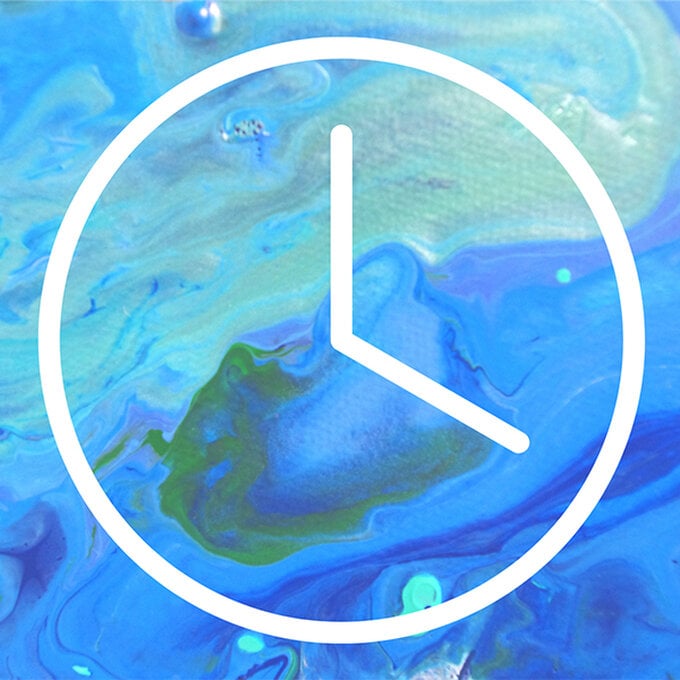
Wait for the canvas to dry for 72 hours.
You may want to check in on your painting regularly in the first few hours to make sure that the paint is not sliding off in one direction. If this is happening, carefully adjust the painting until it is level.

Related Products
Is $ 13.00