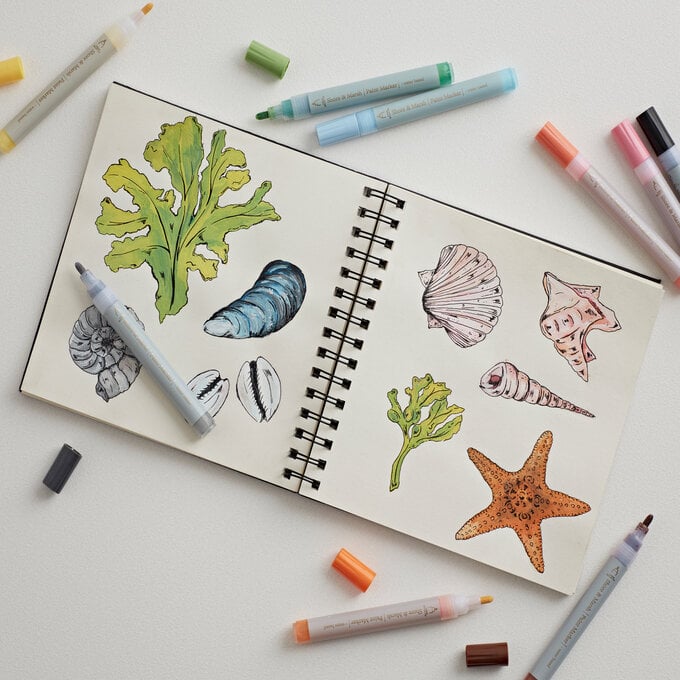
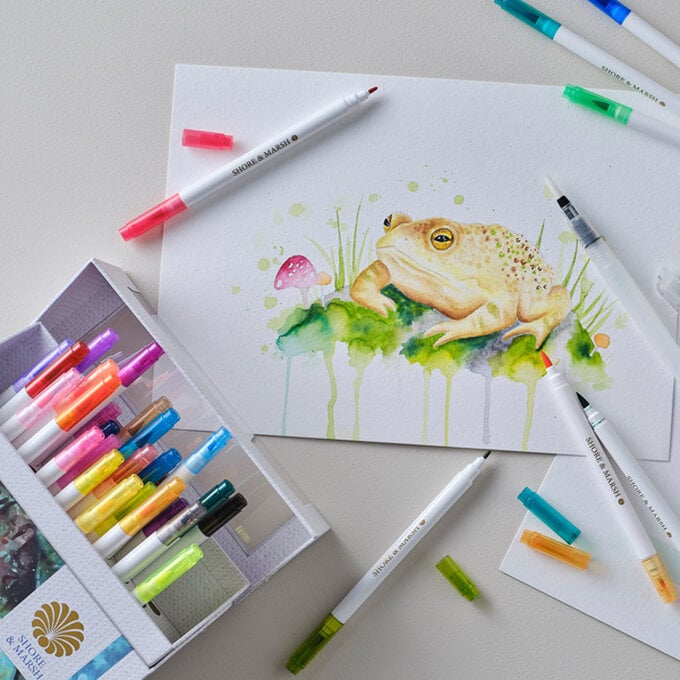
How to Draw with Watercolour Pens
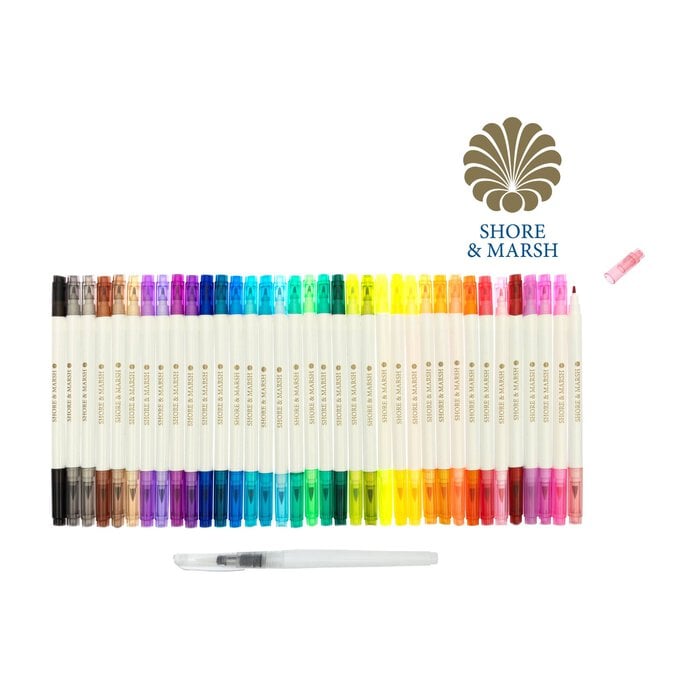
Watercolour pens are a bright and bold way to use watercolours and can be used in a variety of different ways.
They are portable and only require water to blend, making them great for when you are on the go as well as using at home.
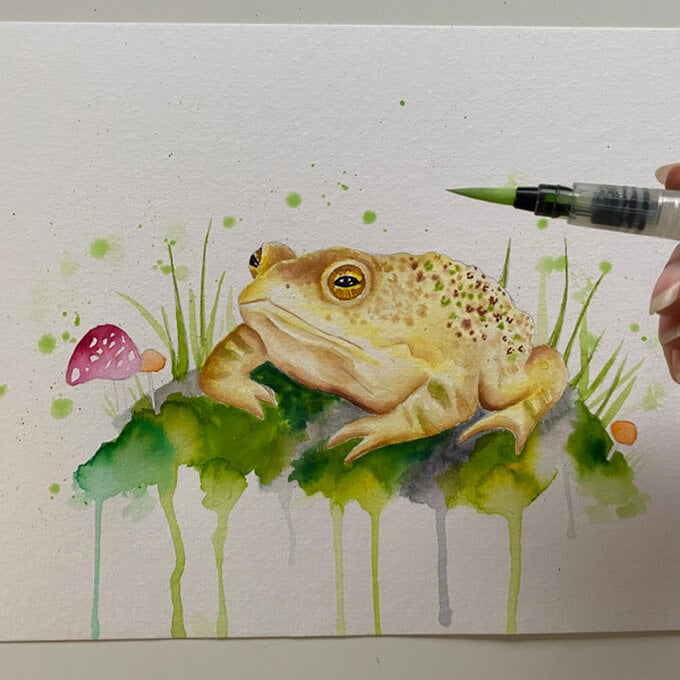
Follow our step-by-step guide to create a vivid toad on a rock, and learn lots of different techniques along the way!
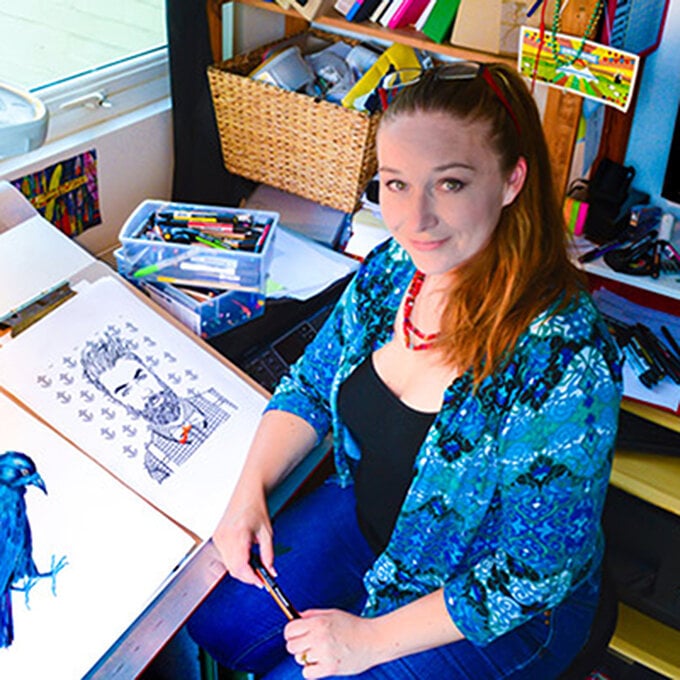
Project and instructions by Charlotte Baker
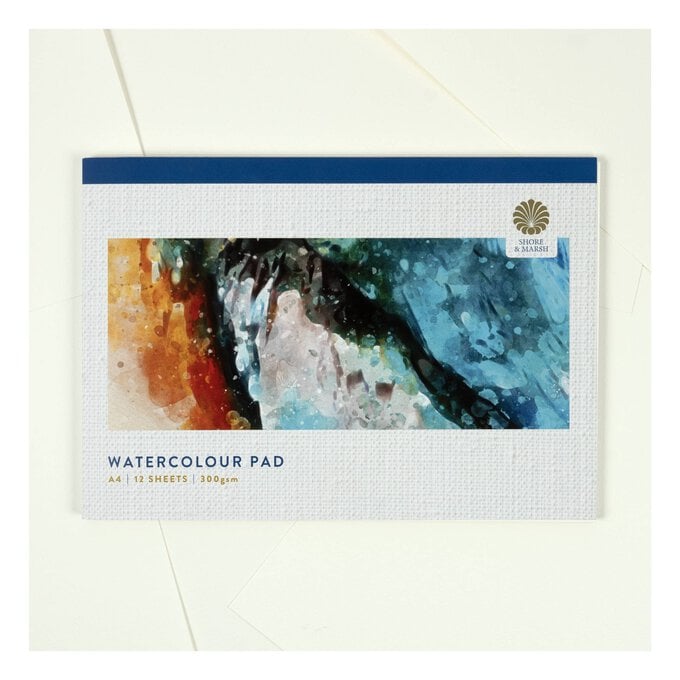
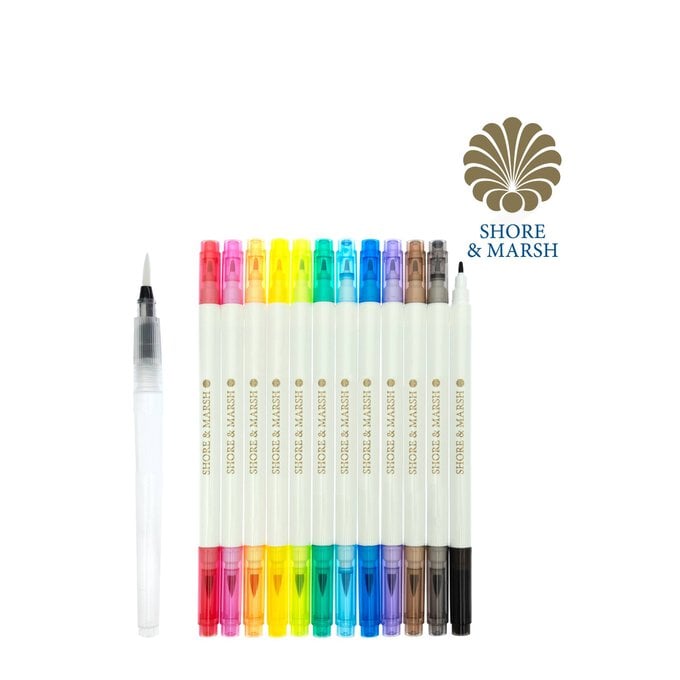
You will need
Subtotal
Is $ 15.00
Subtotal
Is $ 12.00
Subtotal
Is $ 33.00
How to make
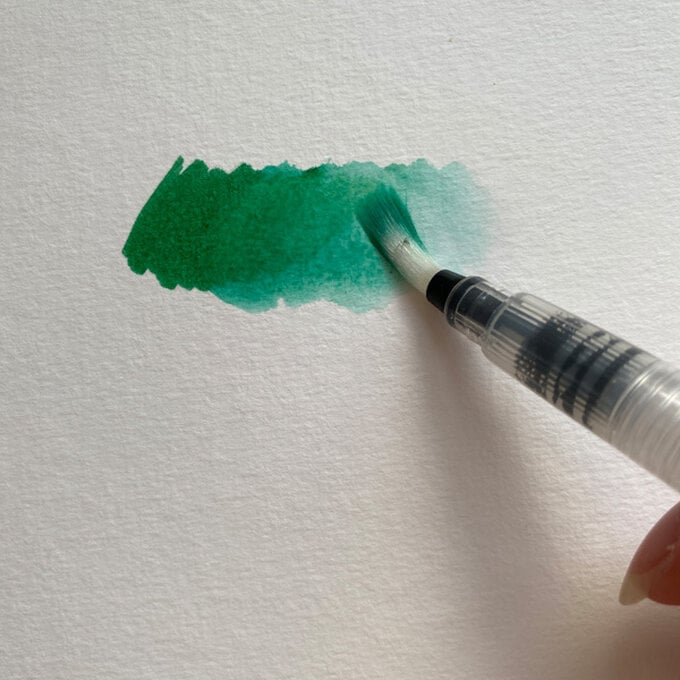
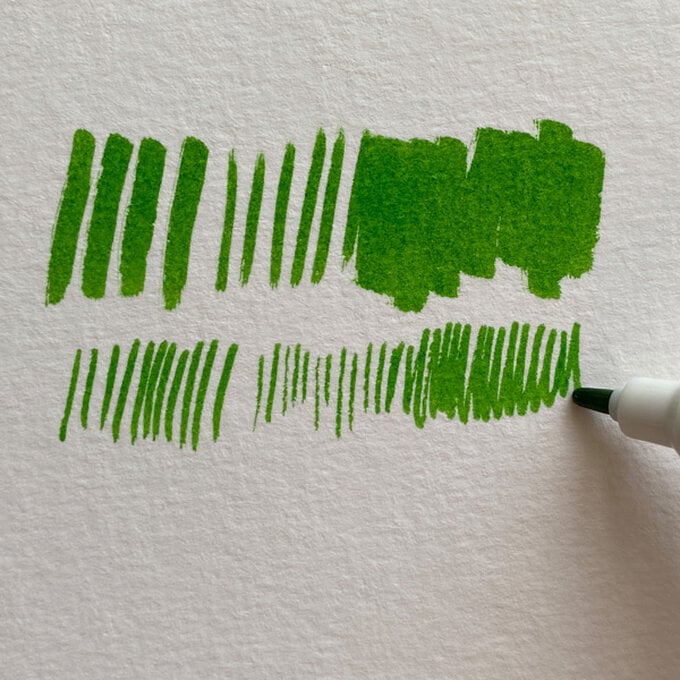
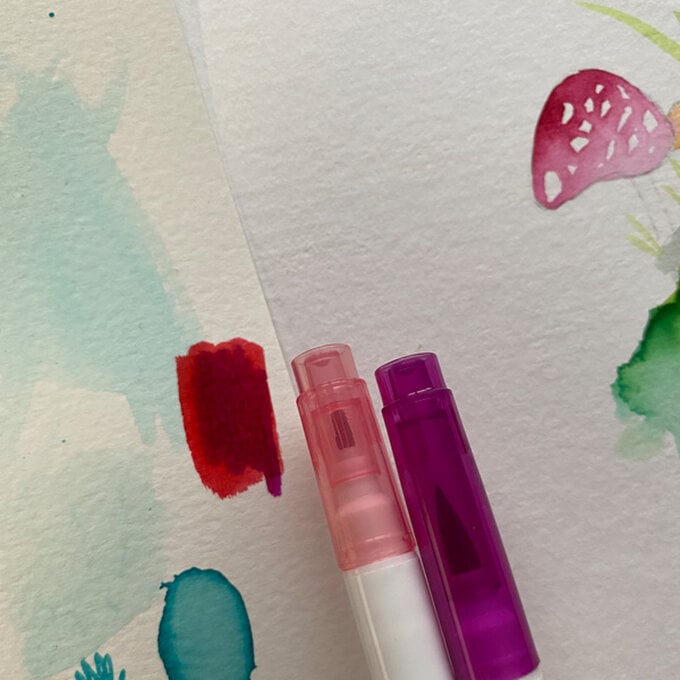
1: Blending out with the water brush.
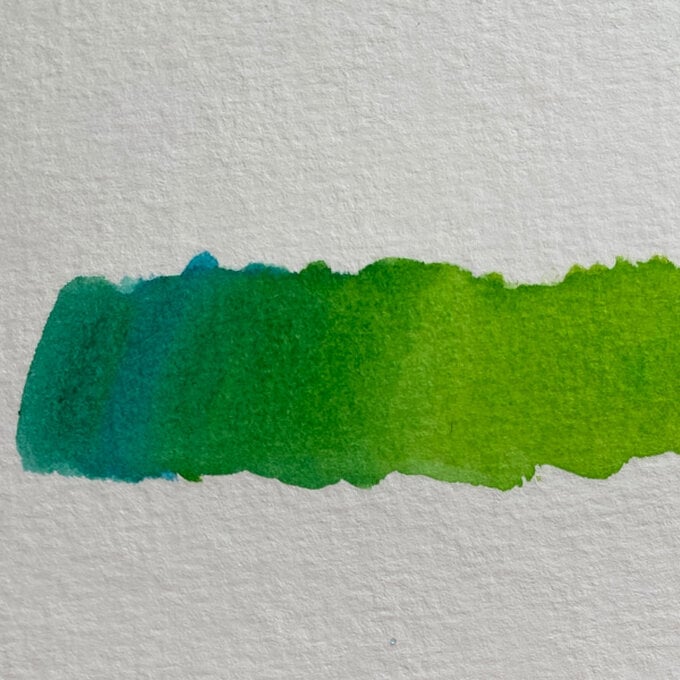
2: Combining two colours to create a gradient and blending with the water brush.
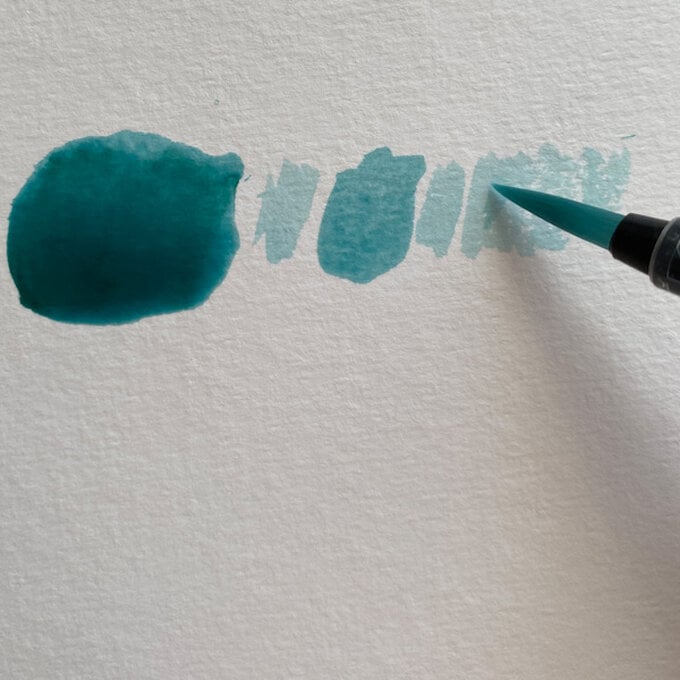
3: Using the water brush to pick up the colour and paint with it.
4: Using the small brush nib side for detail and mark making.
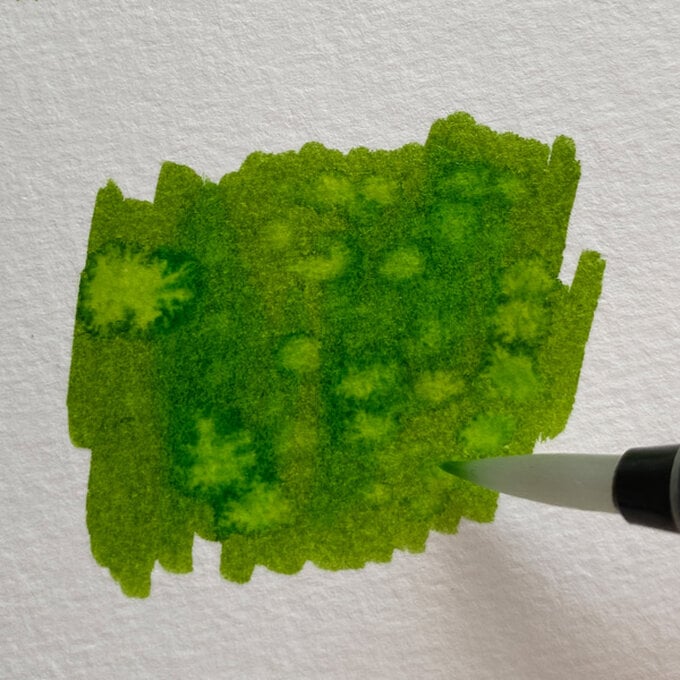
5: Adding drops of water once you’ve laid down some colour for a textured effect.
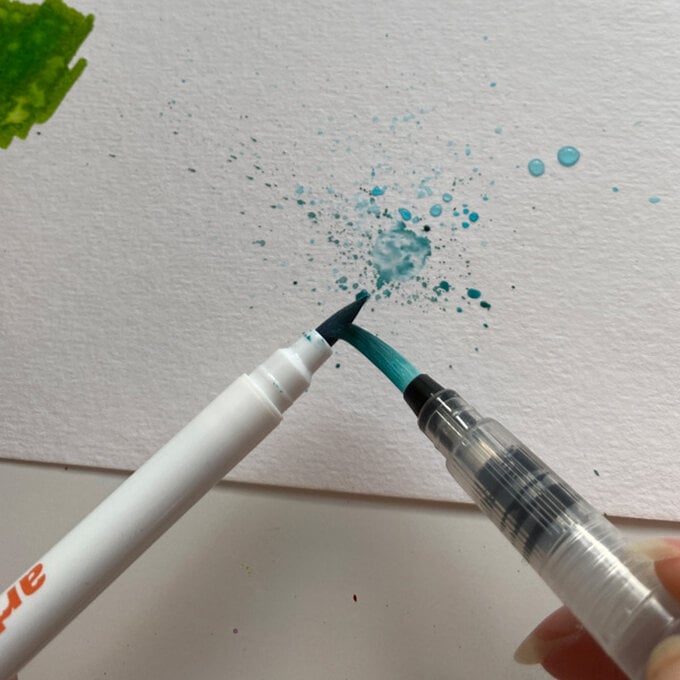
6: Flicking and splatting, using the water brush to flick the watercolour pens.
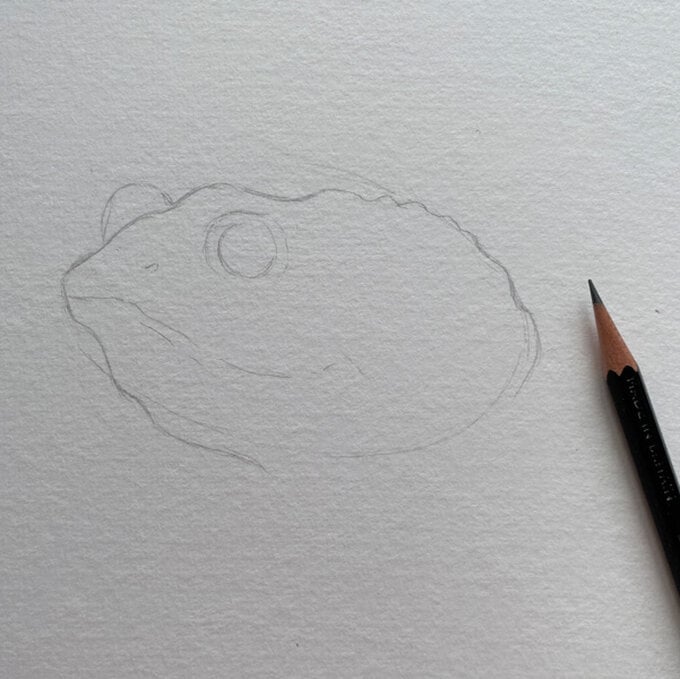
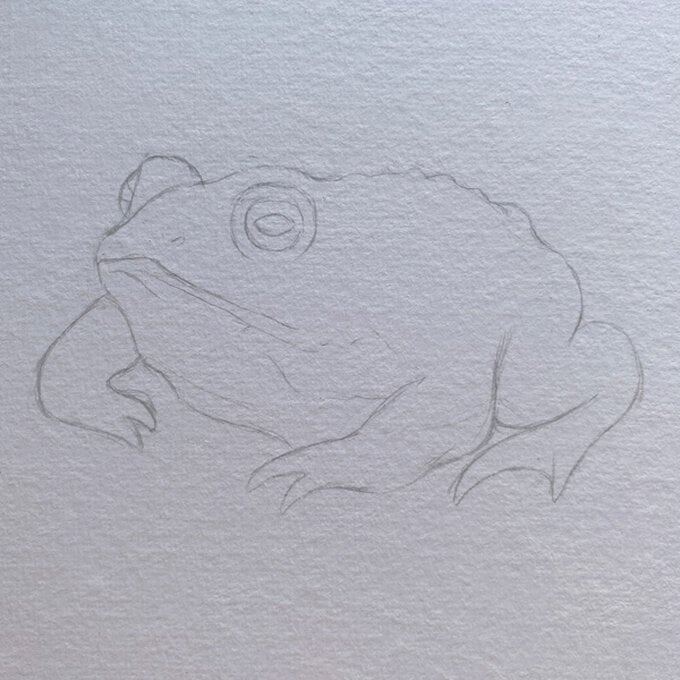
Draw out the toad on the rock using a HB or 2B pencil.
Start by drawing an oval shape before refining and drawing the shape of the face and body. Add in the legs and details including a mossy rock for the toad to sit on.


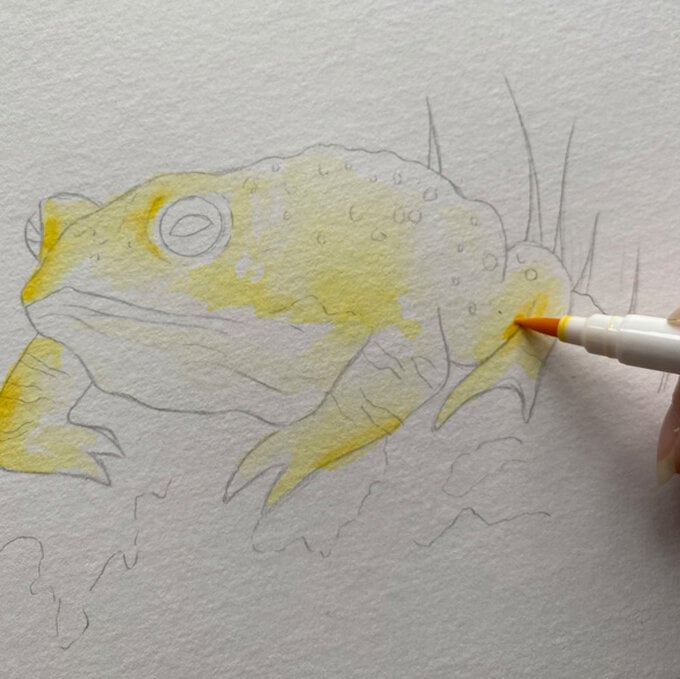
Always apply the lightest colours first, such as the watercolours.
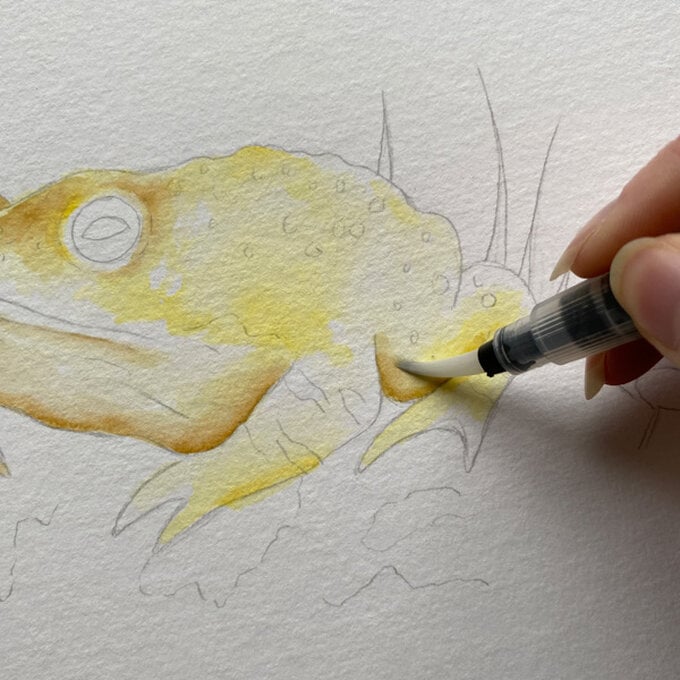
Add yellow pen to areas and use the water brush to blend. Watercolour pens can start to dry as soon as you use them, so it’s important to blend it out straight away if you would like a soft effect.
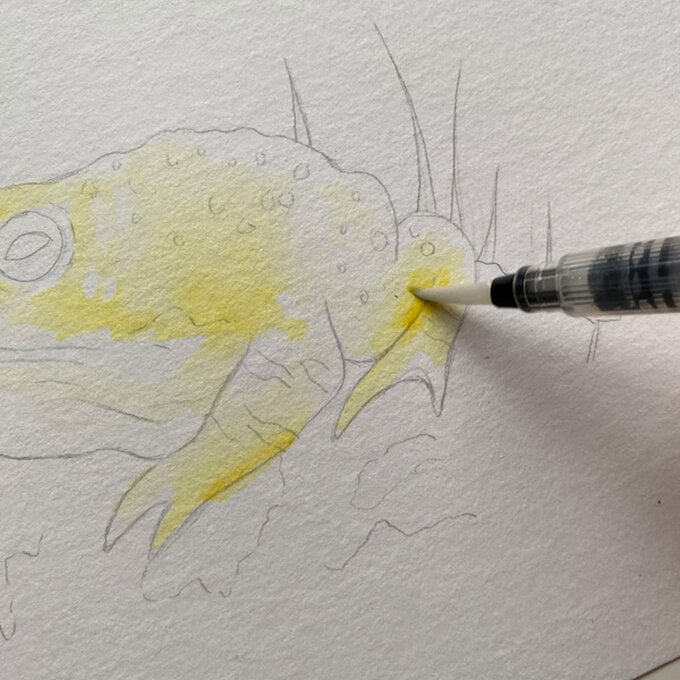
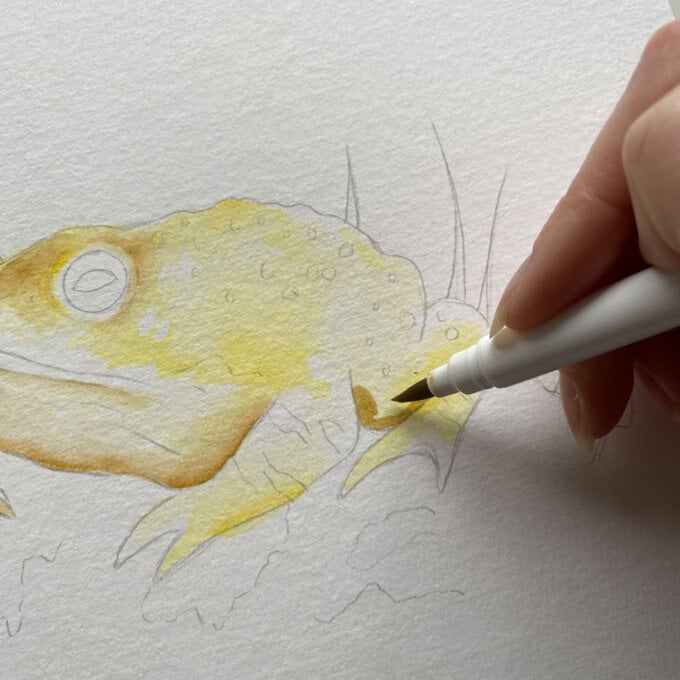
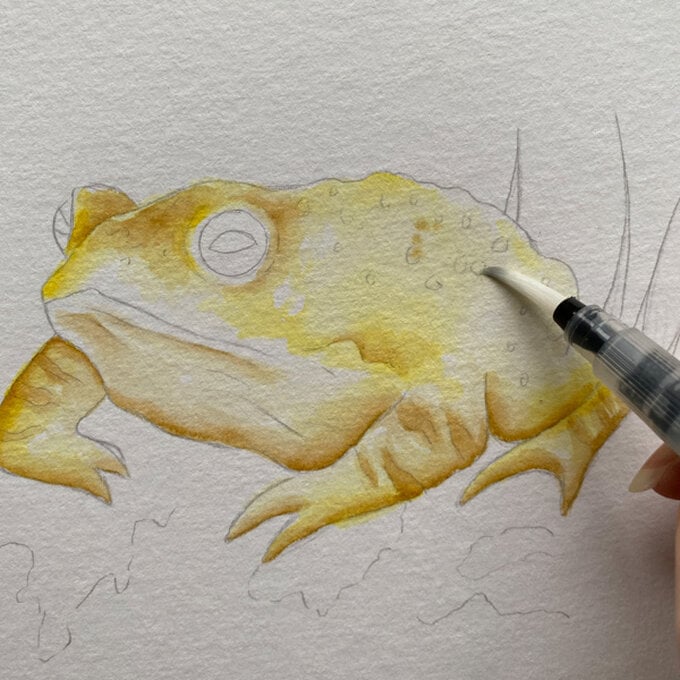
Add a tan colour to start darkening the areas to make the toad look more 3D.
Blend it out with a water brush.
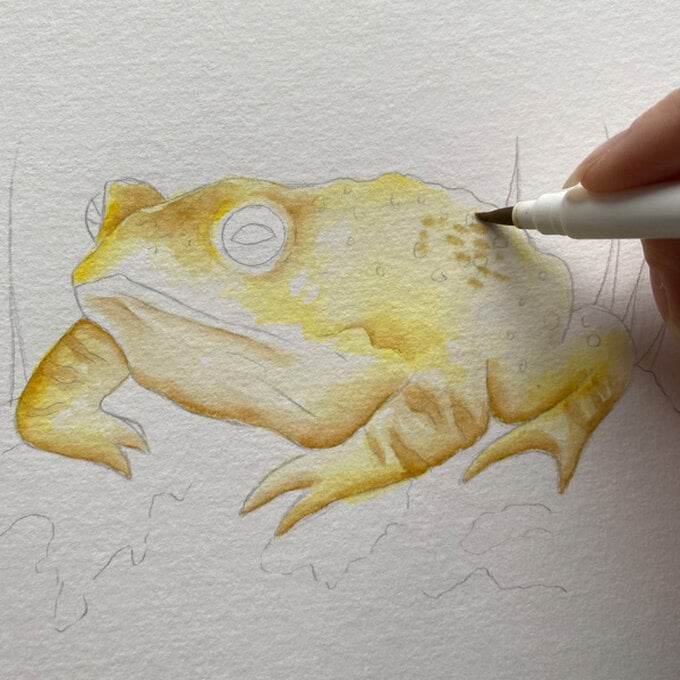
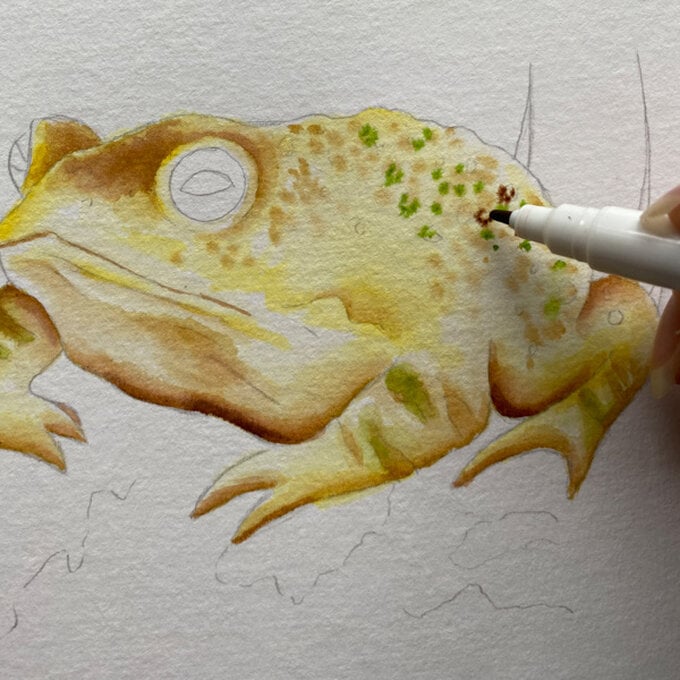
Wet the back of the toad using the water brush and dot in the watercolour pen, this is a wet-on-wet technique. The pen will blend out and create little speckles on the toad. You can use a darker brown and some greens to add more colour.
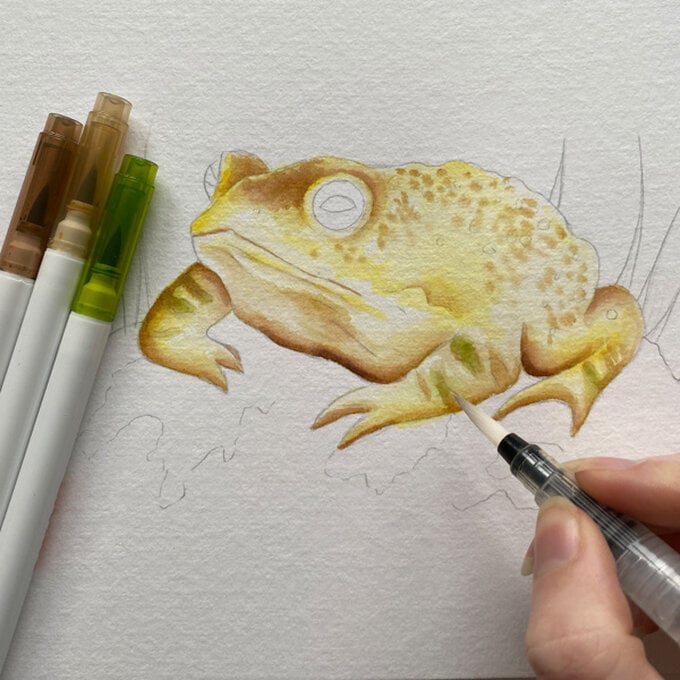
Continue adding the watercolour pens in green and darker brown to add more colour and areas of shadow.
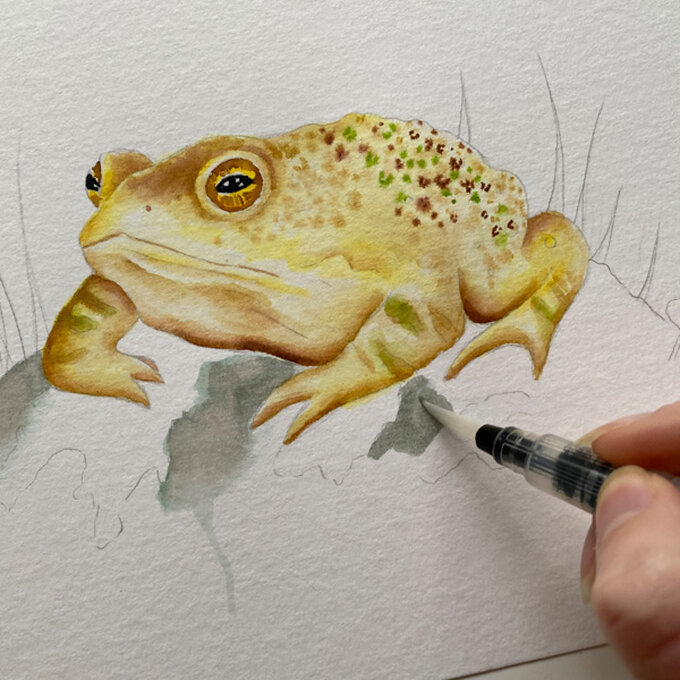
Add more speckles to the back of the toad and to its stripes. To add softer areas of colour, scribble some colour onto a separate piece of paper and pick up the colour using the water brush. You can then apply this colour to detailed areas.
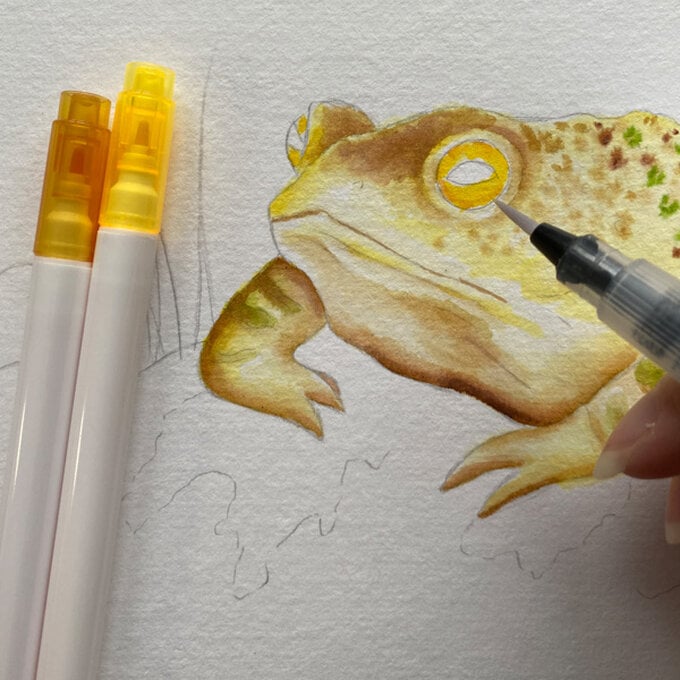
Use the light and darker yellow to add colour in the eyes of the toad. Use the water brush to blend this out.
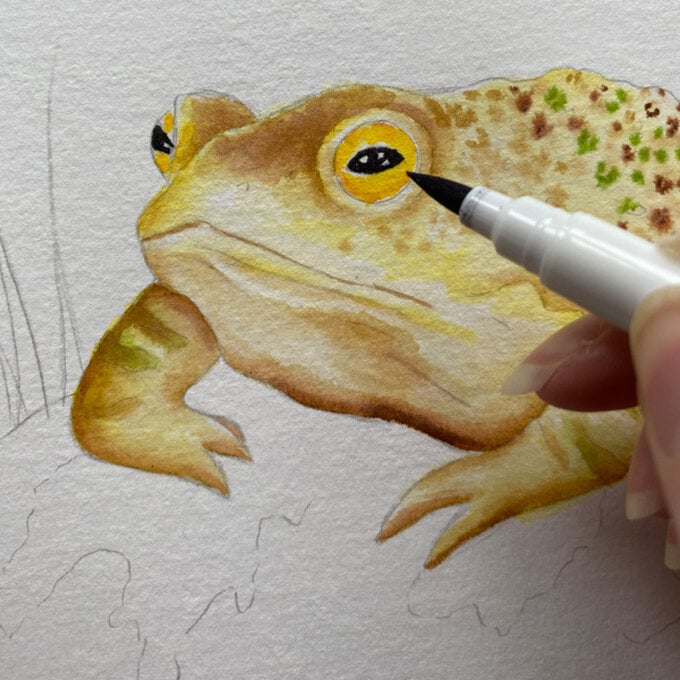
Add in the pupil using the black pen. Make sure to colour around highlights in the toad’s eye to make them sparkle!
Add darker brown details to the eyes by picking up the colour from the pen using the water brush.

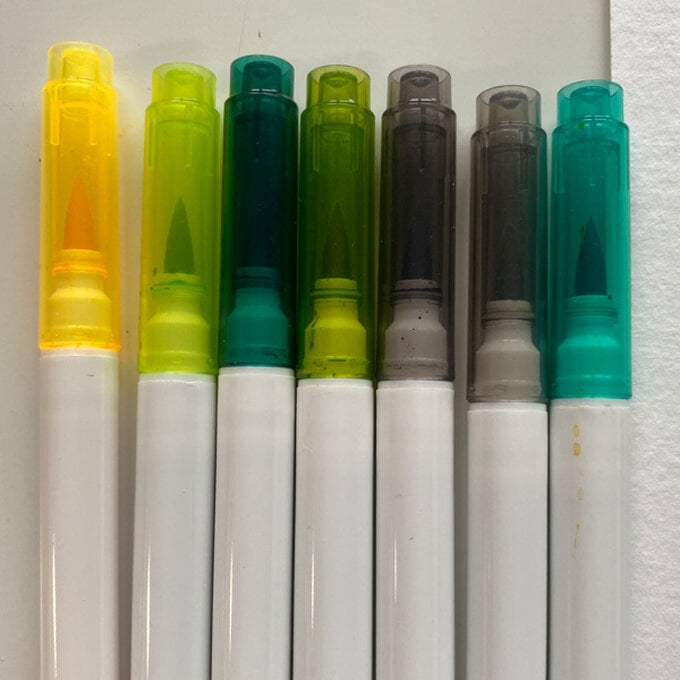
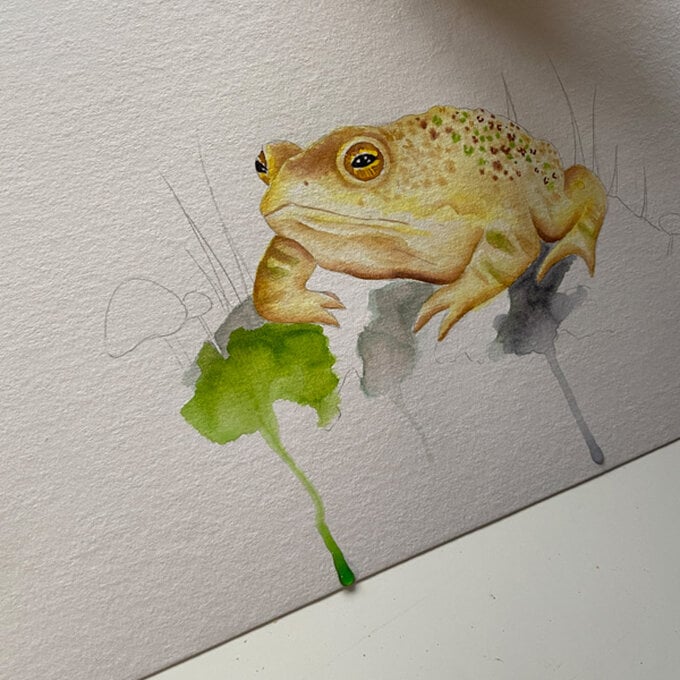
Now it's time to start working on painting the mossy rock. Use yellows, light greens, dark greens, and greys.
Colour a small area with the pens and then use the water brush to blend it out. Add different colours next to each other, before blending with the water brush, to create soft transitions of colour. T
o create drips, lay down the colour and blend, then holding the paper up, squeeze the water brush along the bottom of the colour, creating a little drip of water (and colour).

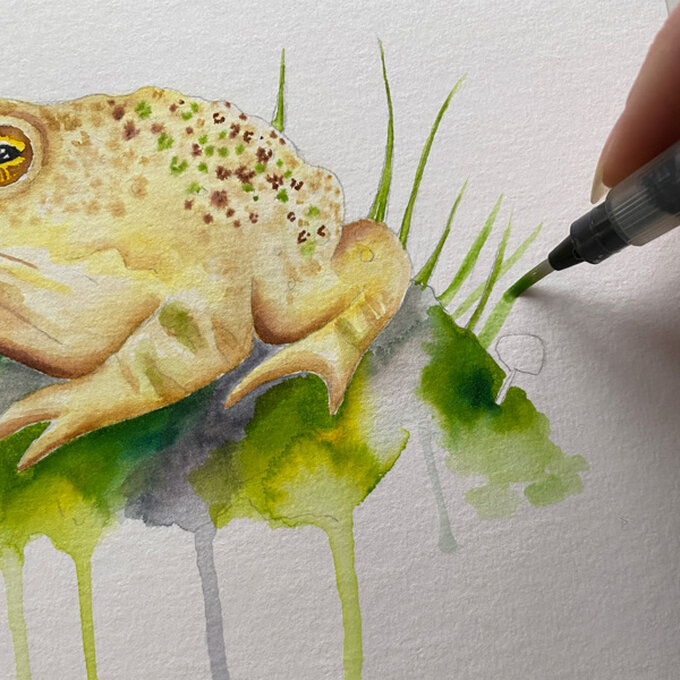
Using the thin nib side of the pen, colour in the blades of grass or any detail you have drawn and blend out with the water brush.
You can scribble some green on a separate piece of paper, add water and paint with it to create lighter blades of grass in the distance.
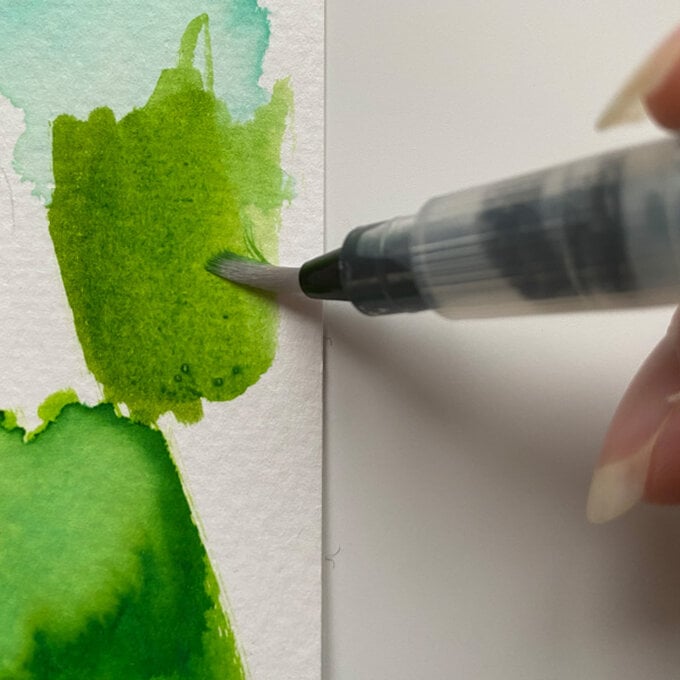
Mix a green on a separate piece of paper, pick it up on the water brush and flick to create a splatter effect. Try brushing the watercolour pens with the water brush and flicking them onto the piece for a finer splatter effect.
Mix two pinks on a separate piece of paper and use the water brush to paint the toad stalls.
Paint some blobs around to give the mushroom little highlights. You can use any colours you wish, we used pinks, so they contrast with the toad.
Related Products